DIY Eurorack: Spannungsversorgung (PSU) und Busboards

Interessanterweise bekomme ich die meisten Anfragen aus dem Ausland. Das freut mich natürlich, gleichzeitig wundert es mich aber auch. Liegt das vielleicht nur daran, dass ich hier überwiegend in Englisch poste? Deshalb mal wieder was auf Deutsch. – English version

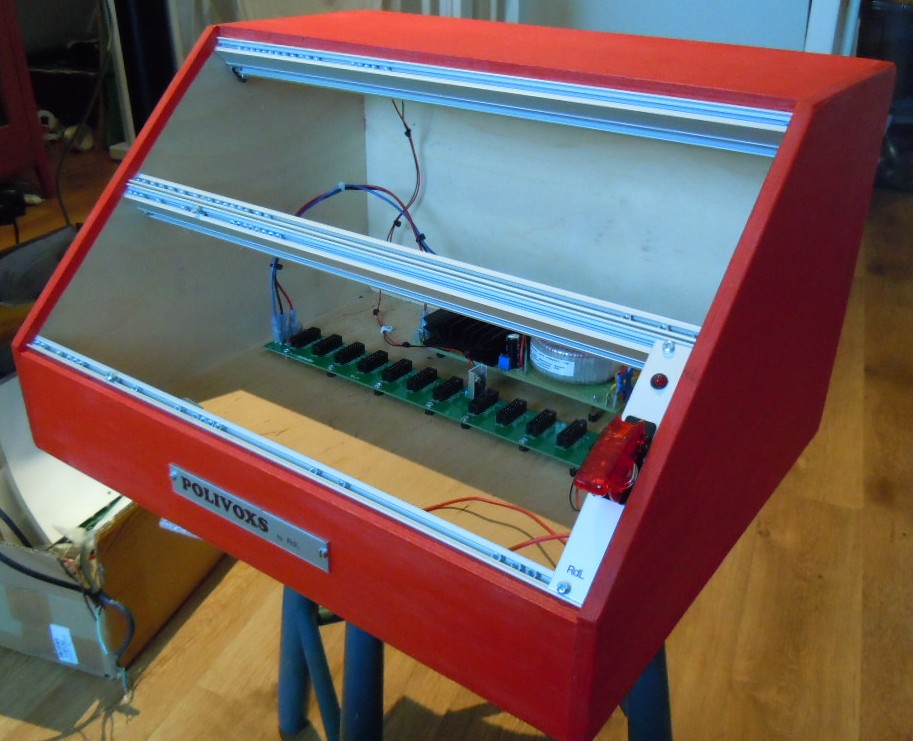
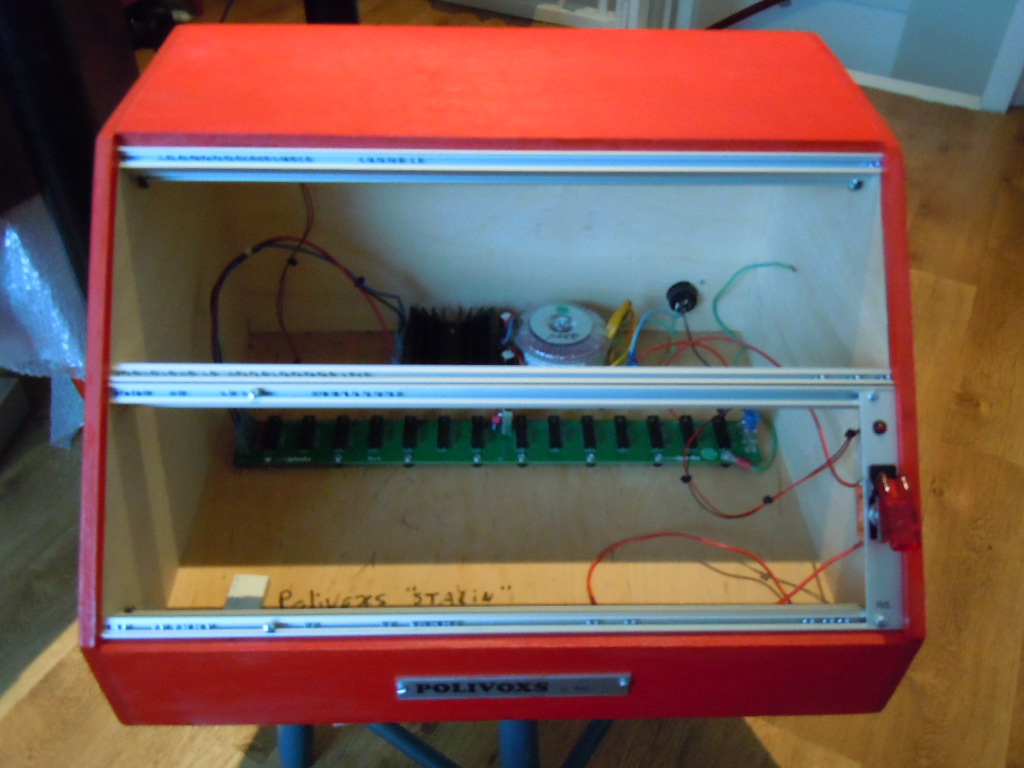
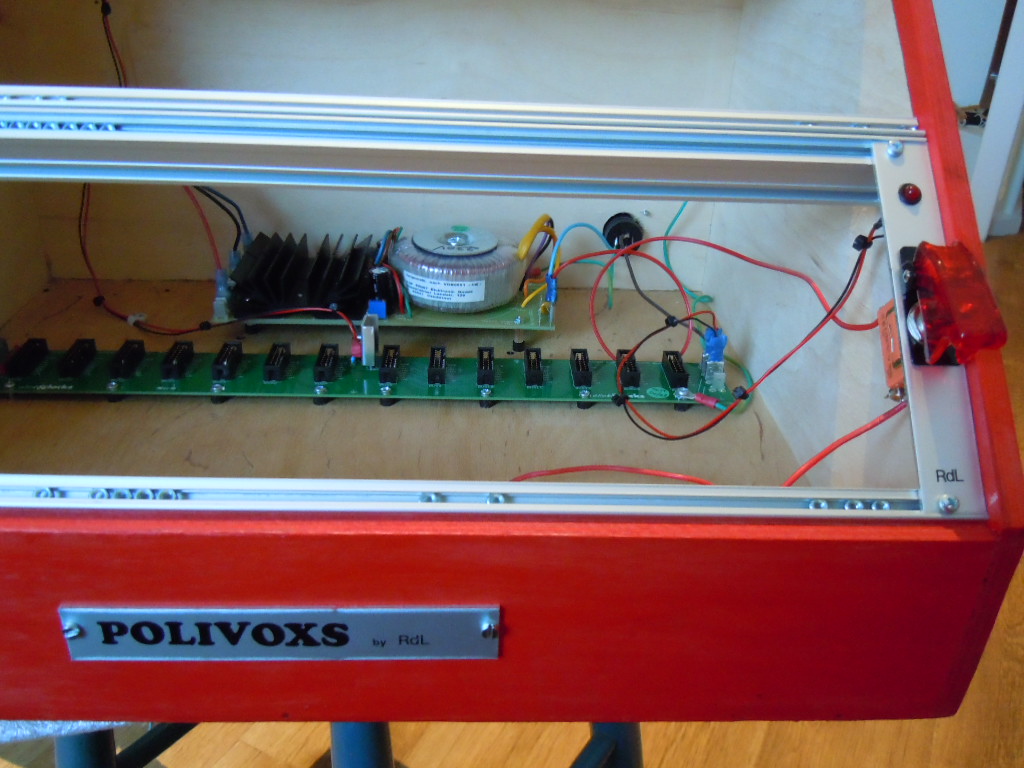
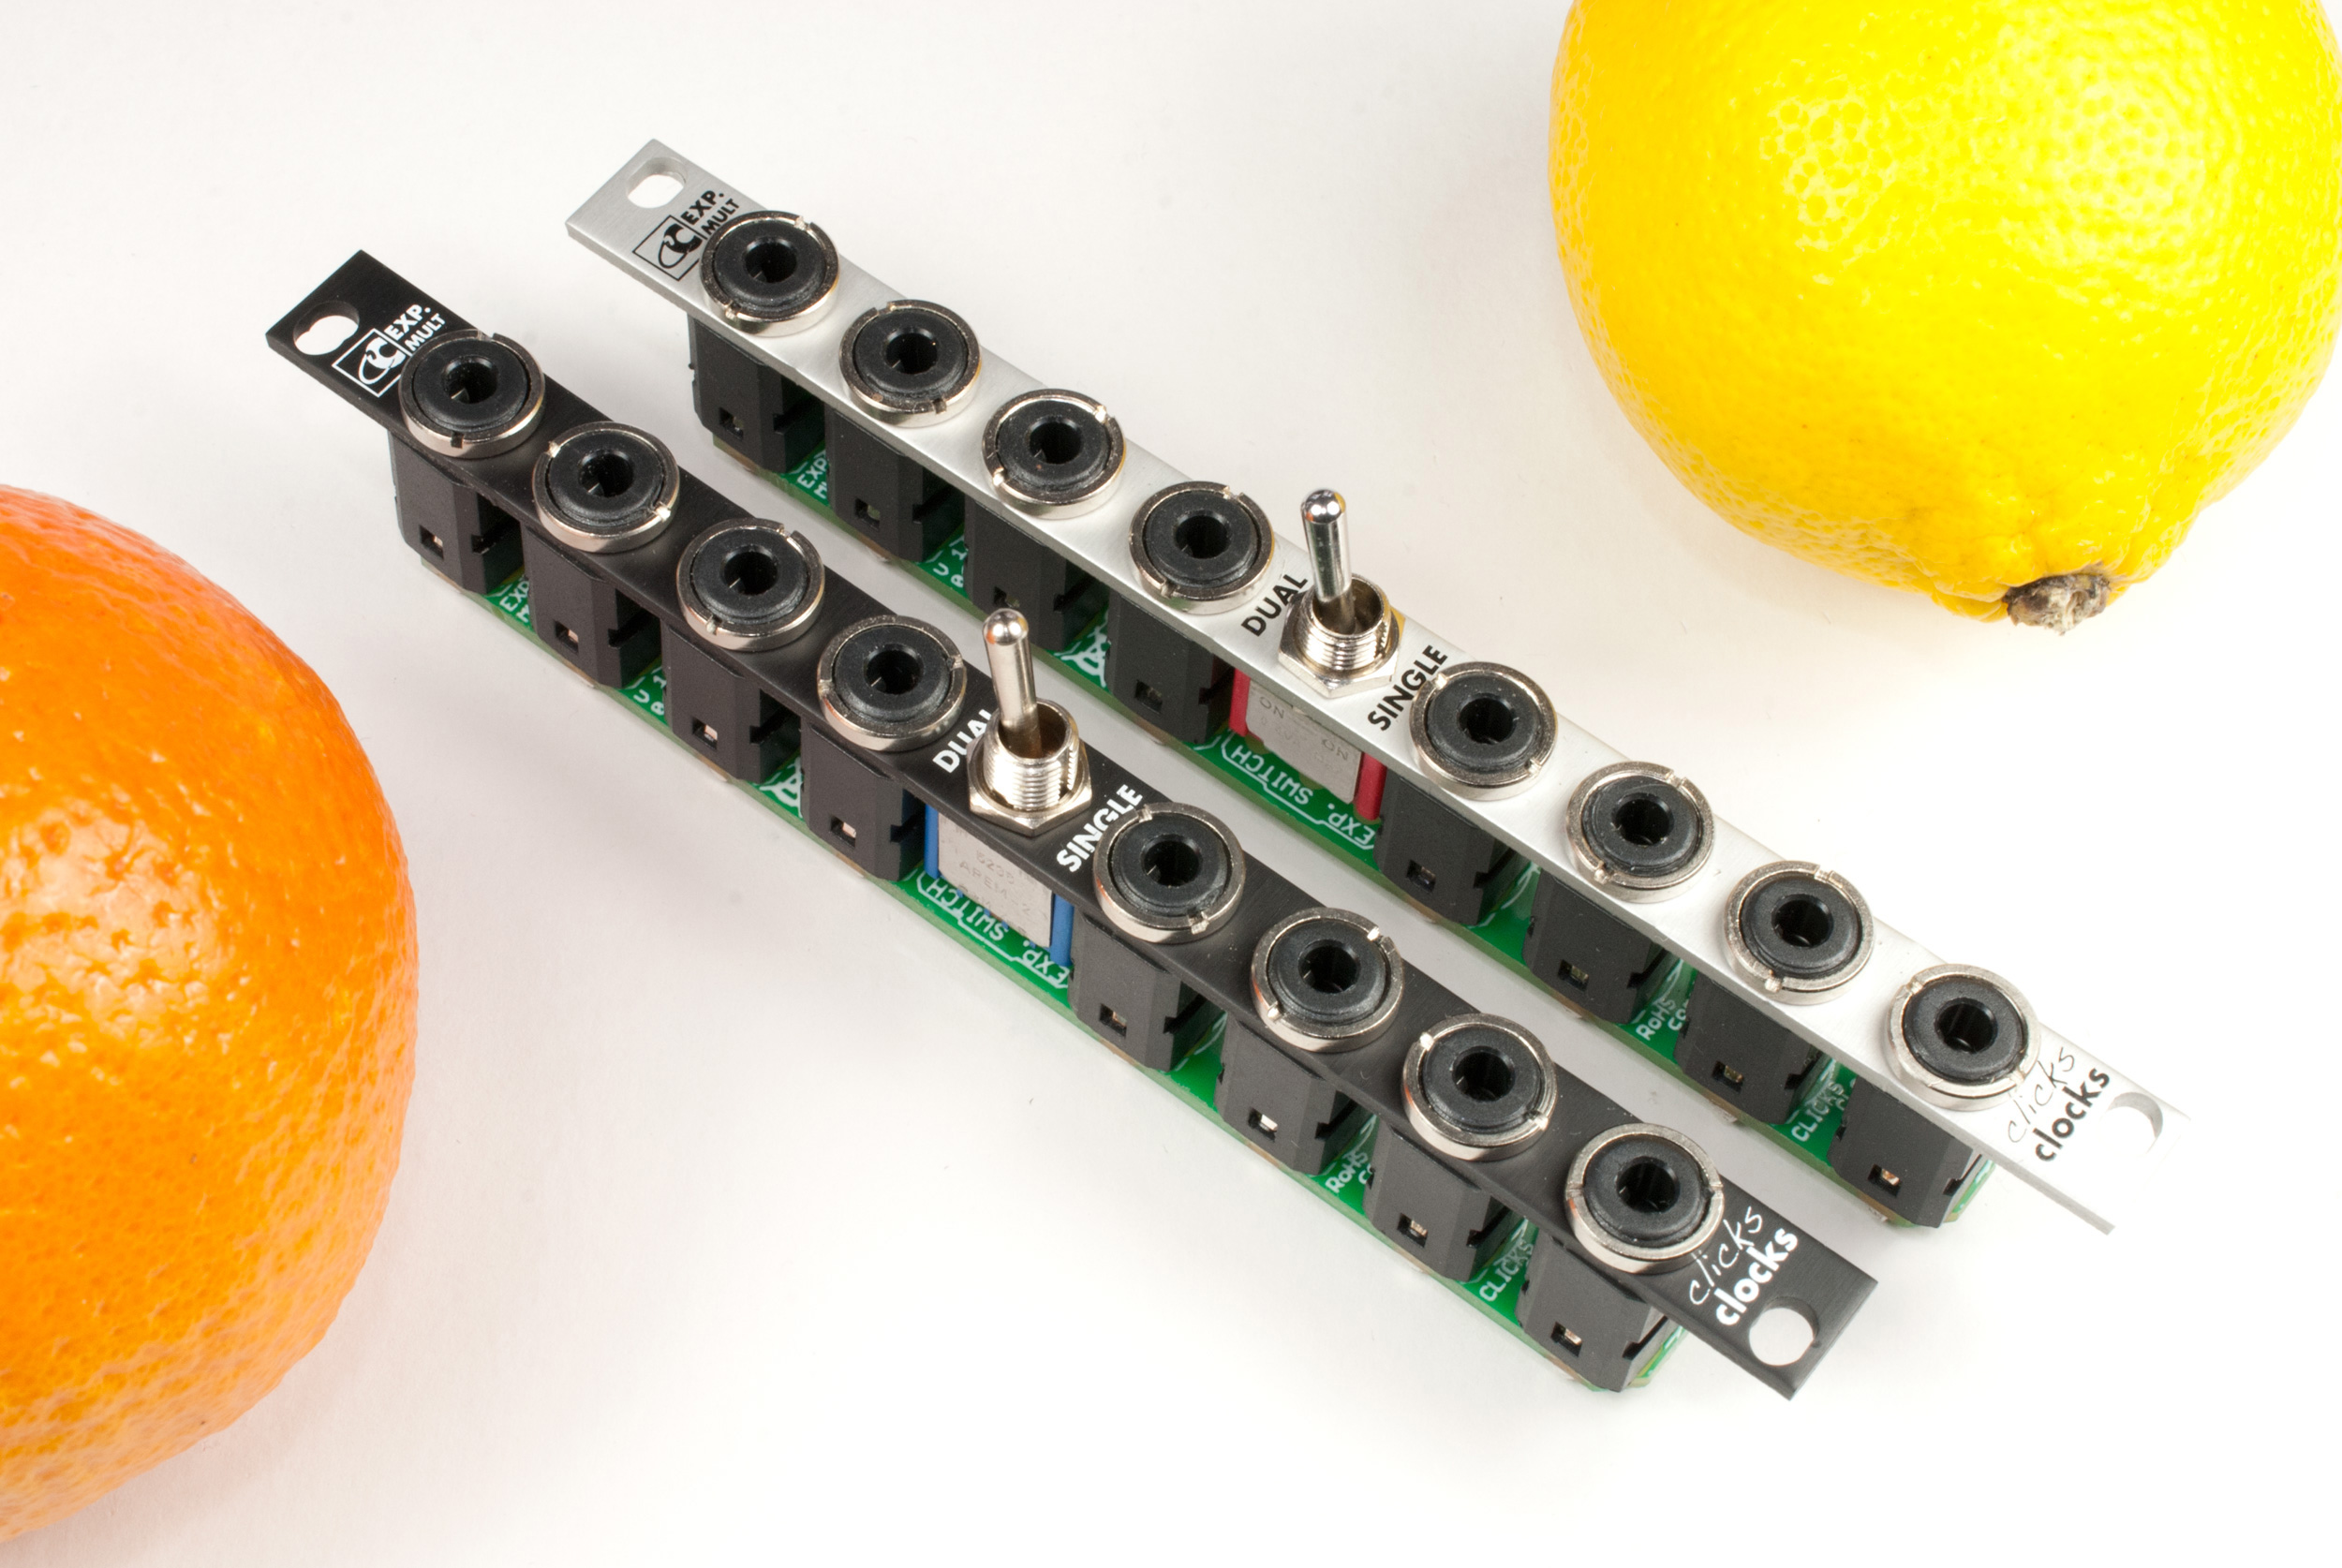
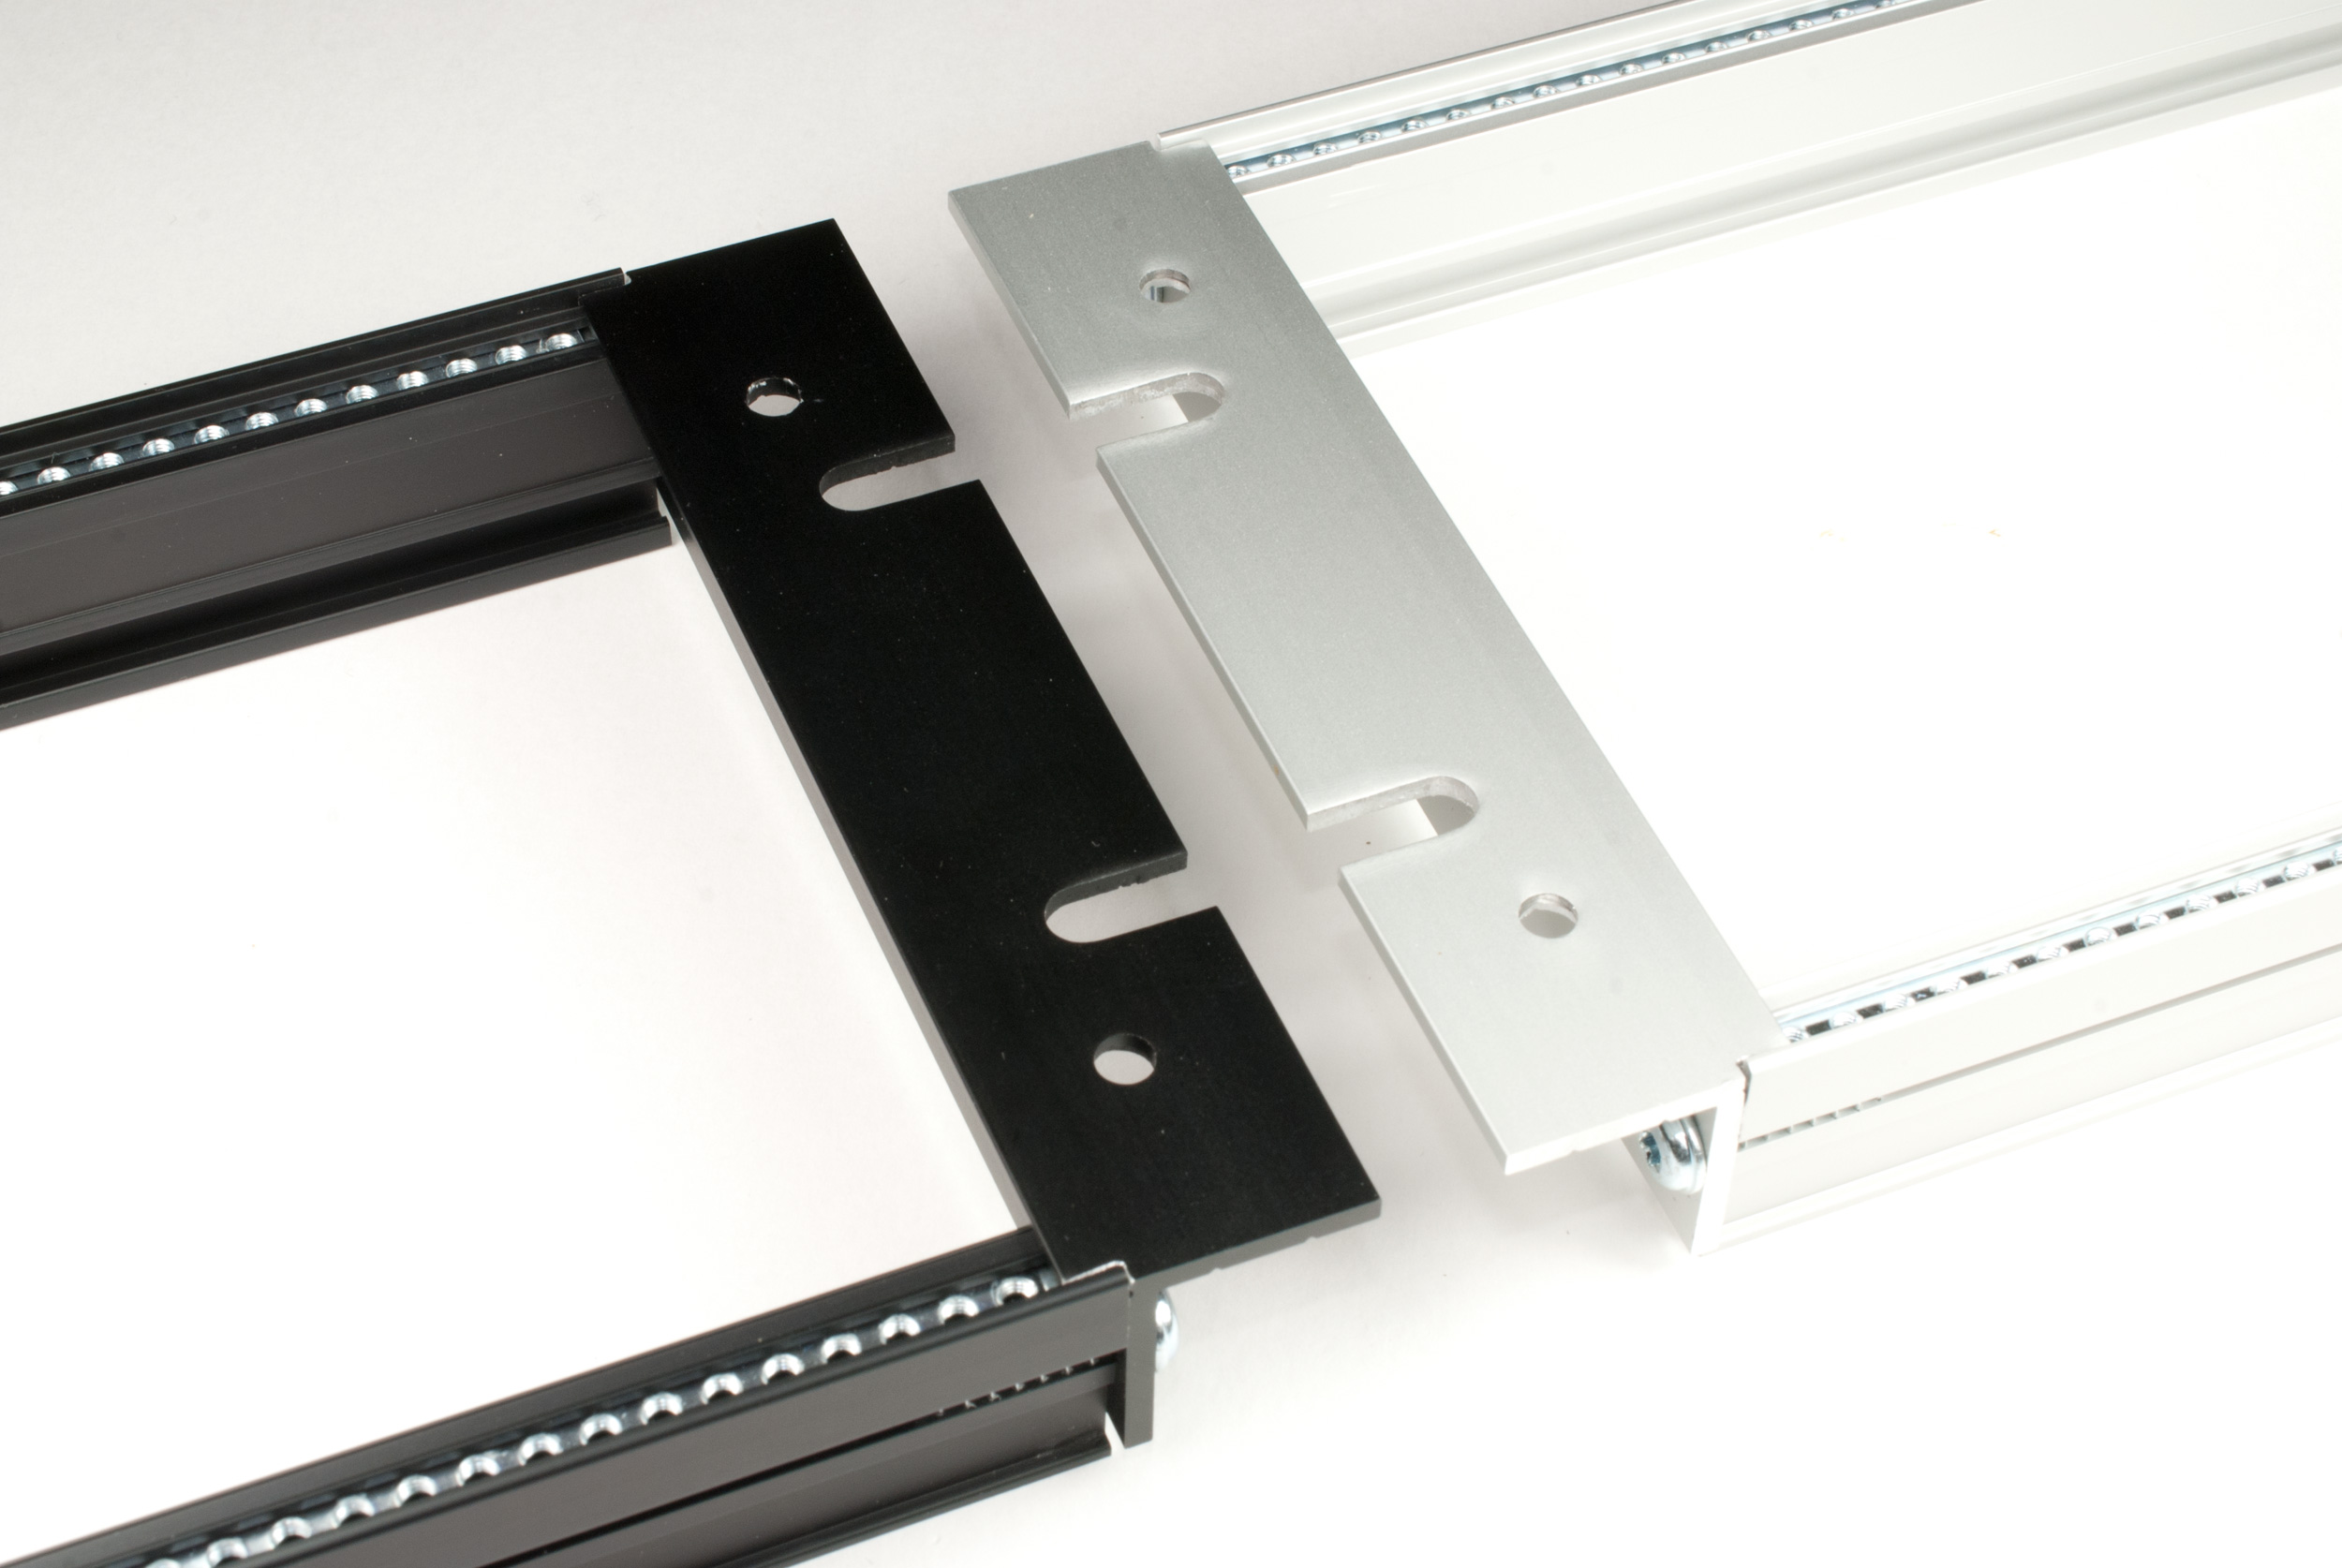
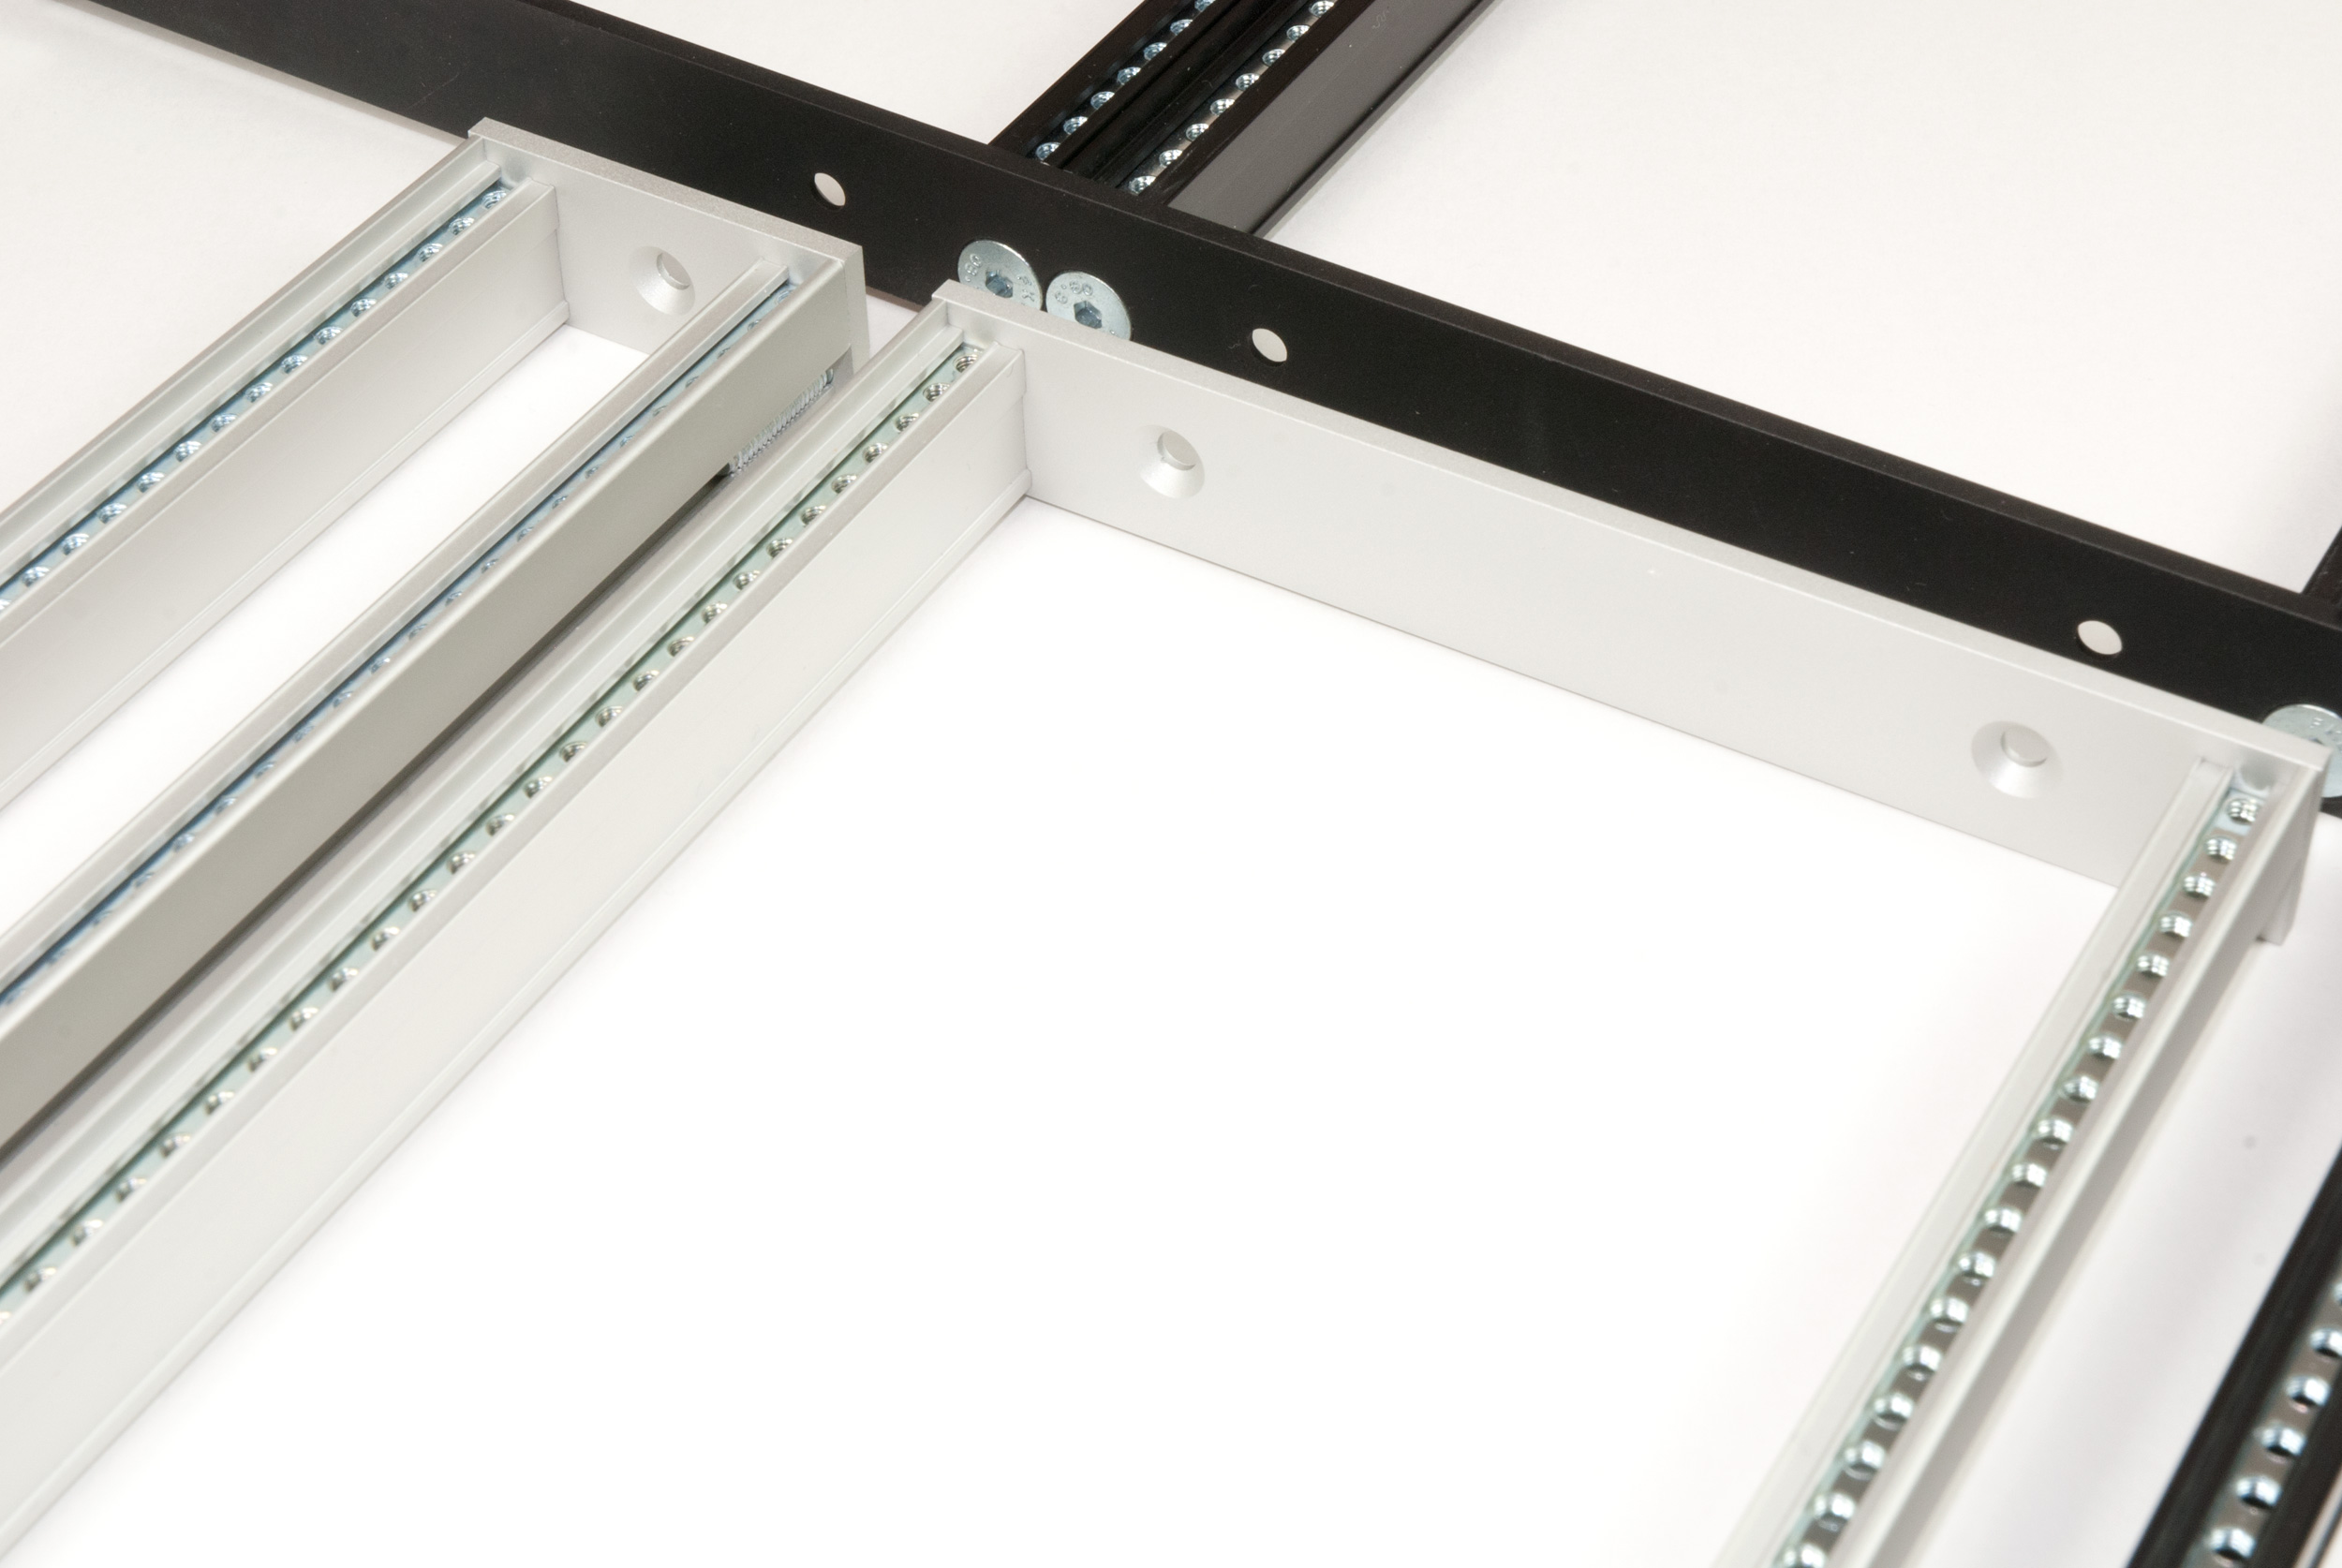
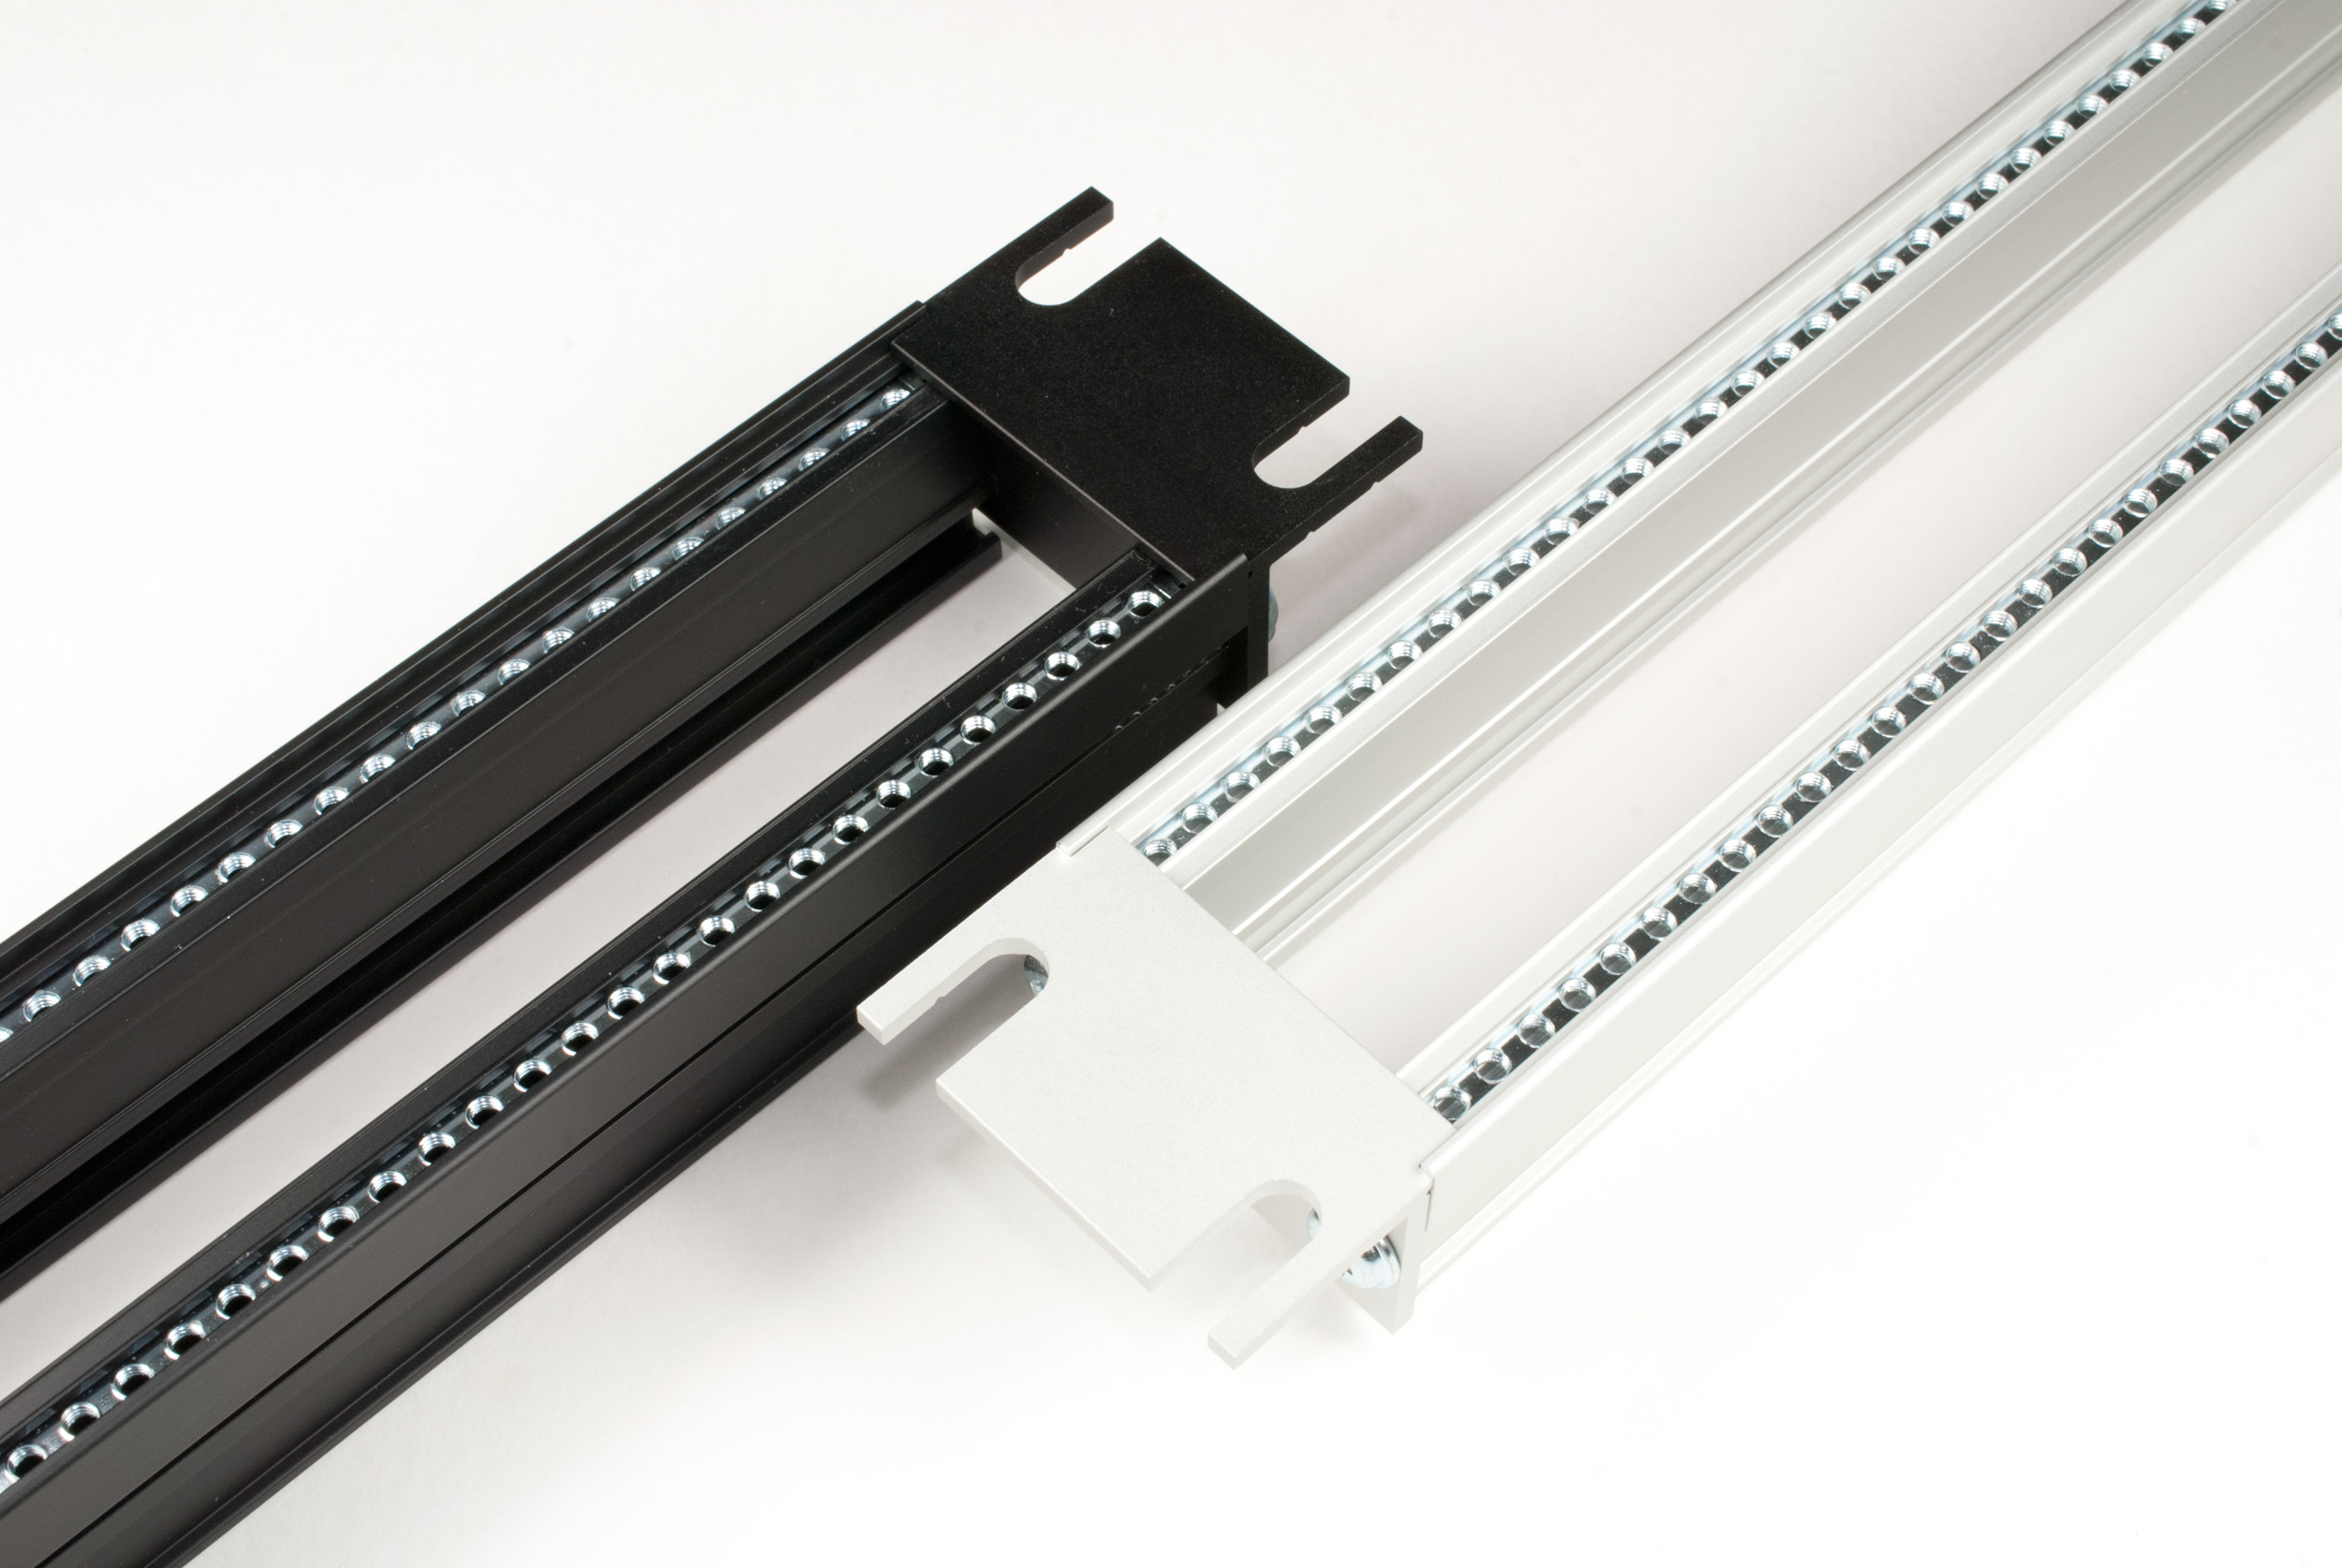
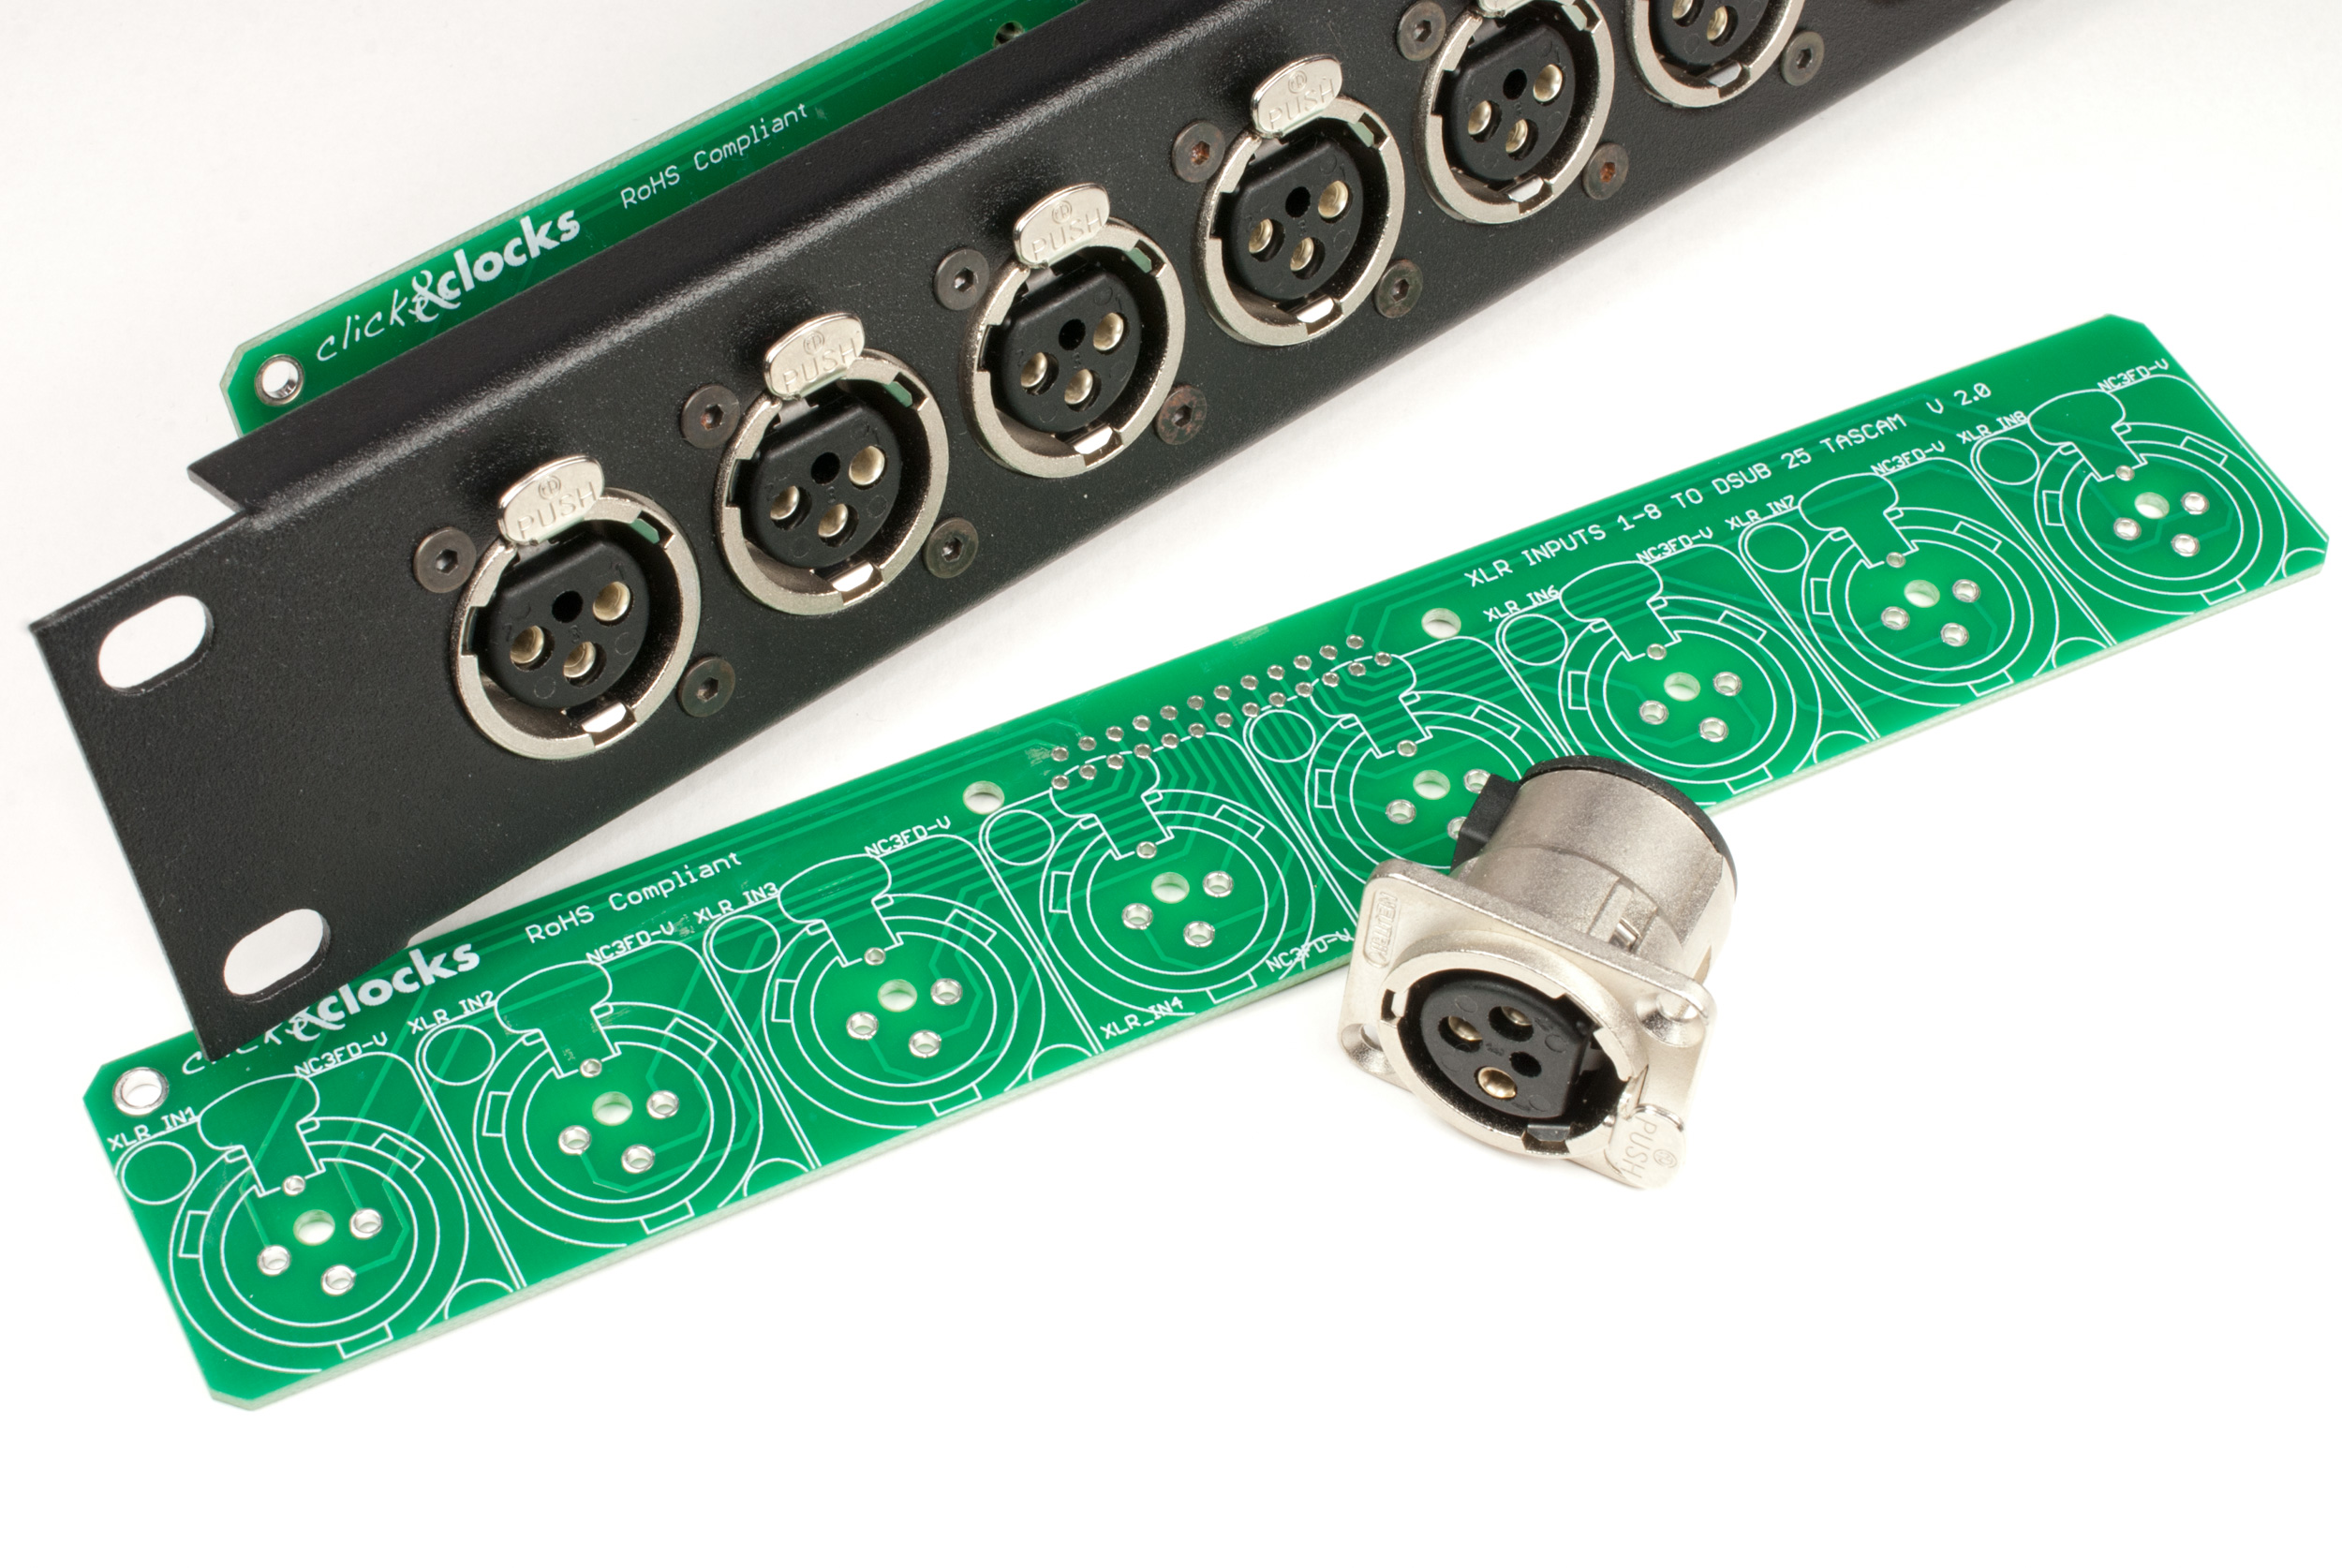
Hier ein paar Bilder der Clicks and Clocks Eurorack Spannungsversorgung (PSU) und der Busboards. Zu Beginn wollte ich eigentlich nur ein pultartiges Case für meinen Eurorack-Modularsynthesizer bauen. Da ich mindestens vier Spannungsversorgungen benötigte, dachte ich von anfang an über eine eigene Lösung nach Doepfer-Vorbild nach. Ich weiß, dass es günstige Schaltnetzteile gibt, aber mich reizte die Aufgabe und ich wollte Erfahrungen sammeln.
Es war klar, dass ich einige überzählige Spannungsversorgungen und Busboards haben werde. Wer dran interessiert ist und Preise und Versandkosten erfahren möchte, schickt mir bitte eine E-Mail

ClicksClocks – Spannungsversorgung (PSU) 1
ClicksClocks – Spannungsversorgung (PSU) 2
ClicksClocks – Spannungsversorgung (PSU) Unterseite
ClicksClocks – Busboards
ClicksClocks – Busboard 5V Option
ClicksClocks Bundle – 2 Busboards und 1 PSU

TECHNISCHER HINWEIS: Bitte sei Dir darüber bewusst, dass das Netzteil Netzspannung führt (115 or 230 V AC). Aus Sicherheitsgründen darf die Installation nur von Fachpersonal durchgeführt werden. ACHTUNG: Bei unsachgemäßer Handhabung besteht Lebensgefahr!
Dies ist ein privater Blog, es geht darum Wissen zu teilen. Keine Garantie und Haftung.

DIY Eurorack Console Case – The Journey continues

Starting the detailed planning of the case for my modular Eurorack synth.

After spending a few month on creating my own Doepfer like Clicks and Clocks Eurorack power supplies (PSU) and busboards, I now continuing with planning and building the case. The main idea is to have wooden side wings which will enclose the aluminium rear and bottom panel. The construction will be kept together by threaded rods.

Clicks and Clocks Console Case
A bit more exact sketch of the case. The measurements are almost correct, the thickness of the side wings is 22mm. The case is planned as a double 19 inch sized case.

Clicks and Clocks Console Case
The Eurorack case from the viewed from the other side.

Here you find the latest SketchUp drawings.

I have most of the parts together, except the rear and bottom panels which will be made of bent aluminium plates. The idea is to pulver coat the aluminium parts after they are bended and the mount holes for the PSUs and busboards are drilled. The shape of the side wings need to be routed, as well as a thin groove that hold the aluminium panels. Still some manual work to do…

Parts for the Clicks and Clocks Eurorack Console Case
Parts for the Clicks and Clocks Eurorack console case with my self-manufactured power supplies and busboards and the double 19 inch rails.
Parts for the Clicks and Clocks Eurorack Console Case
More parts for the Clicks and Clocks Eurorack console case with my self-manufactured power supplies and busboards and busboards and the double 19 inch rails.

For the moment the side wings are planned to be made of solid multiplex wood, which you see on the picture above. I still think about buying solid walnut for the wings as it looks much better.

Next steps are the detailed drawings for the wood works and the aluminium parts. I will keep you updated. By the way, some of the PSUs and busboards are still available, just ask for the conditions.

If you want to read the full story, here are all the posts:

DIY Power supply for Polivoks Modular System

I would like to share with you how i used the Clicks&Clocks Power Supply and busboard on my DIY modular synth system.
I had somebody make a wooden cabinet, painted red with yellow CCCP letters on the back just like the russian flag used to be.
I thought that would make a nice cabinet for a Polivoks clone modular synth. I am going to base the system on The Harvest Man Polivoks VCG and VCF units.
As Power supply i chose the Clicks&Clocks since it is a cheaper alternative for the Doepfer DiY kit. I am not finished yet but early tests of the power supply show that it is pretty stable and clean. See the images and you have an idea of how i installed it all. Some little things to do still, but you get the idea.
I measured +12.00Vdc and -11.99Vdc at the power supply terminals, unloaded.
I used only one busboard yet, as i think it will be enough for this system. 14 connectors should be enough i guess. If not i can easily add another.
The CV and Gate jumpers each are now wired to a 6.5mm jack socket on the back. Through that it is then possible to stack another cabinet on top and feed the CV and Gate through, usefull for units that require CV and Gate. Just an idea, haven’t tested it yet.

Well this is my second modular i build (the first one was a Macbeth Micromac system, pics available on my facebook page) and if you have any questions or suggestions just respond to this blog. it is always appreciated.
until the next time


Richard

DIY Eurorack: Power Supply and Busboards

Here are some pictures of the Clicks and Clocks Eurorack power supply (PSU) and the busboards. – Deutsche Version

The project was started to build my very own Eurorack case. It was clear that I will have some superfluous boards which I could sell. Who ever is interested in pricing and other modalities, please contact me. Some more details about the PSU.

ClicksClocks – PSU Power Supply 1
ClicksClocks – PSU Power Supply 2
ClicksClocks – PSU Power Supply Bottom Side
ClicksClocks – Busboards
ClicksClocks – Busboard 5V Option
ClicksClocks Bundle – 2 Busboards and 1 PSU

TECHNICAL DISCLAIMER: Please be aware that the power supply carries mains voltage (115 or 230 V AC). According to the safety rules the installation has to be done by qualified personnel only. Please keep that in mind: Danger to Life!
This is a private blog, and it is about sharing experiences. No warranty at all.

DIY Eurorack: The Bus Board PCBs arrived – die Busplatinen sind da

Finally the bus boards for my Eurorack case arrived. Multi CB delivered after less than two weeks, although three weeks was expected. All parts fit perfectly. – Endlich sind die Eurorack Busplatinen eingetroffen. Multi CB hat nach weniger als zwei Wochen geliefert, auch wenn 3 Wochen angekündigt waren. Alle Teile passen perfekt.

I will spend the next days with soldering the bus board. It is some work to do as each board has 14×16 pin connectors. I plan to sell the superfluous boards as well as I will do with the PSUs.

Die nächsten Tage werde ich damit verbringen die Busboards zu löten. Es ist schon ein bisschen Arbeit, da jedes Board 14 Stiftleisten mit je 16 Kontakten enthält.

Here are some impressions from soldering the first board – Hier sind einige Impressionen vom Löten des ersten Boards.

Clicks and Clocks Busboards parts
ClicksClocks Eurorack Bus Boards arrived
The Clicks & Clocks Eurorack Bus Boards arrived
Clicks & Clocks Eurorack Bus Boards soldering – step #1
Clicks & Clocks Eurorack Bus Boards soldering - step #2
Clicks & Clocks Eurorack Bus Boards soldering – step #2
Clicks & Clocks Eurorack Bus Boards
The Clicks & Clocks Eurorack Bus Boards