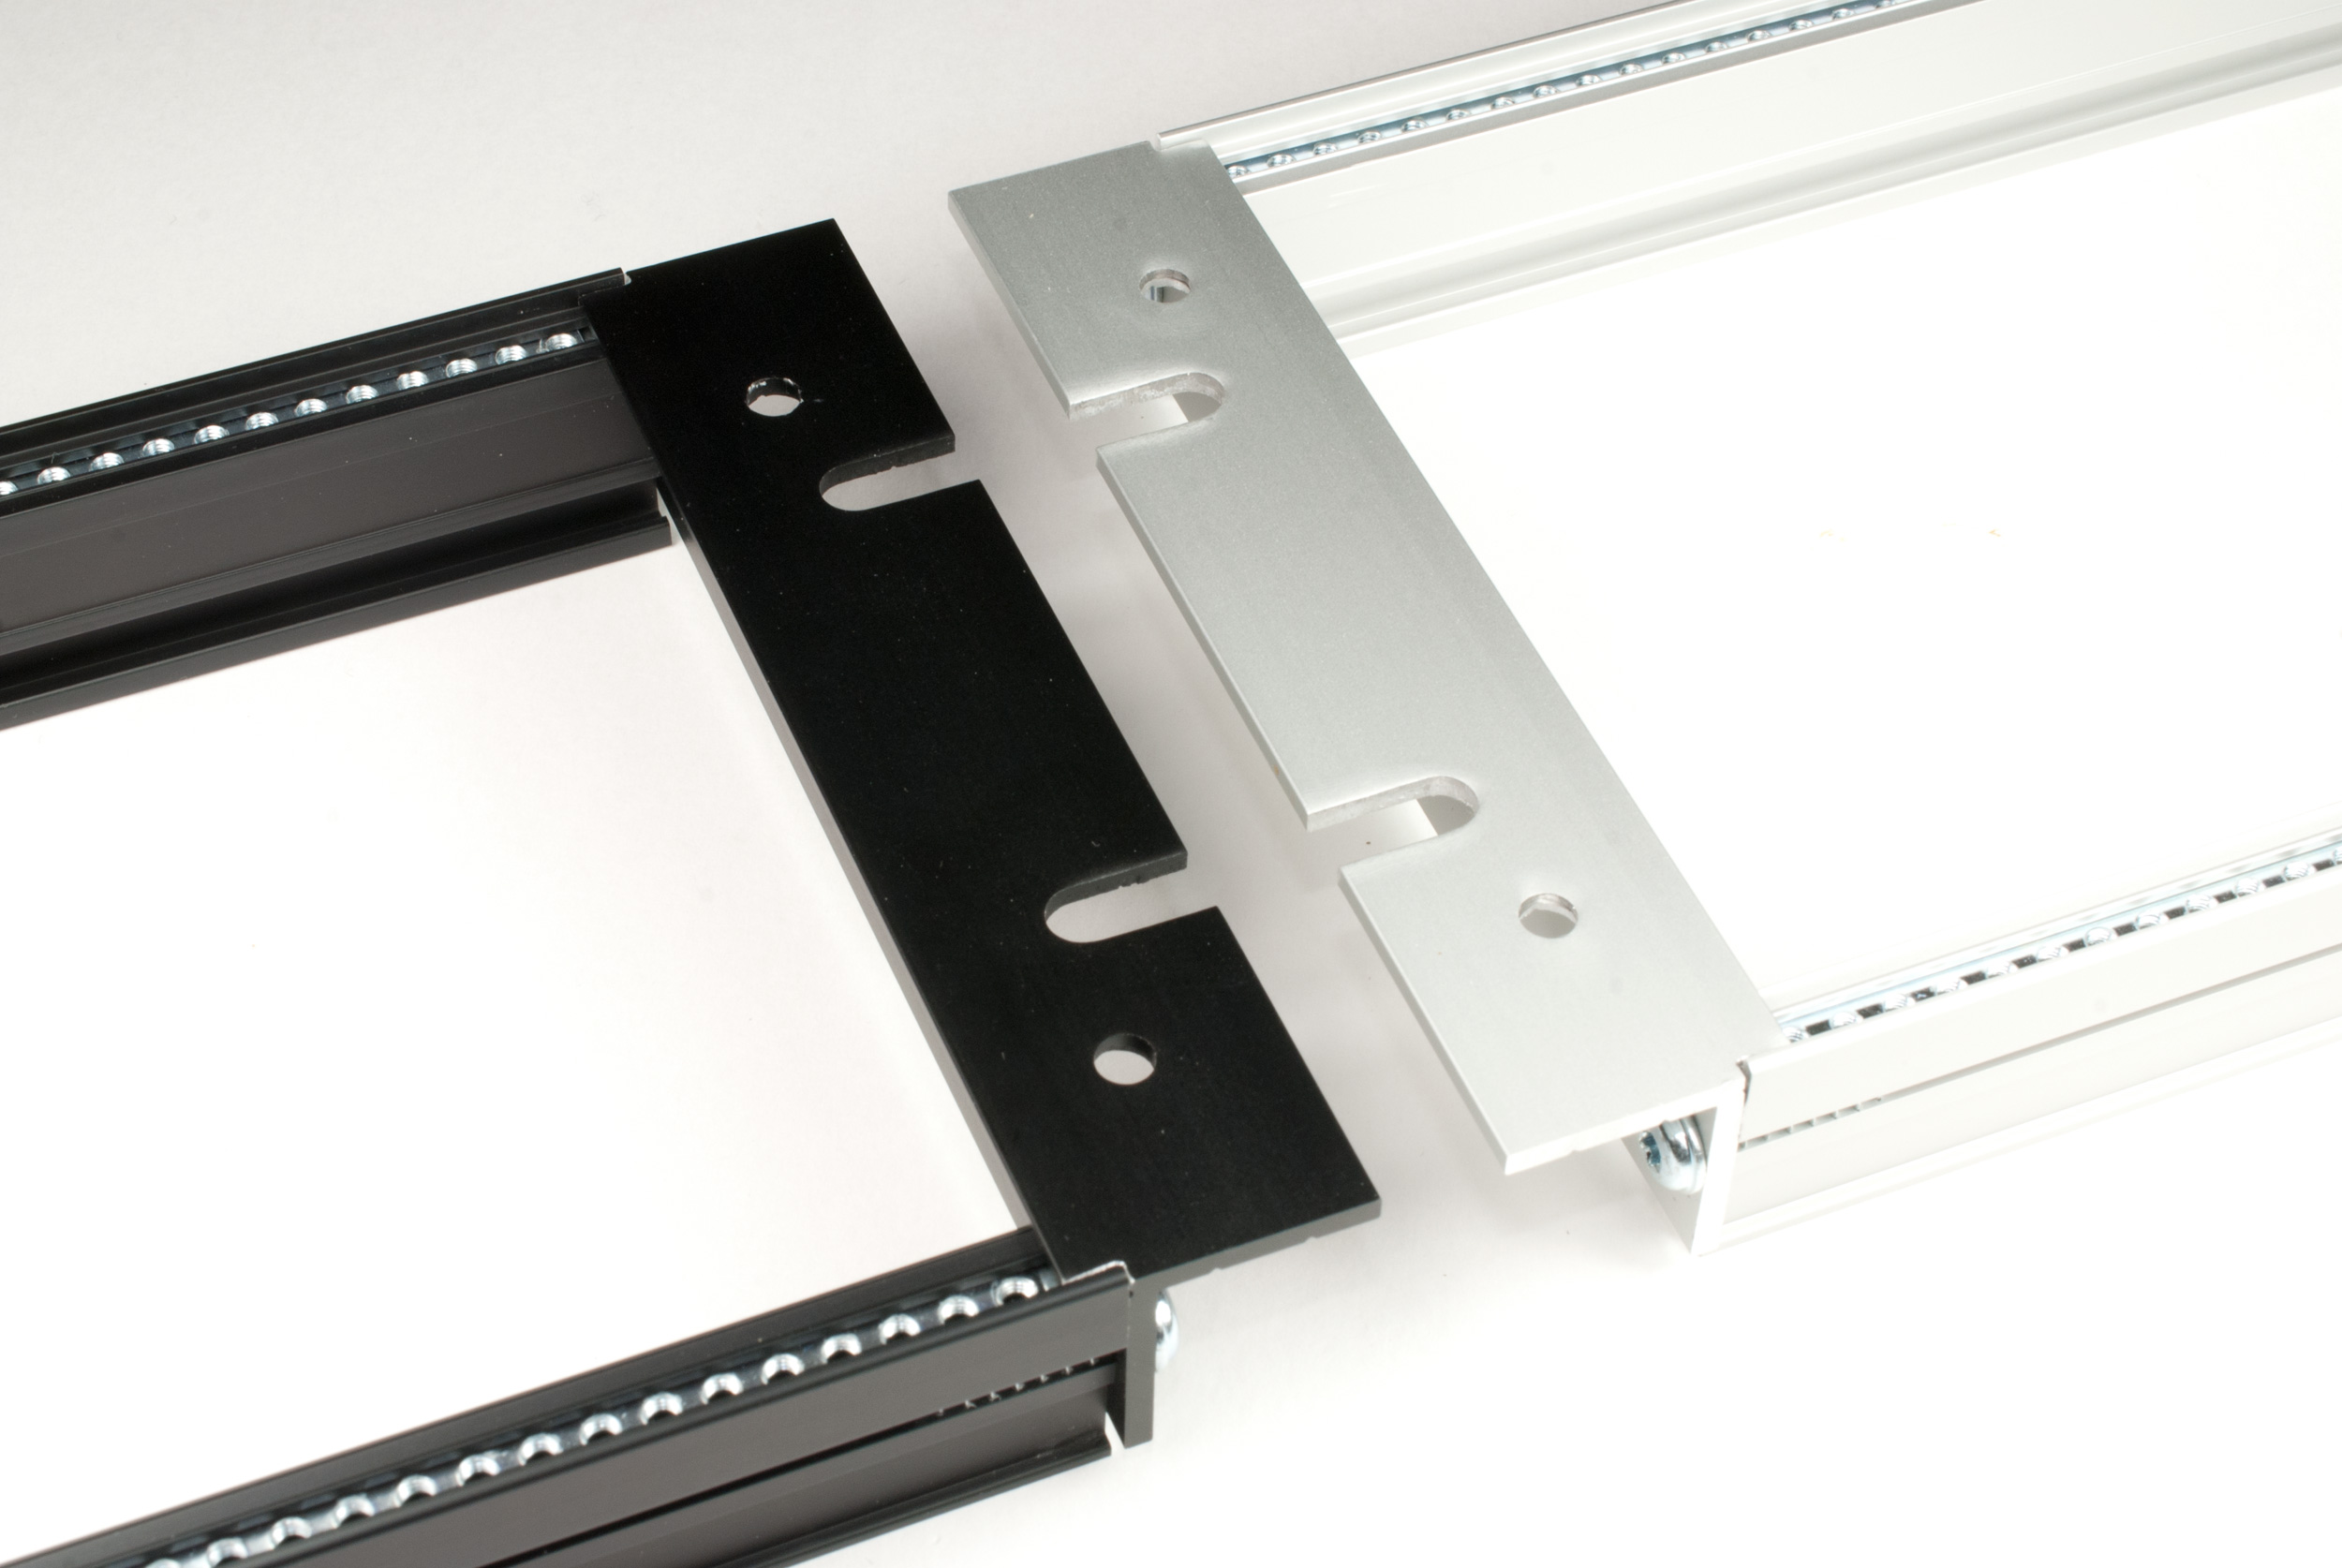
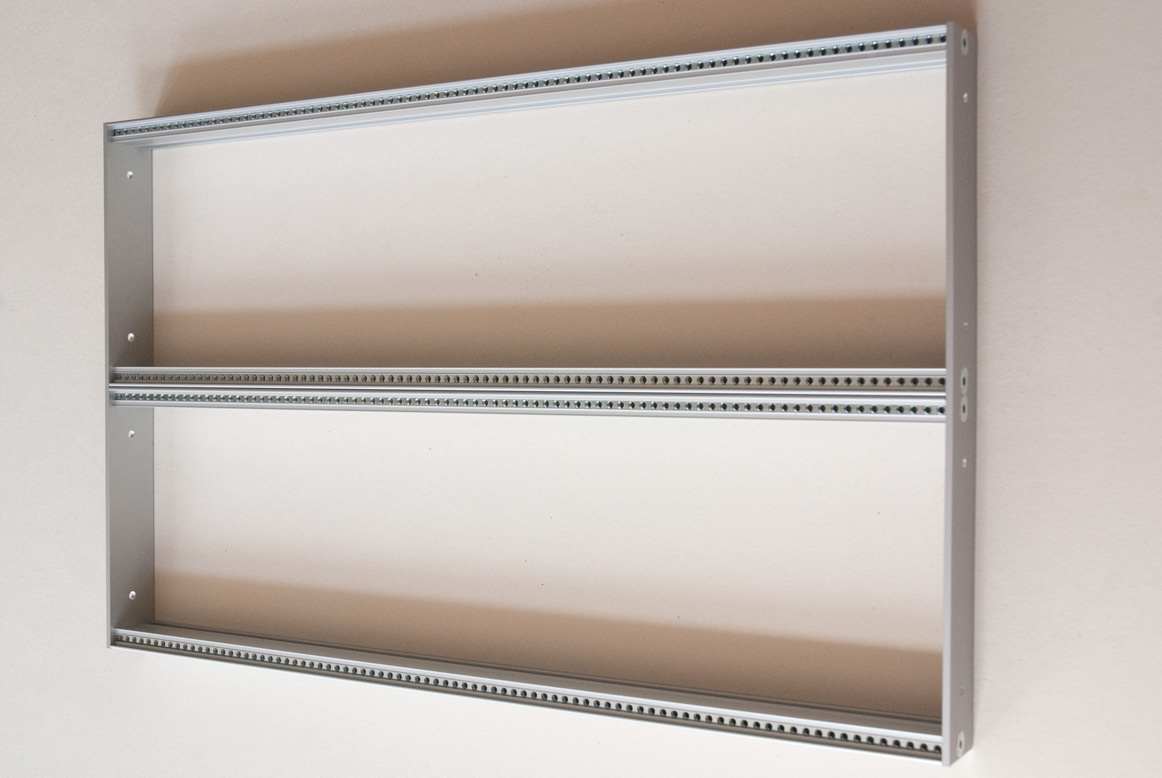
The frames can be taylored to your needs. The picture shows 168HP frames (860 x 133 x 30 mm) with threaded inserts and 110HP frames (568 x 133 x 30 mm) with sliding nuts. Probably I can offer the frames in black soon.
If you need parts for your own case, just contact me via email and ask for the latest price list 3U frames 168HP and 110HP
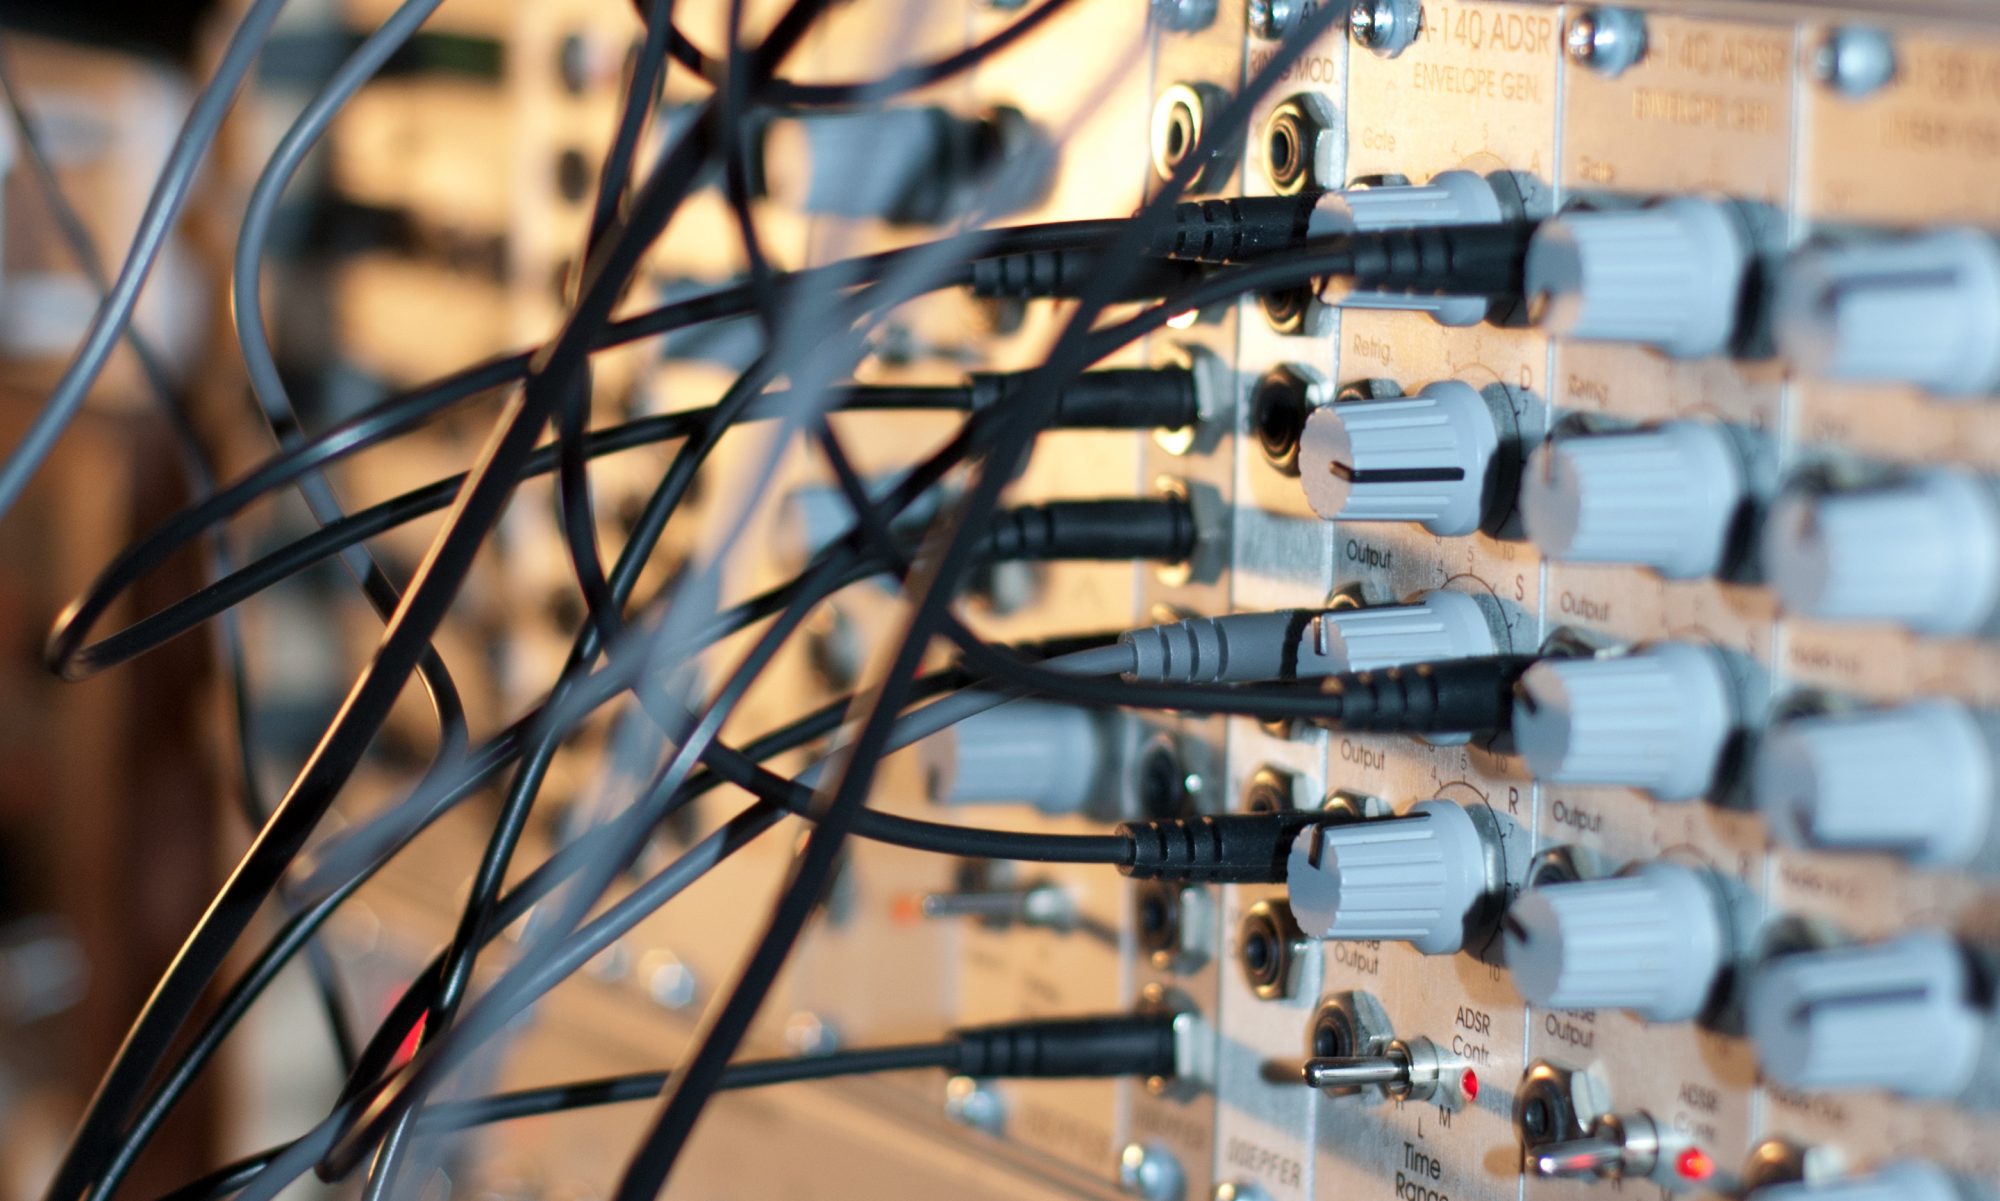
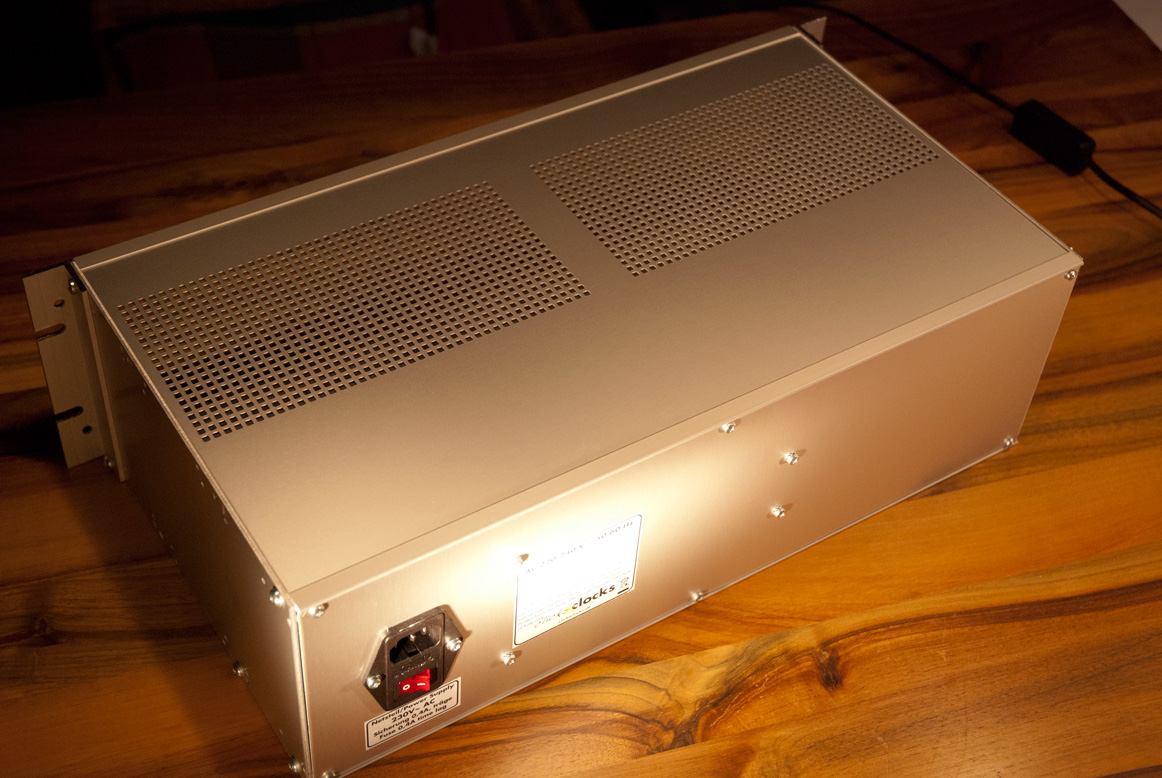
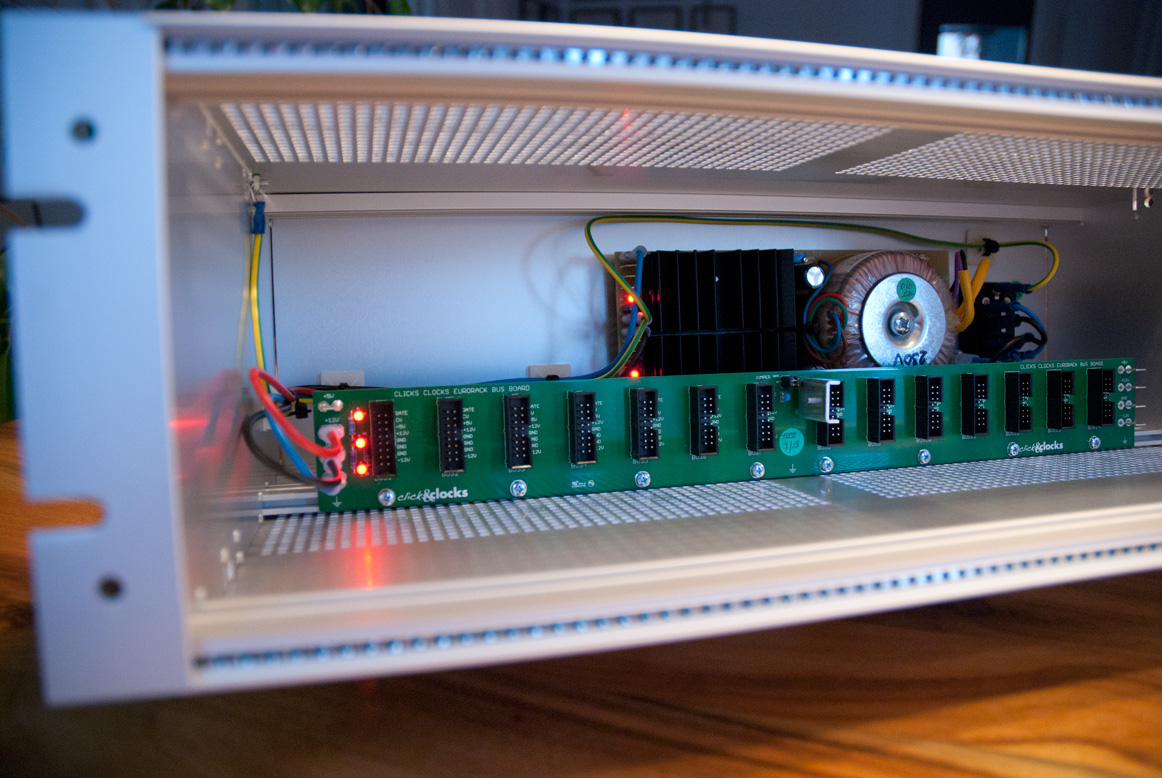
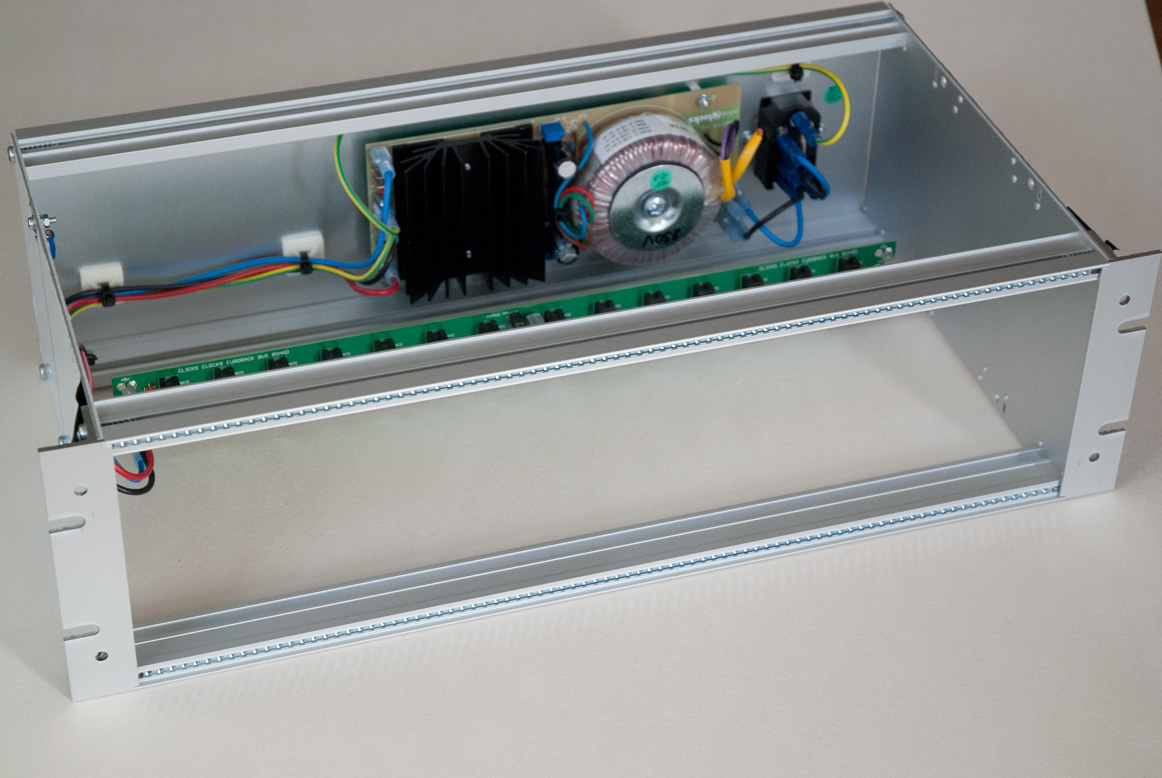
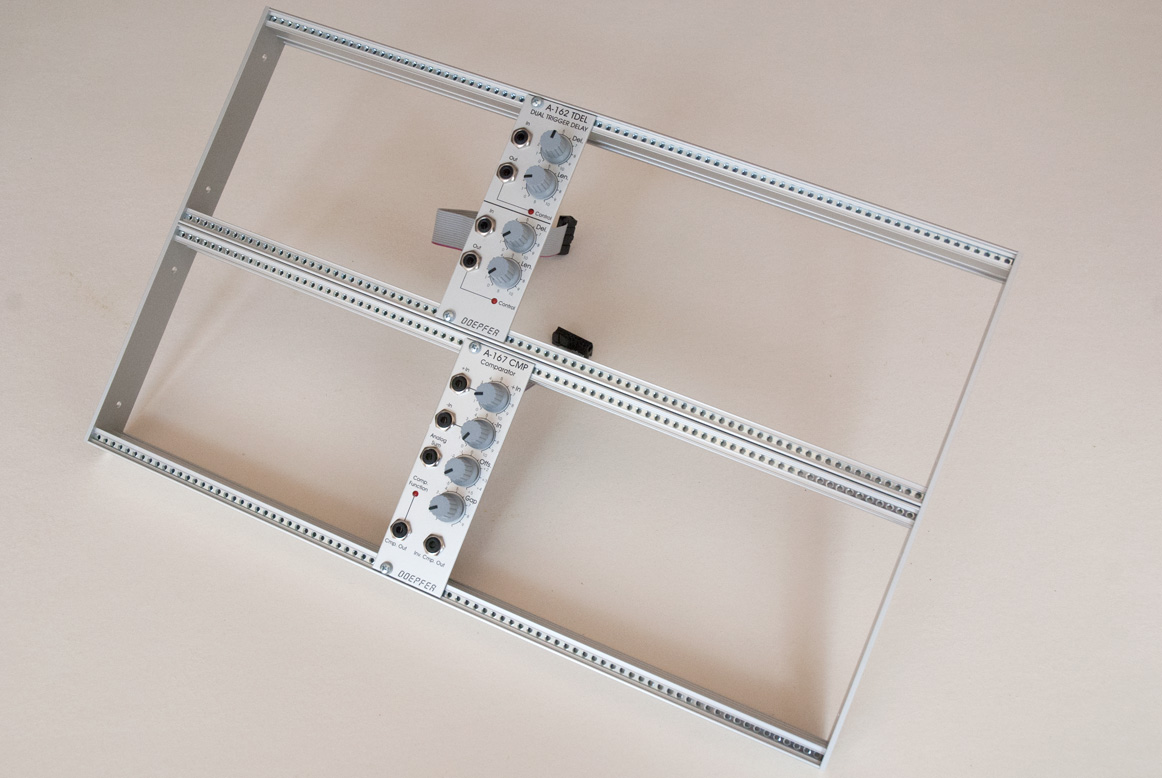
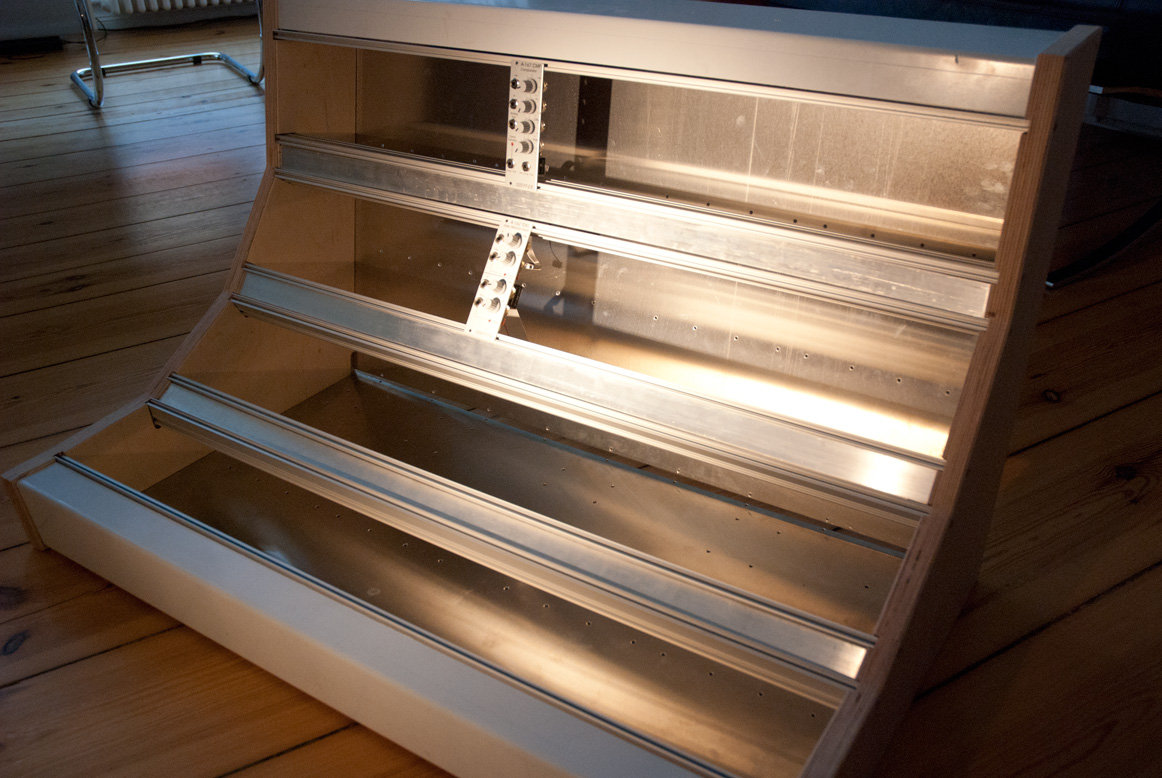
Just a few impressions on the latest case I build on a clients request.
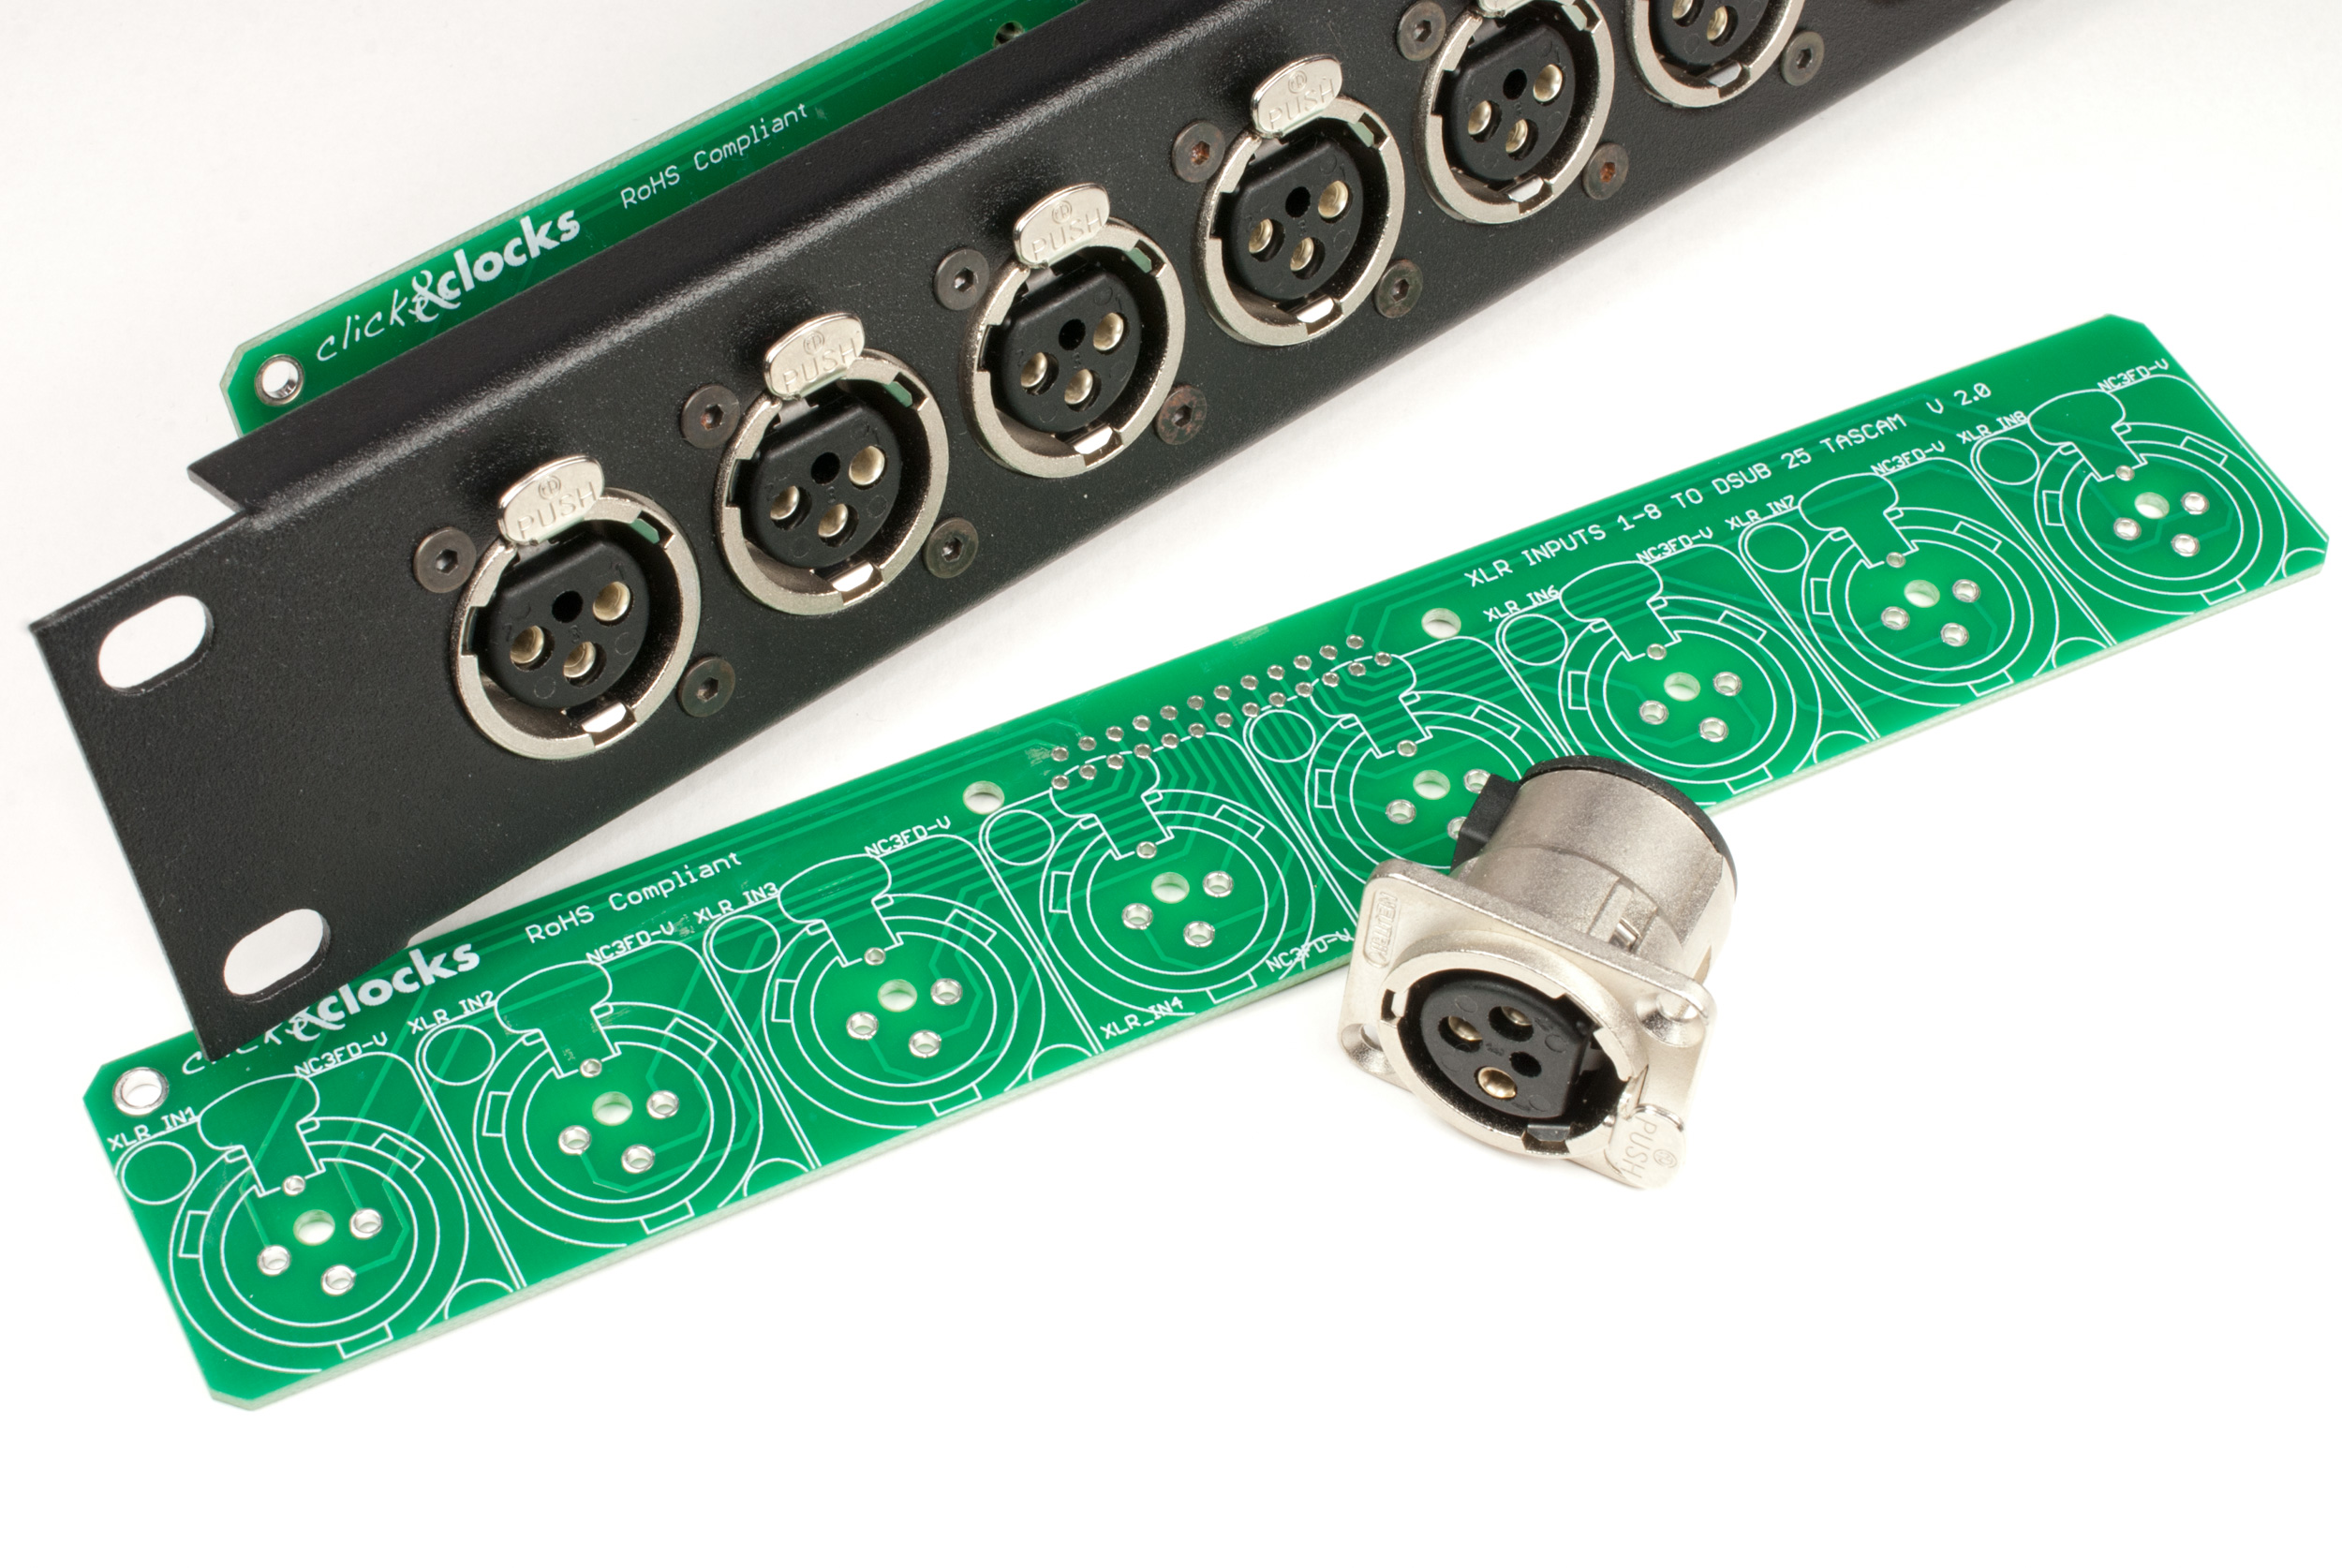
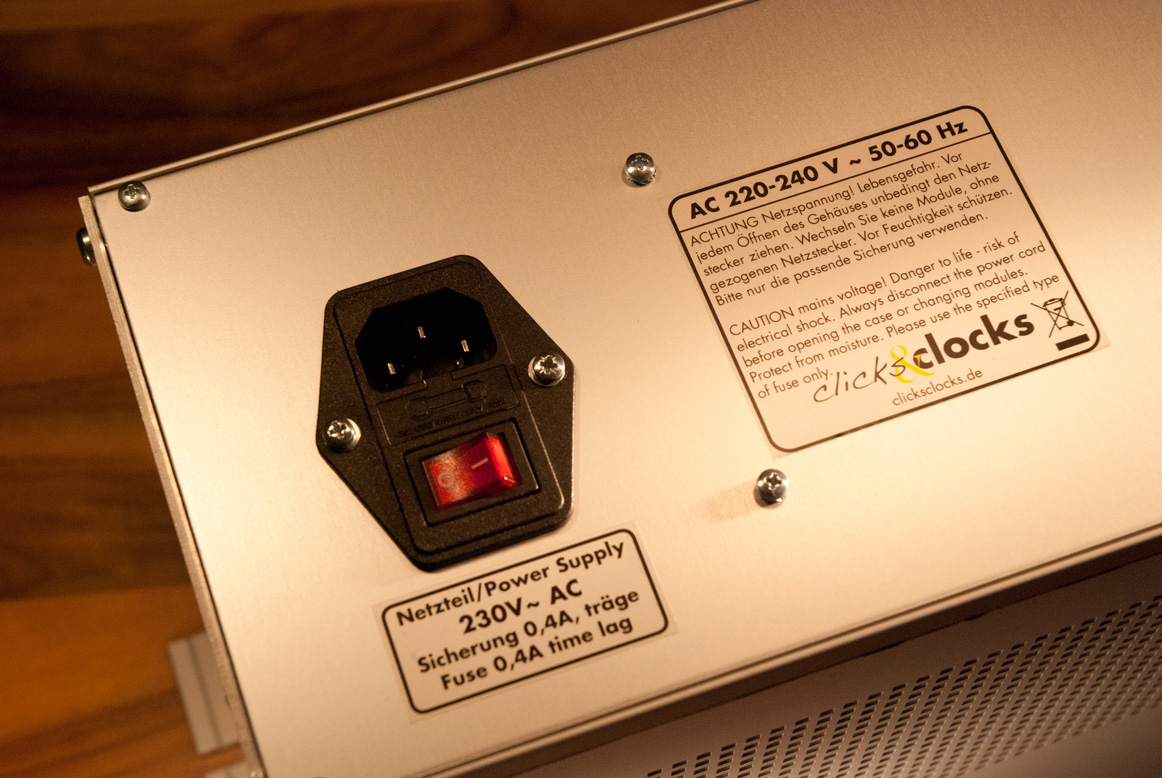
Equipped with the Clicks and Clocks power supply and busboard with +5V option.
If you need parts for your own case, just contact me via email and ask for the latest price list
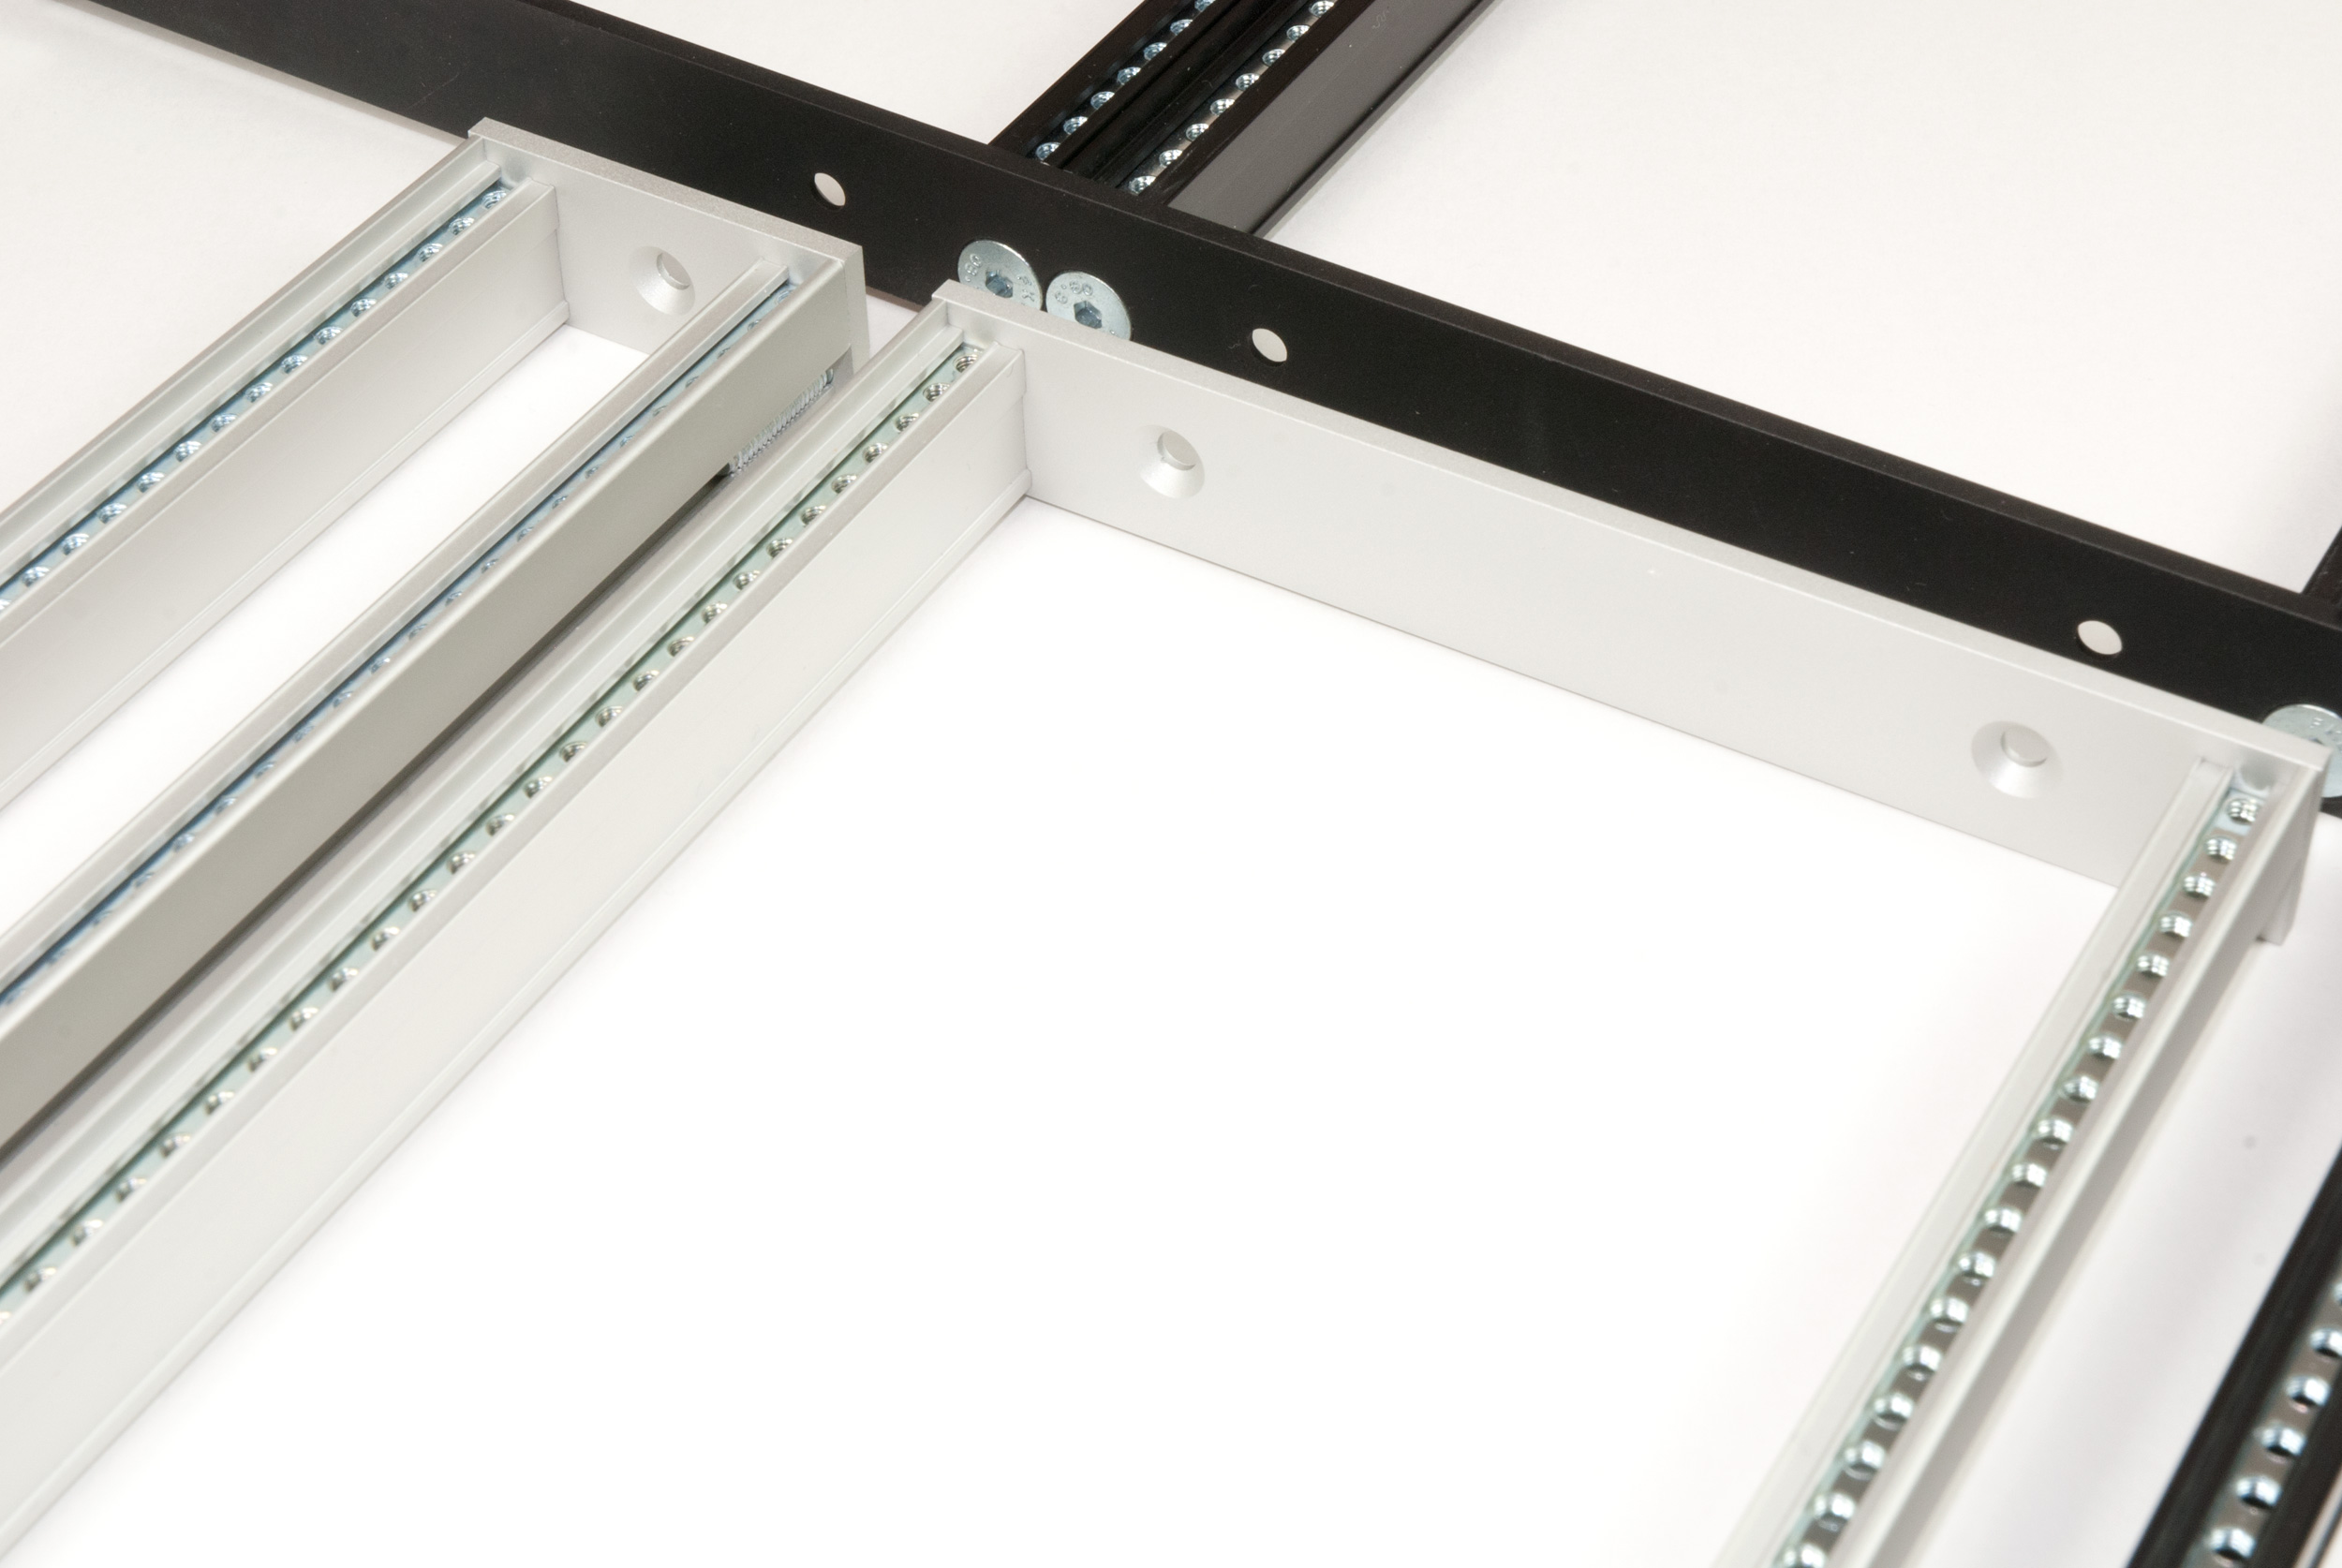
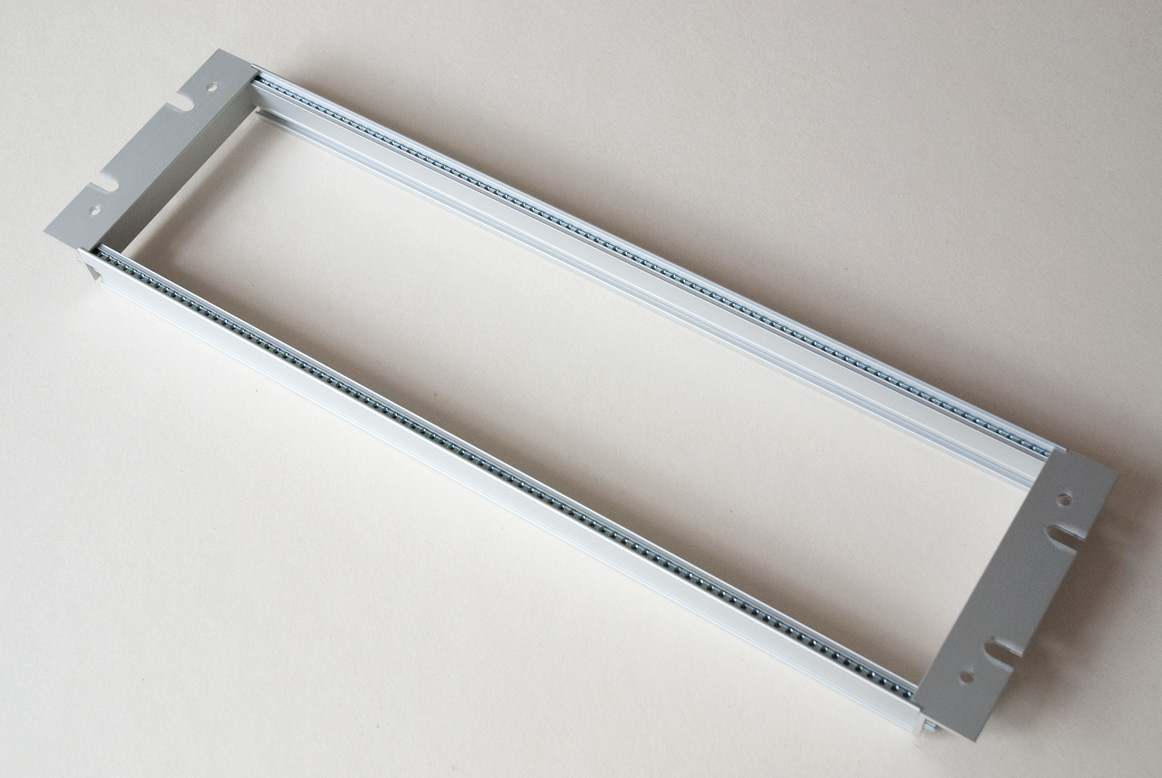
It took some time, but now the side panels in 3U and 6U size where delivered. I assembled some example frames. I will sell them completely assembled in the standard width 19 inch or 84HP, but any width is possible on request. If you want to know the pricing, please contact me.
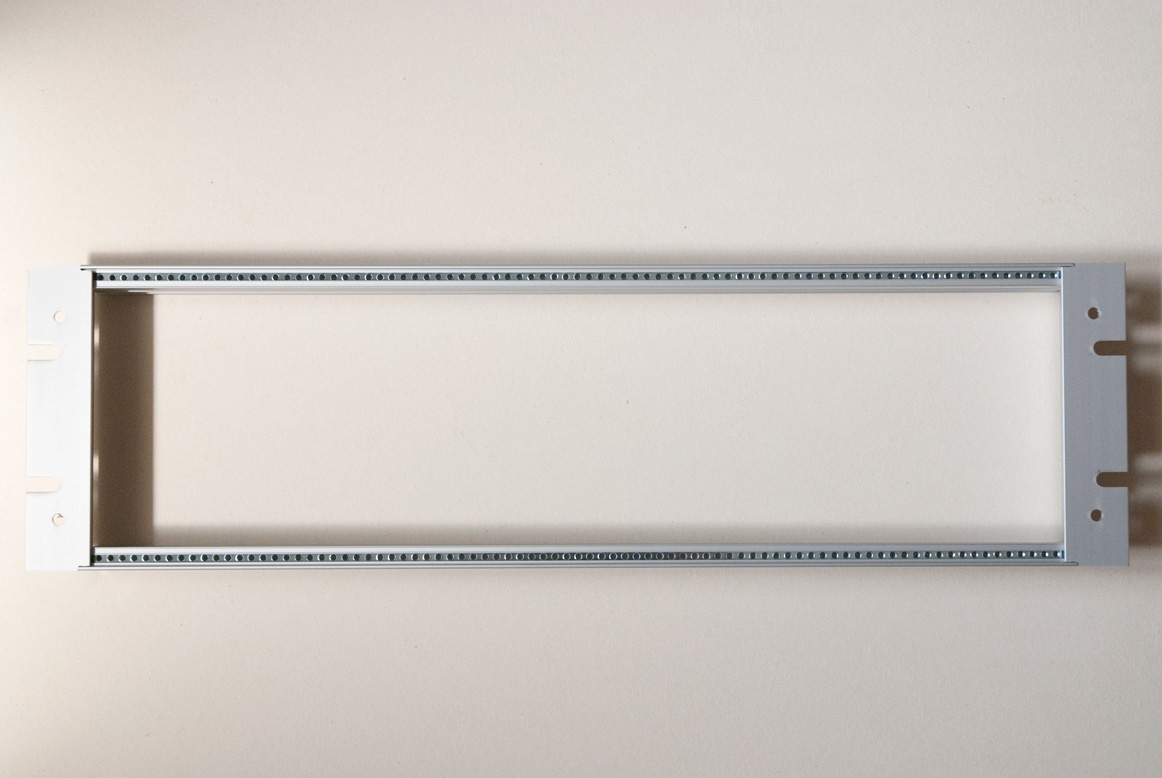
19 inch 3U Frame
This frame gives you 84HP usable width and can easily be mounted in a 19 inch case.
2 Rails
2 Threaded inserts/strips
2 Rack ears, 3U
4 screws
Fully assembled, ready to use. Other width possible, also without threaded inserts. Eurorack 19 inch 3U frame – top view
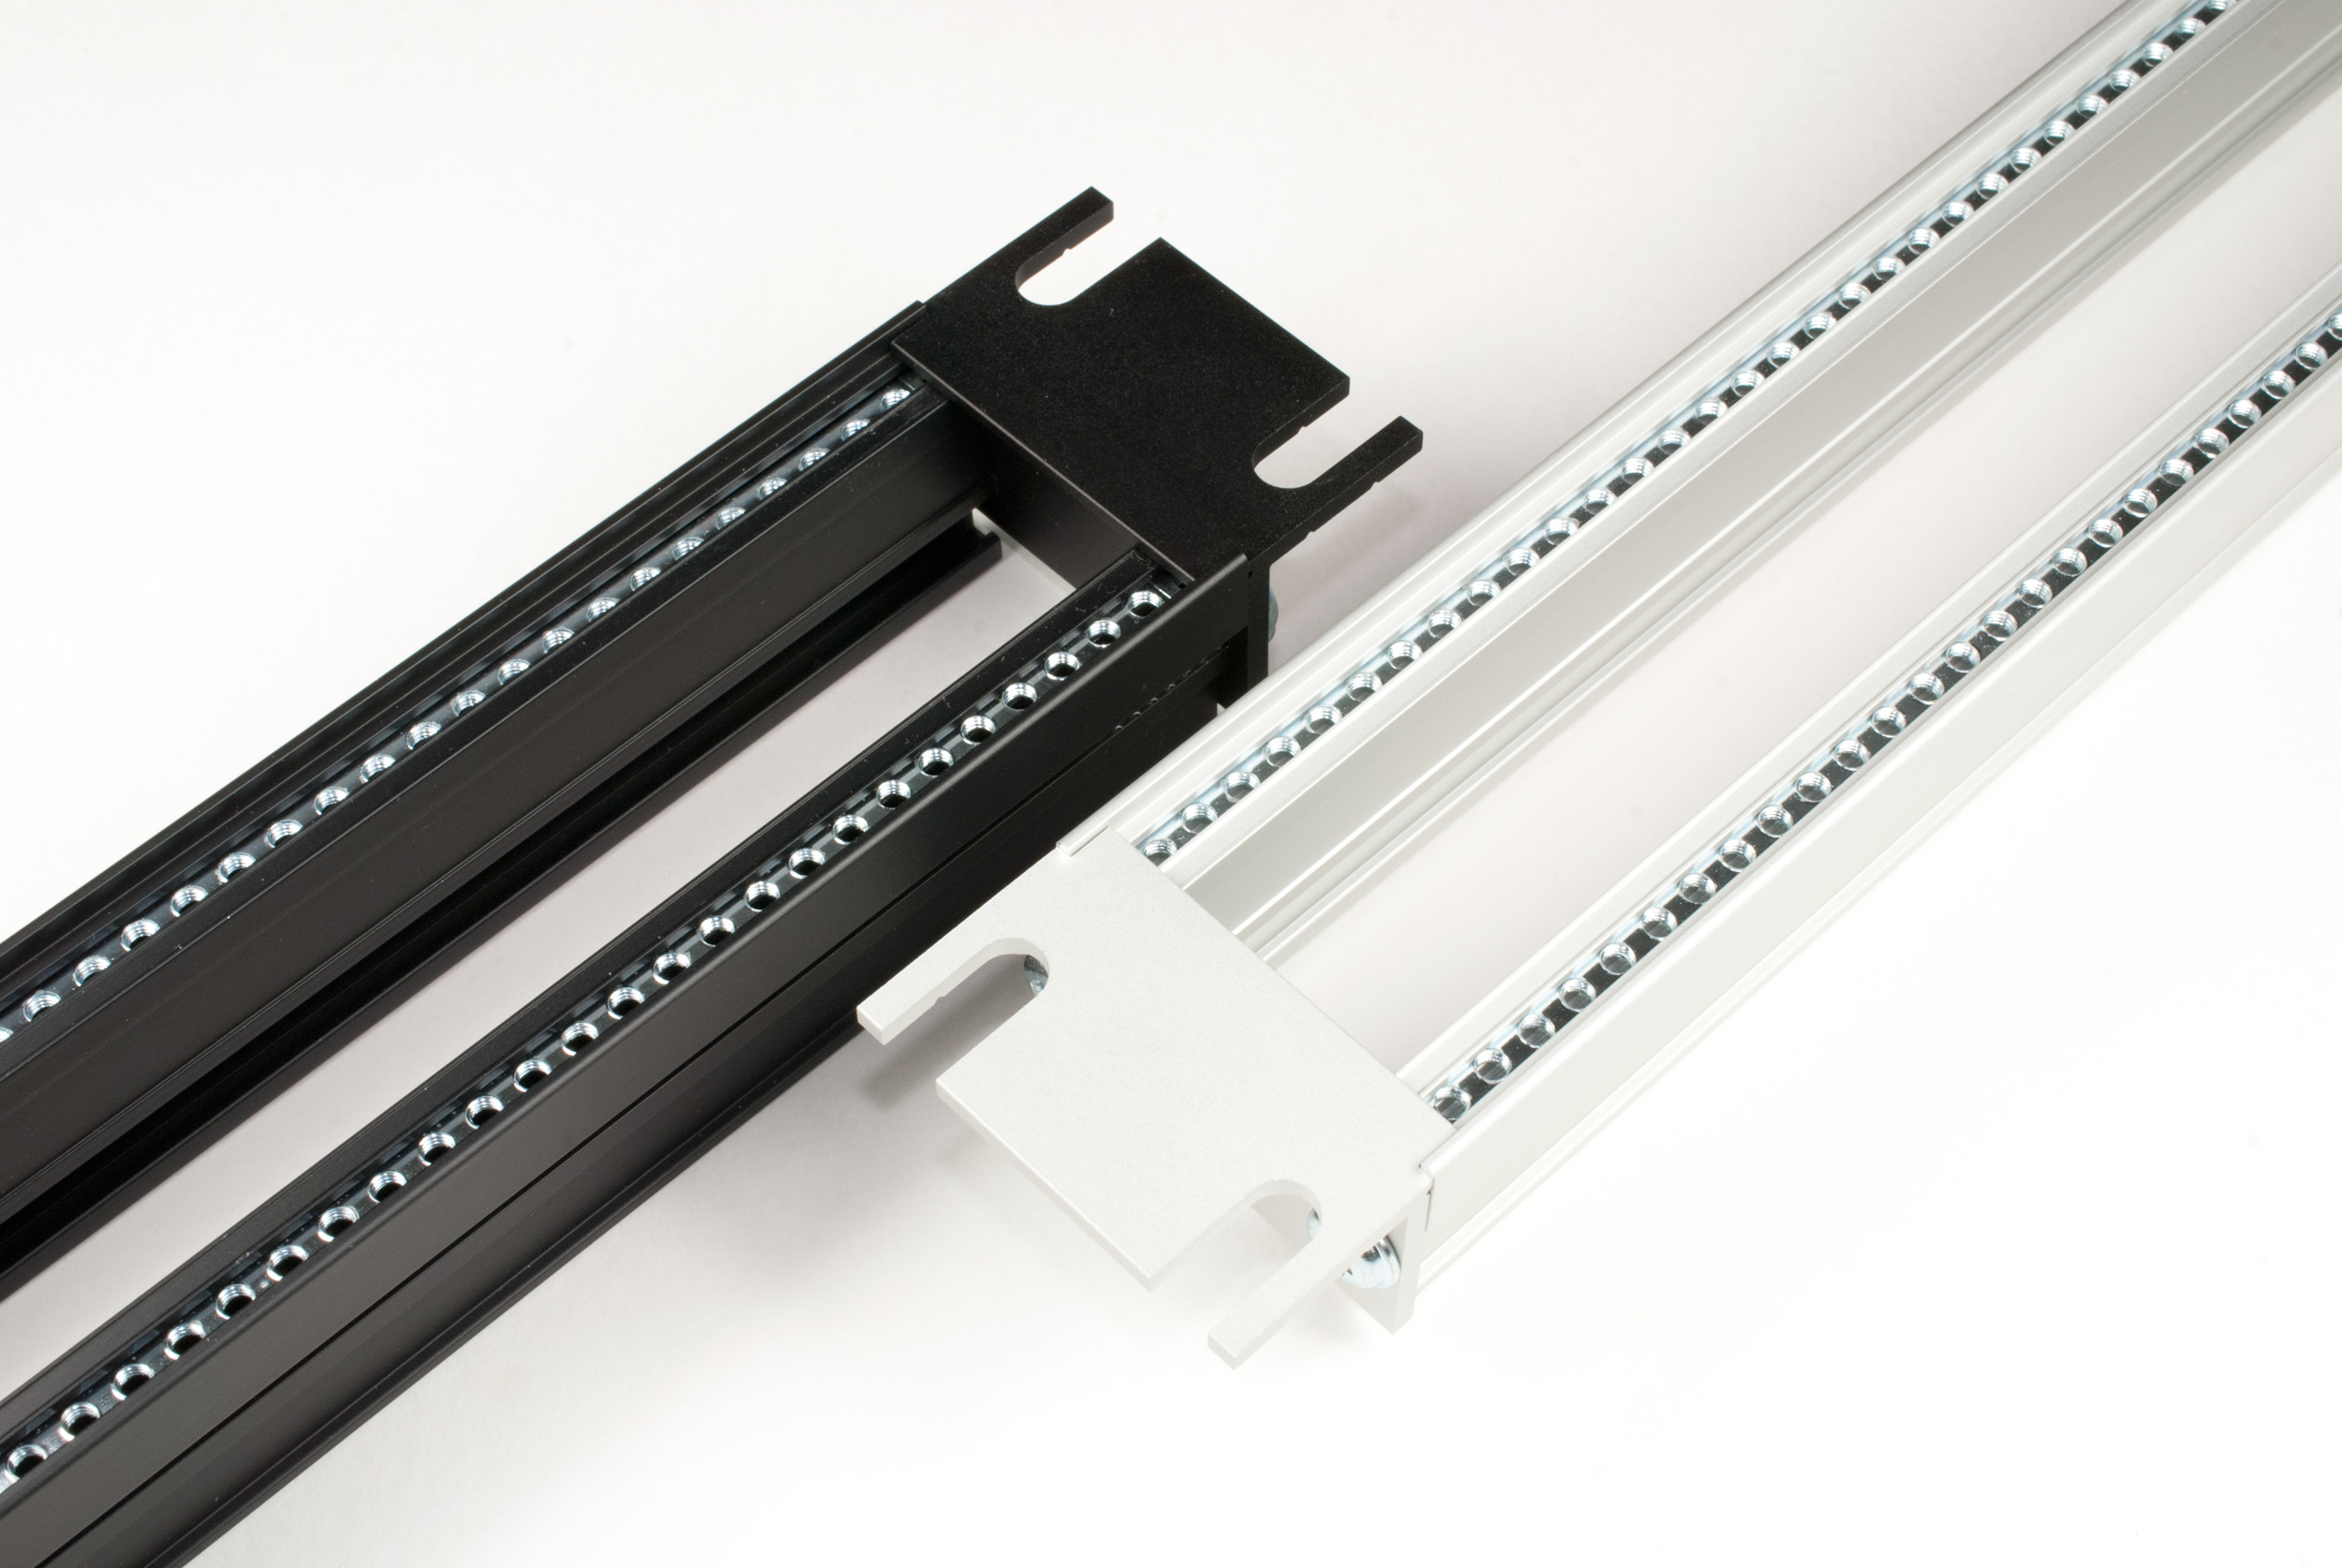
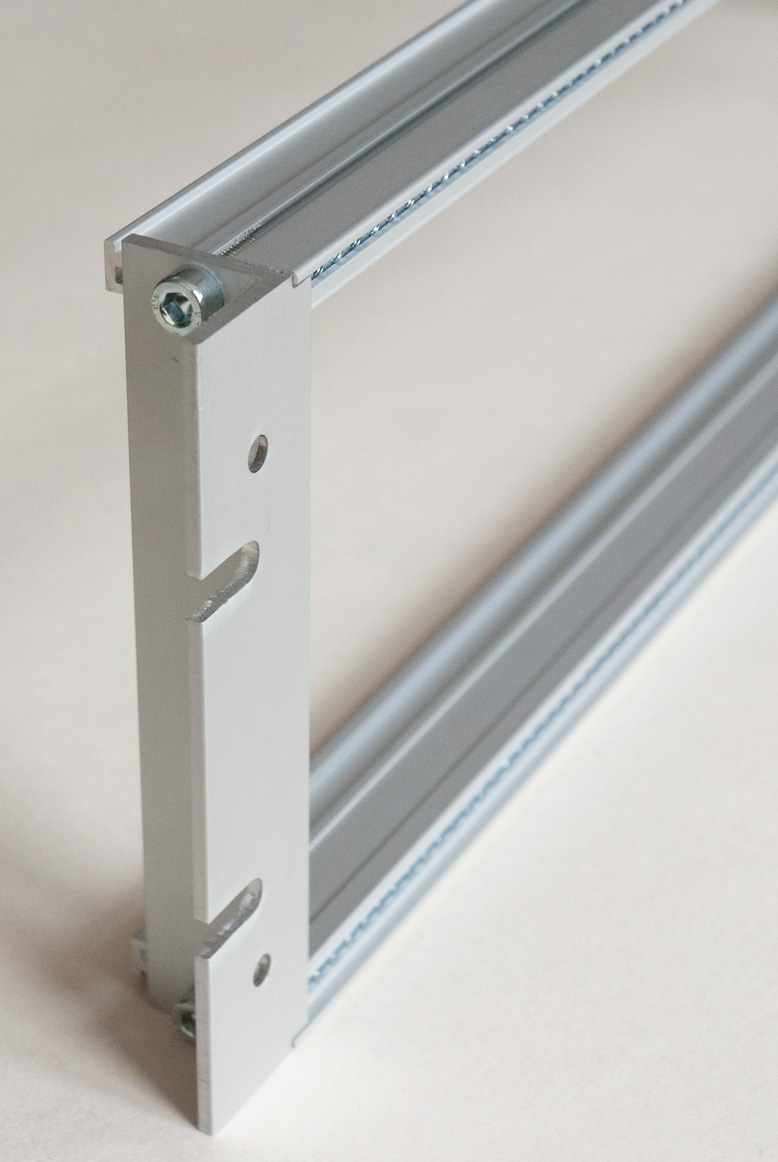
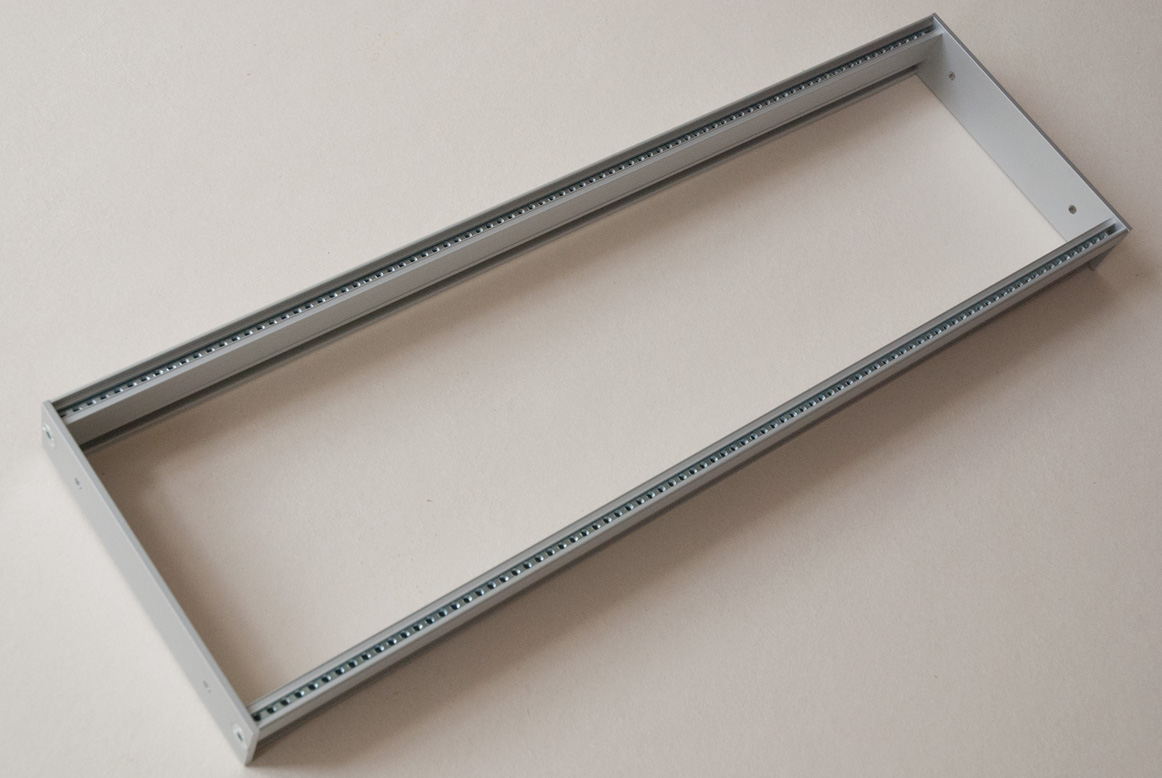
3U Frame
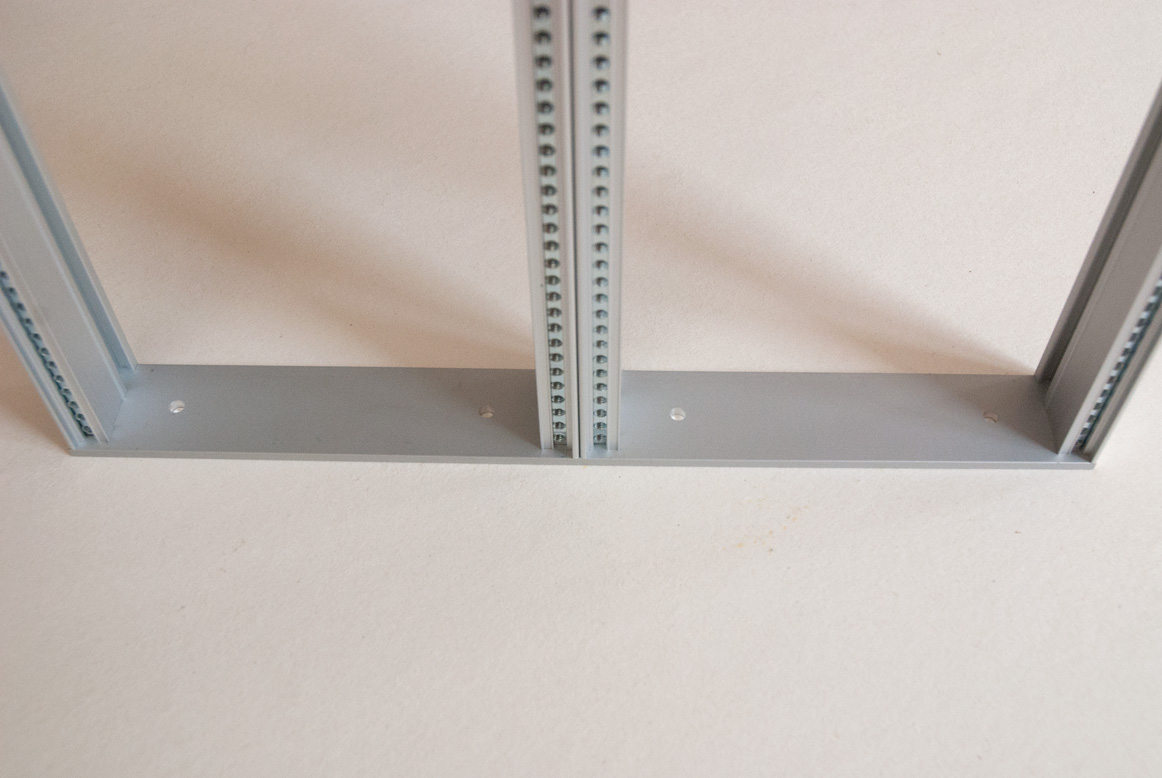
Another 3U frame, but without rack ears. The usable width is also 84HP. The frame has an outer width of 433 mm and a height of 133 mm and can easily be screwed in your case.
2 Rails, 84HP, 427 mm
2 Threaded inserts/strips
2 Side panels, 3U
4 screws
Fully assembled, ready to use. Other width possible, also without threaded inserts. Eurorack 3U frame – total view
6U Frame
And finally the 6U frame. Same configuration as the 3U frame but double height (266 mm).
4 Rails, 84HP, 427mm
4 Threaded inserts/strips
2 Side panels, 6U
8 screws
Fully assembled, ready to use. Other width possible, also without threaded inserts. Eurorack 6U frame top view
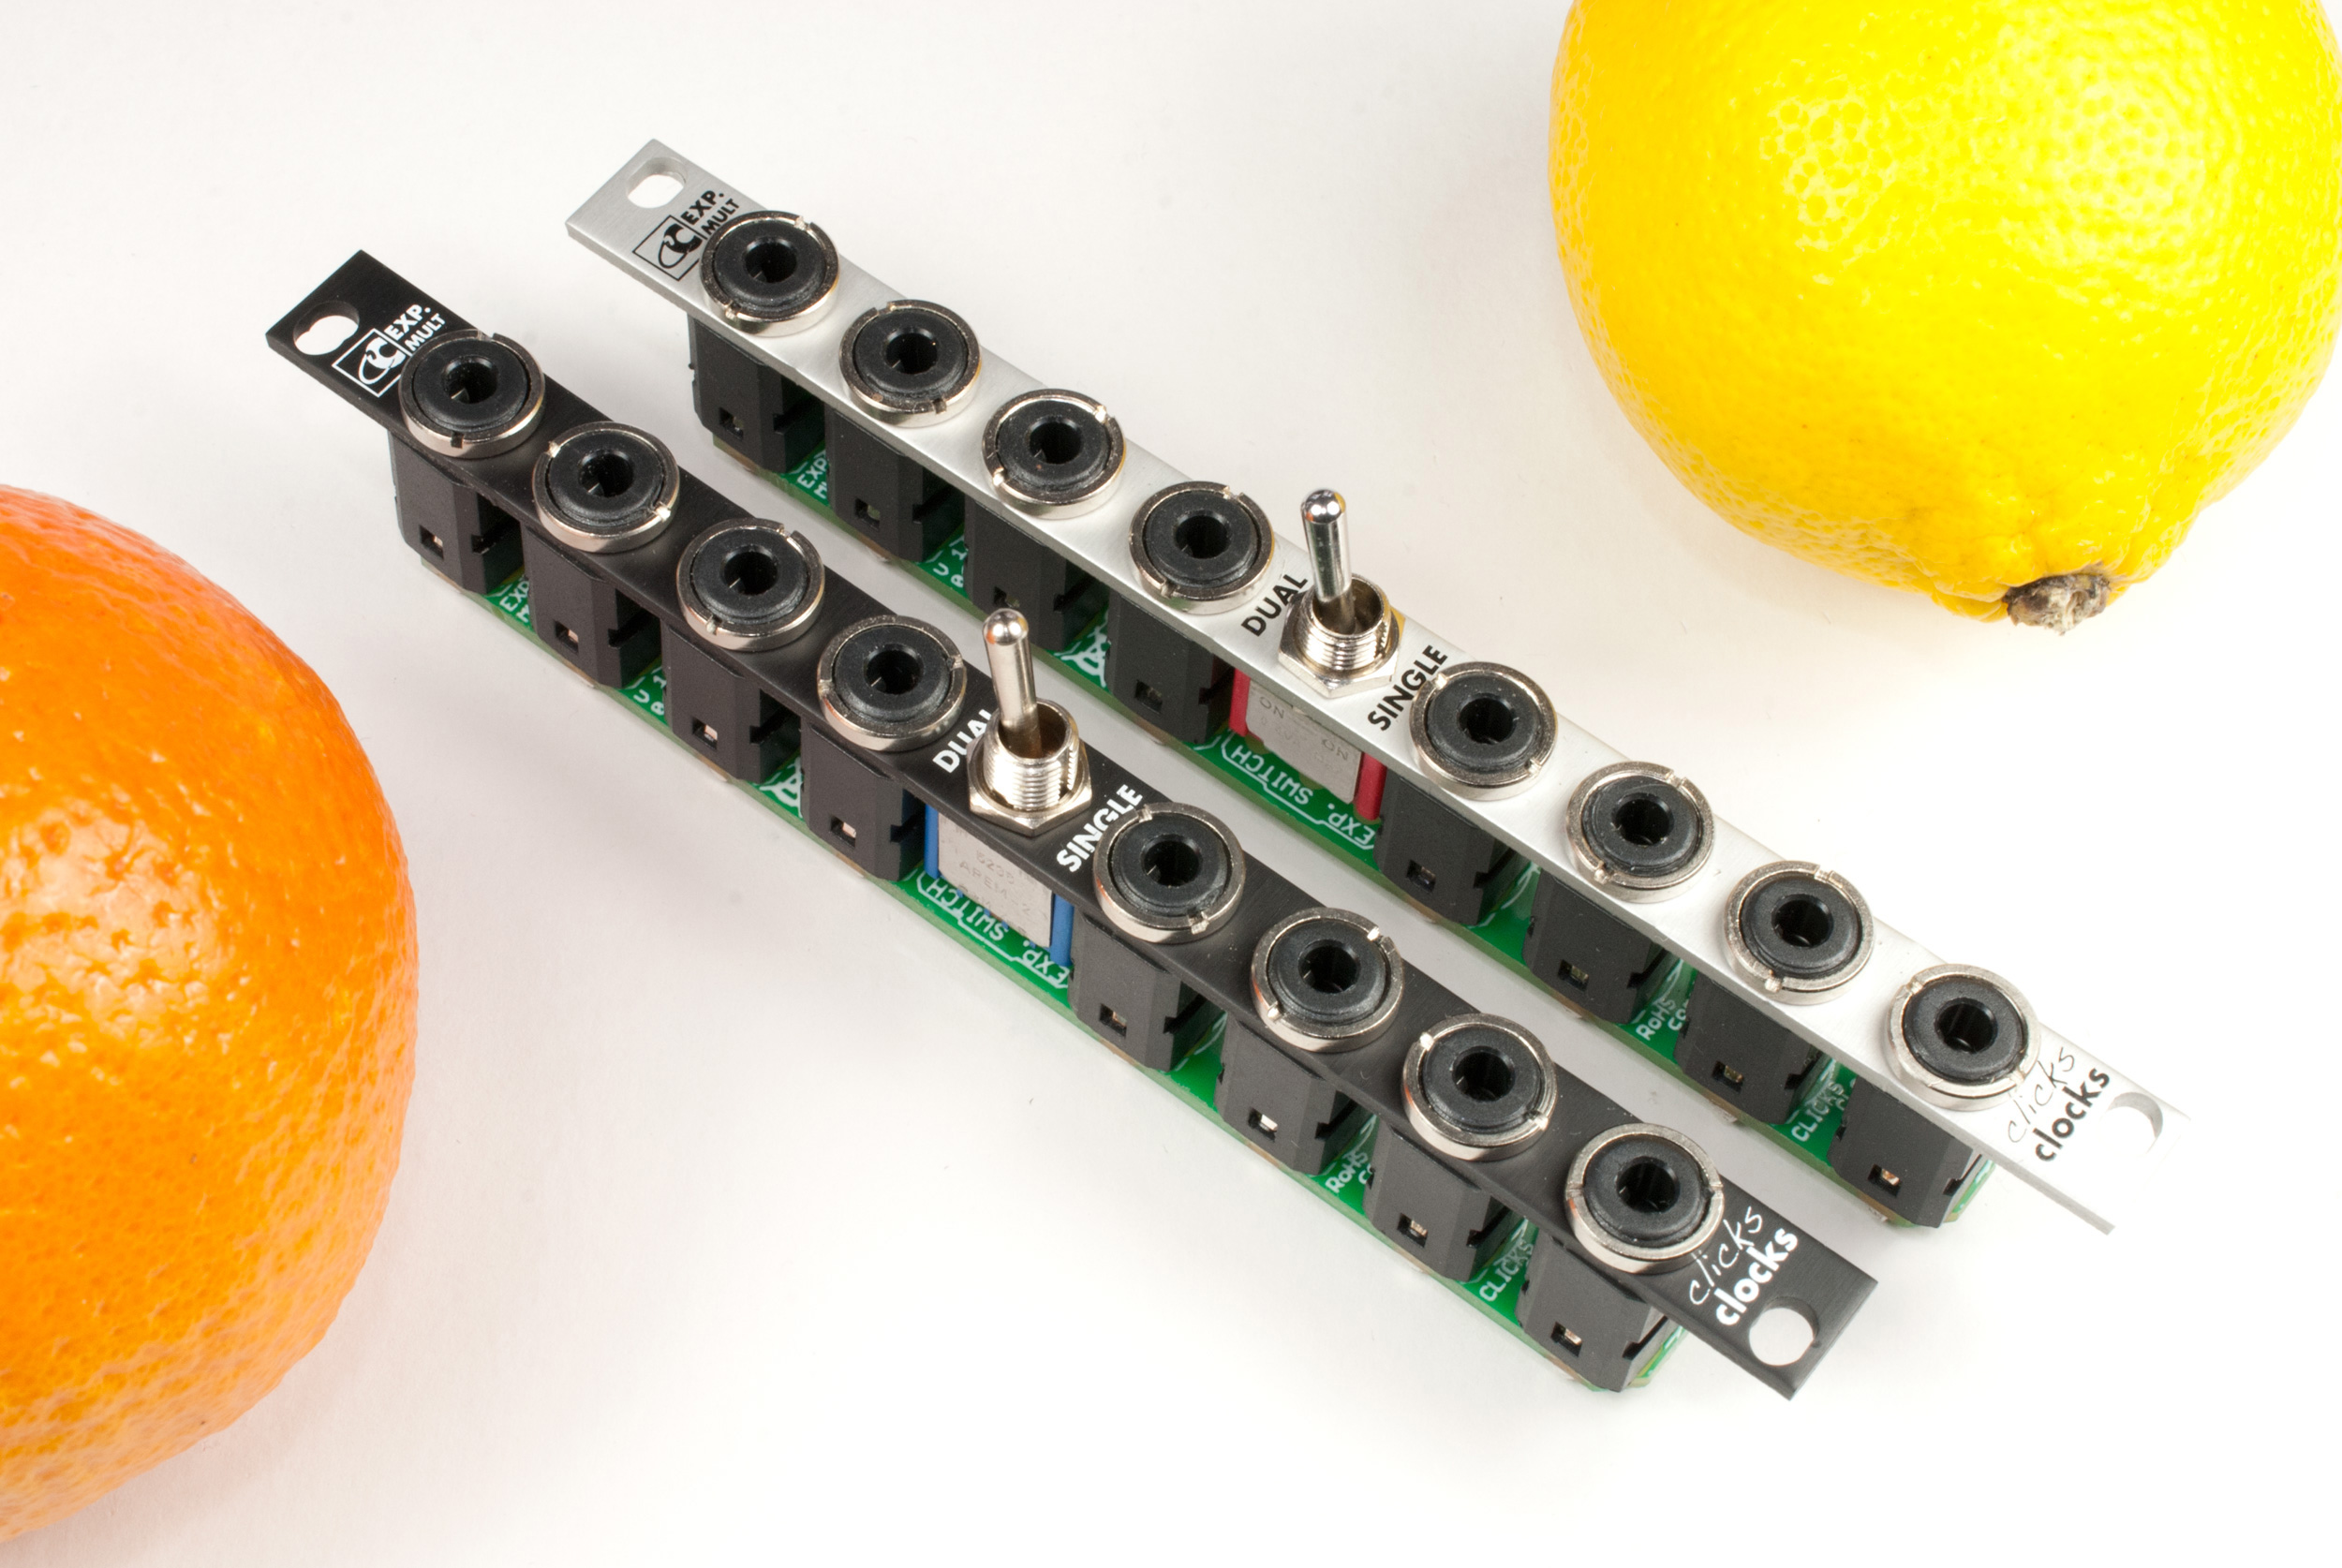
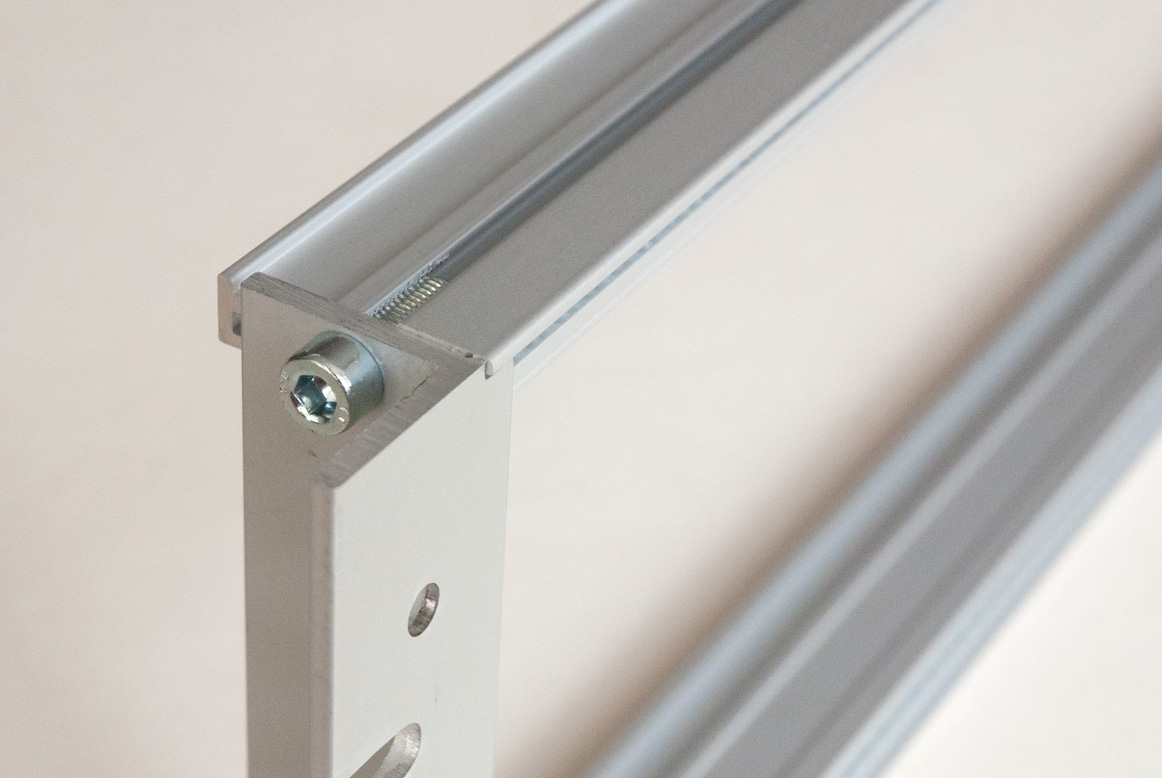
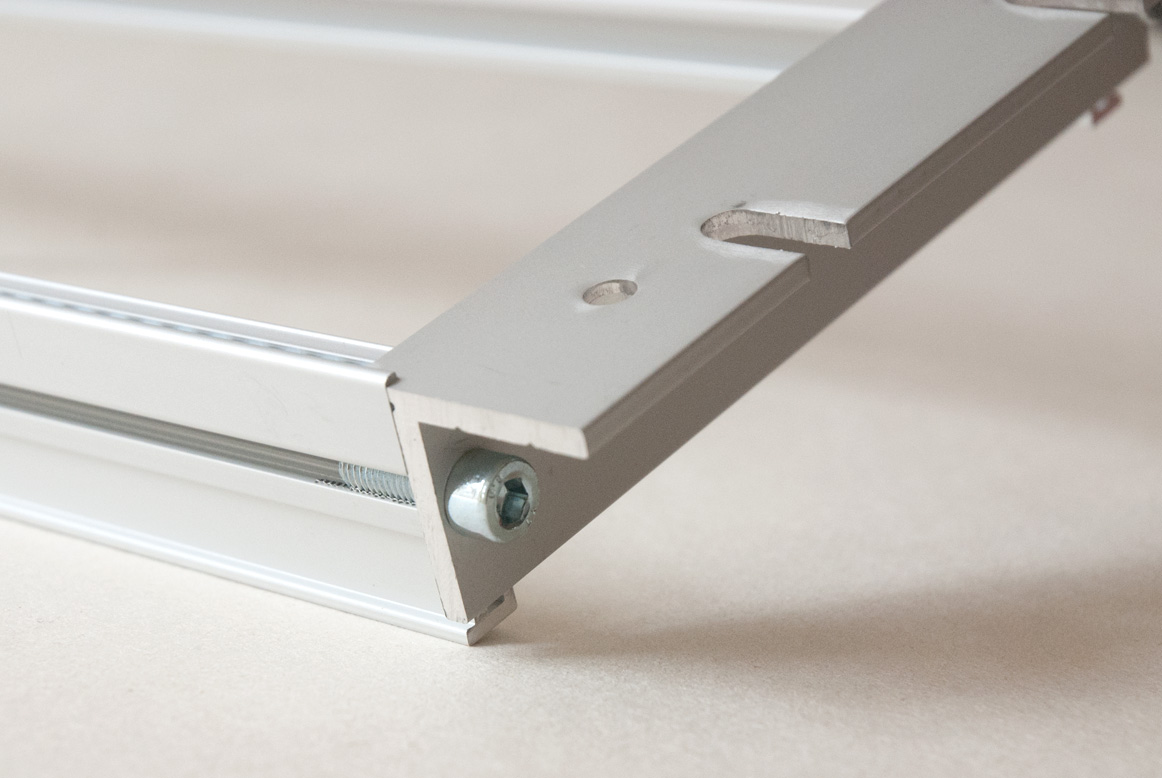
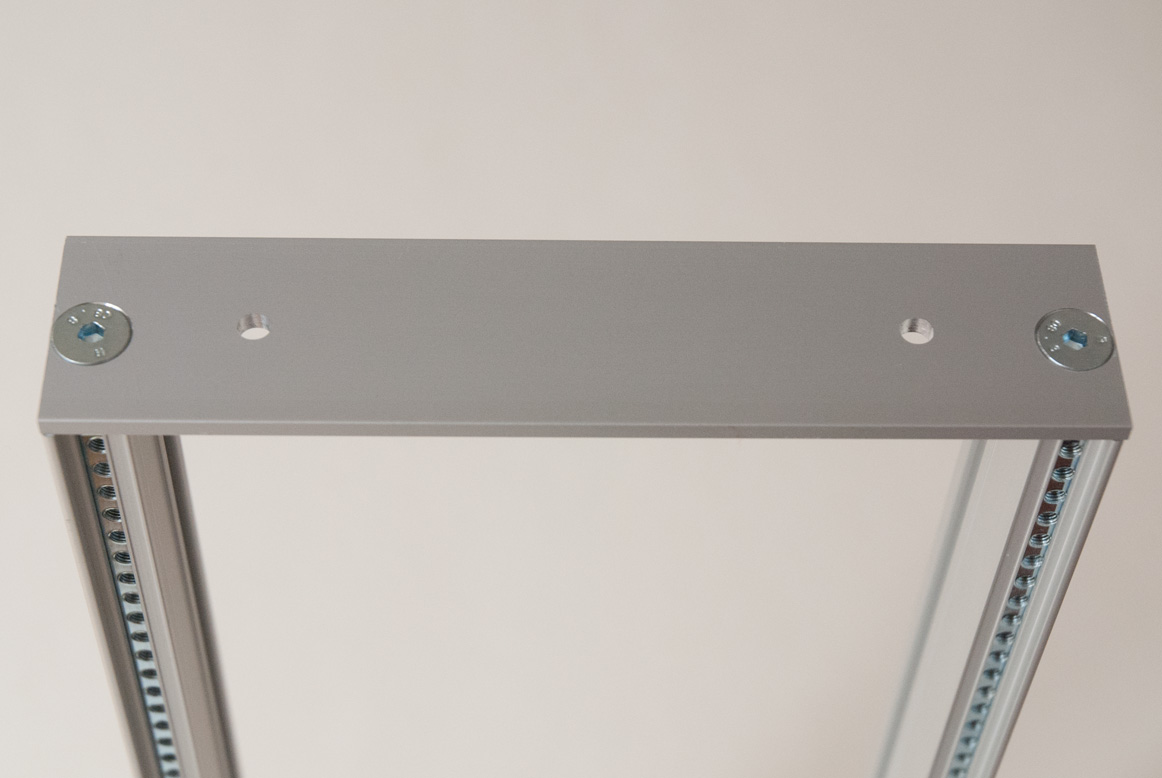
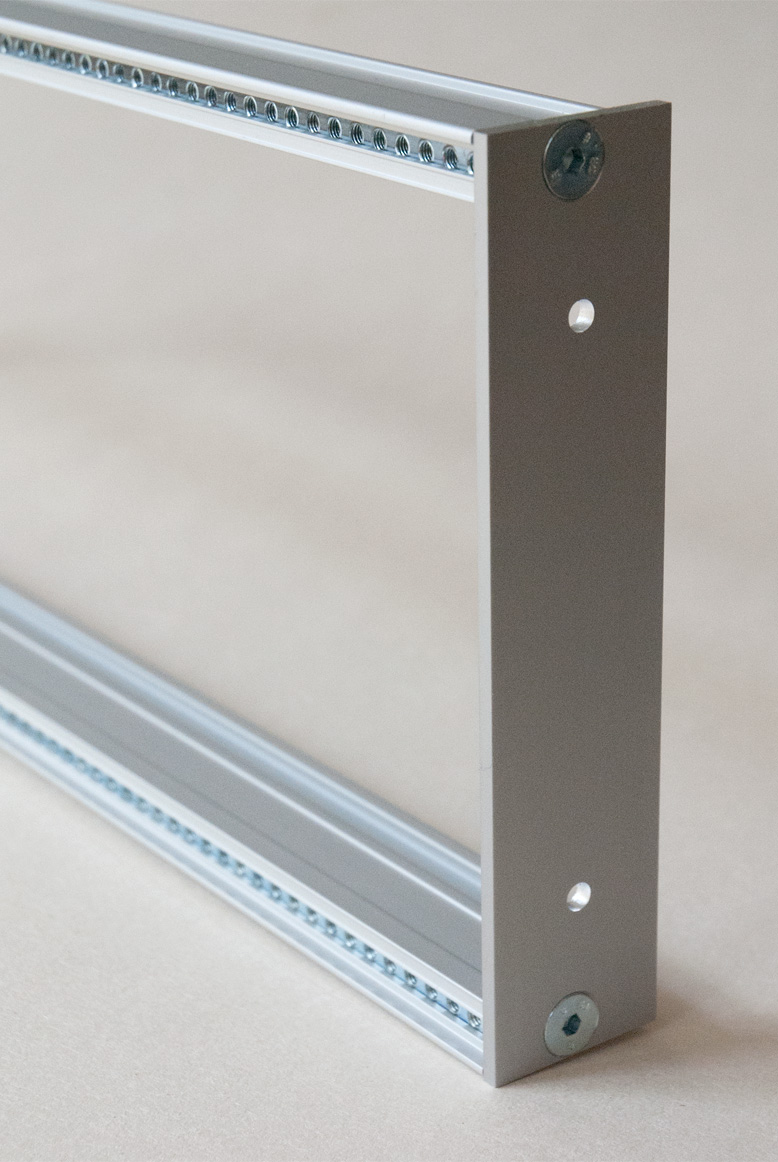
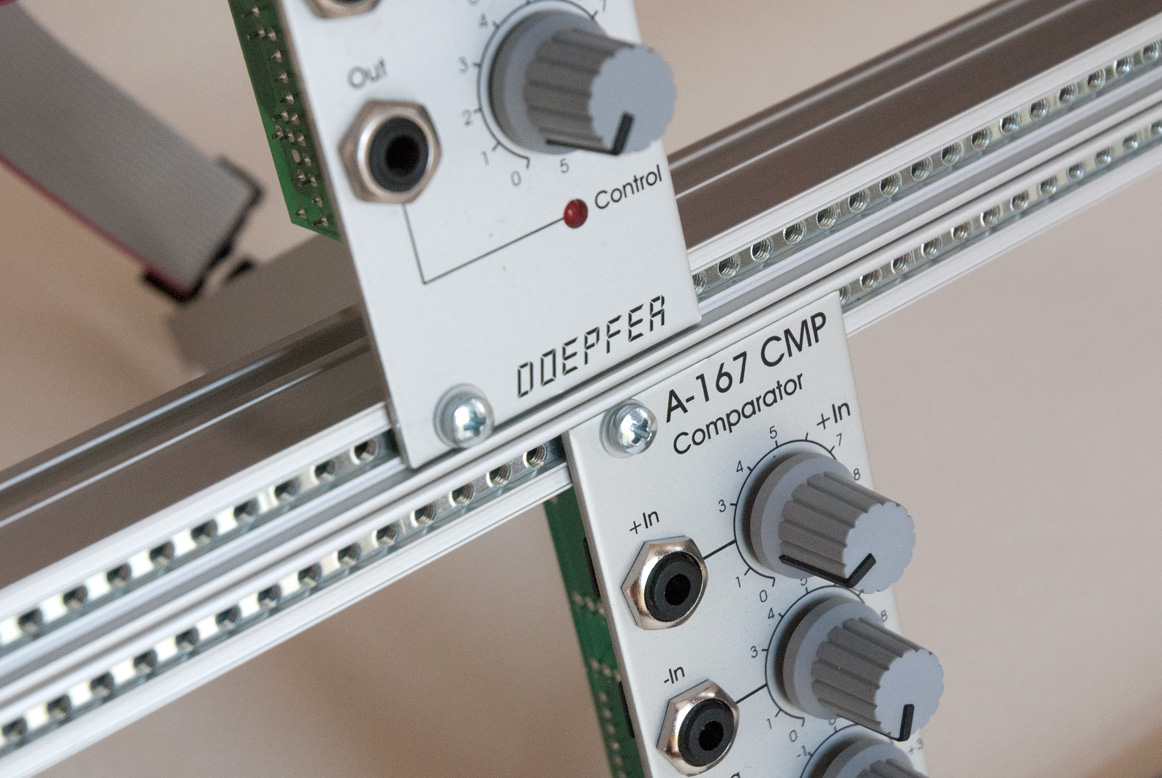
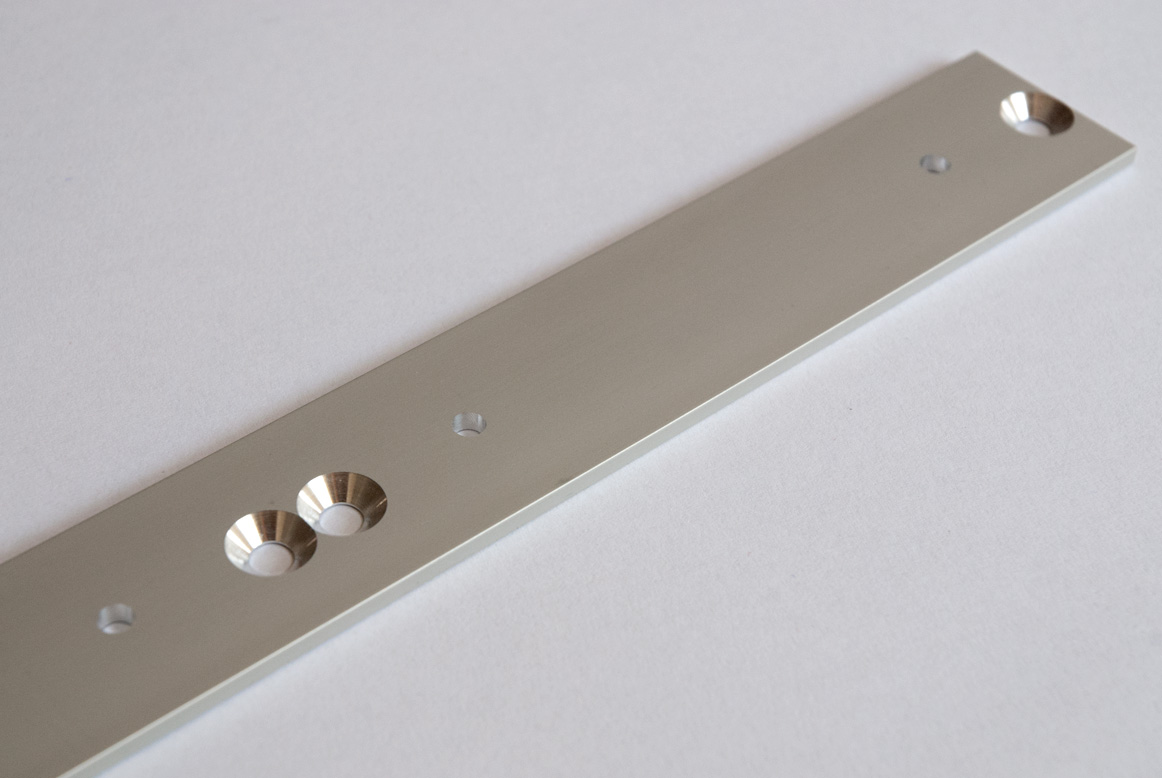
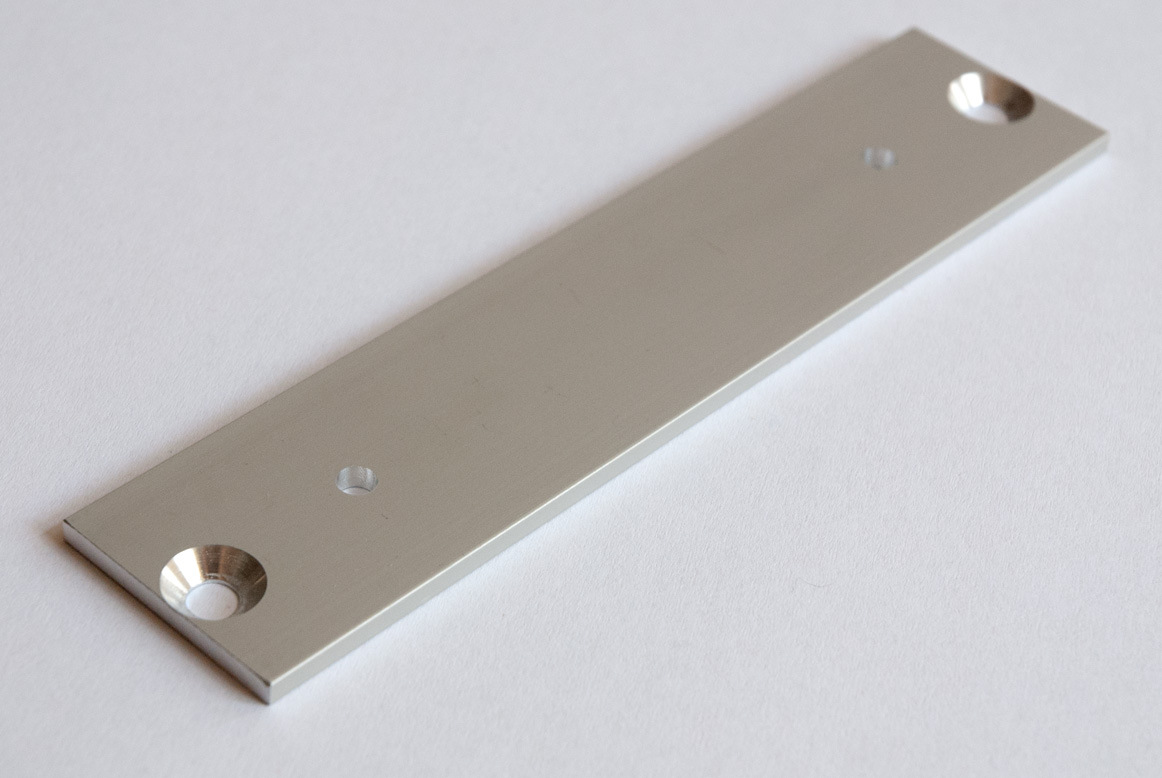
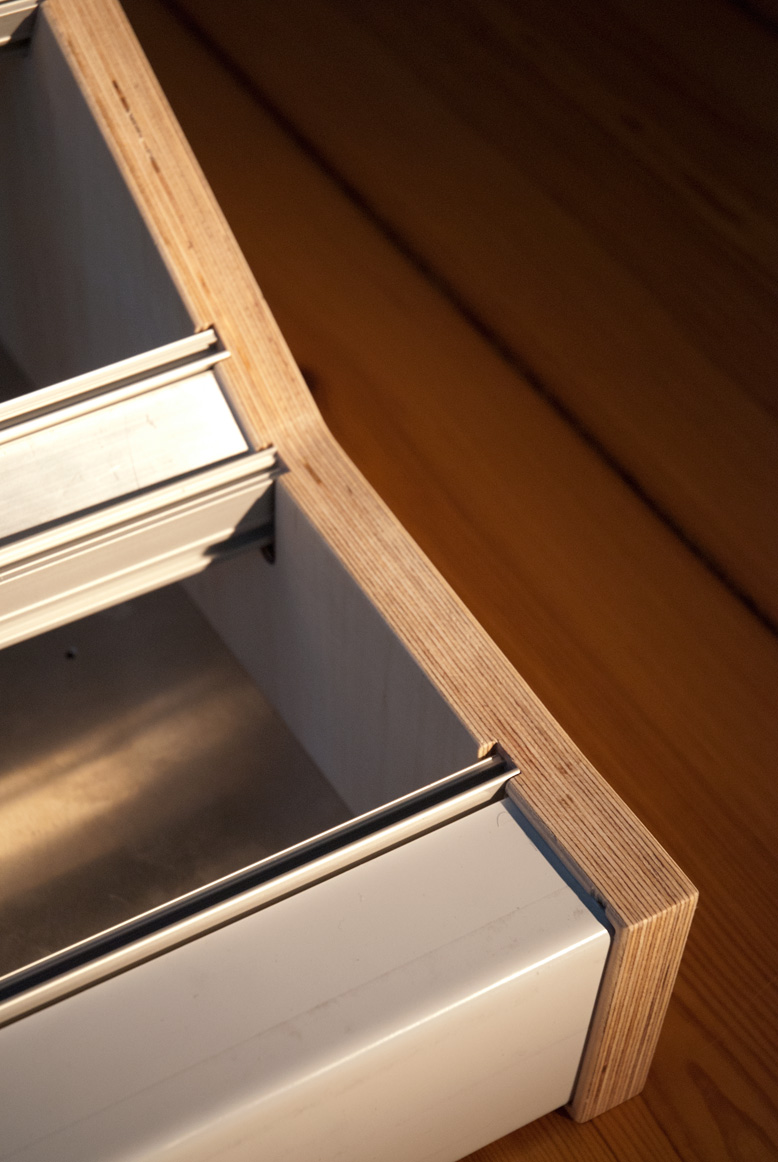
Some more detailed pictures of the Clicks and Clocks Eurorack frames:
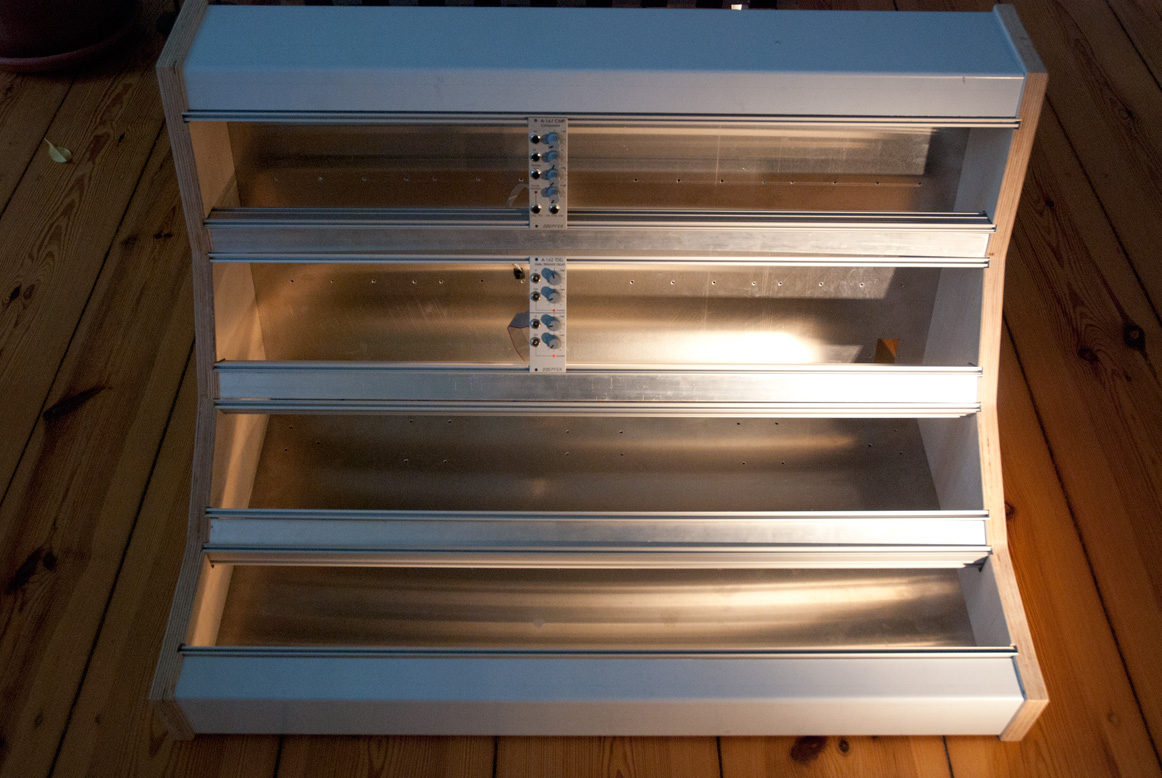
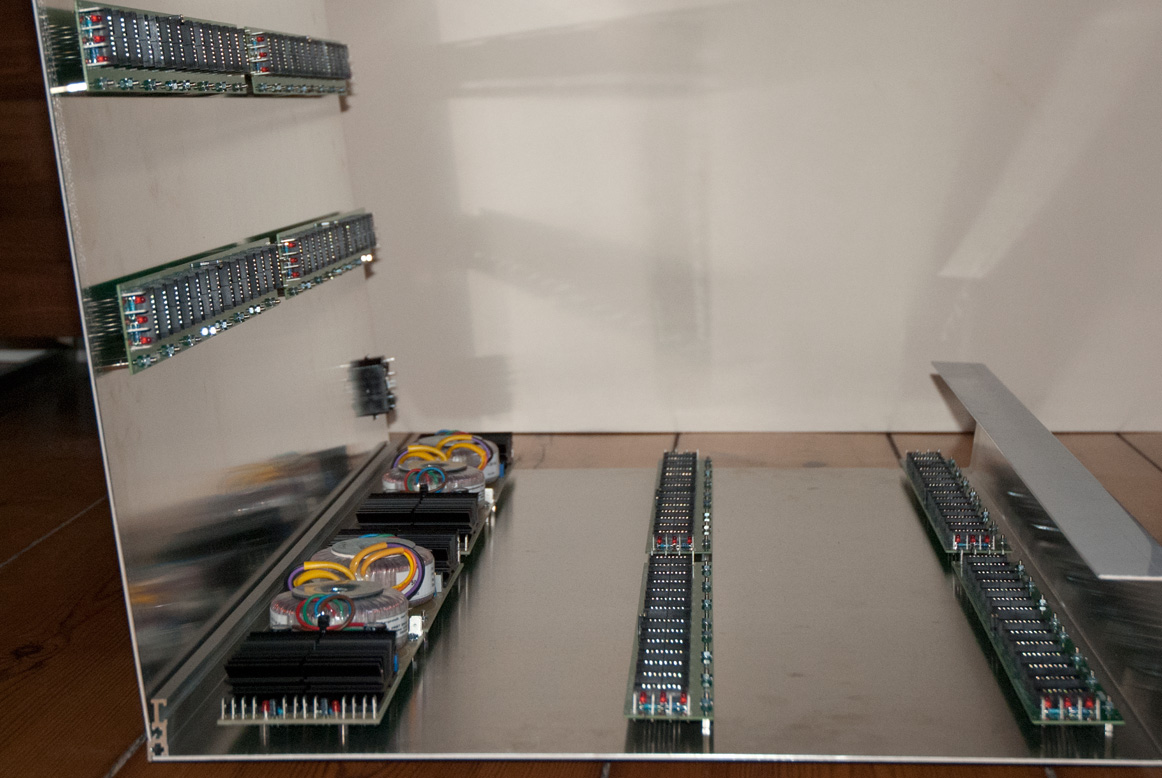
The next major step is taken. After routing, drilling and sanding the wooden side panels, I could assemble the case with all its parts for the first time. Everything fits, allmost. Minor modifications need to be done, but then I can start with the last step, oiling the wooden side panels and get the rear and bottom panels powder coated. I still don’t know which colour the aluminium parts will get, any ideas?
When this is all done, the final assembling and the wiring of the four PSUs and the eight busboards needs to be done. And that’s it.
I’ll keep you updated.
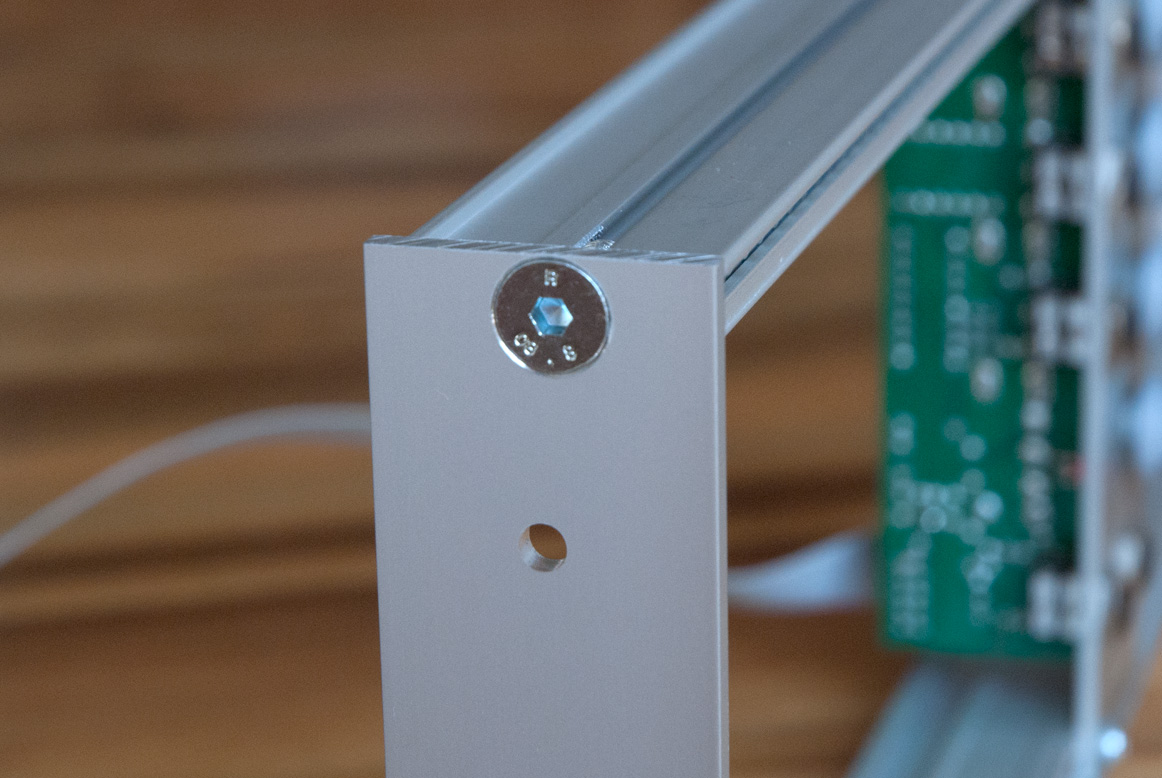
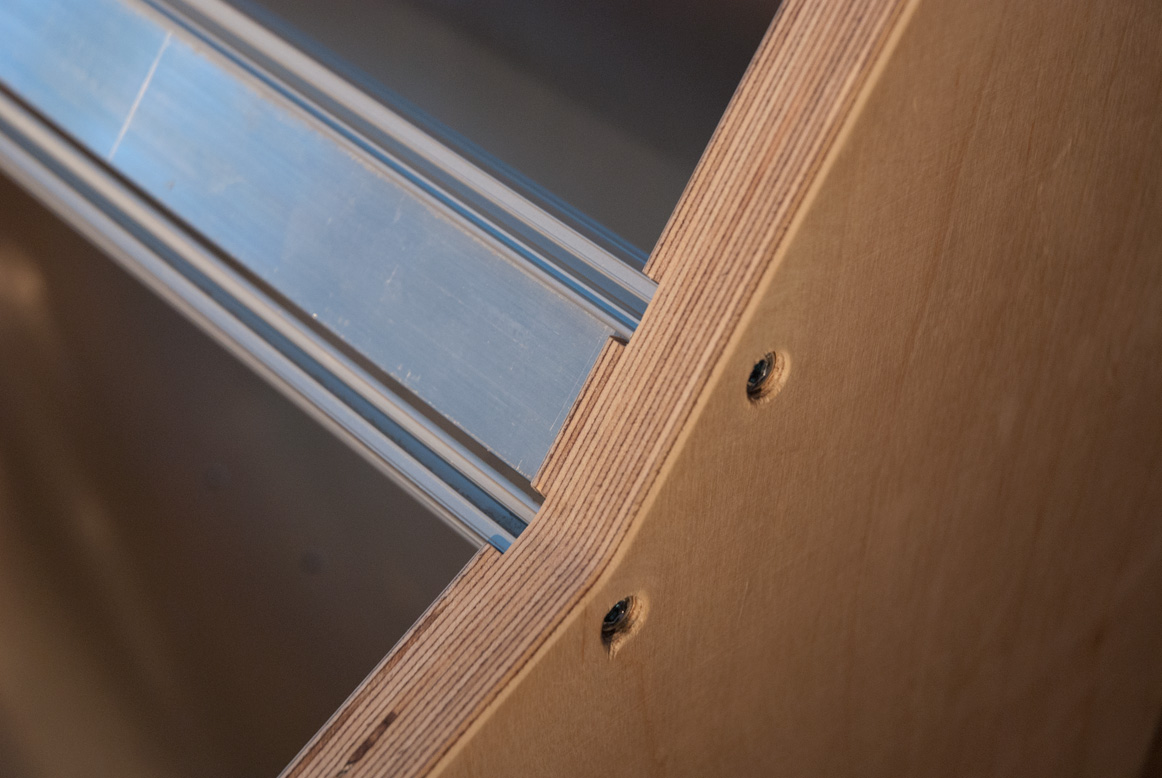
Here are some impressions from the first assembling:
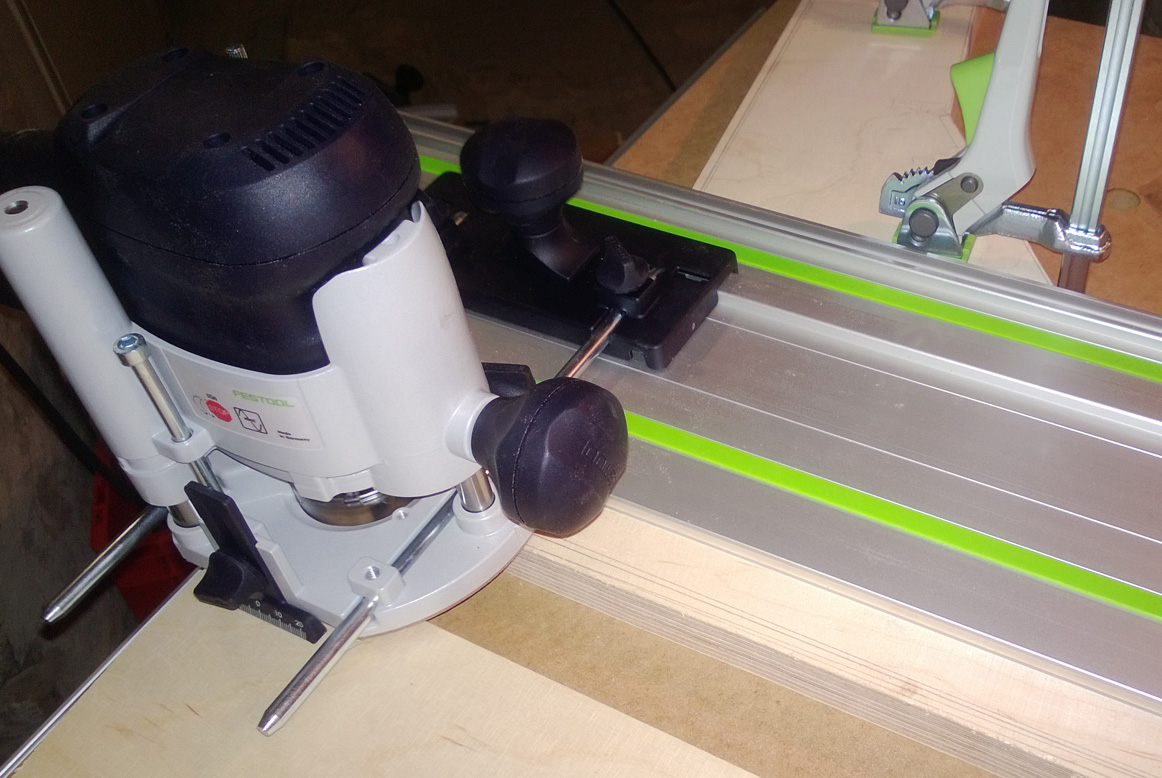
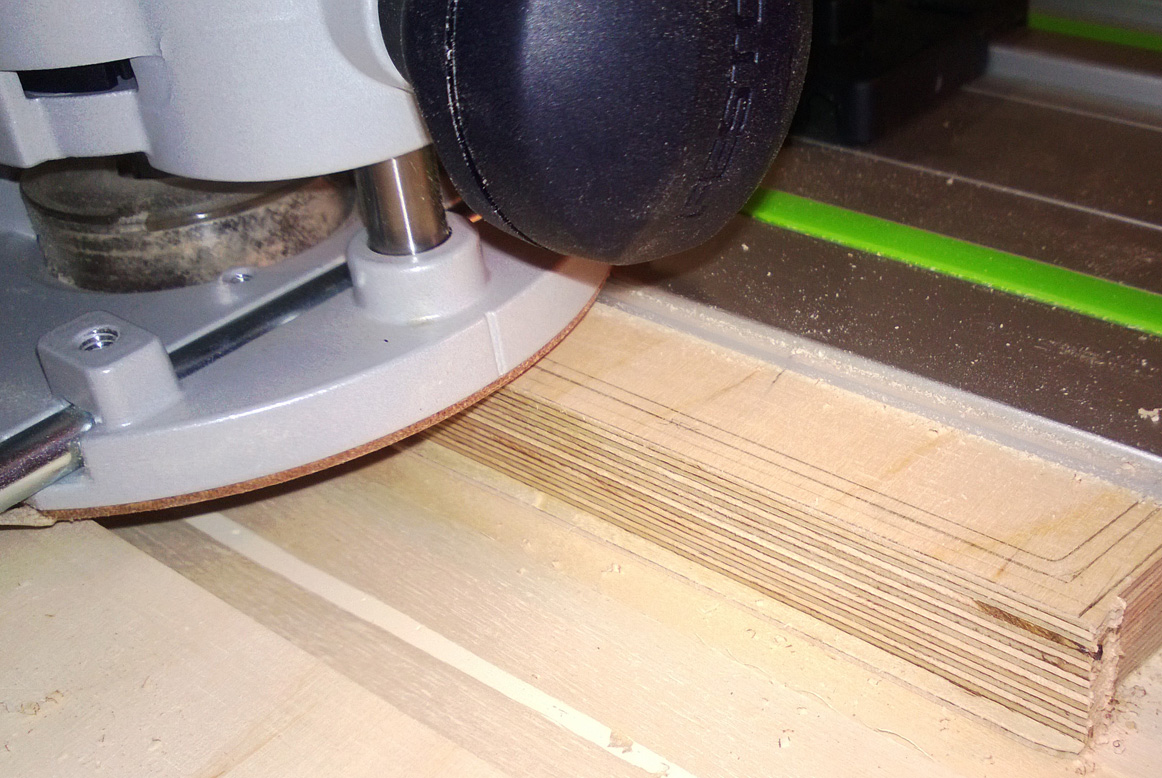
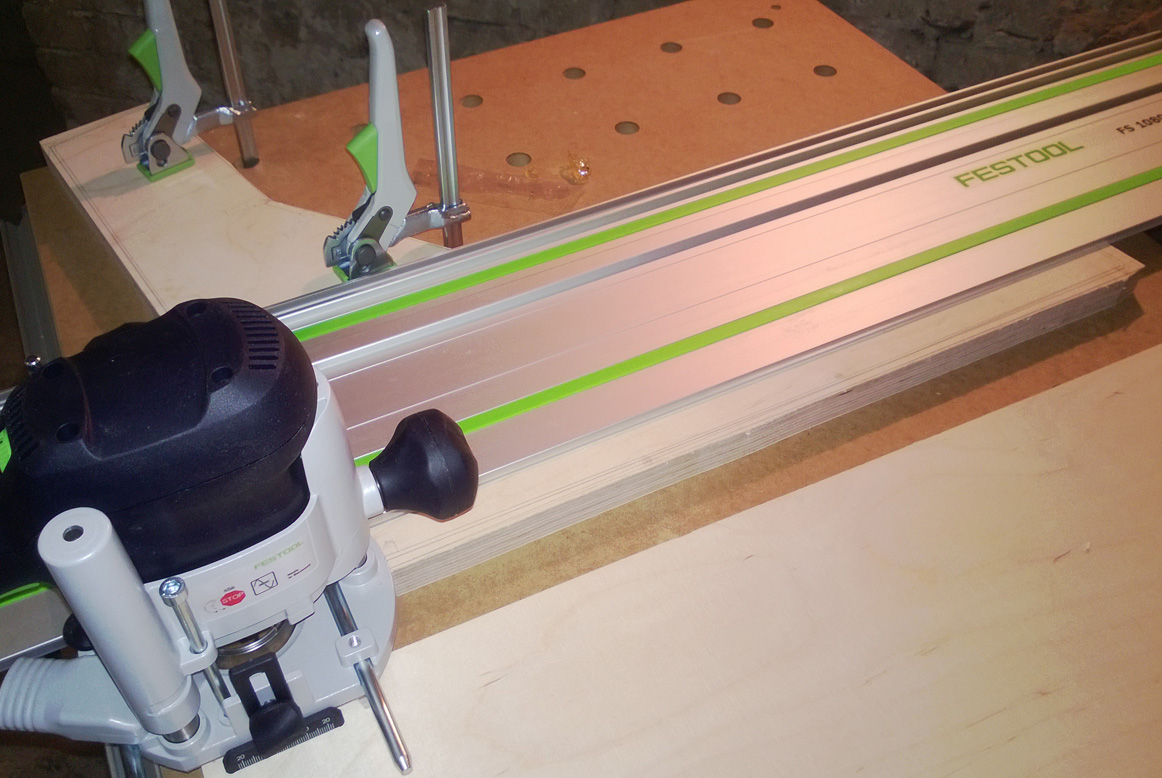
The works on wooden side panels have started. First time ever using a proper router, amazing tool. Does exactly what I needed. I routed the shape of the panels out of 24mm multiplex wood. This was a step I had a lot of respect for, as I never handled a router before. So I started with an easy straight line and then step by step raised the bar a bit higher. There are two edges where I need to add some wood again, but some dues you have to pay when learning.
Next step will be drilling, sanding, staining the wood and then finishing with oil. I will keep you updated. Eurorack console case with wooden side wings
Here are some impressions from my first experiences with woodworking and some shots off the drilled bottom and rear panels.
Eurorack console case drilling done
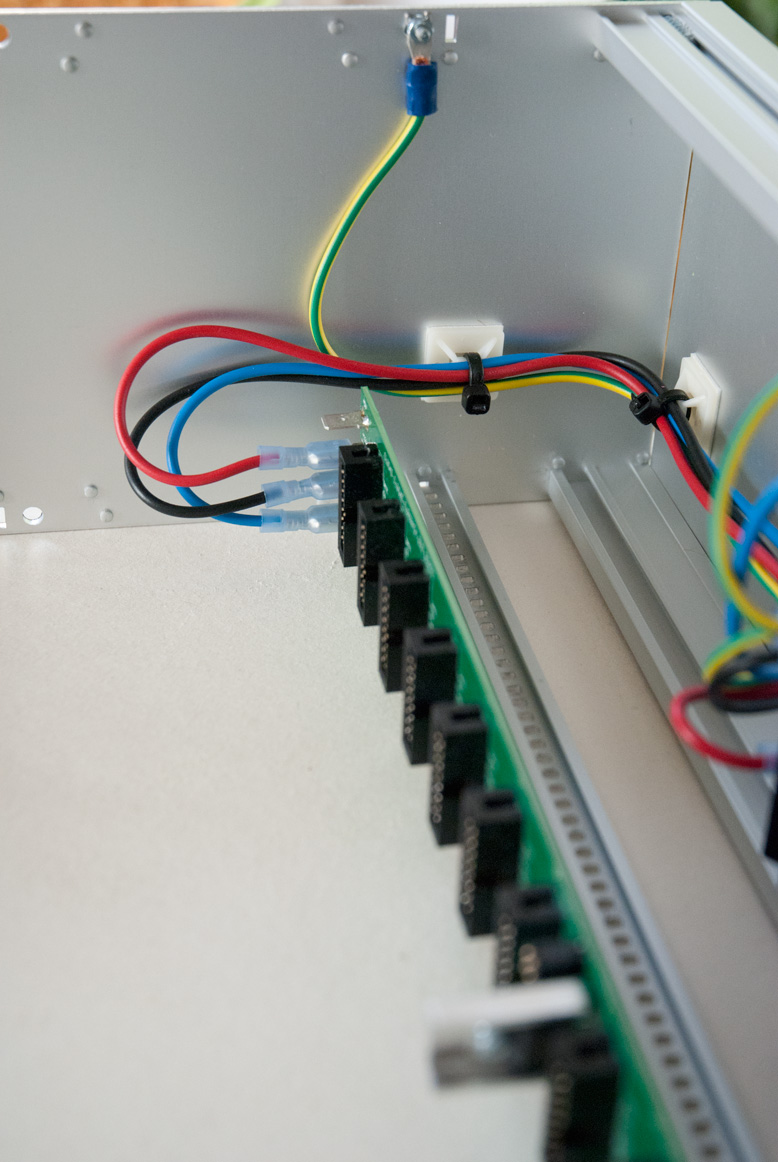
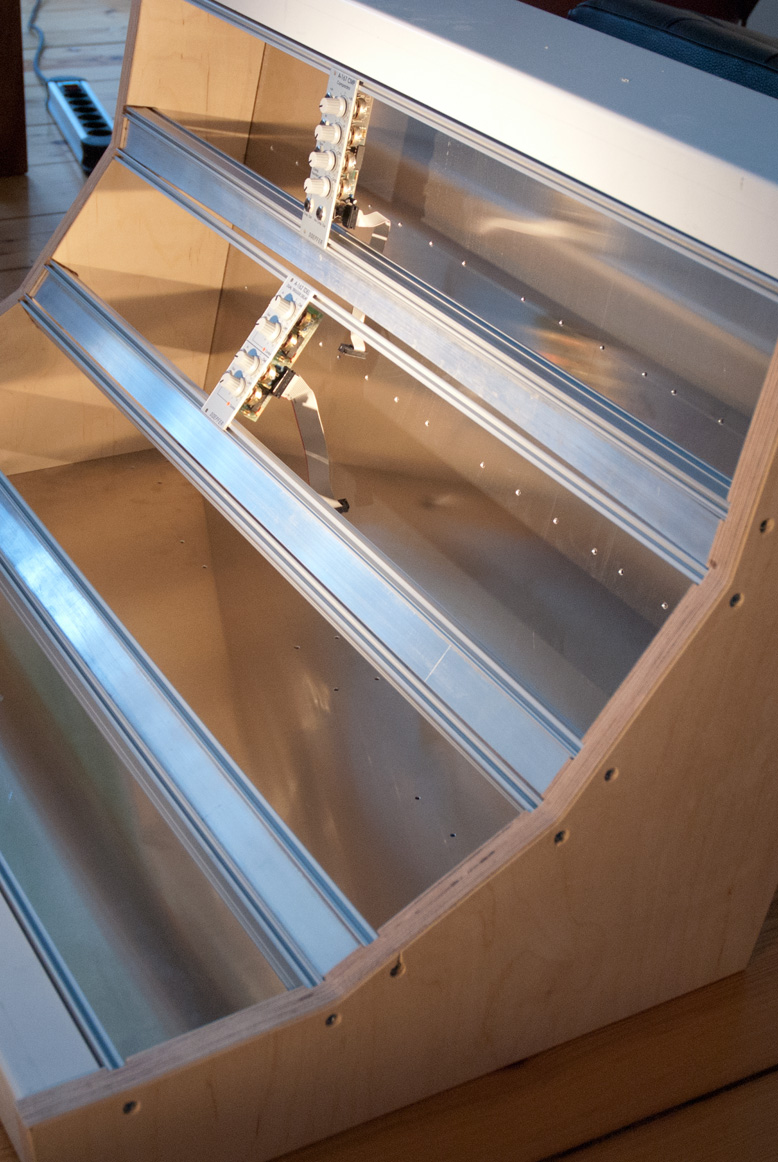
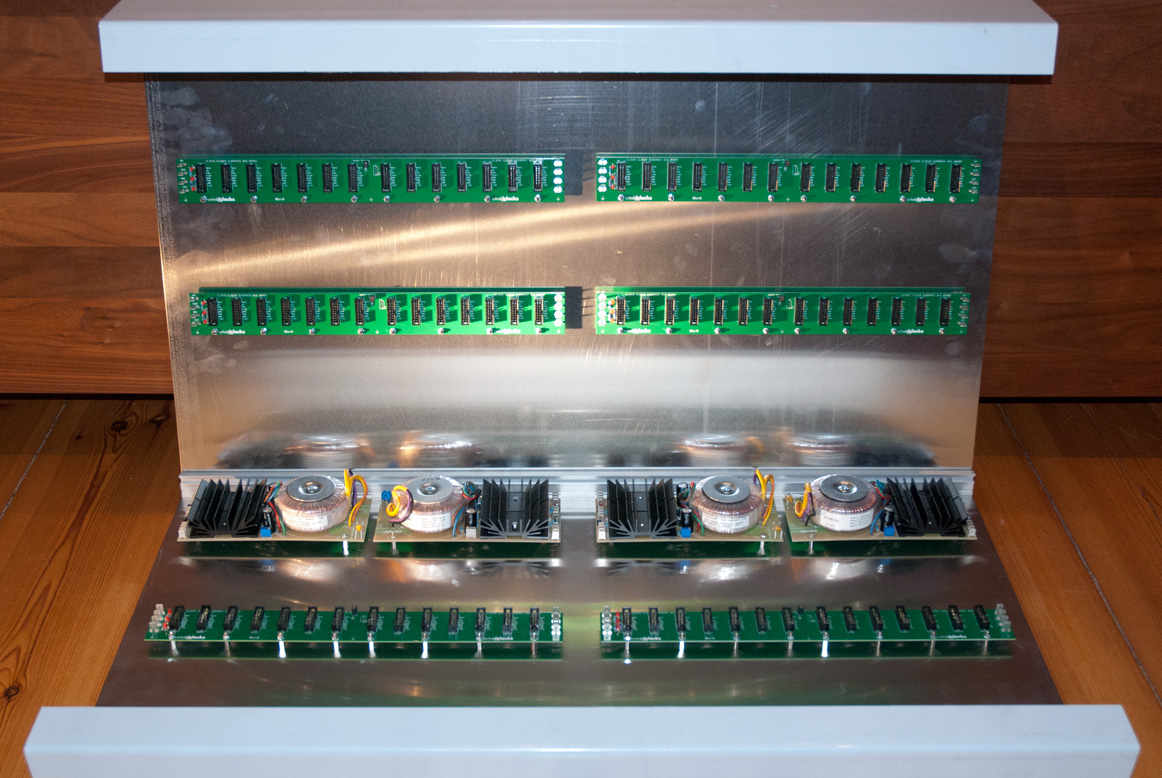
Eurorack console case PSU and Busboards fixed
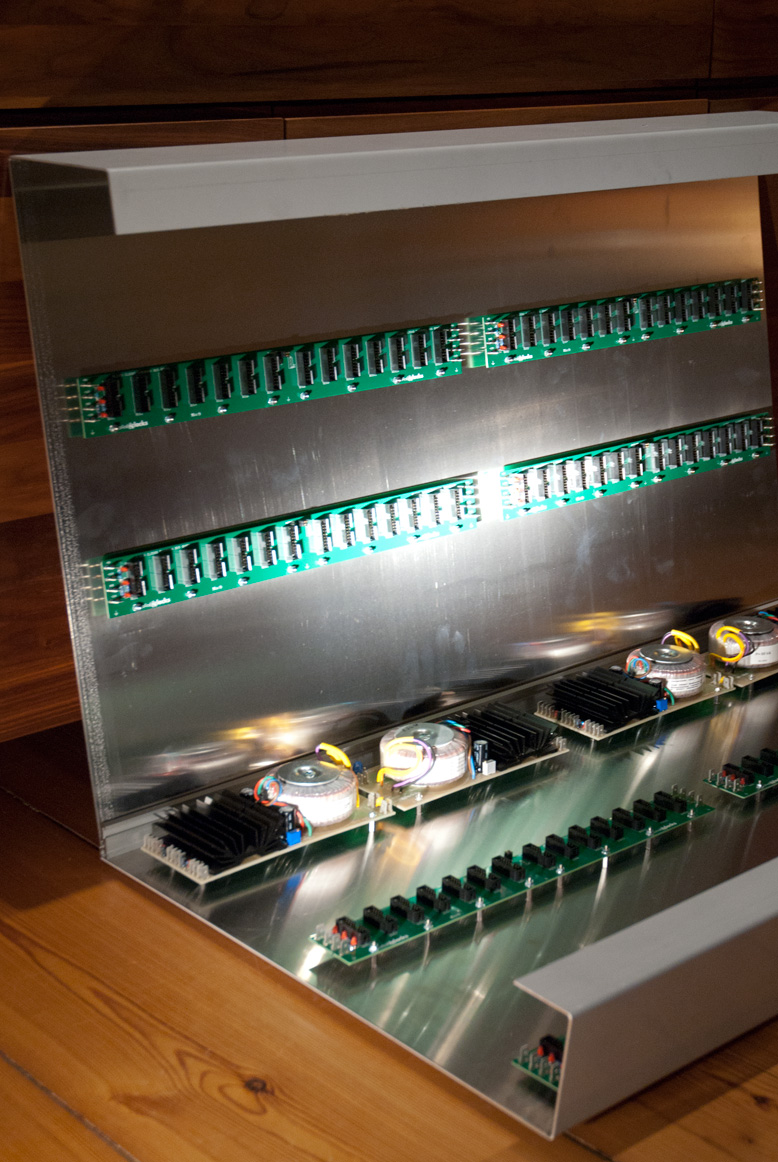
Eurorack console case PSU and Busboards fixed side view
Eurorack console case routing the wooden side wings
ClicksClock Eurorack console case routing the wooden side wings detail shot
Eurorack console case routing the wooden side wings
ClicksClock Eurorack console case routing the wooden side wings