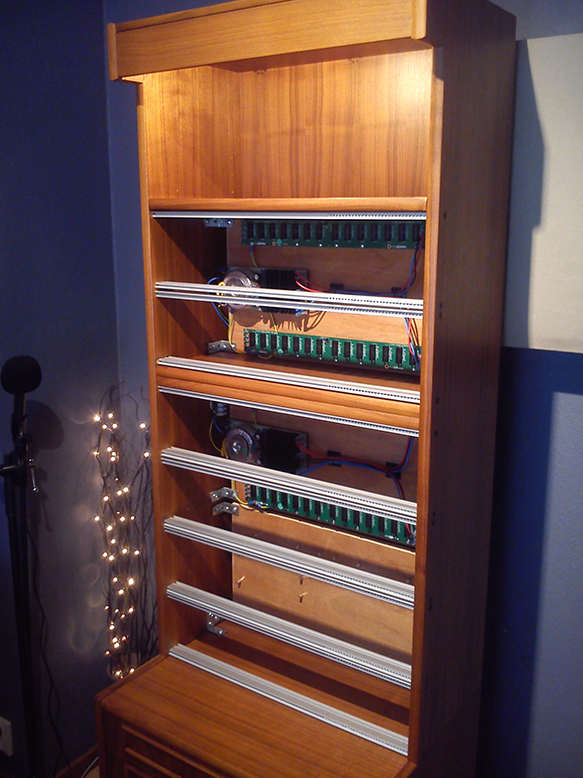
So, i wanted to use this old shelf i had. As i couldn’t afford a manufactured eurorack case of this size, and i love these old vintage furnitures (my home is filled with them), it felt like a nice idea.
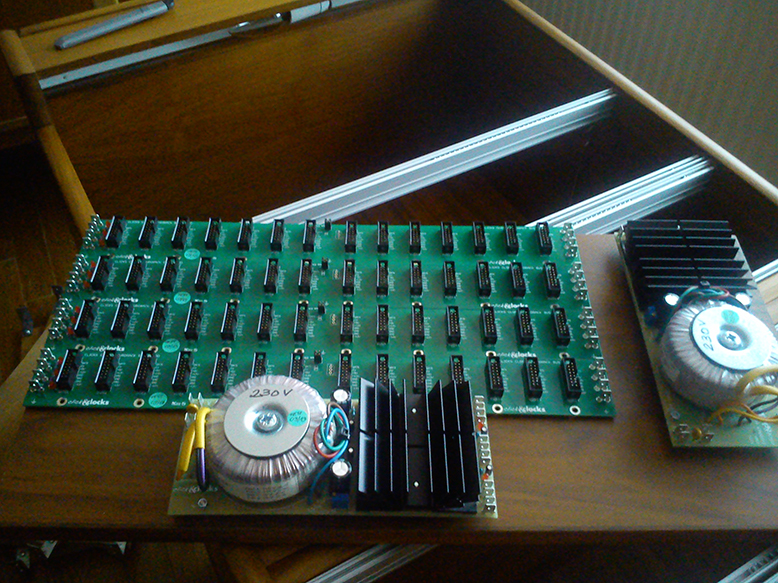
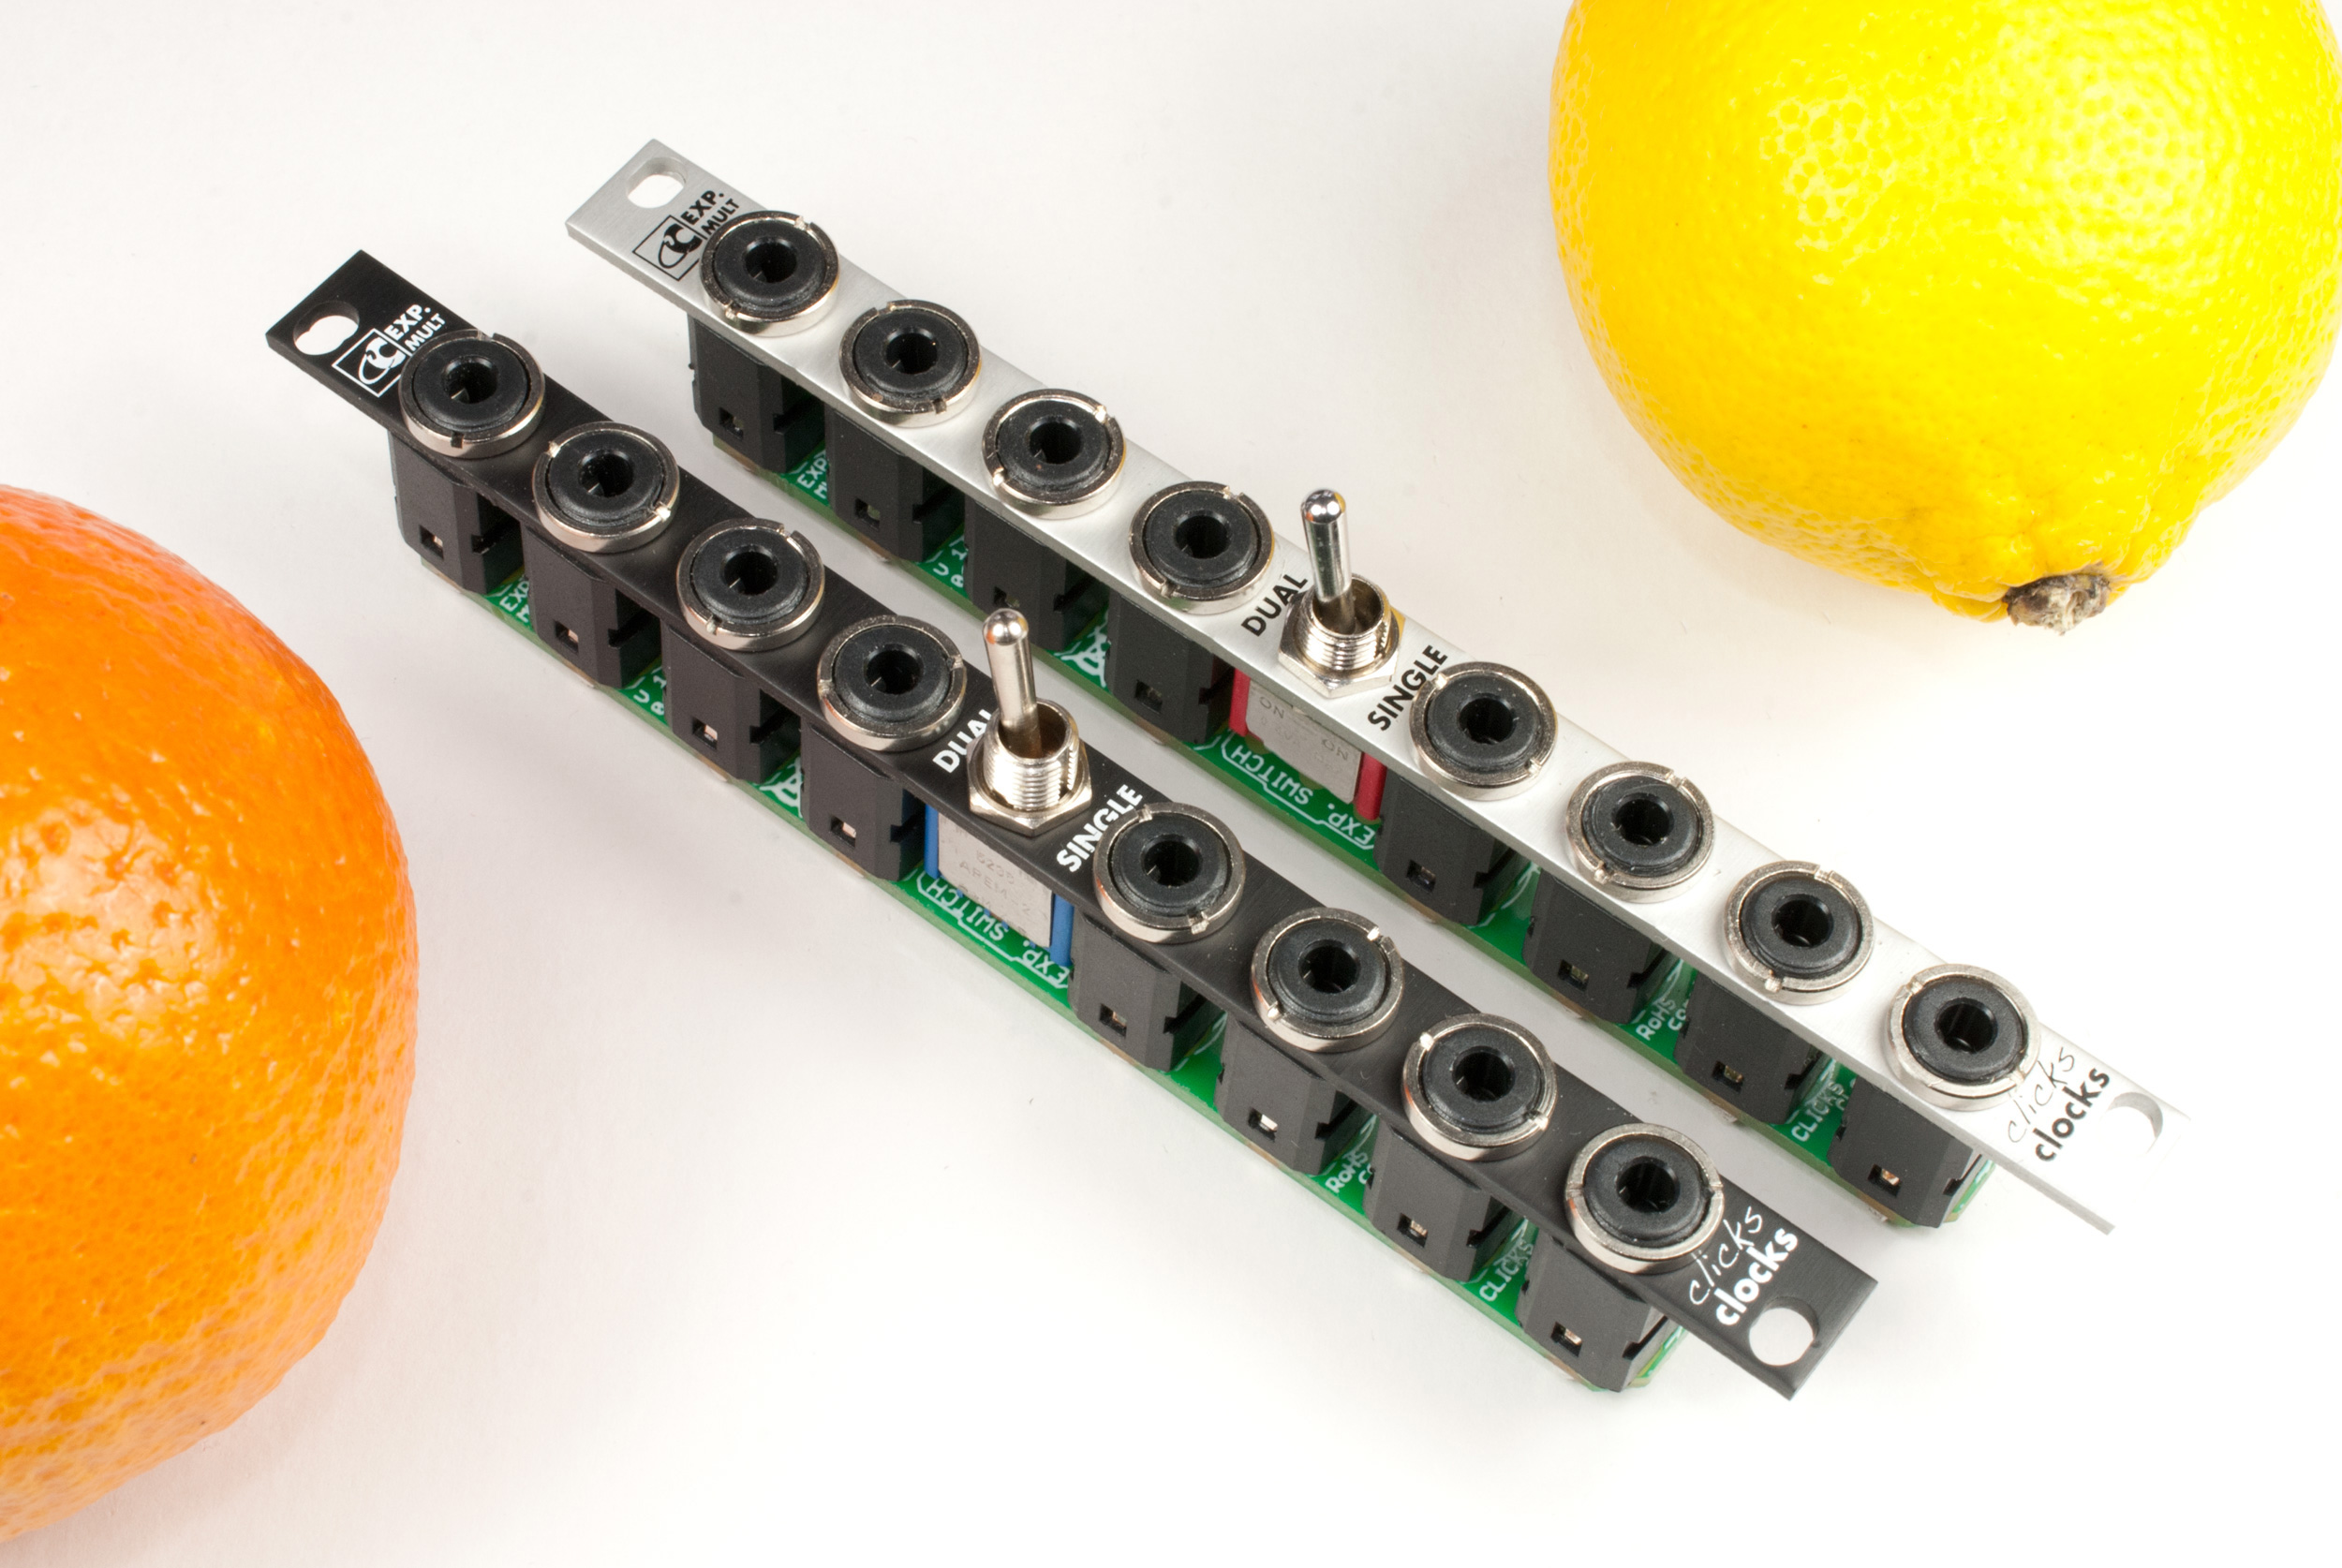
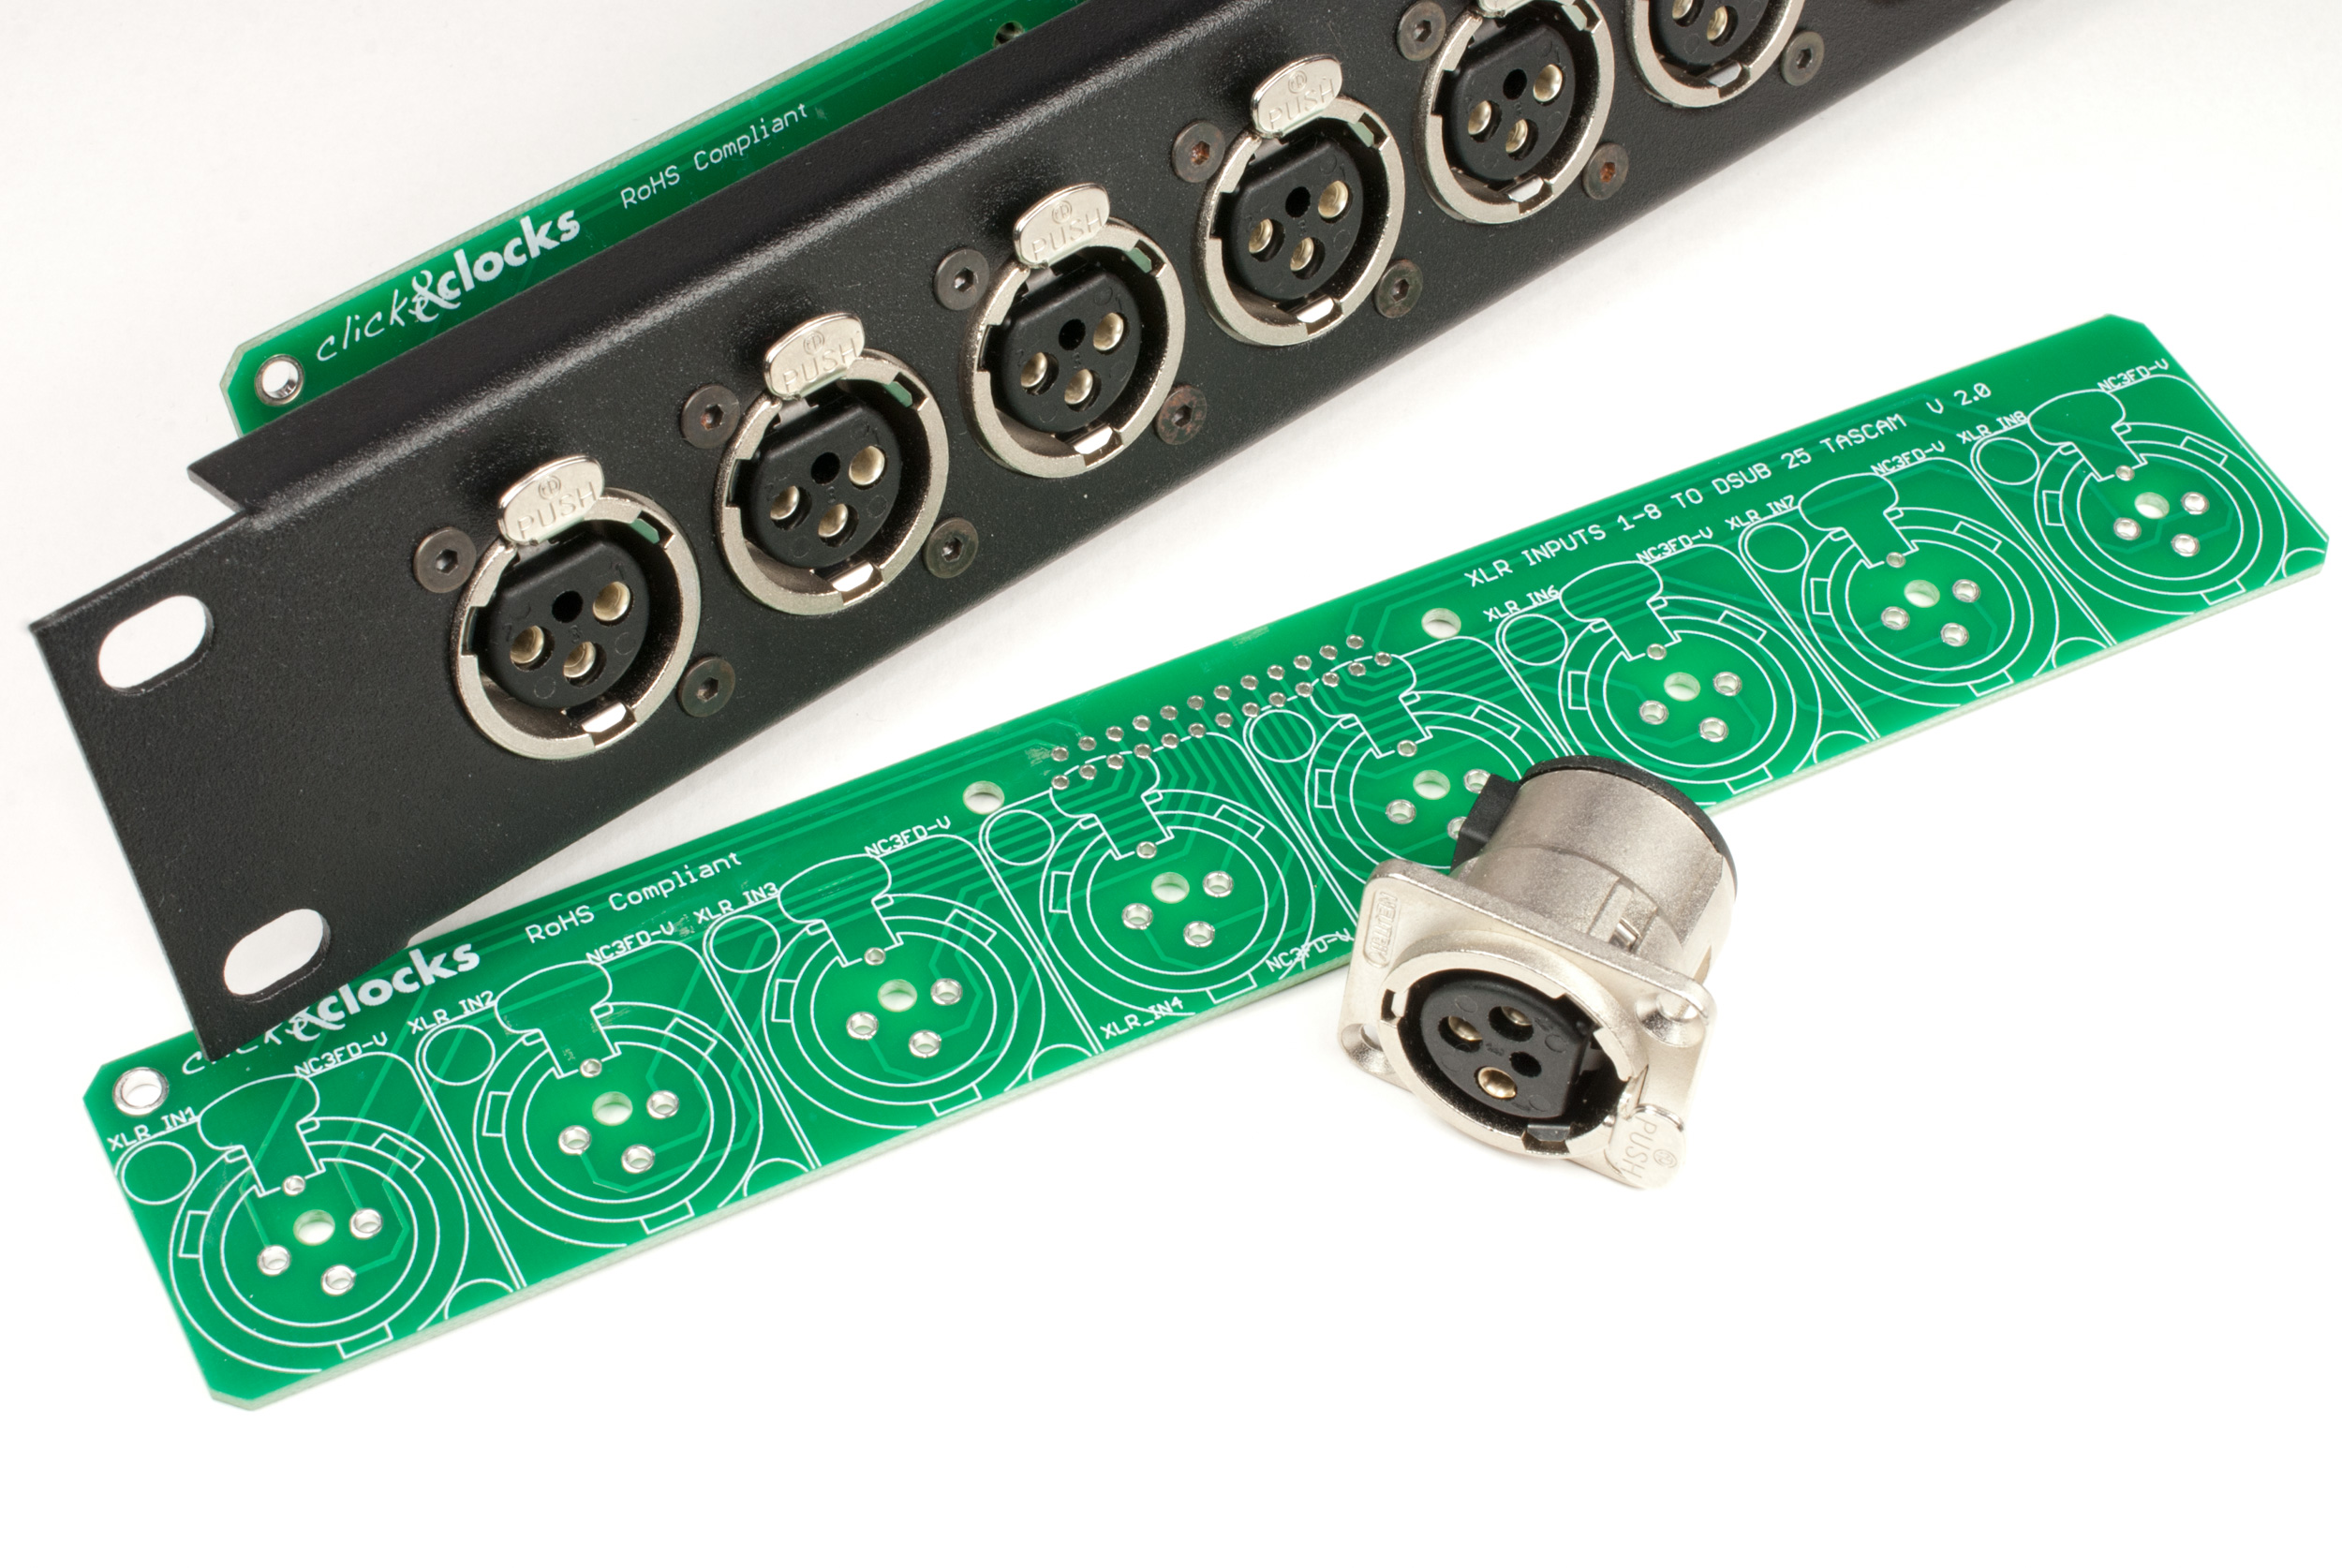
I also realized that i most probably would make several misstakes during the process of this, as i’ve never built anything like this before (only been in to DIY modules, but nothing of this size), so i tried making it as low cost as possible, but still wanted quality in the things that i could reuse later if needed. Therefore i chose the Clicks&Clocks PSU and busboards for instance.
I noticed when measuring the shelf up, that it actually could fit 104HP in width, and at least 7 rows of them in height. Like it was meant to be!
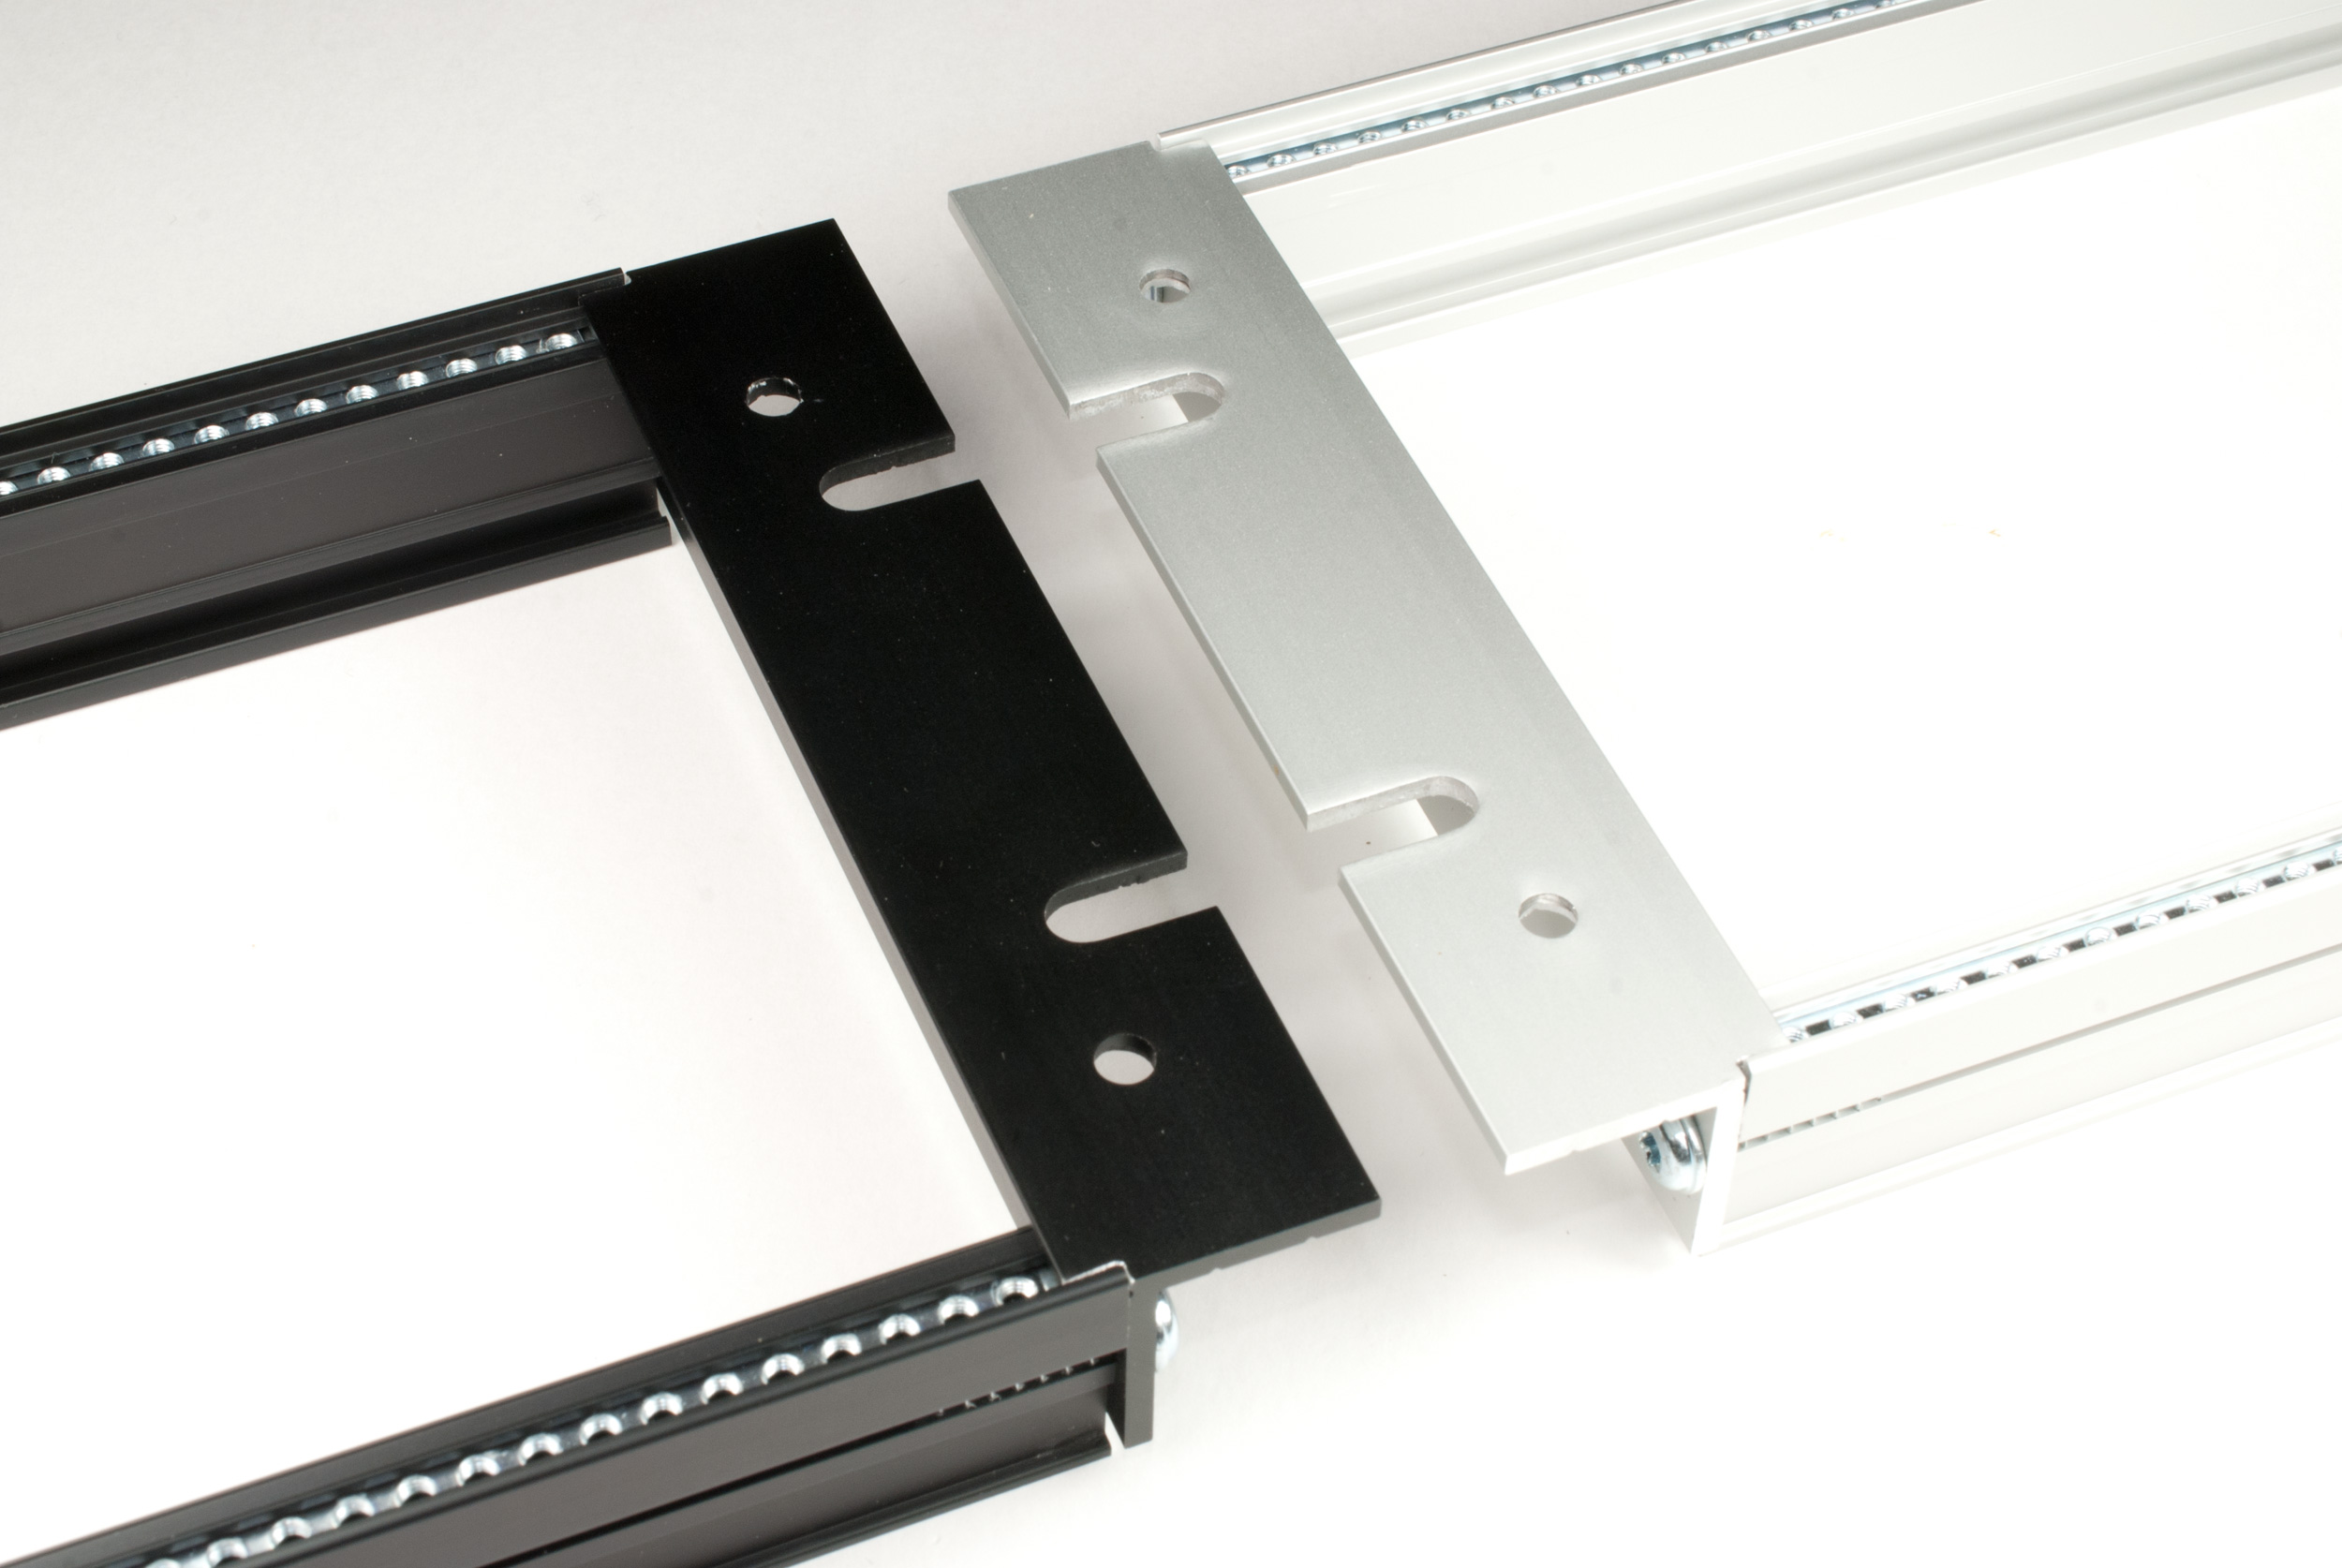
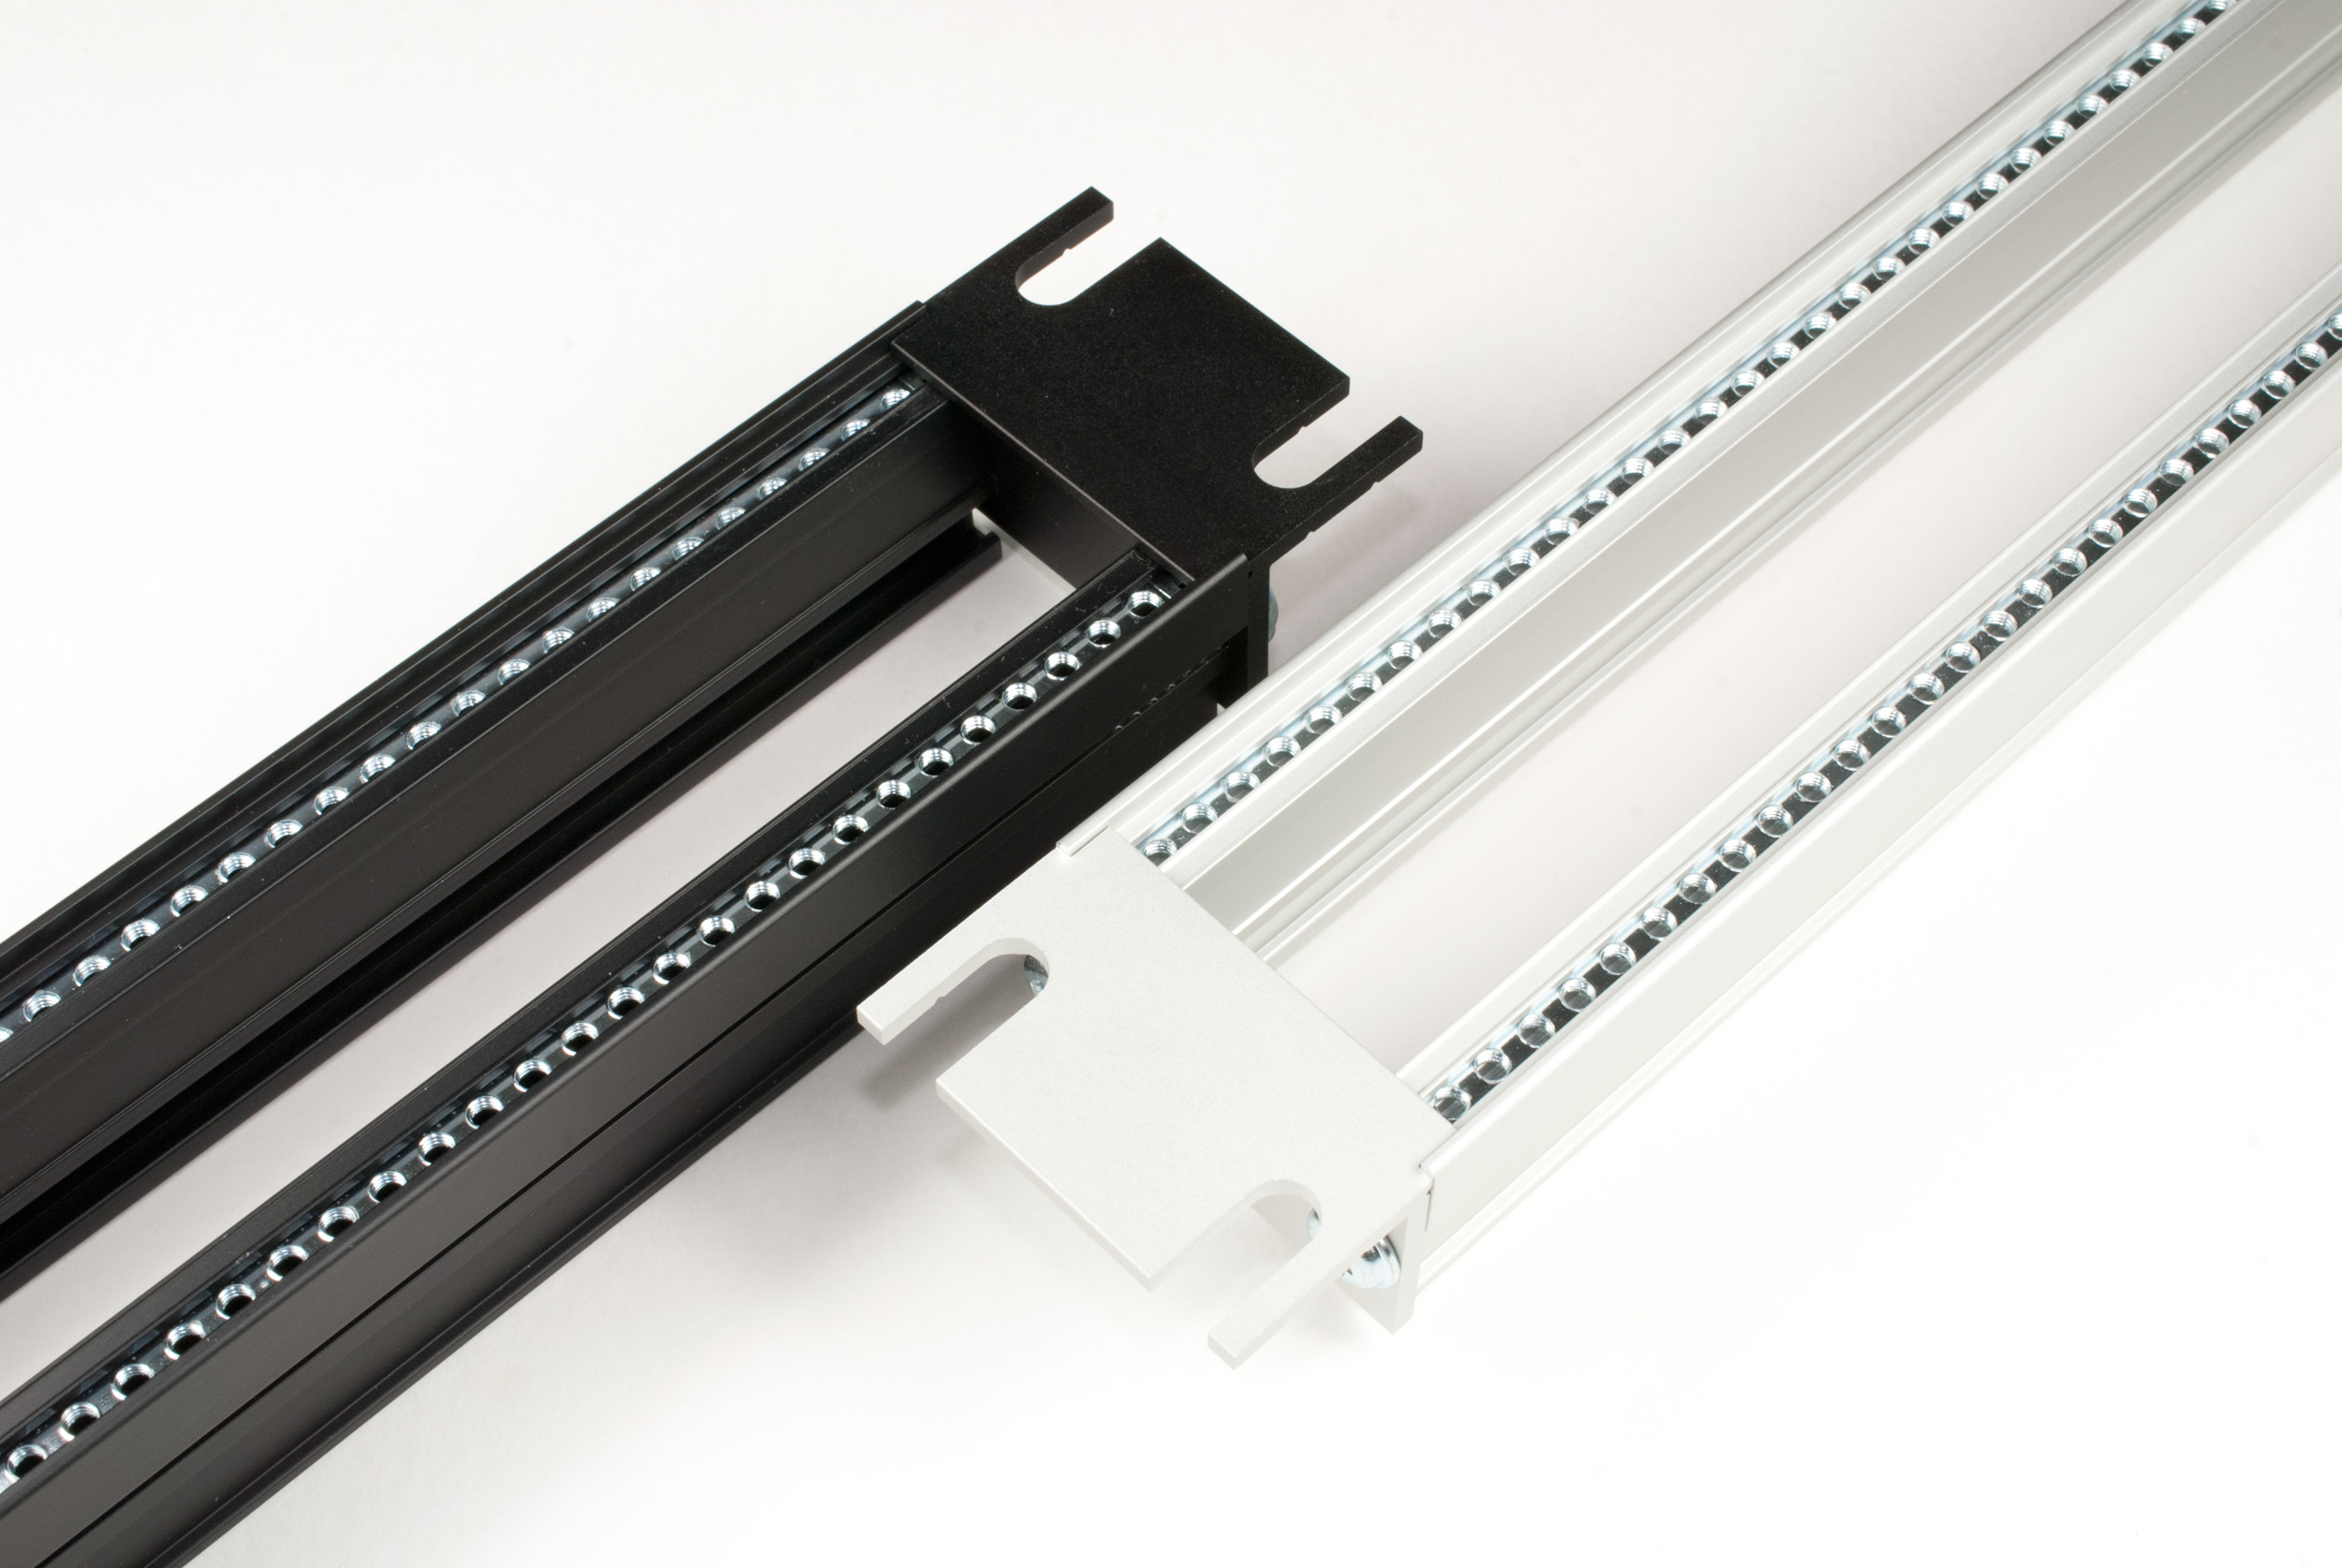
So i went ahead and ordered specially cut mounting profiles and contacted Stefan about the power boards.
The profiles arrived, and they fitted perfectly! Well, at least in the middle and lower part of the shelf (vintage issue nr1). So i had to grind down 1mm on the top 4 profiles. Thats fine though, as my measurements from before told me that i had about 1-2mm of playroom anyway.
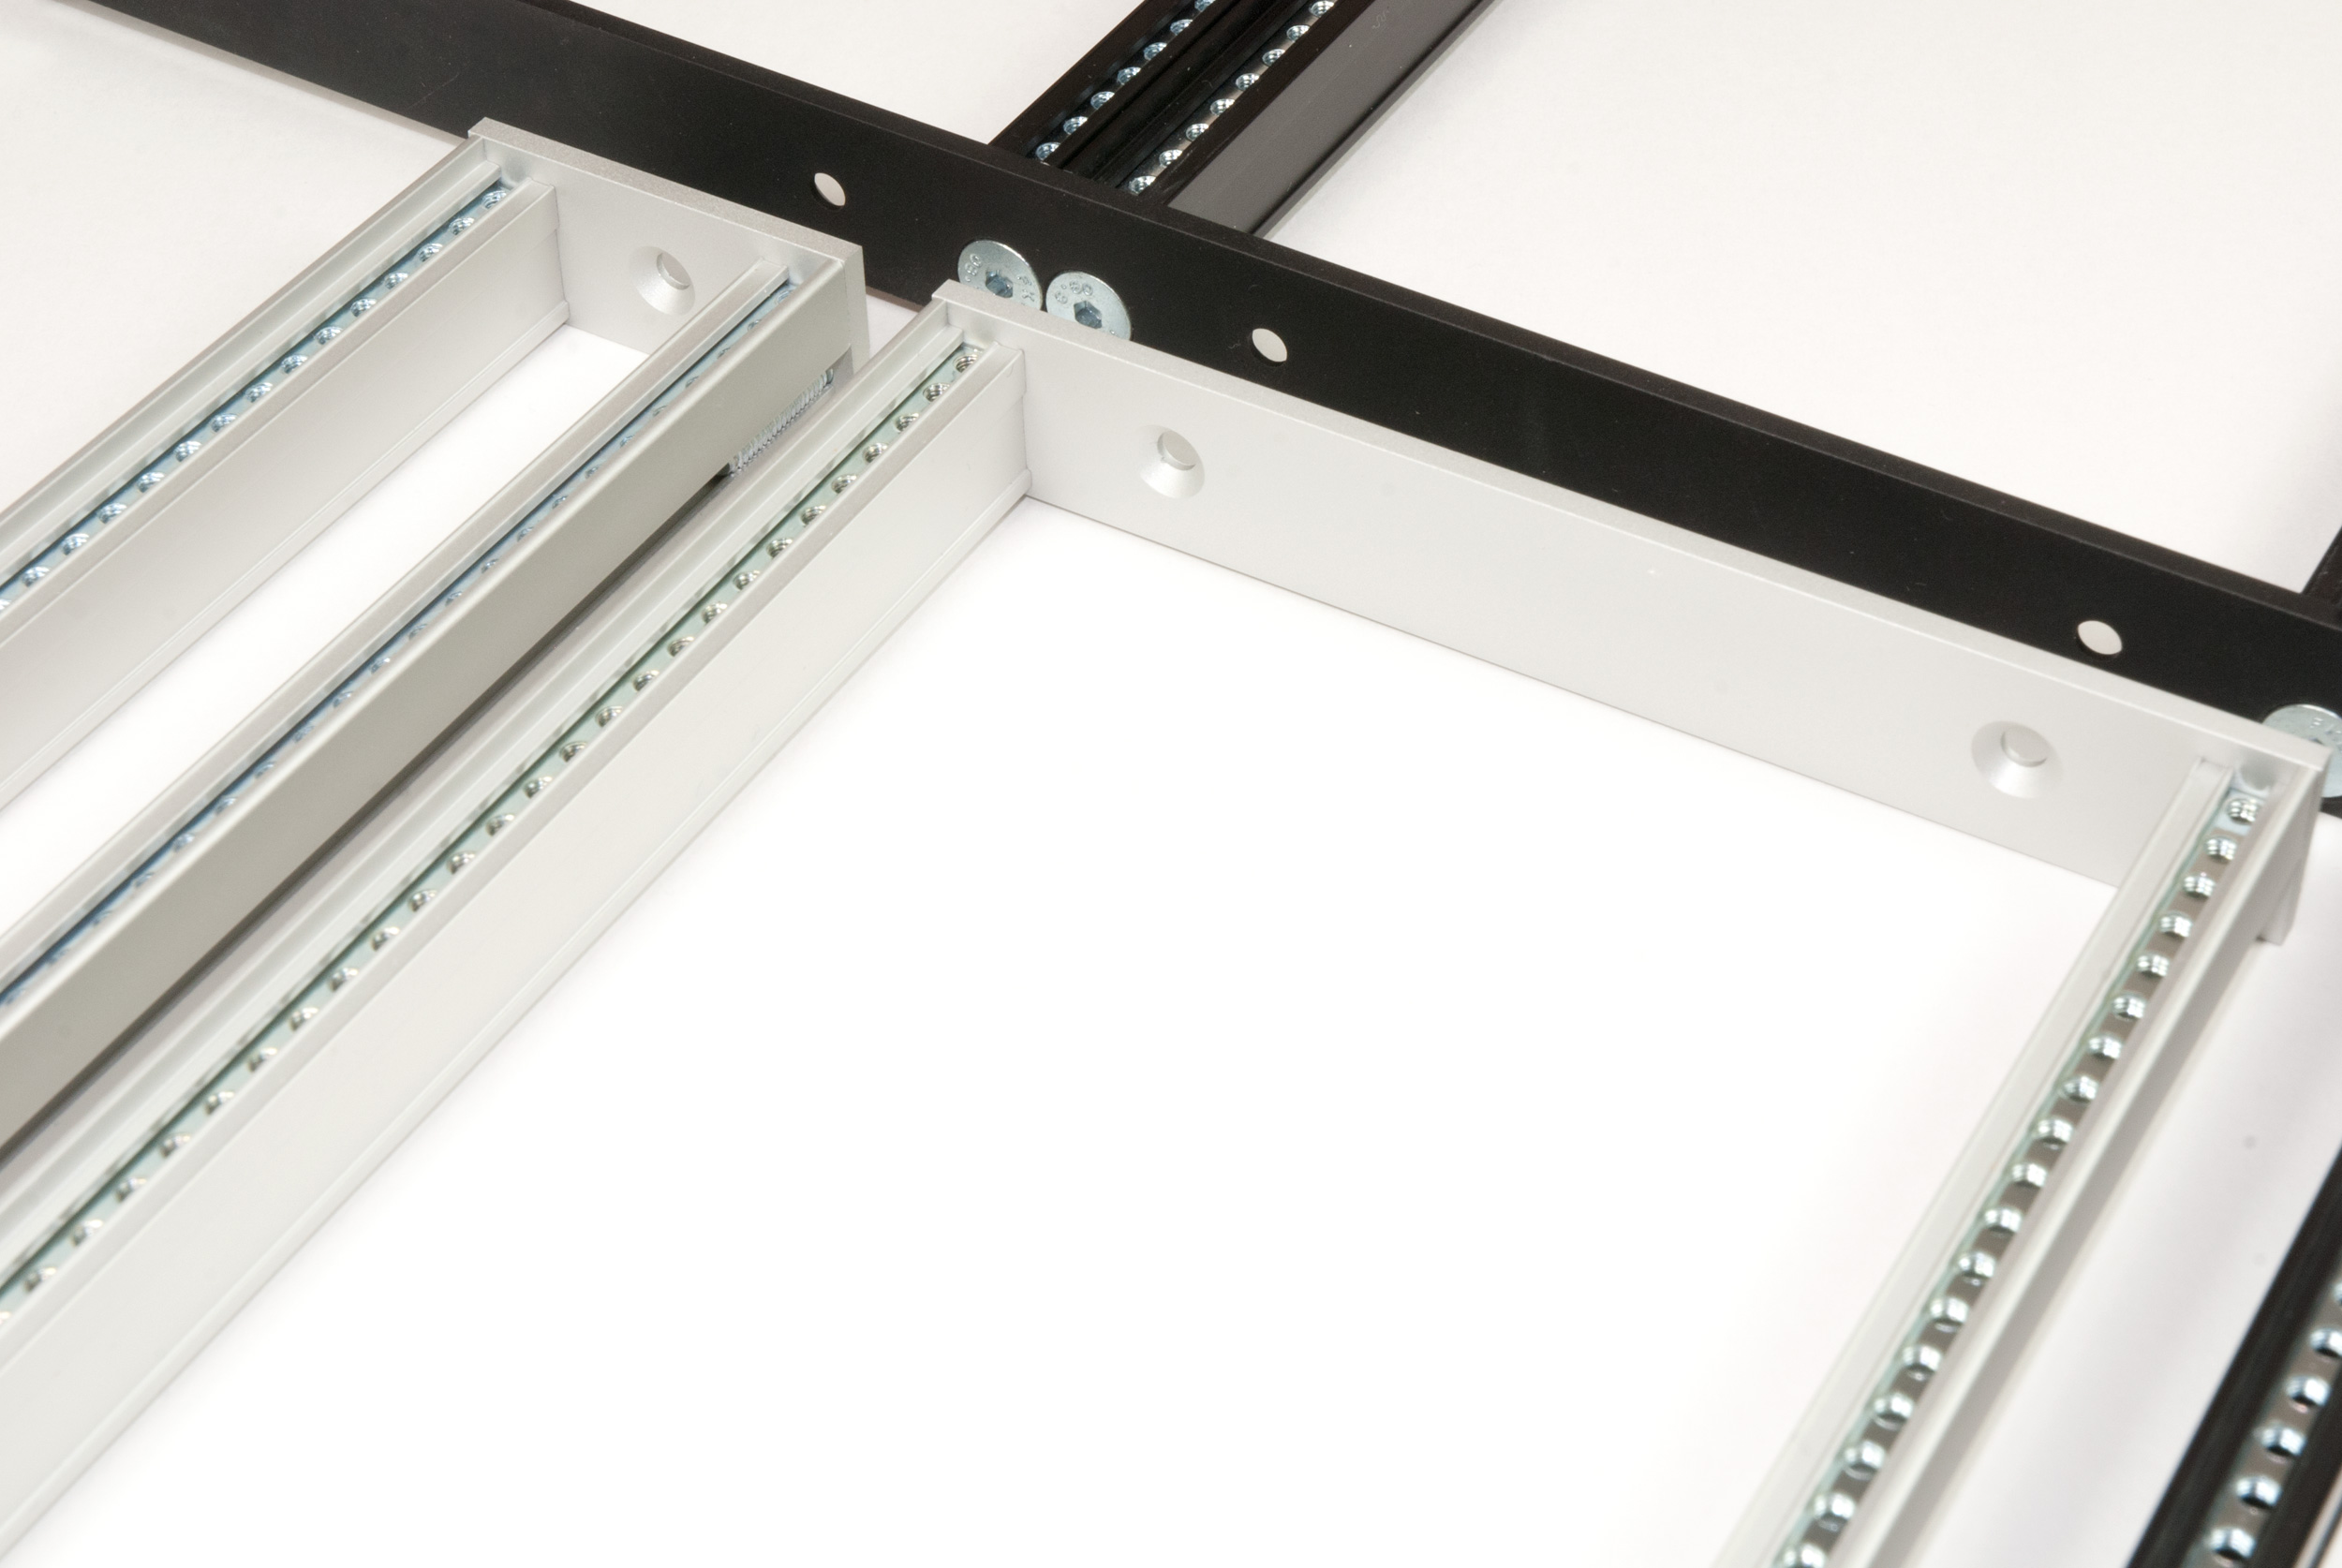
Me and my brother started to measure up the profile drill holes, to have the rows lined up but still keeping a small gap between them. Just in case i wanted to adjust them a bit later, for the odd module here and there.
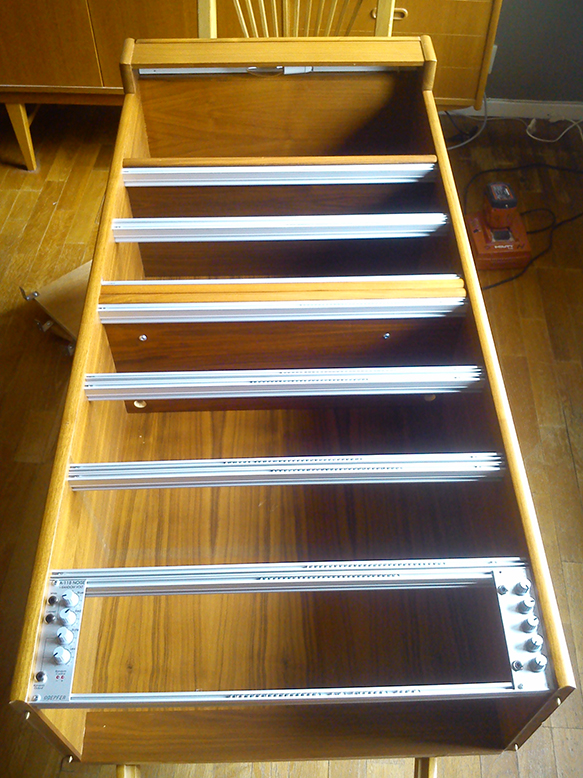
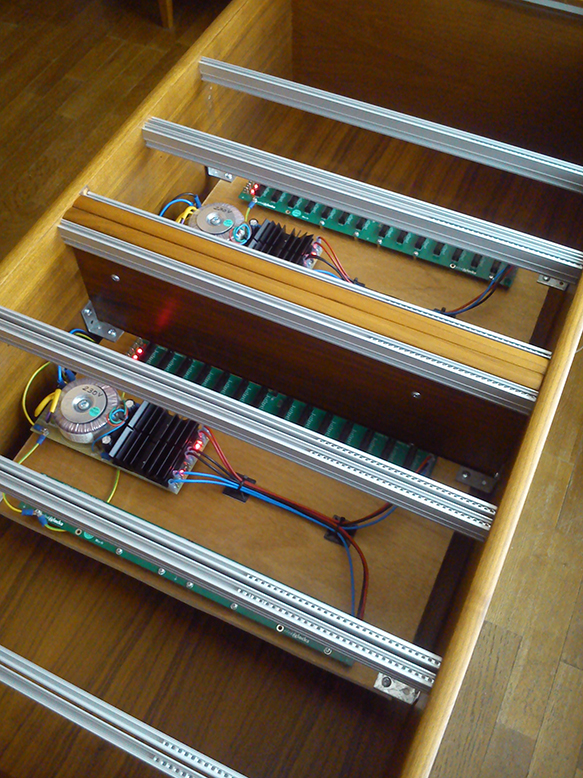
All looked well, so we drilled away and started mounting the rows up. Now for vintage issue nr2, during this process i noticed the middle shelve was glued in the shelf, rather than just slided in like the rest. Impossible to remove without inflicting serious damage. So, out pre drilled holes did not have this in mind, but – with some luck and small adjustments i noticed i could fit one of the removed shelves in right underneath the glued on one. It was pretty tight, but i managed to get it in there while keeping the rows around it intact. Looking pretty good too i gotta say, even if it wasnt planned like this.
With all the mounting profiles in place, i noticed the gaps between them wasnt really lined up perfectly, but i figured this would sort it self out when modules was screwed in.
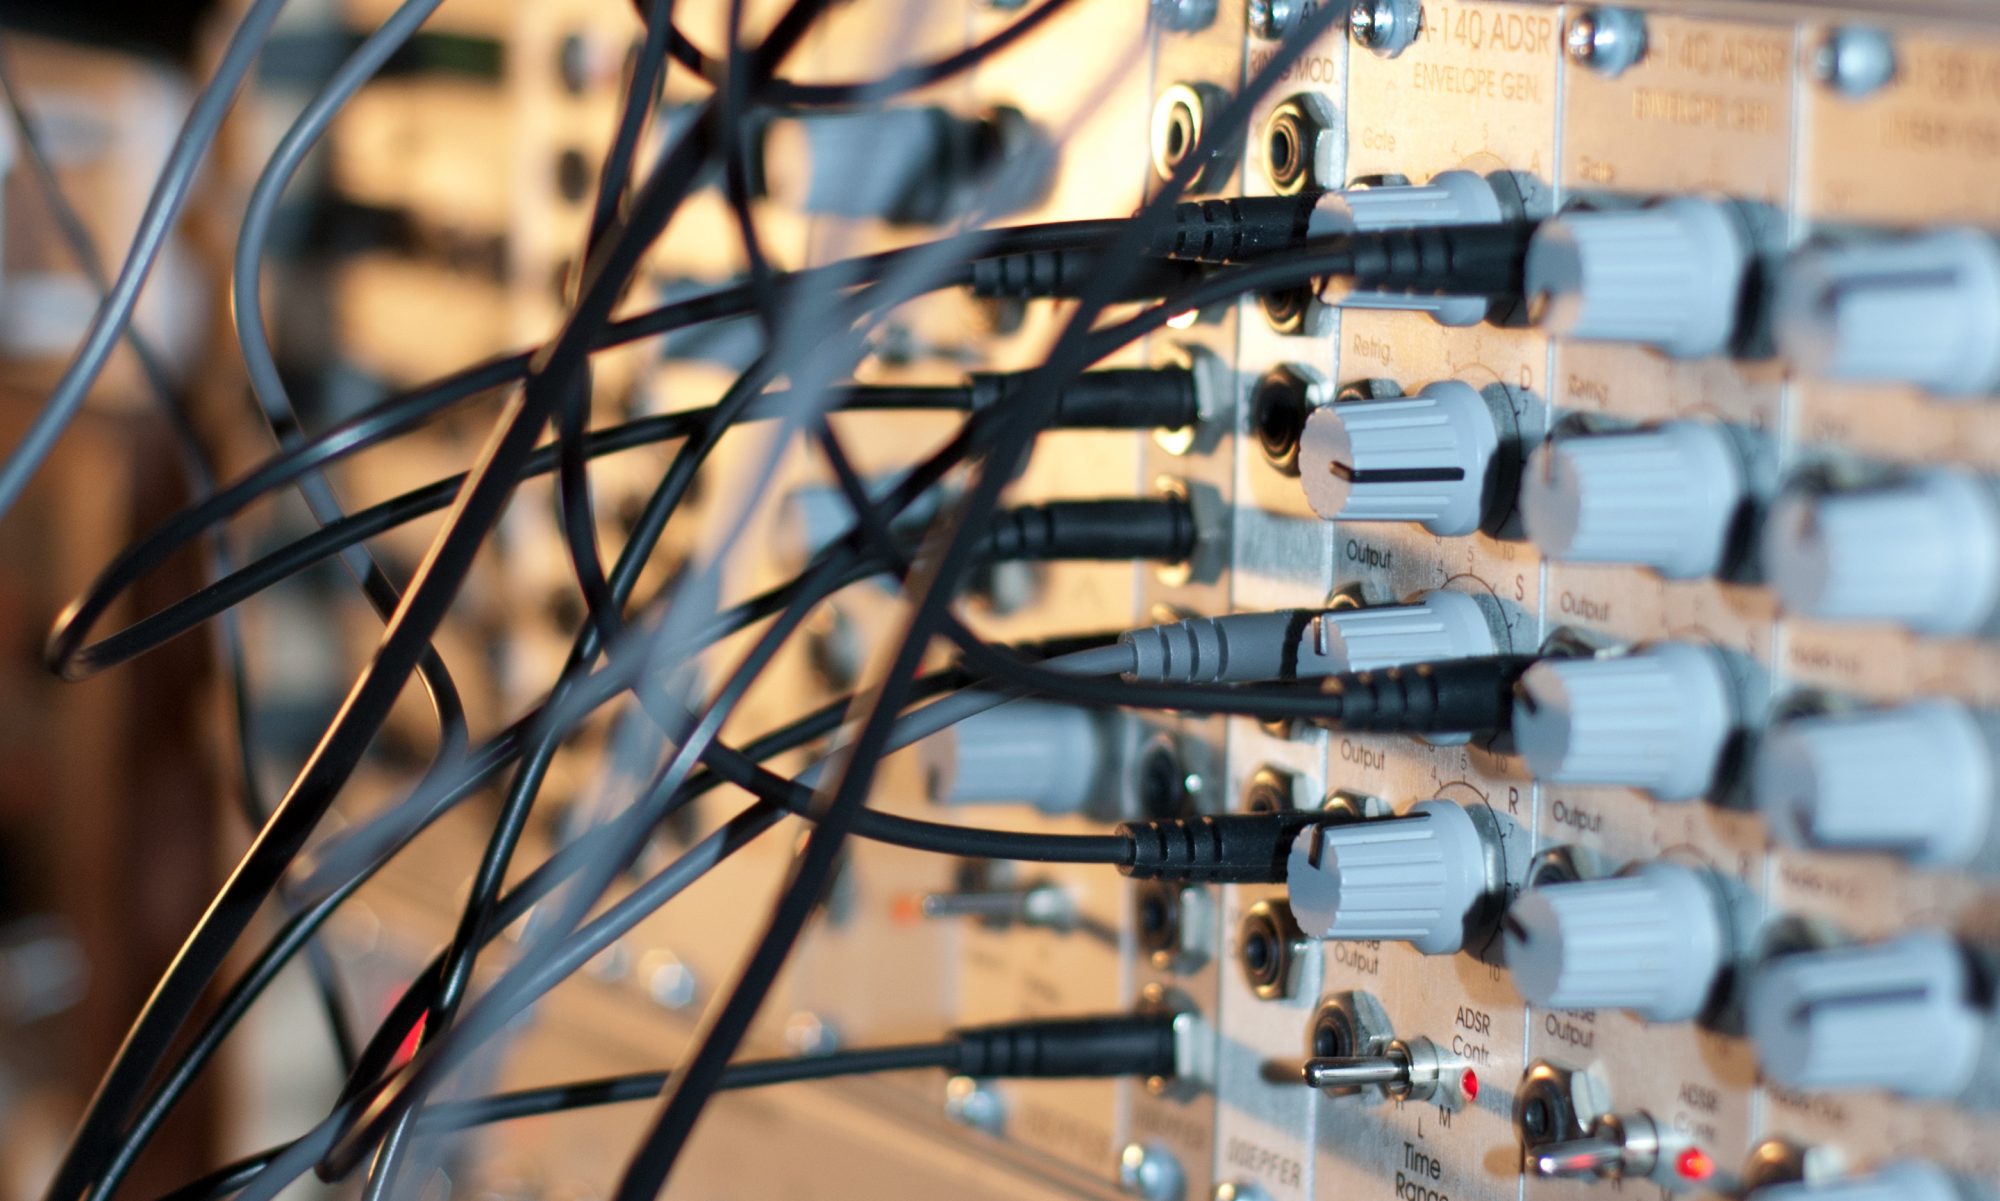
So i started mounting some modules in there to see if it all fit and got lined up etc.
Seems it all fitted with some minor adjustments, but here comes vintage issue nr3 – the left side of the shelf was a bit taller than the right. Which means the profiles dont get the perfect lining i wanted.
I adjusted as close as i could to get some uniformed look, and it looked OK considering this problem i guess. Some gaps a bit bigger than i hoped for, but hey, its not too bad. We’re talking 0.1-1mm here. 🙂
Just as the profiles were mounted and ready, my Clicks&Clocks boards arrived. Just in time (pun intended).
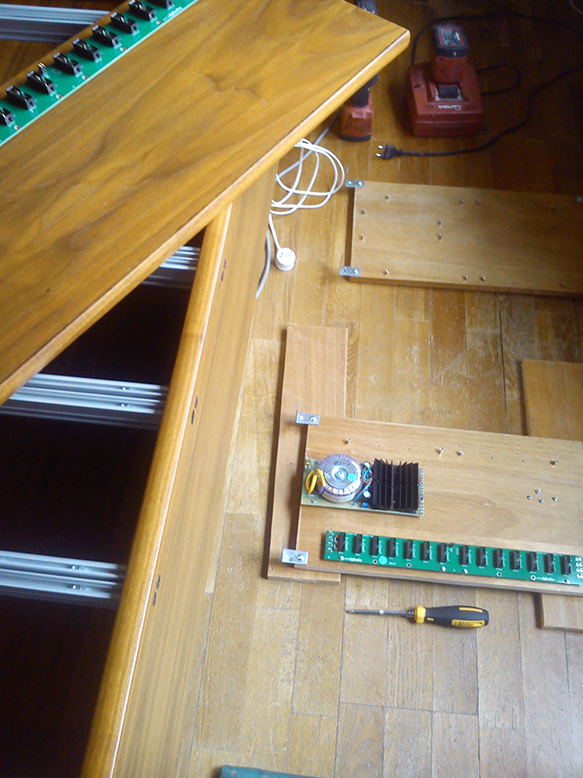
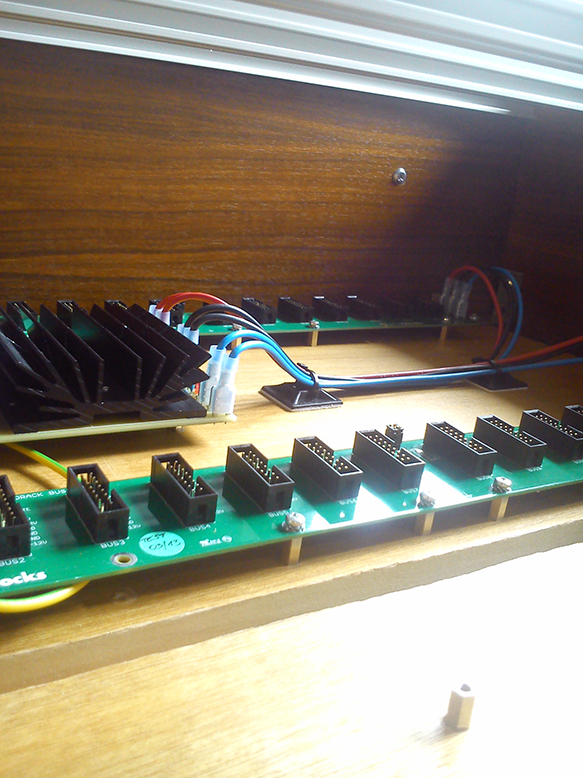
As the shelf was a bit too deep, and the back was only made of this wood, i made some pieces of more solid wood to mount the power on. Also will make it easier to unmount them if needed later on, + that i can adjust the depth of the mounting where i need it to be.
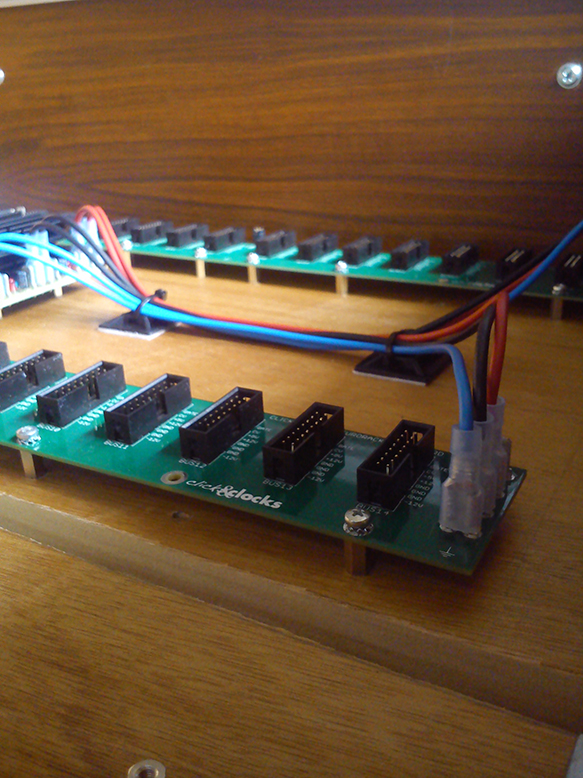
With the power in place, i started with the wiring. Going by the included manual from Stefan, is was all pretty straight forward.
I got to say however, that i got stuck in my mind for a lot of details during this build (i always need to understand everything full out), which Stefan addressed in great manner. I dont think i’ve ever gotten such helpful response ever.
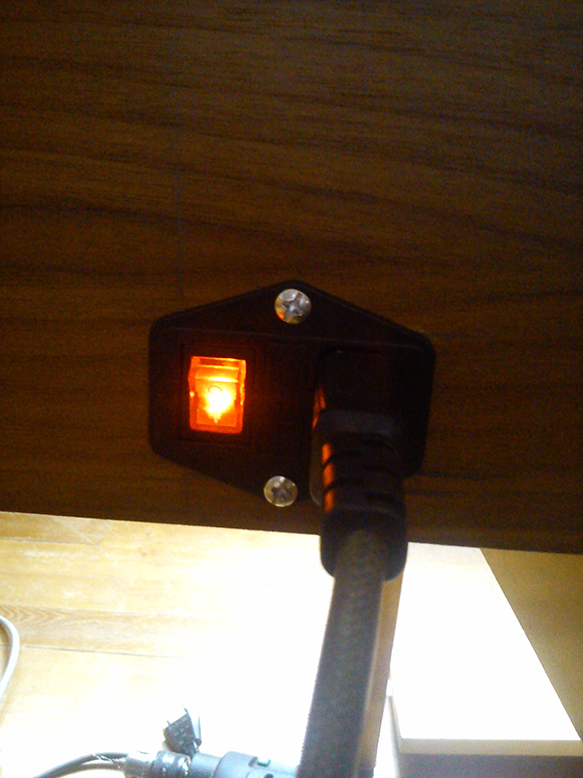
Then, after some careful wiring, and re-checking it all a few times, the moment came. I flipped the power switch, and the LED’s glowed like they should. Checked everything with the multimeter and it gave me the thumbs up too!
Puh!
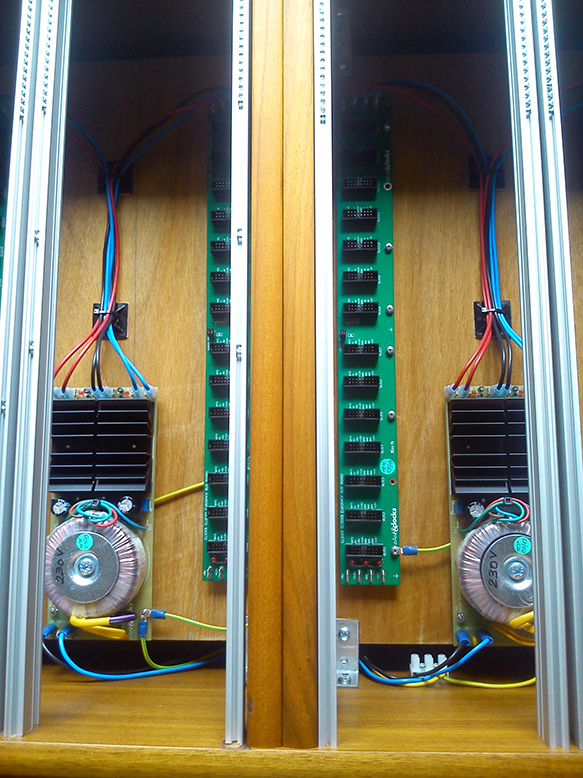
Finished up the rest of the wiring, as i tested 1 PSU section at a time. Wired it all together, and it worked. The joy!
I have plans for a third section of PSU and 2 busboards, though this would be enough already for a while.
However, after doing this, i got tempted by doing one more modular housing. Already have plans for another at some point. This was fun, and now i know what to really think about for the next one!
– Rickard Steffensen