The prototype of the power supply is almost done. Just a few parts missing. Once it is completed it will be tested and the output voltages will be adjusted. I am curious to see if it works as expected. Some notes about the PCB. Before I ordered the boards, I send an email to Doepfer asking if it would be allowed to sell the superfluous boards. Dieter Doepfer answered me, yes I can sell the boards if I make sure that the boards are not from Doepfer and any warranty is covered by myself. He also answered some questions about the boards, which was very helpful. I think I will send him one of my PSUs to ask for permission again. I don’t want to get in trouble because I am copying his intellectual property.

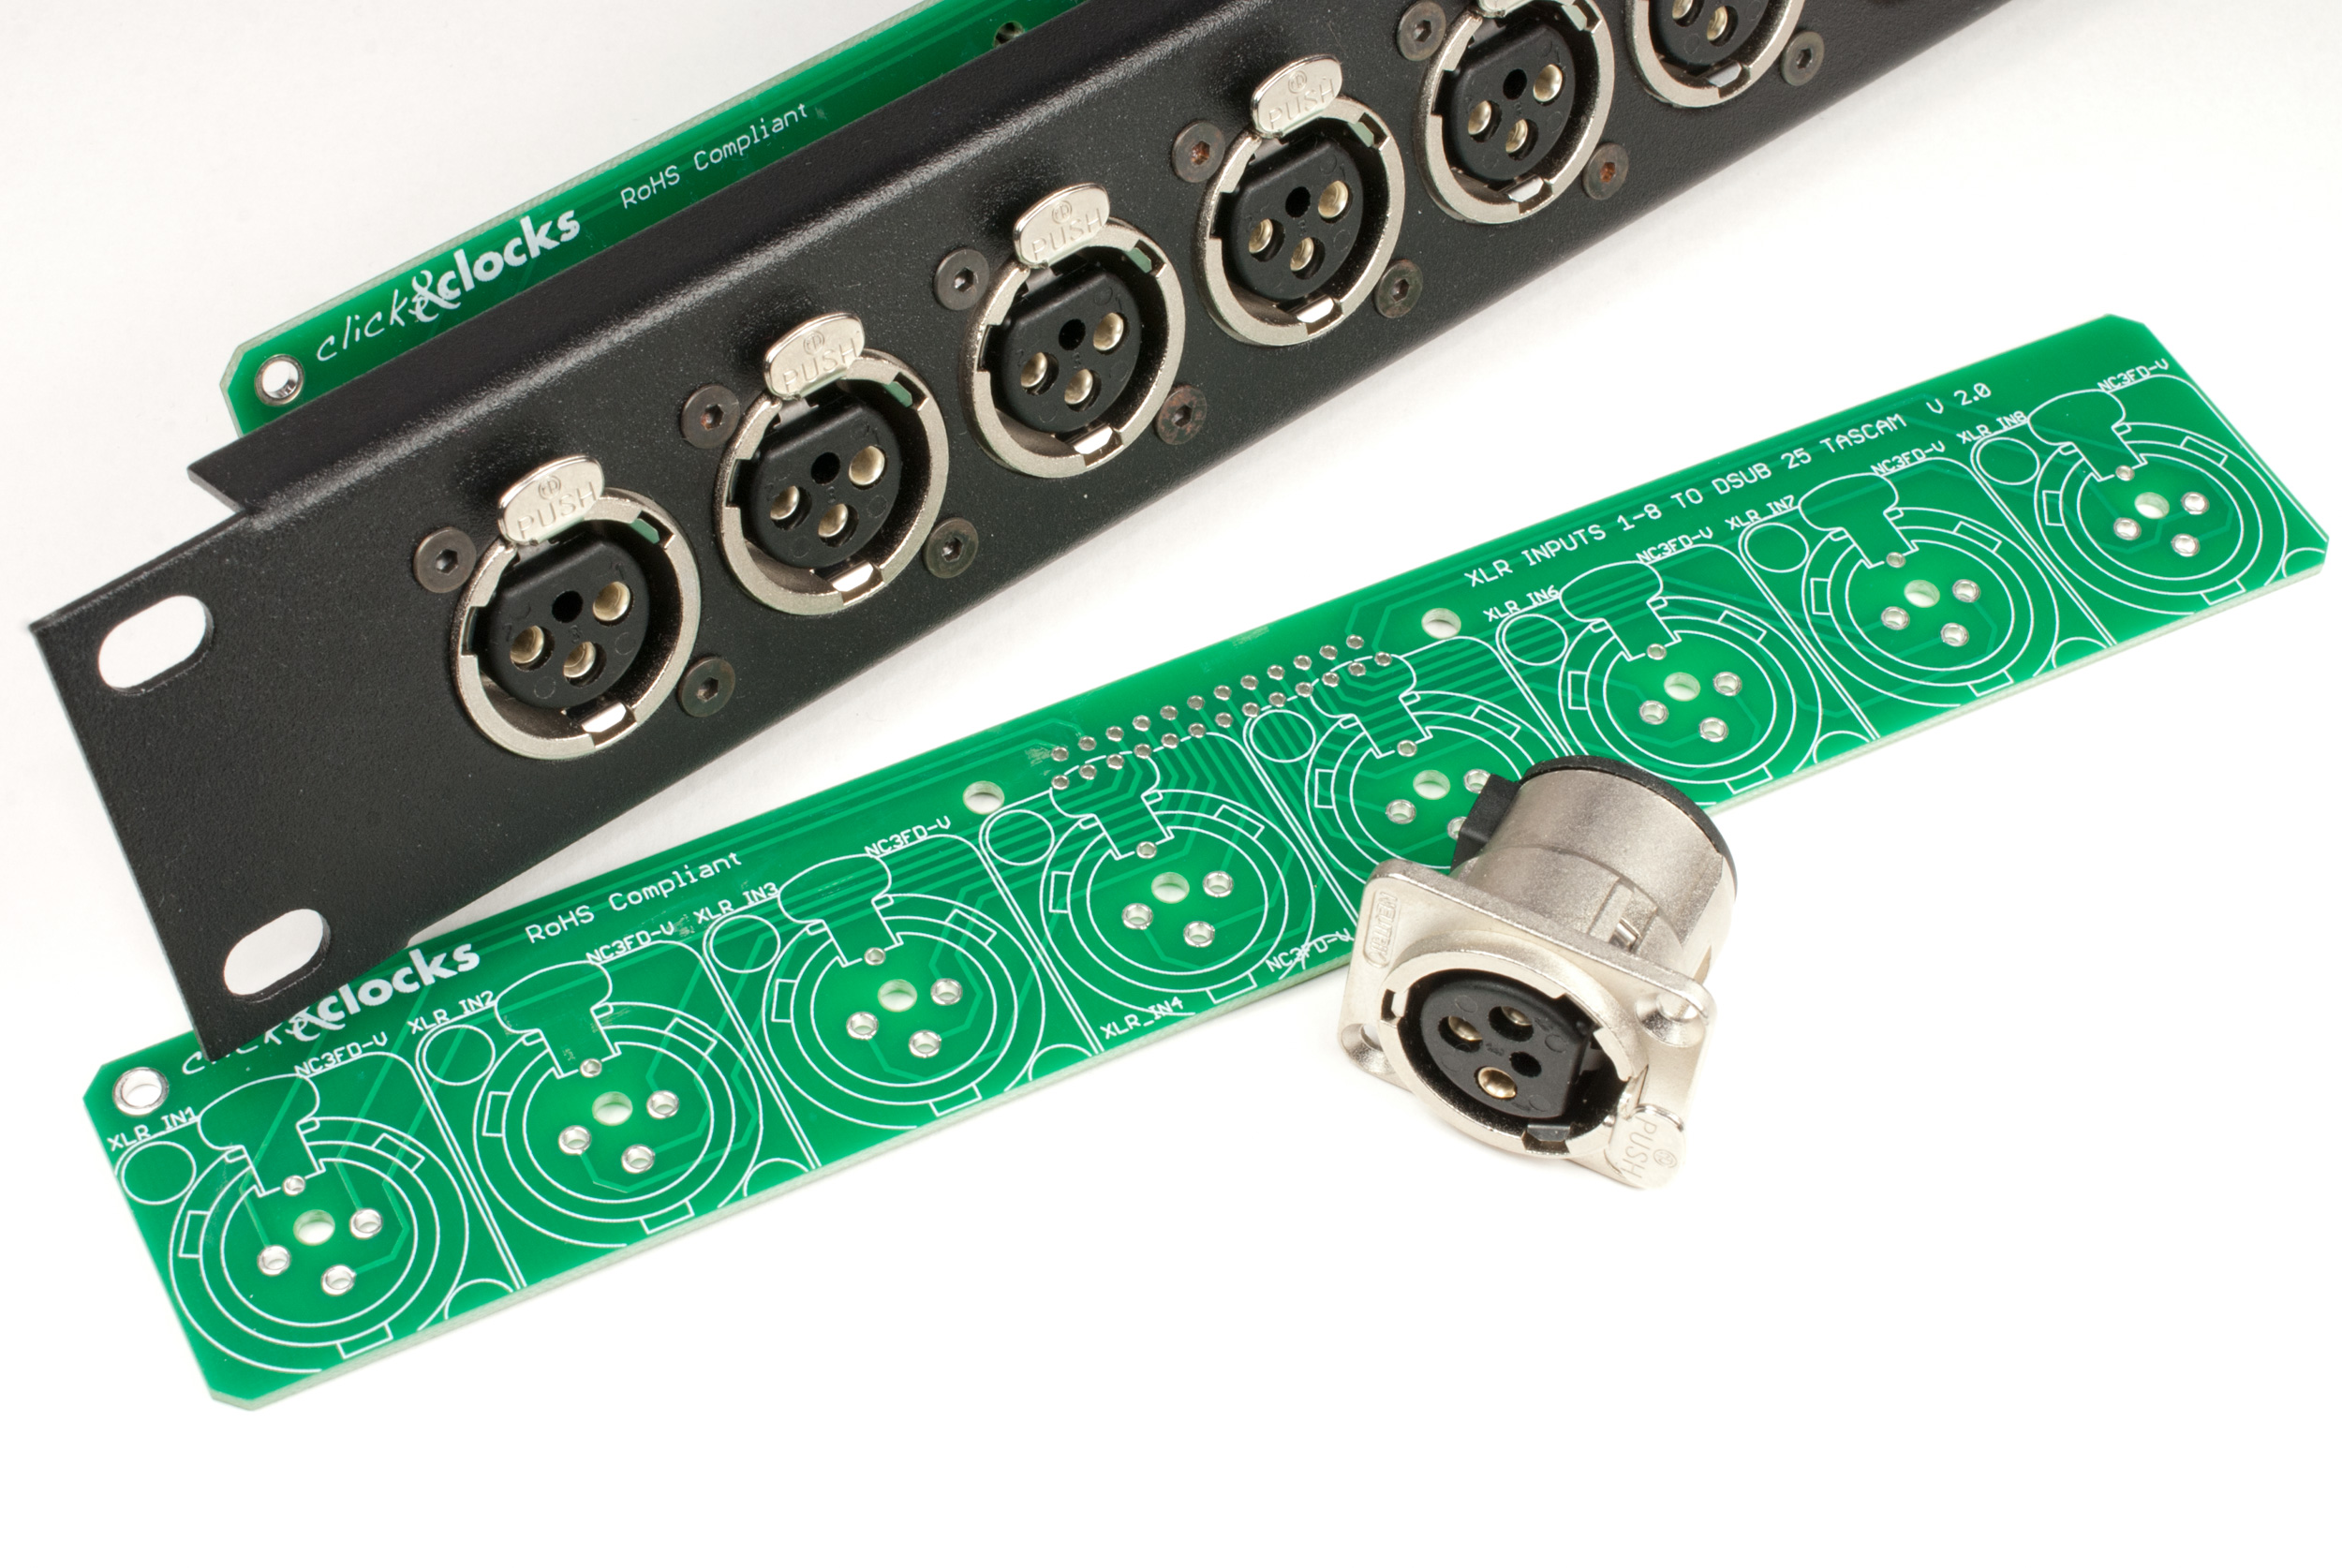
Time to focus on the next steps: The Busboard. My case will need eight Busboards. The PCB layout is finished for quite a while. It is a double layer board. The top layer is used as ground and the bottom layer has the traces for +12 V, -12 V, +5 V, Gate and CV. The layers are a bit thicker than usually, just to be on the save side. As some Eurorack modules need +5 V I decided to add a 7805 circuit to the board to be able to power them. The boards will be ordered soon.

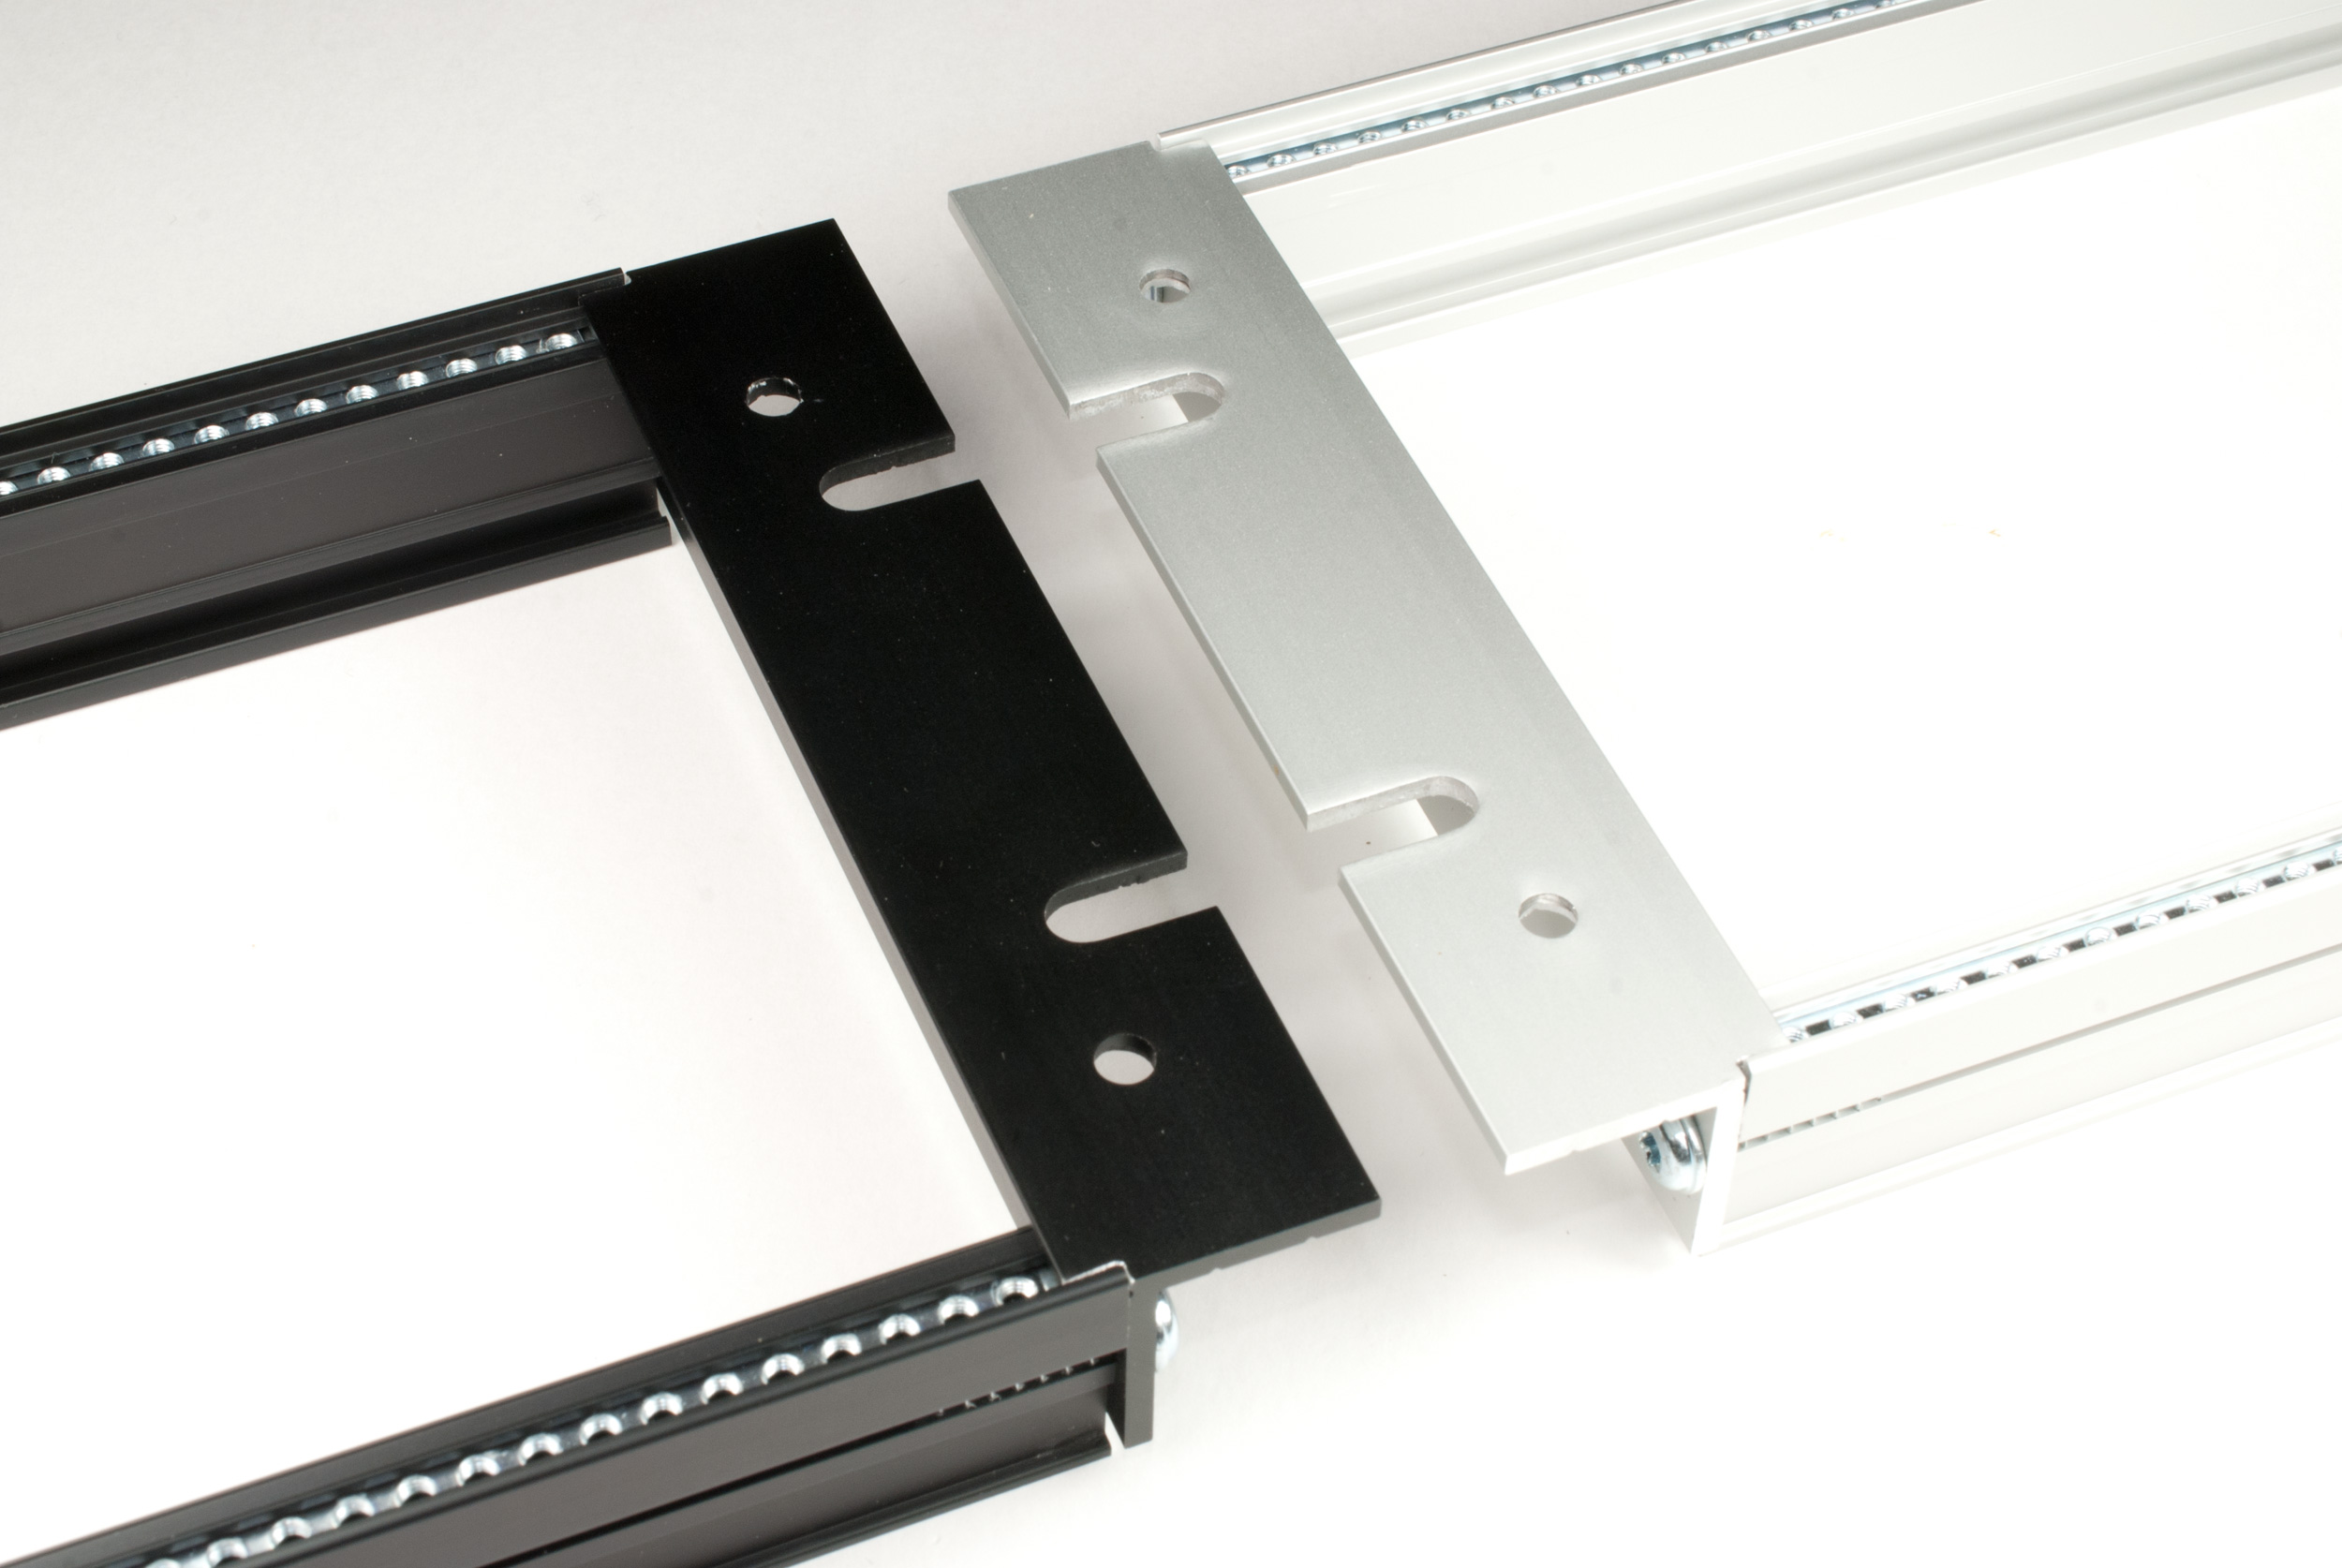
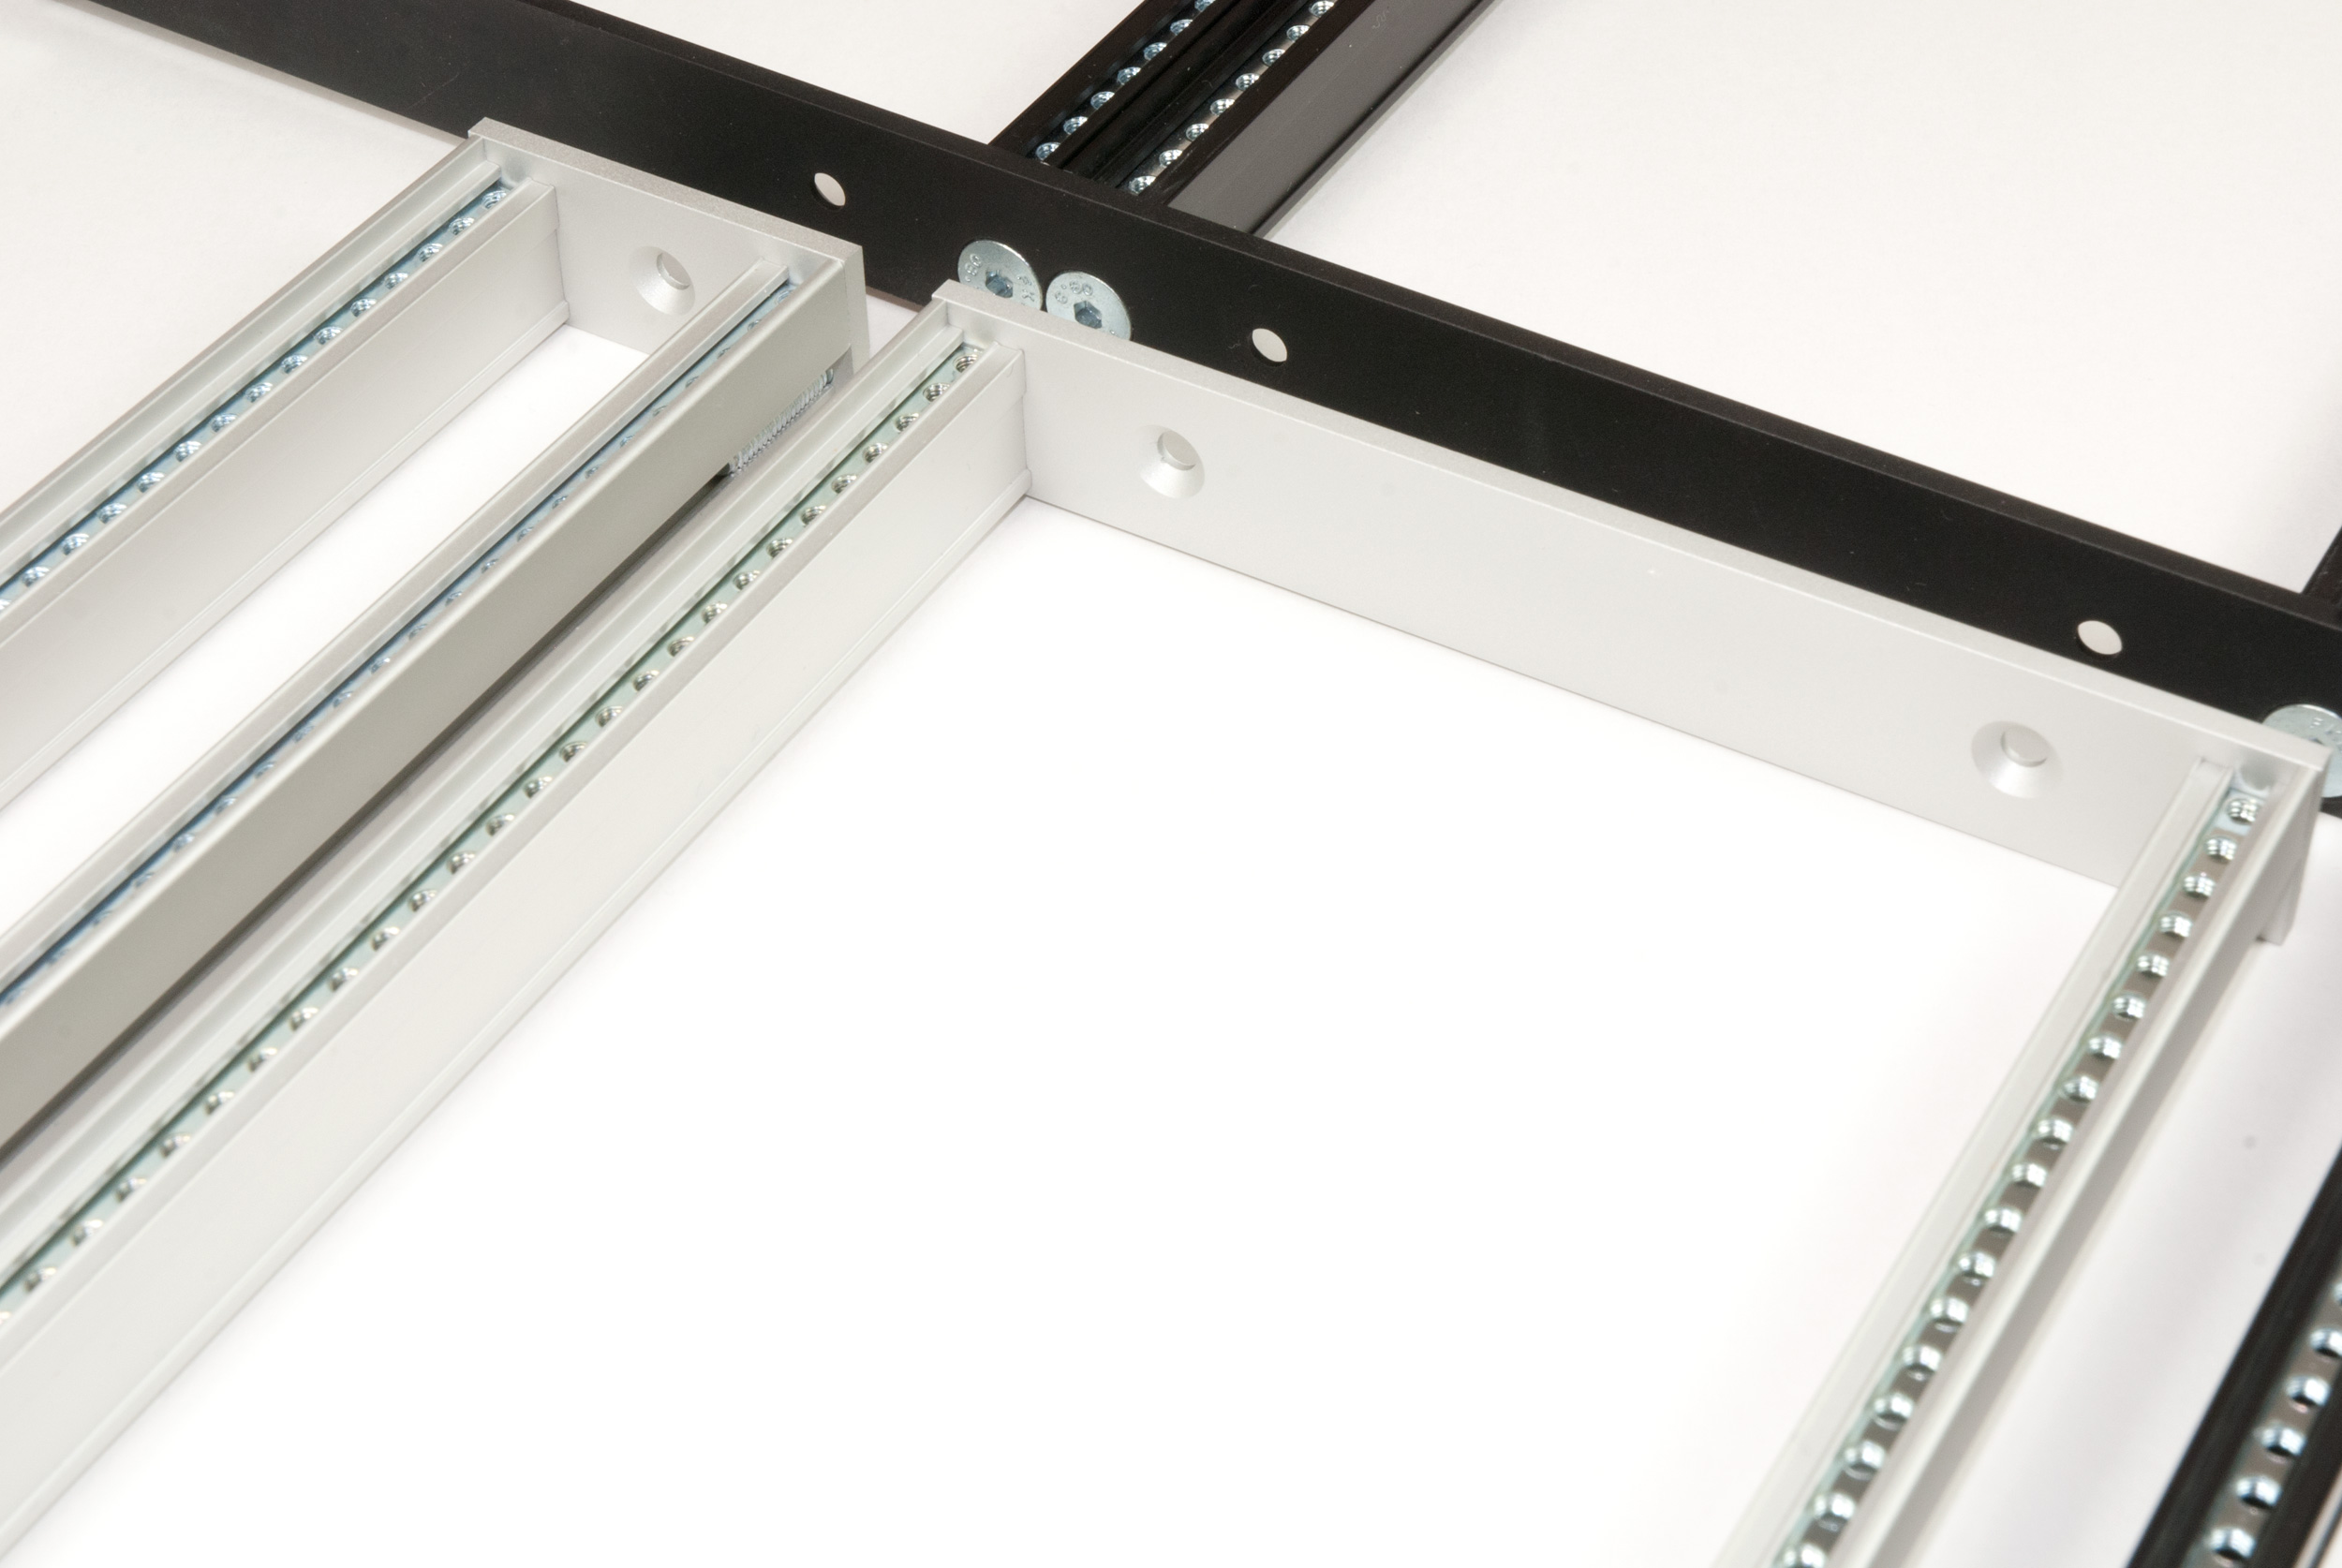
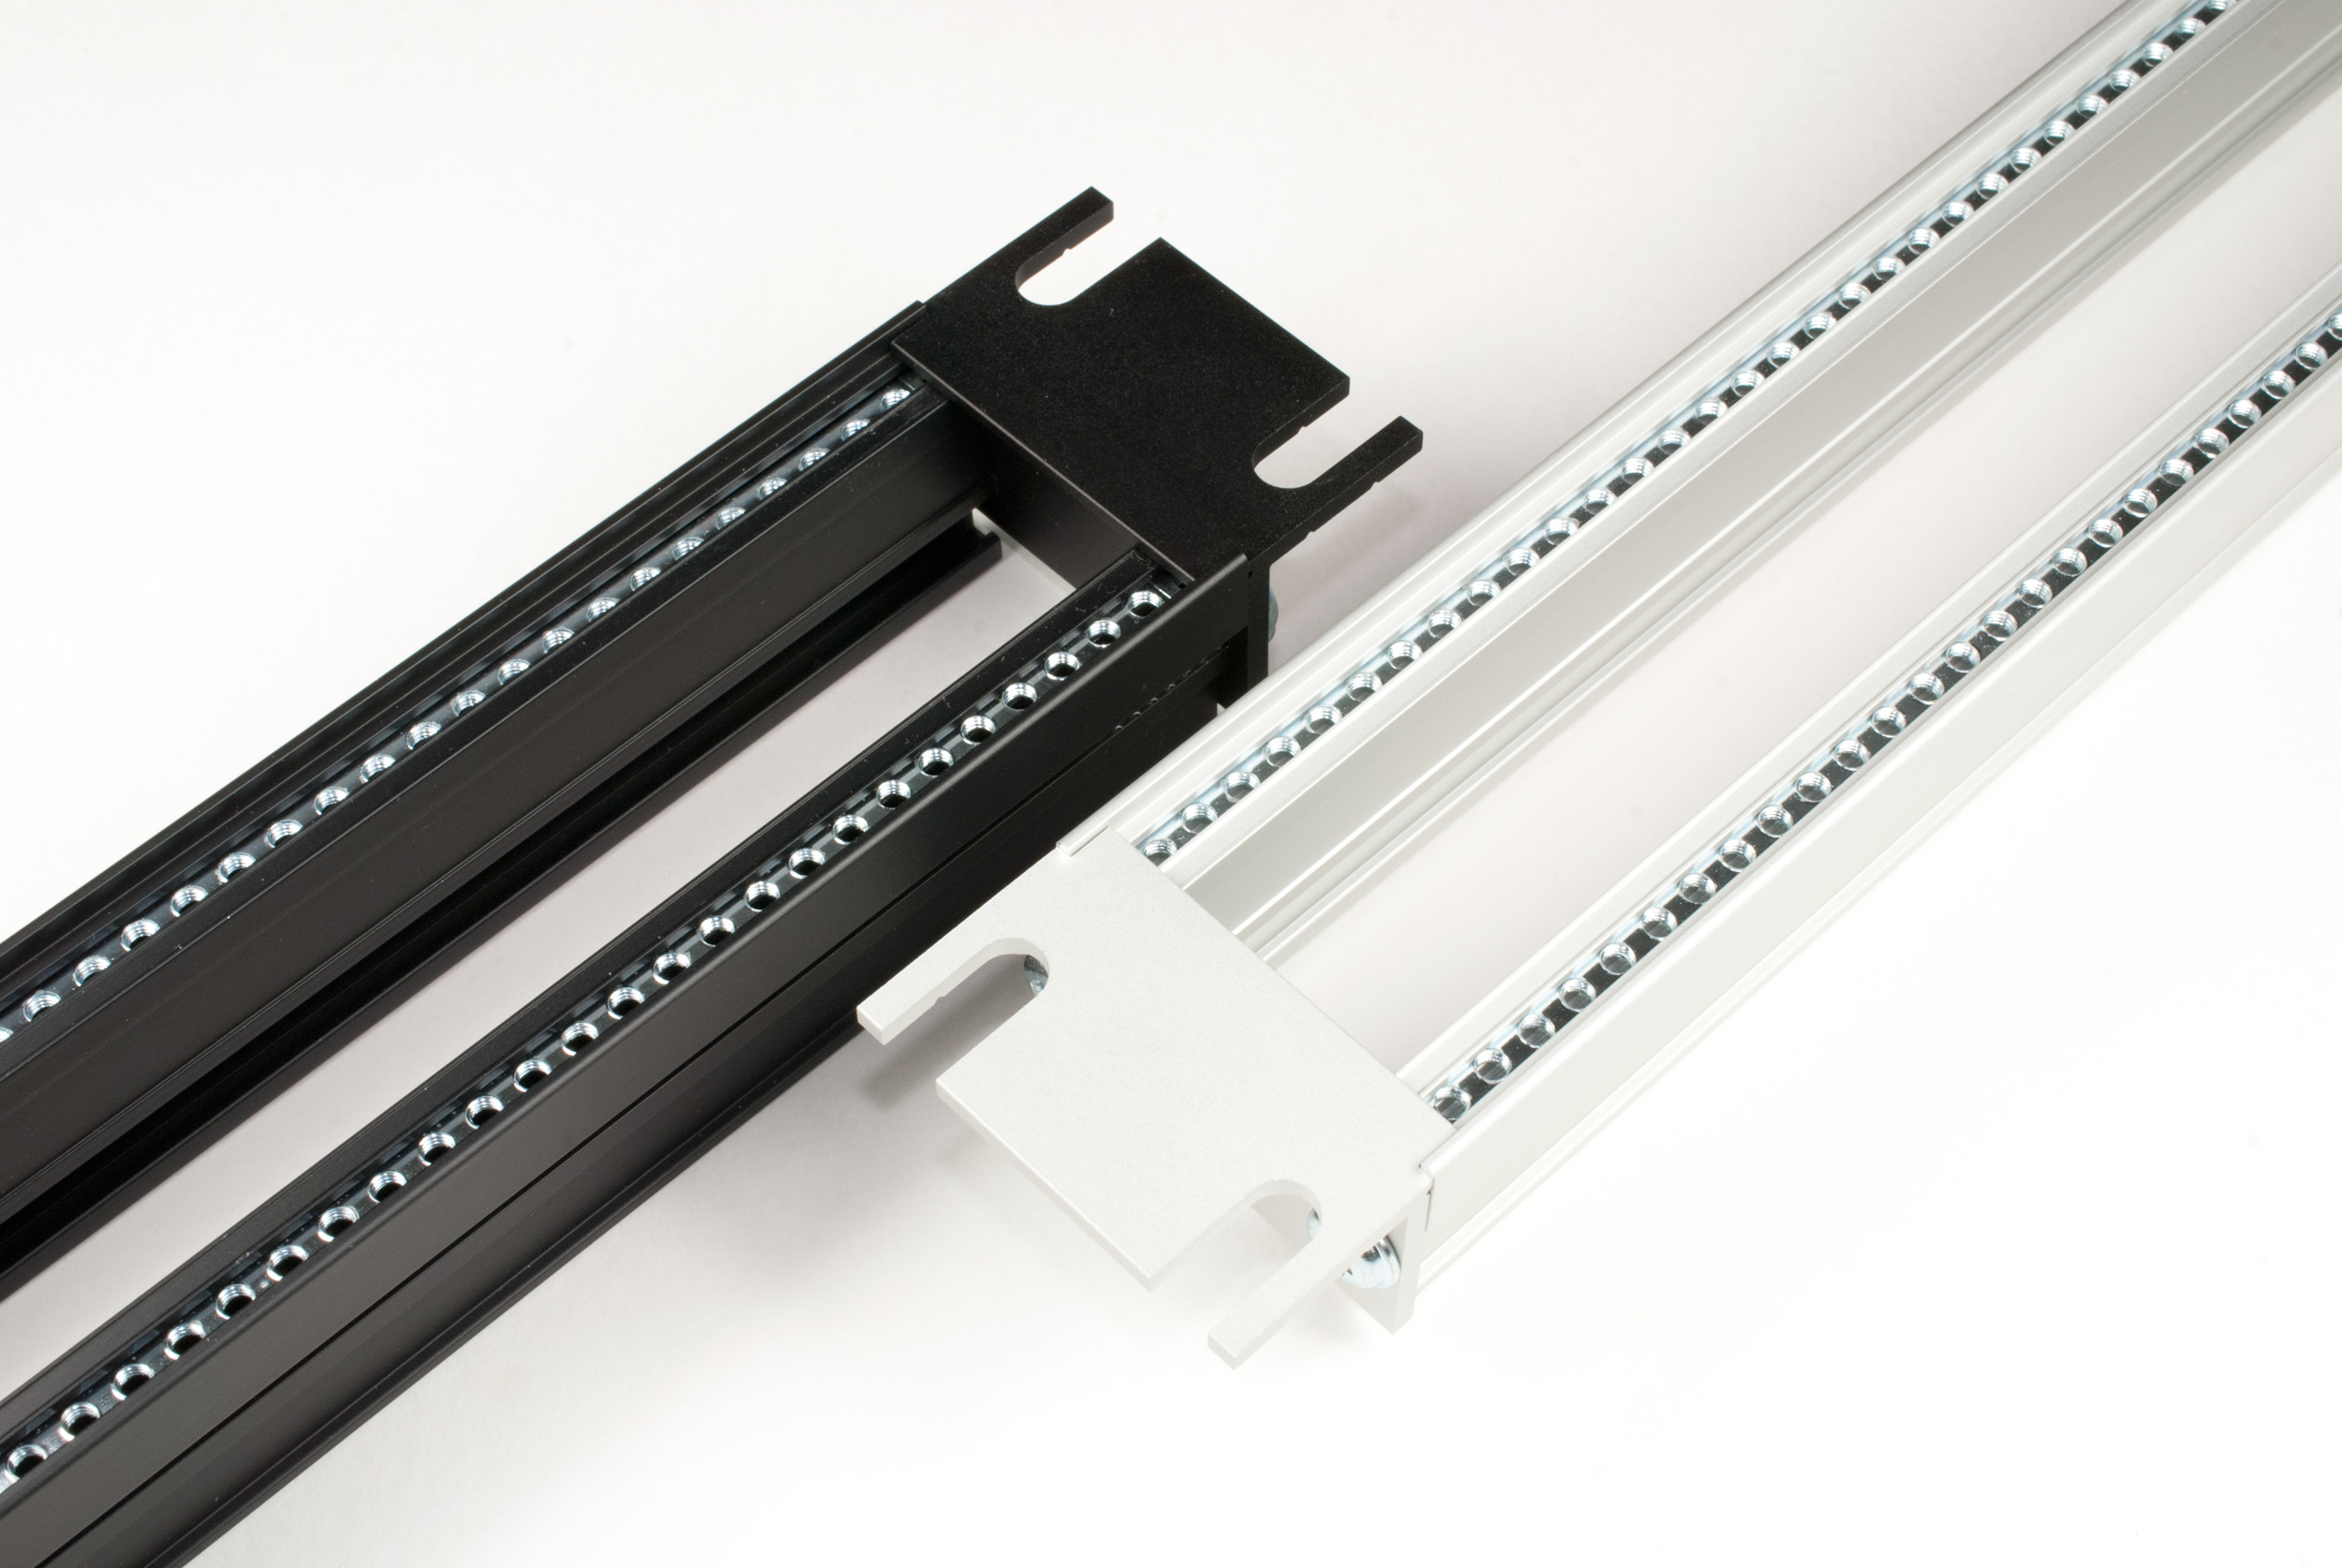
The rails and other parts for the case were ordered today at Gie-Tec. The four rows of the case are double 19 inch which adds up to a total 672 HP. The case should have wooden side-wings and an aluminium housing, which should be powder coated. This is the rough plan. More in short.
DIY Eurorack-Case, the Power Supply Boards arrived

Today the PCBs arrived and I had to start soldering one immediately. You will notice that the layout is similar to the Doepfer PSU. I tried to develop a complete own board but I have to admit that the design is compelling. The circuit uses the LM 317 and 337 adjustable regulators, they deliver the +12V and -12V, a ringcore transformer, a bridge rectifier and a few other parts. I tried several layouts with this parts, but the Doepfer layout is the best. I think they perfected it over the years. I know that my board is a copy though but it was still a lot of research needed to get all the parts together and finally create the layout. As I will need at least four PSUs, I decided to let the boards be produced by a company. But this only makes sense if you order more than 10 or 20 pieces. So I might have some “in stock”…
First I have to finish my prototype to see if everything works as expected. Then I will order the parts for the “serial” production.
")
DIY: Creating a Eurorack-Case from scratch
This post was about the beginning of my DIY case journey. The next steps can be found in a more recent post as the journey continues.


If you want to read the full story, here are all the posts:
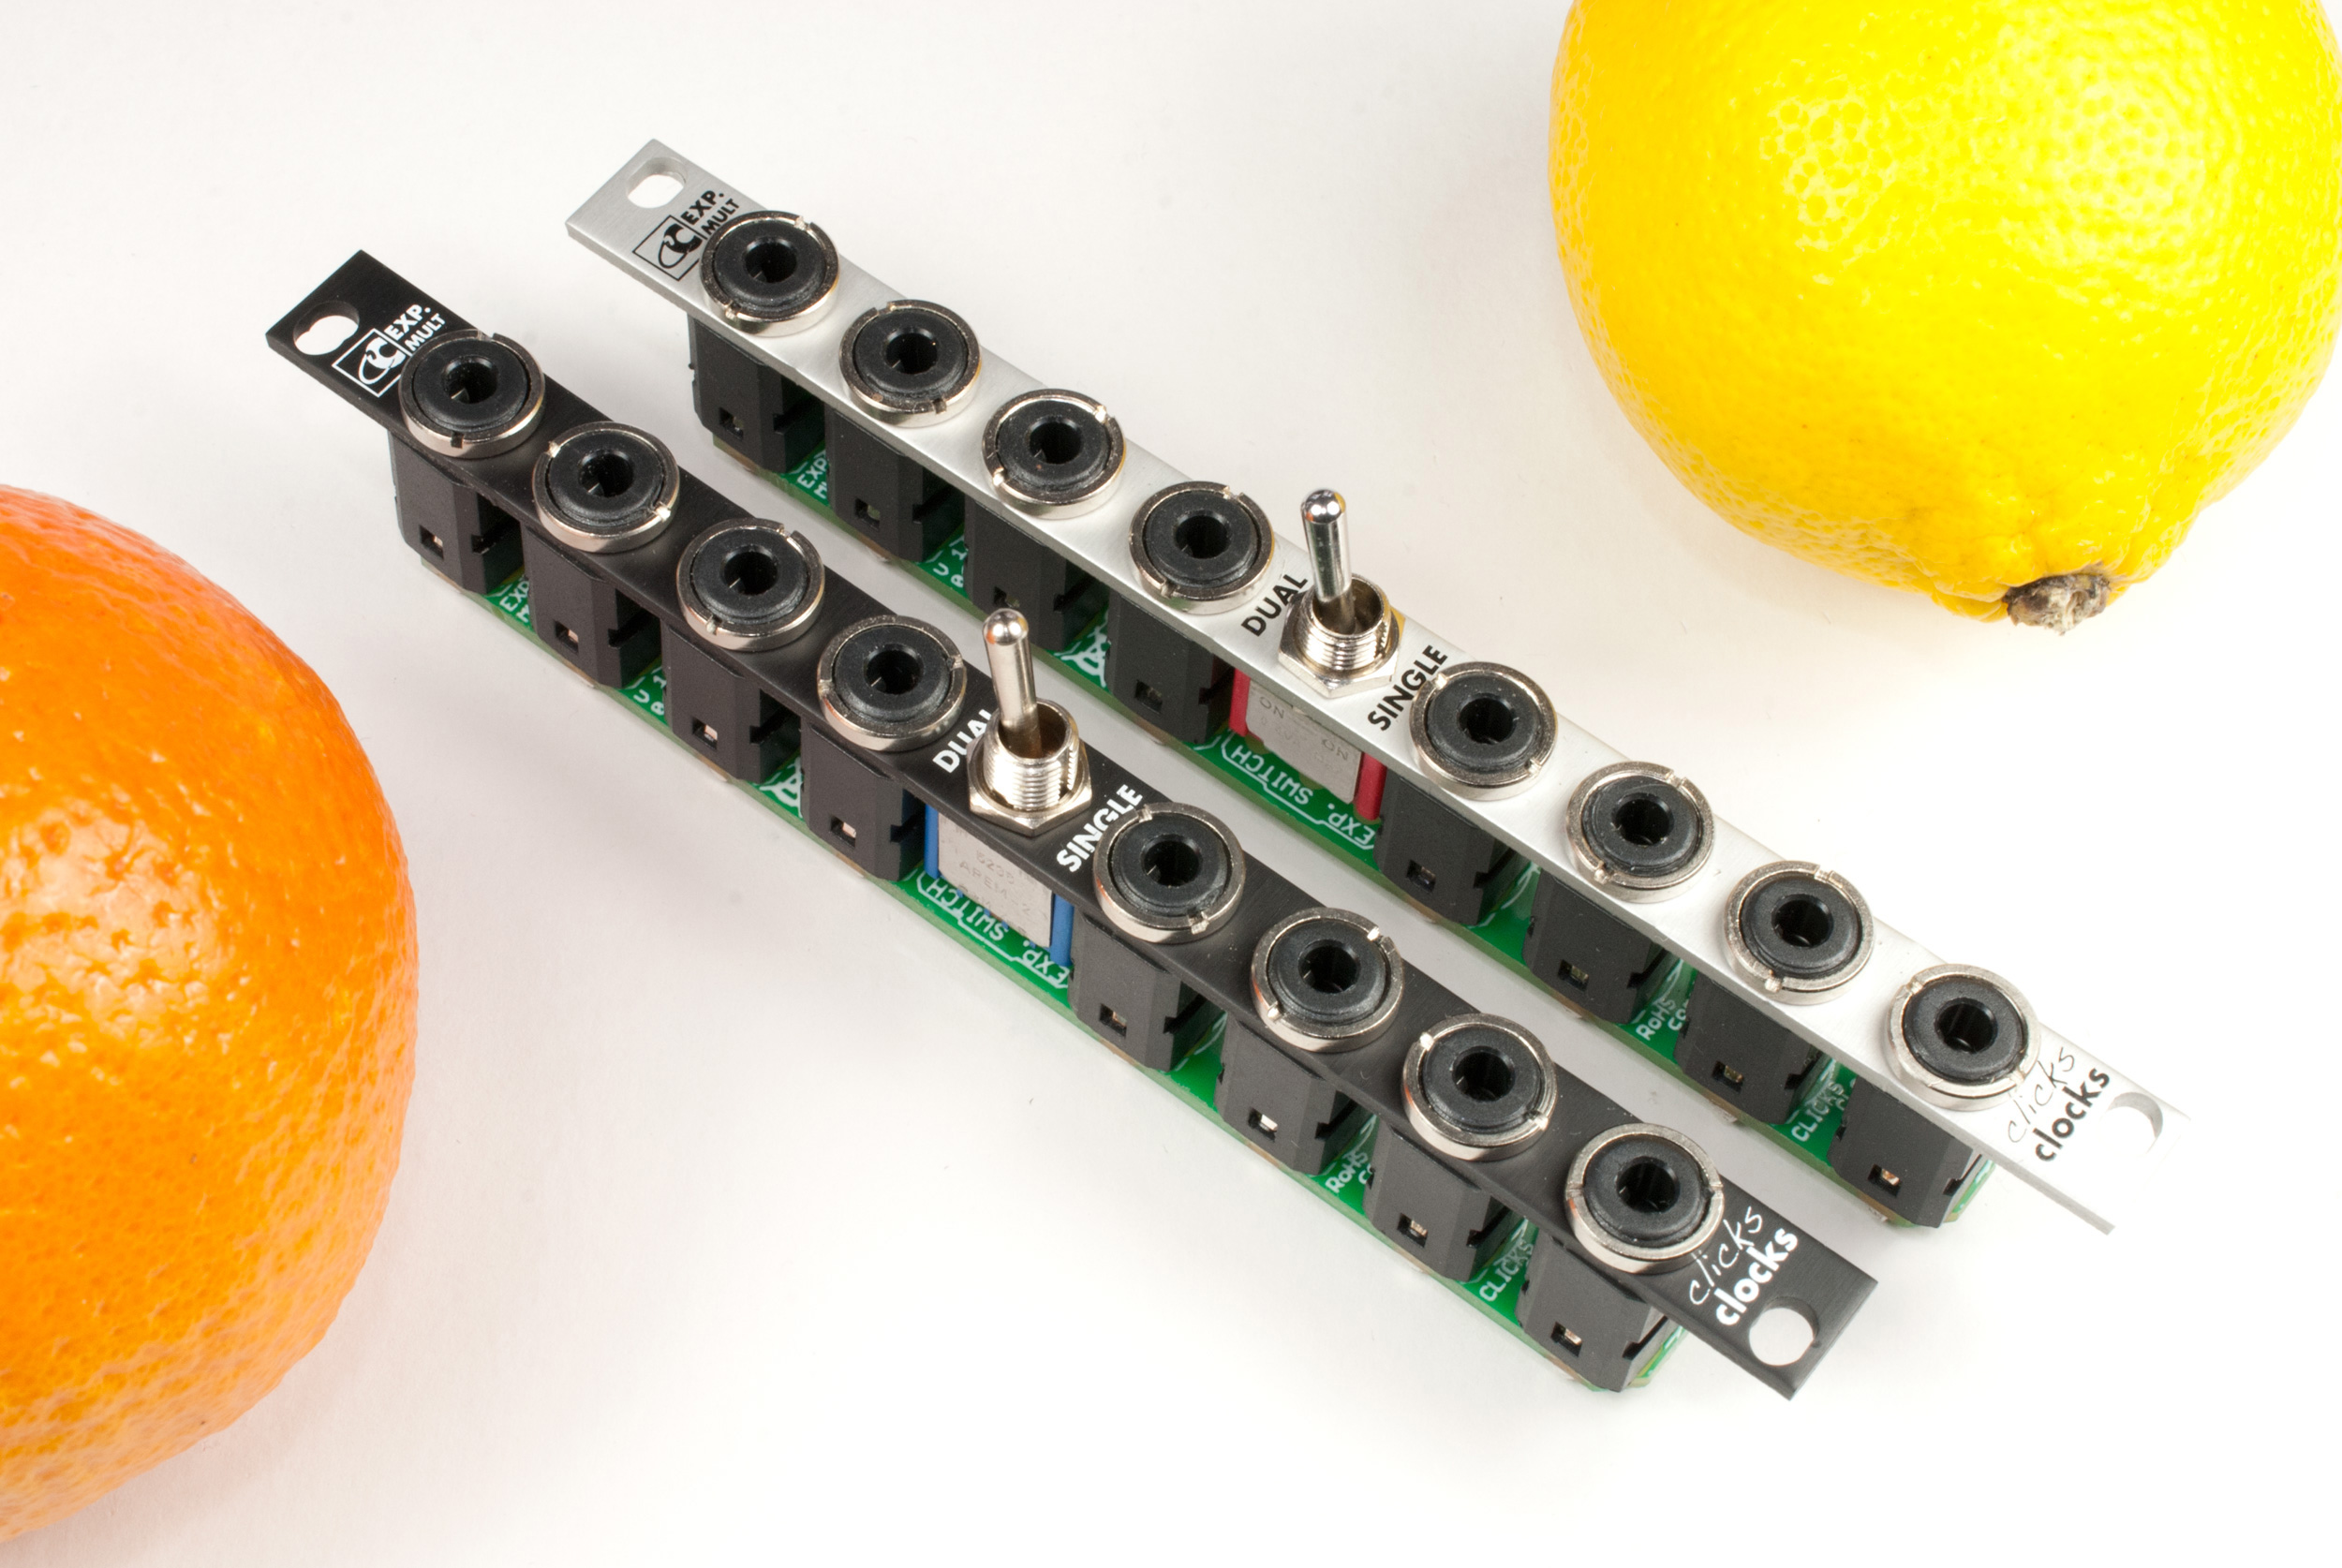
Clicks, Clocks and Cycles
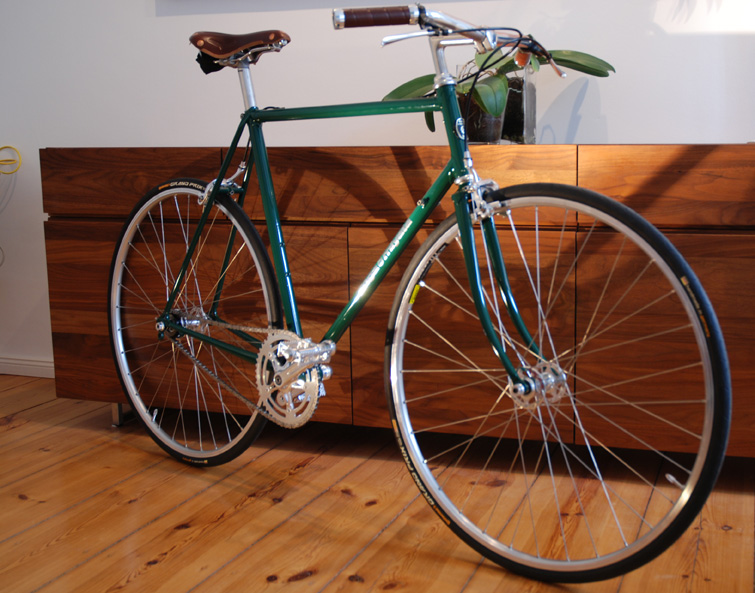
Why trash a beautiful old bike frame if you can create something truly unique? How to reuse it with new components.

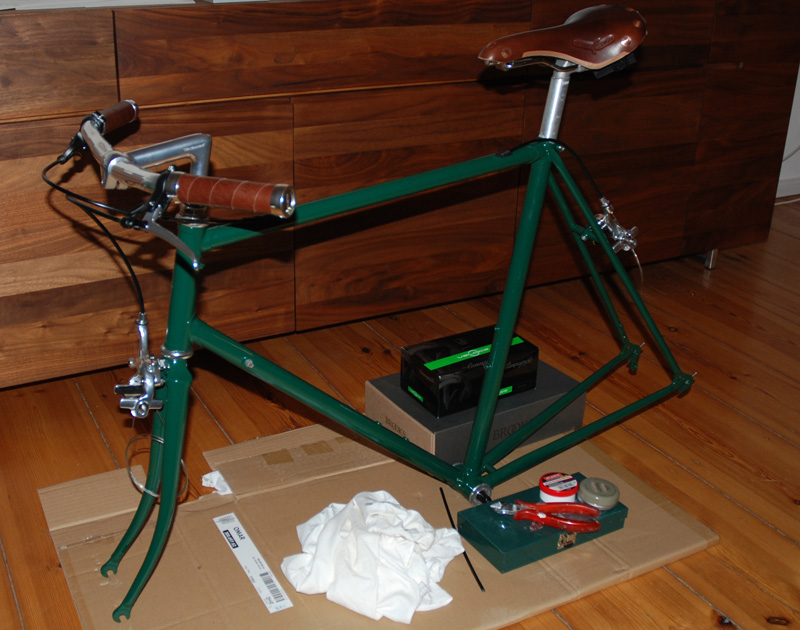
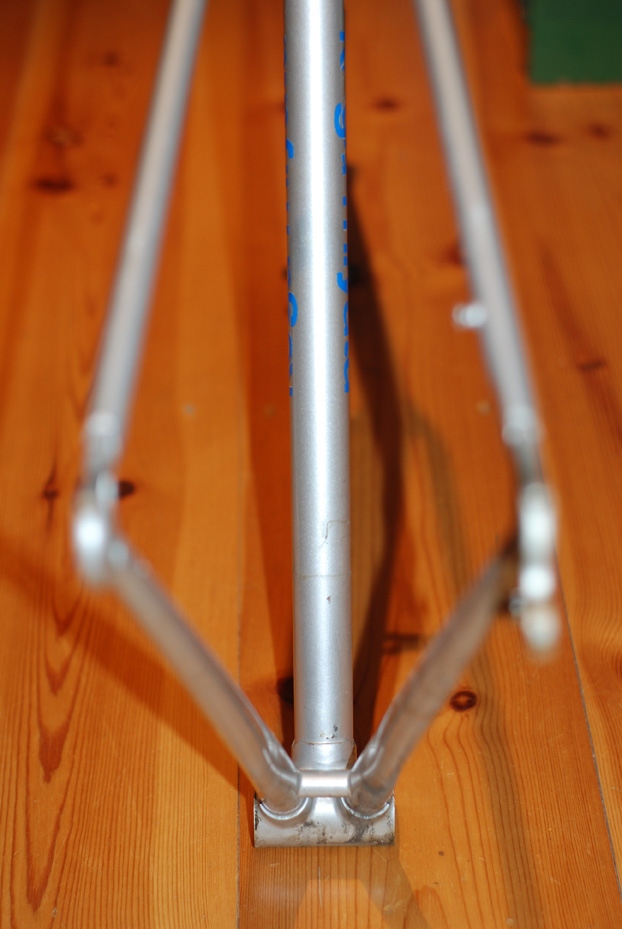
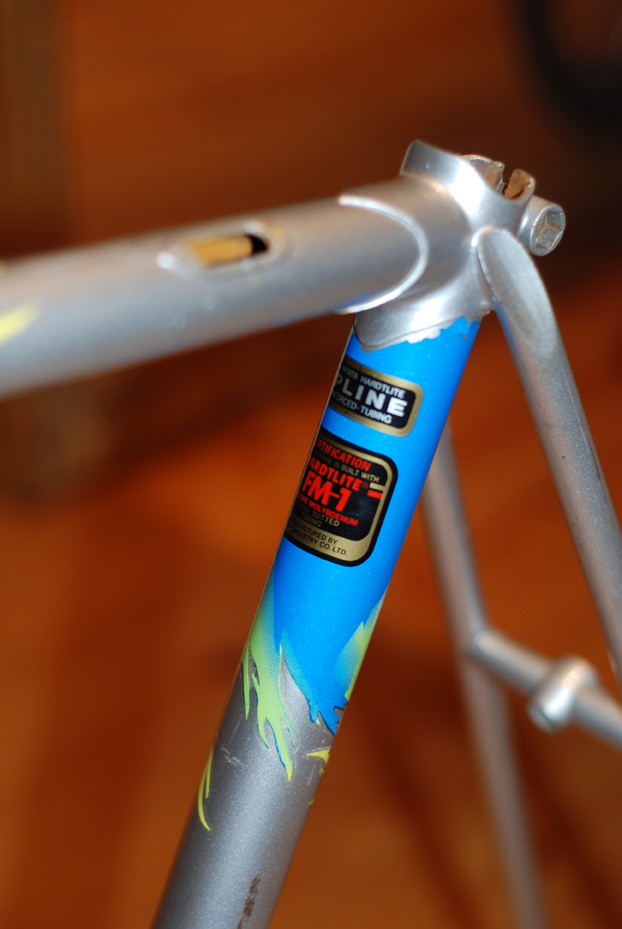
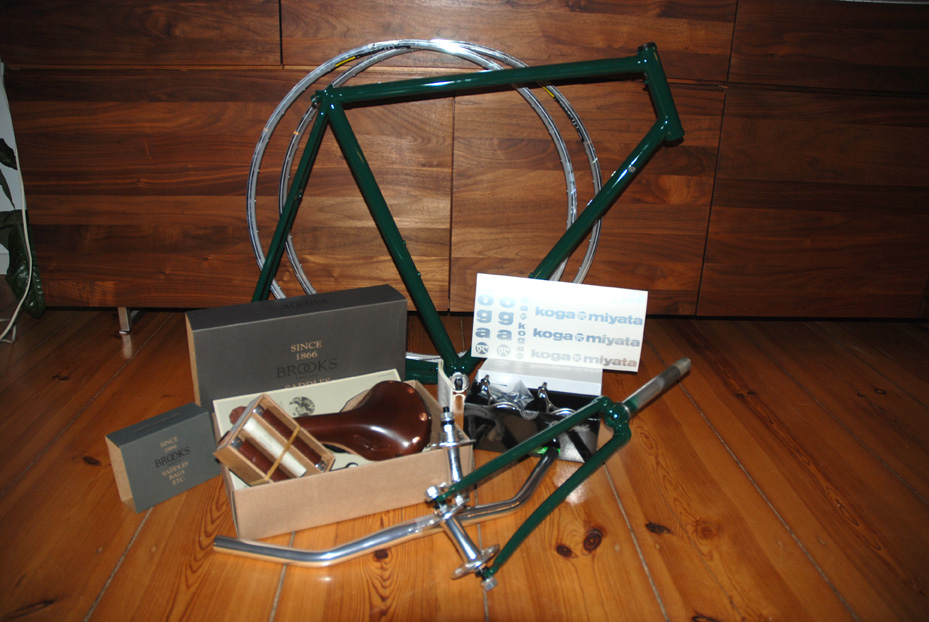
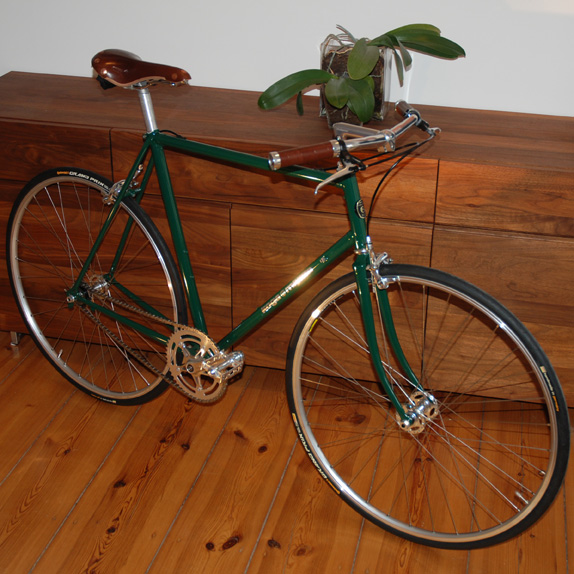
Okay, modern bikes have up to 30 gears, grip shift, and use materials like carbon. Ever tried to fix it yourself? Quite some time ago I started a project which is a bit different and has nothing to do with music and synths. Few years back I bought a used Koga-Miyata Flyer racing bike on eBay. I guess it is from 1990. I knew that these bikes are great, because I already own one since 1992. The quality of the frame is outstanding. It is made of a triple butted CroMo (chrome molybdenum steel) tubeset and is hand crafted by Miyata in Japan. I love this kind of old-fashioned frames. But the old coating was a matter of taste. Hipsters might like it as it is, but am I hipster? No!

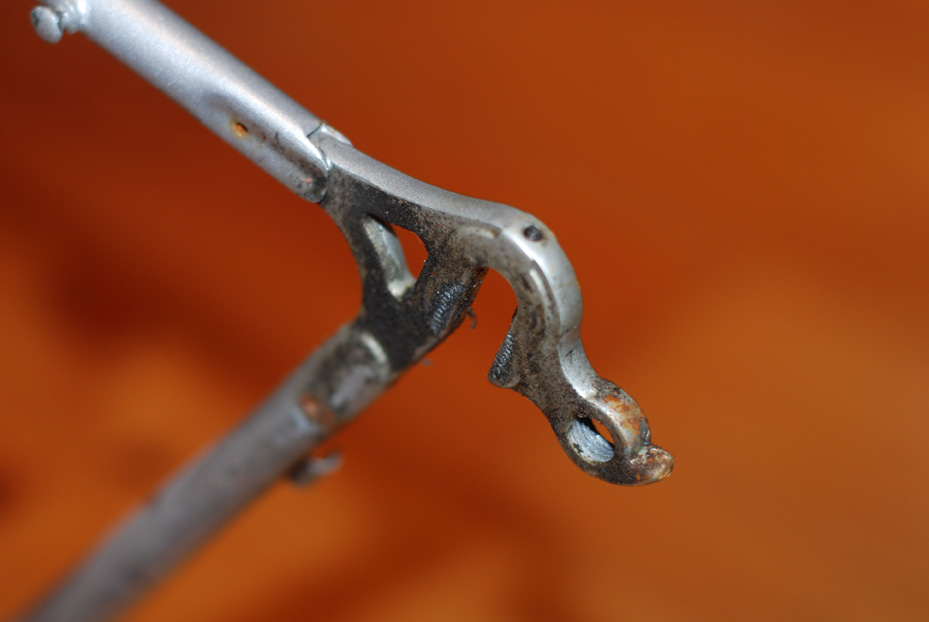
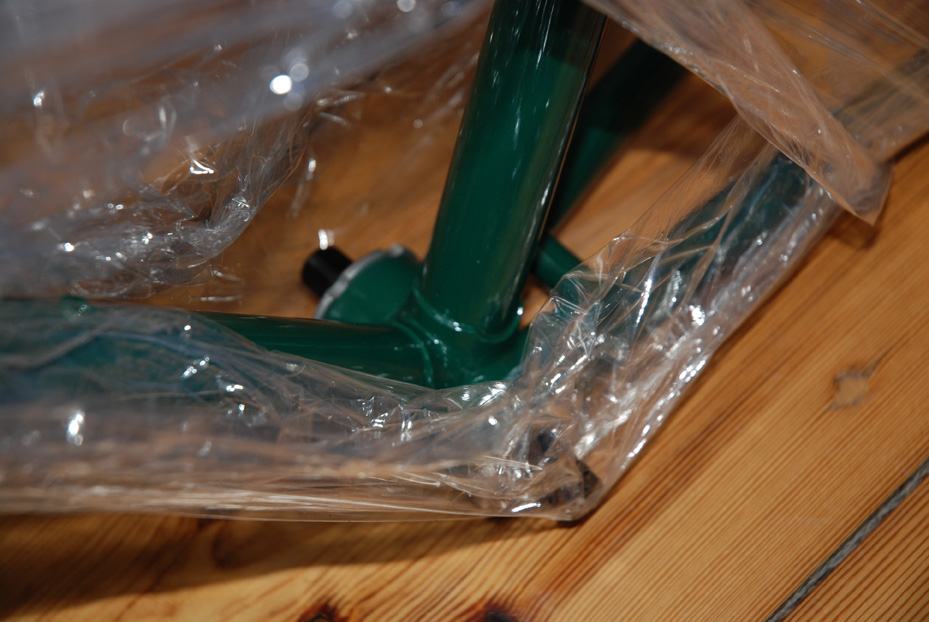
The idea was to rebuild the bike as a single speed retro-like bike. So I started to remove all the old components which was mainly a Shimano 600 Ultegra set. The frame should get a new coating in a BRG (british racing green) like color. I decided to use RAL 6005. But where to get it powder coated? After a bit of research and a reference from a friend I decided to get it done by professionals. Color Your Bike was the company of choice. The guys are very helpful. They removed the headset before the coating and fit it in after, as I was not able to do it. Special tools etc. They do every kind of repairs on bikes. They offered me to change the dropouts to fit for a single-speed, and they could remove the brackets for the old gear shifts as well. But I wanted to keep the frame as it was. The powder-coating they did is a very good work. The frame was completely sanded, then it got an undercoating, RAL 6005 and clear coating on top. Frame and fork look like new.
Components
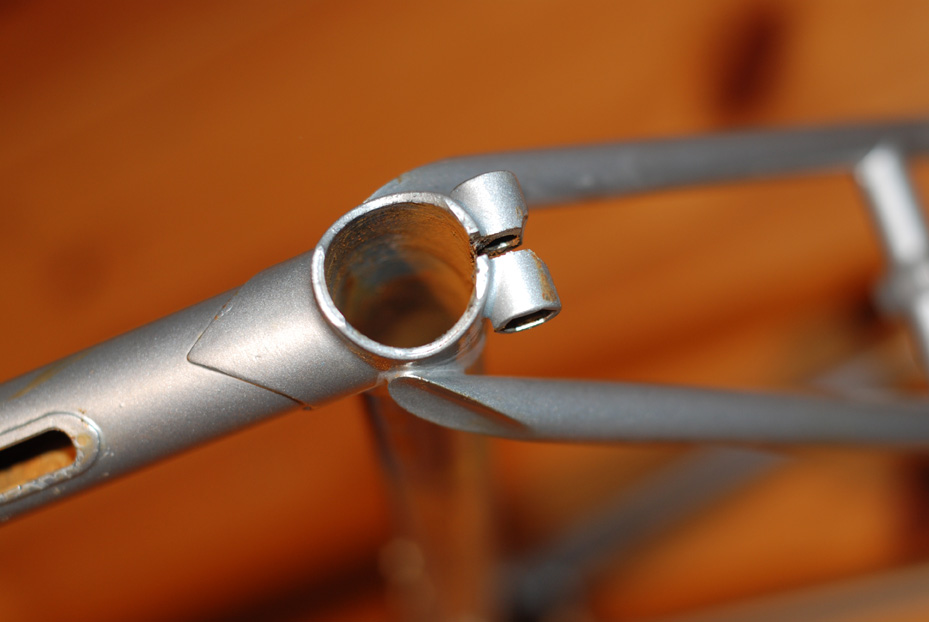
I am not an expert in all the mechanical details on bikes, so the research for the components took a while. Especially as some measures are not common anymore these days. I also thought I could use the old stem, when noticed that 26 mm is not an inch (of course not). Seriously, how can you have handle bars and stems in 26 mm and inches, it is just 0.6 mm difference?
Anyhow, I ordered the parts mainly online. I did this with mixed feelings as I usually support my local dealer, but the prices of the online shops are not beatable. Precisely for this reason the wheels were assembled at Zentralrad, my preferred local bike shop. They were of great help in any question.
The wheels are made in 3-crossing (3 cross) style. I was thinking of 0 corss for the front wheel because it is more fancy, but for stability reasons I did not. More on wheel-building.
I ordered all components at the following online shops. I can recommend them all. Fast delivery, good prices, friendly service.
- http://www.bike24.de
- http://www.only-highend.biz
- http://www.singlespeedshop.com
- http://www.bike-components.de
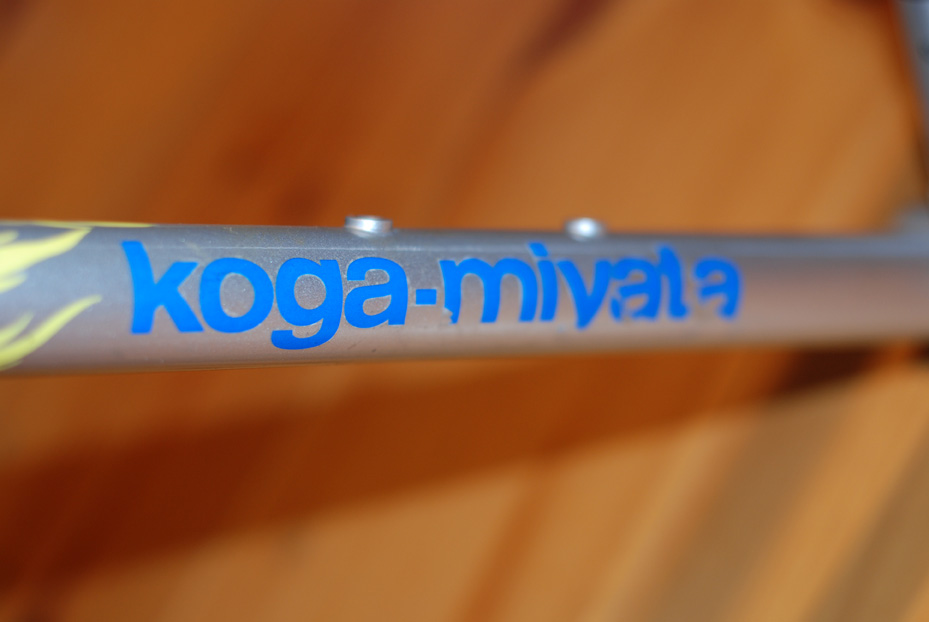
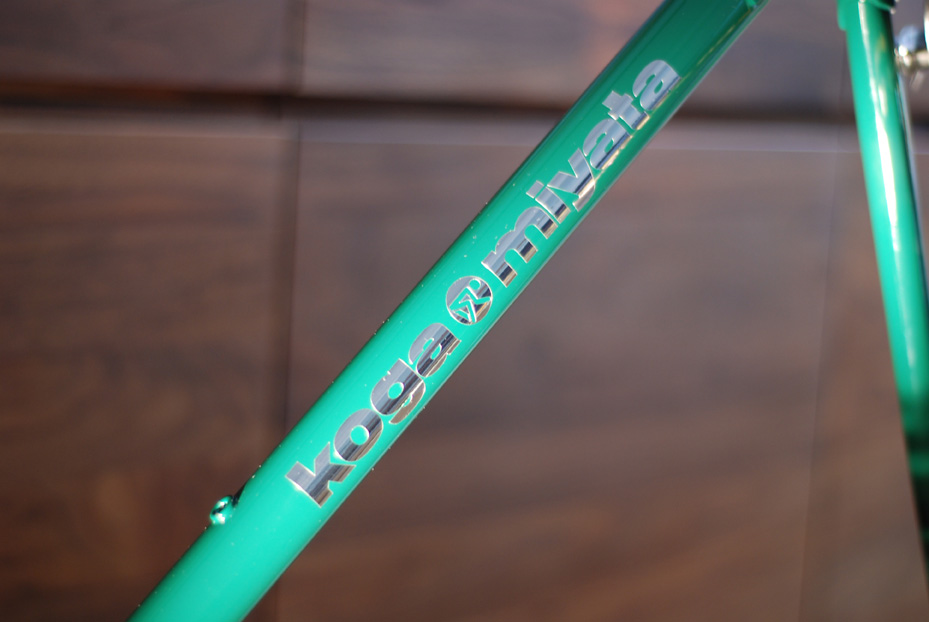
I really liked the fact that I was able to get Koga-Miyata decals on eBay. I know they are not original but they are of good quality and people should see what kind of bike it is/was.
List
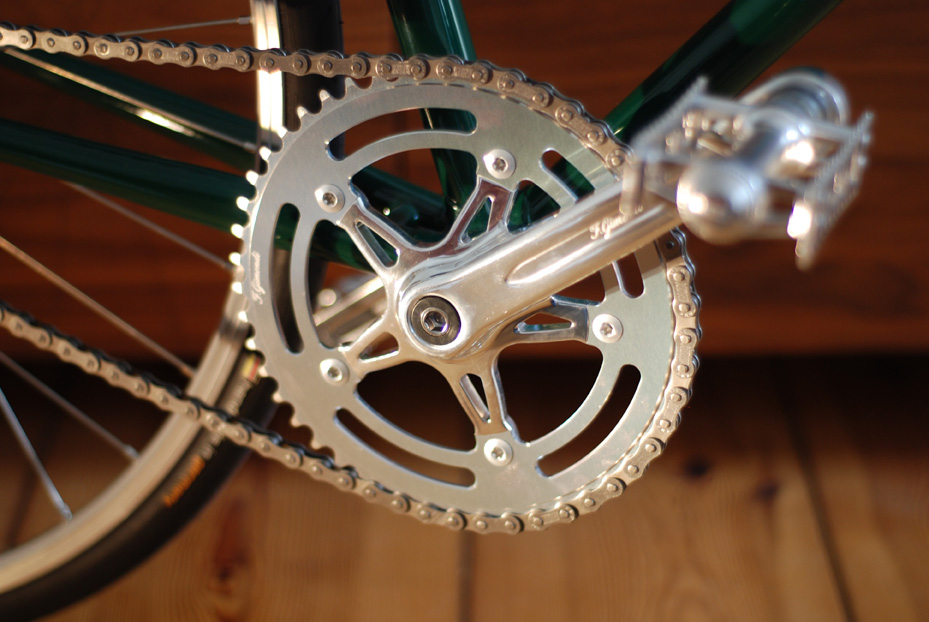
- Bottom bracket – Campagnolo, Veloce, ISO, silver, 34,6 mm x 68mm BSA 1,370 x 24 TPI
- Brake lever – Tektro, FL 750, silver
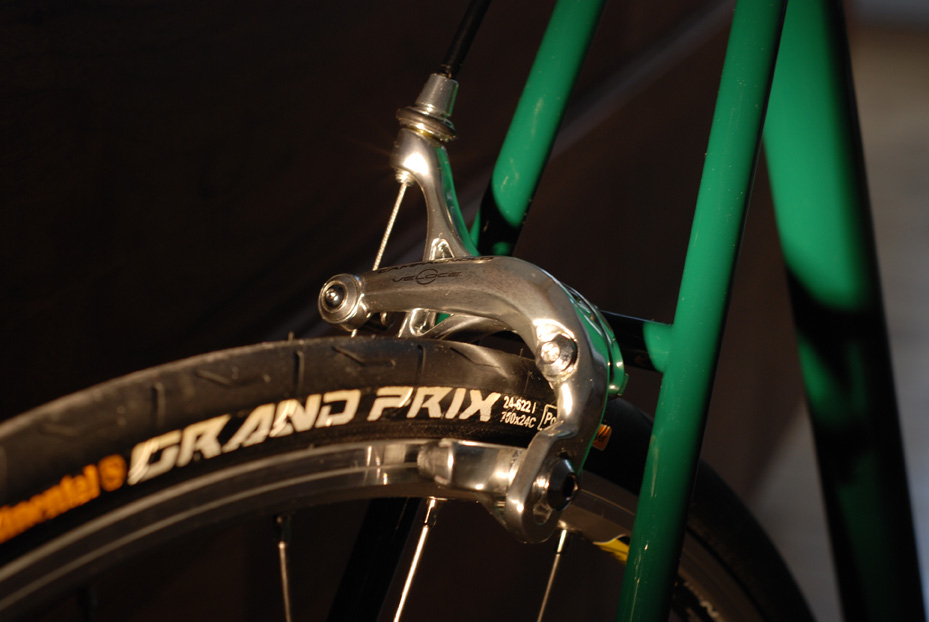
- Brakes – Campagnolo, Veloce 2011, silver
- Cables – Jagwire, Slick
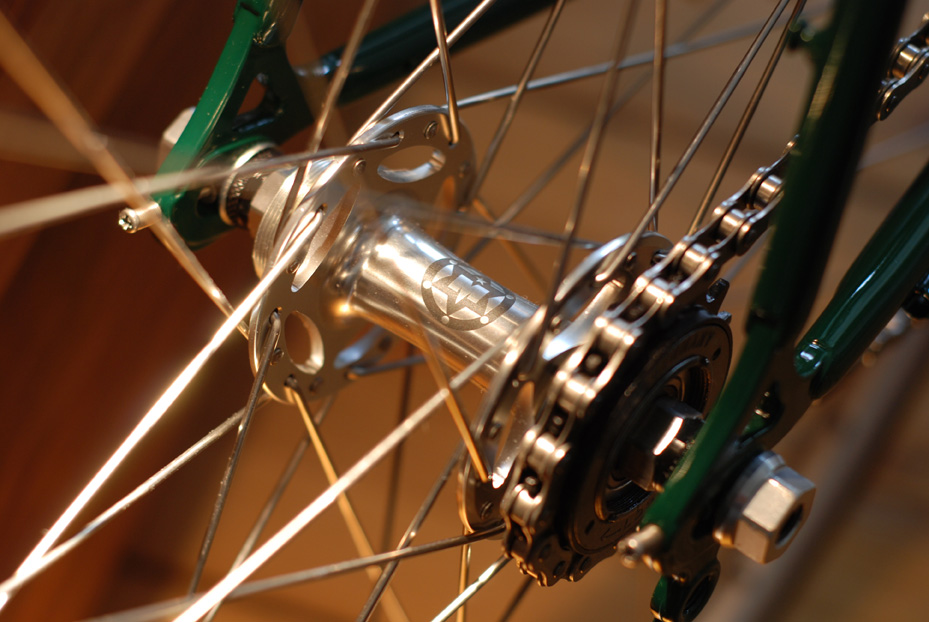
- Chain – INOX
- Coating – Color Your Bike, frame and fork, incl. sanding, undercoating and clear coat, RAL 6005
- Crank set – FSA, Felice Gimondi, silver, 48 teeth
- Decals (eBay)
- Front and rear hub – Marshal, FIXIE Inc., silver, 32H
- Grease – Atlantic Teflon Brillant Grease
- Handlebar – Fixie inc., Seagull, 25,4 x 520mm, silver
- Headset – Shimano 600 (old)
- Pedals – MKS
- Rim – Mavic, Open Sport – 700c, silver, 32H
- Rim tape – Velox, 13mm
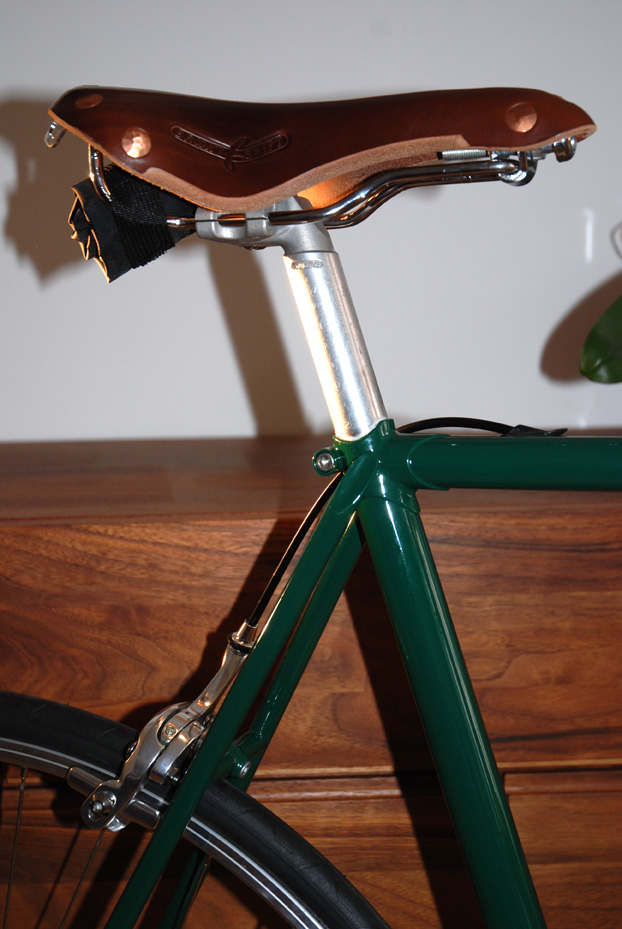
- Saddle – Brooks, Swift Chrome, brown
- Seat post – (old)
- Slender Leather Grips – Brooks, brown
- Spokes – Biel, 2,0/1,8 silver
- Sprocket – White Industries, 16 teeth
- Stem – Nitto, Technomic, silver
- Tubes – Schwalbe, 15/28-622 SV15
- Tyres – Continental, GrandPrix 24mm

Assembling
This also took a few weeks. I had to wait quite a while for the crank set, as it was not deliverable. But that’s not the first to do anyhow. So I started with the brakes, saddle, handle bar and stem. Then I had to notice the different measures for stems and handle bars. Okay, ordered a new stem.
When I picked up the wheels from Zentralrad the whole thing started to look like a bike. The brakes could be adjusted and the wires were cut. Finally the crank set was delivered and I could cut the chain. It was done. Of course I had to be very careful, you don’t want to scratch your new baby when it is not finished yet.
Gallery
Here is what I made of all the components.