These frames make case building much easier.
It took some time, but now the side panels in 3U and 6U size where delivered. I assembled some example frames. I will sell them completely assembled in the standard width 19 inch or 84HP, but any width is possible on request. If you want to know the pricing, please contact me.
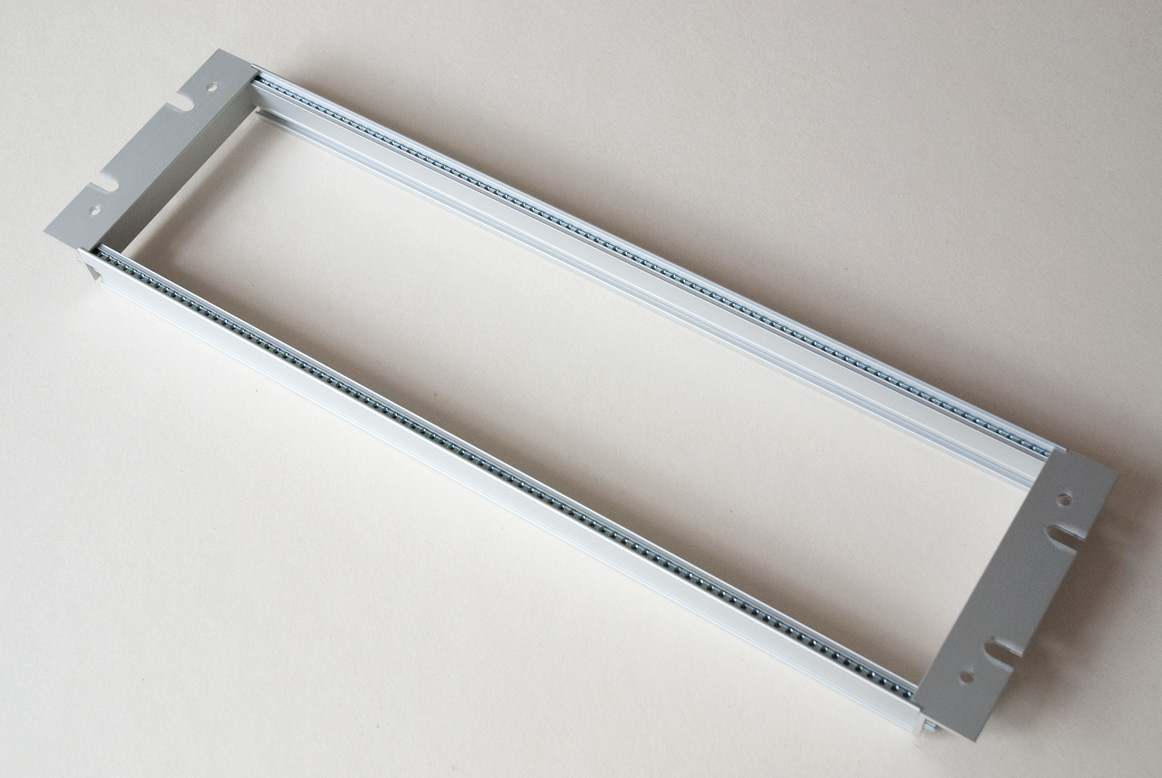
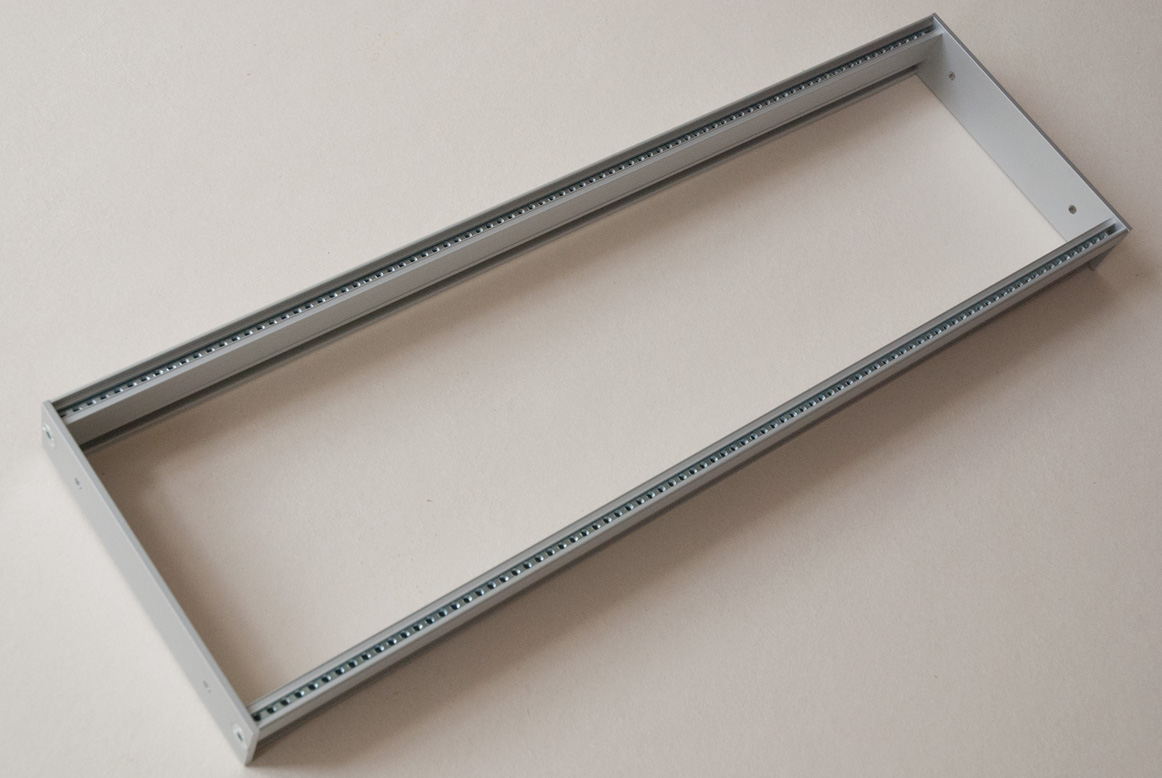
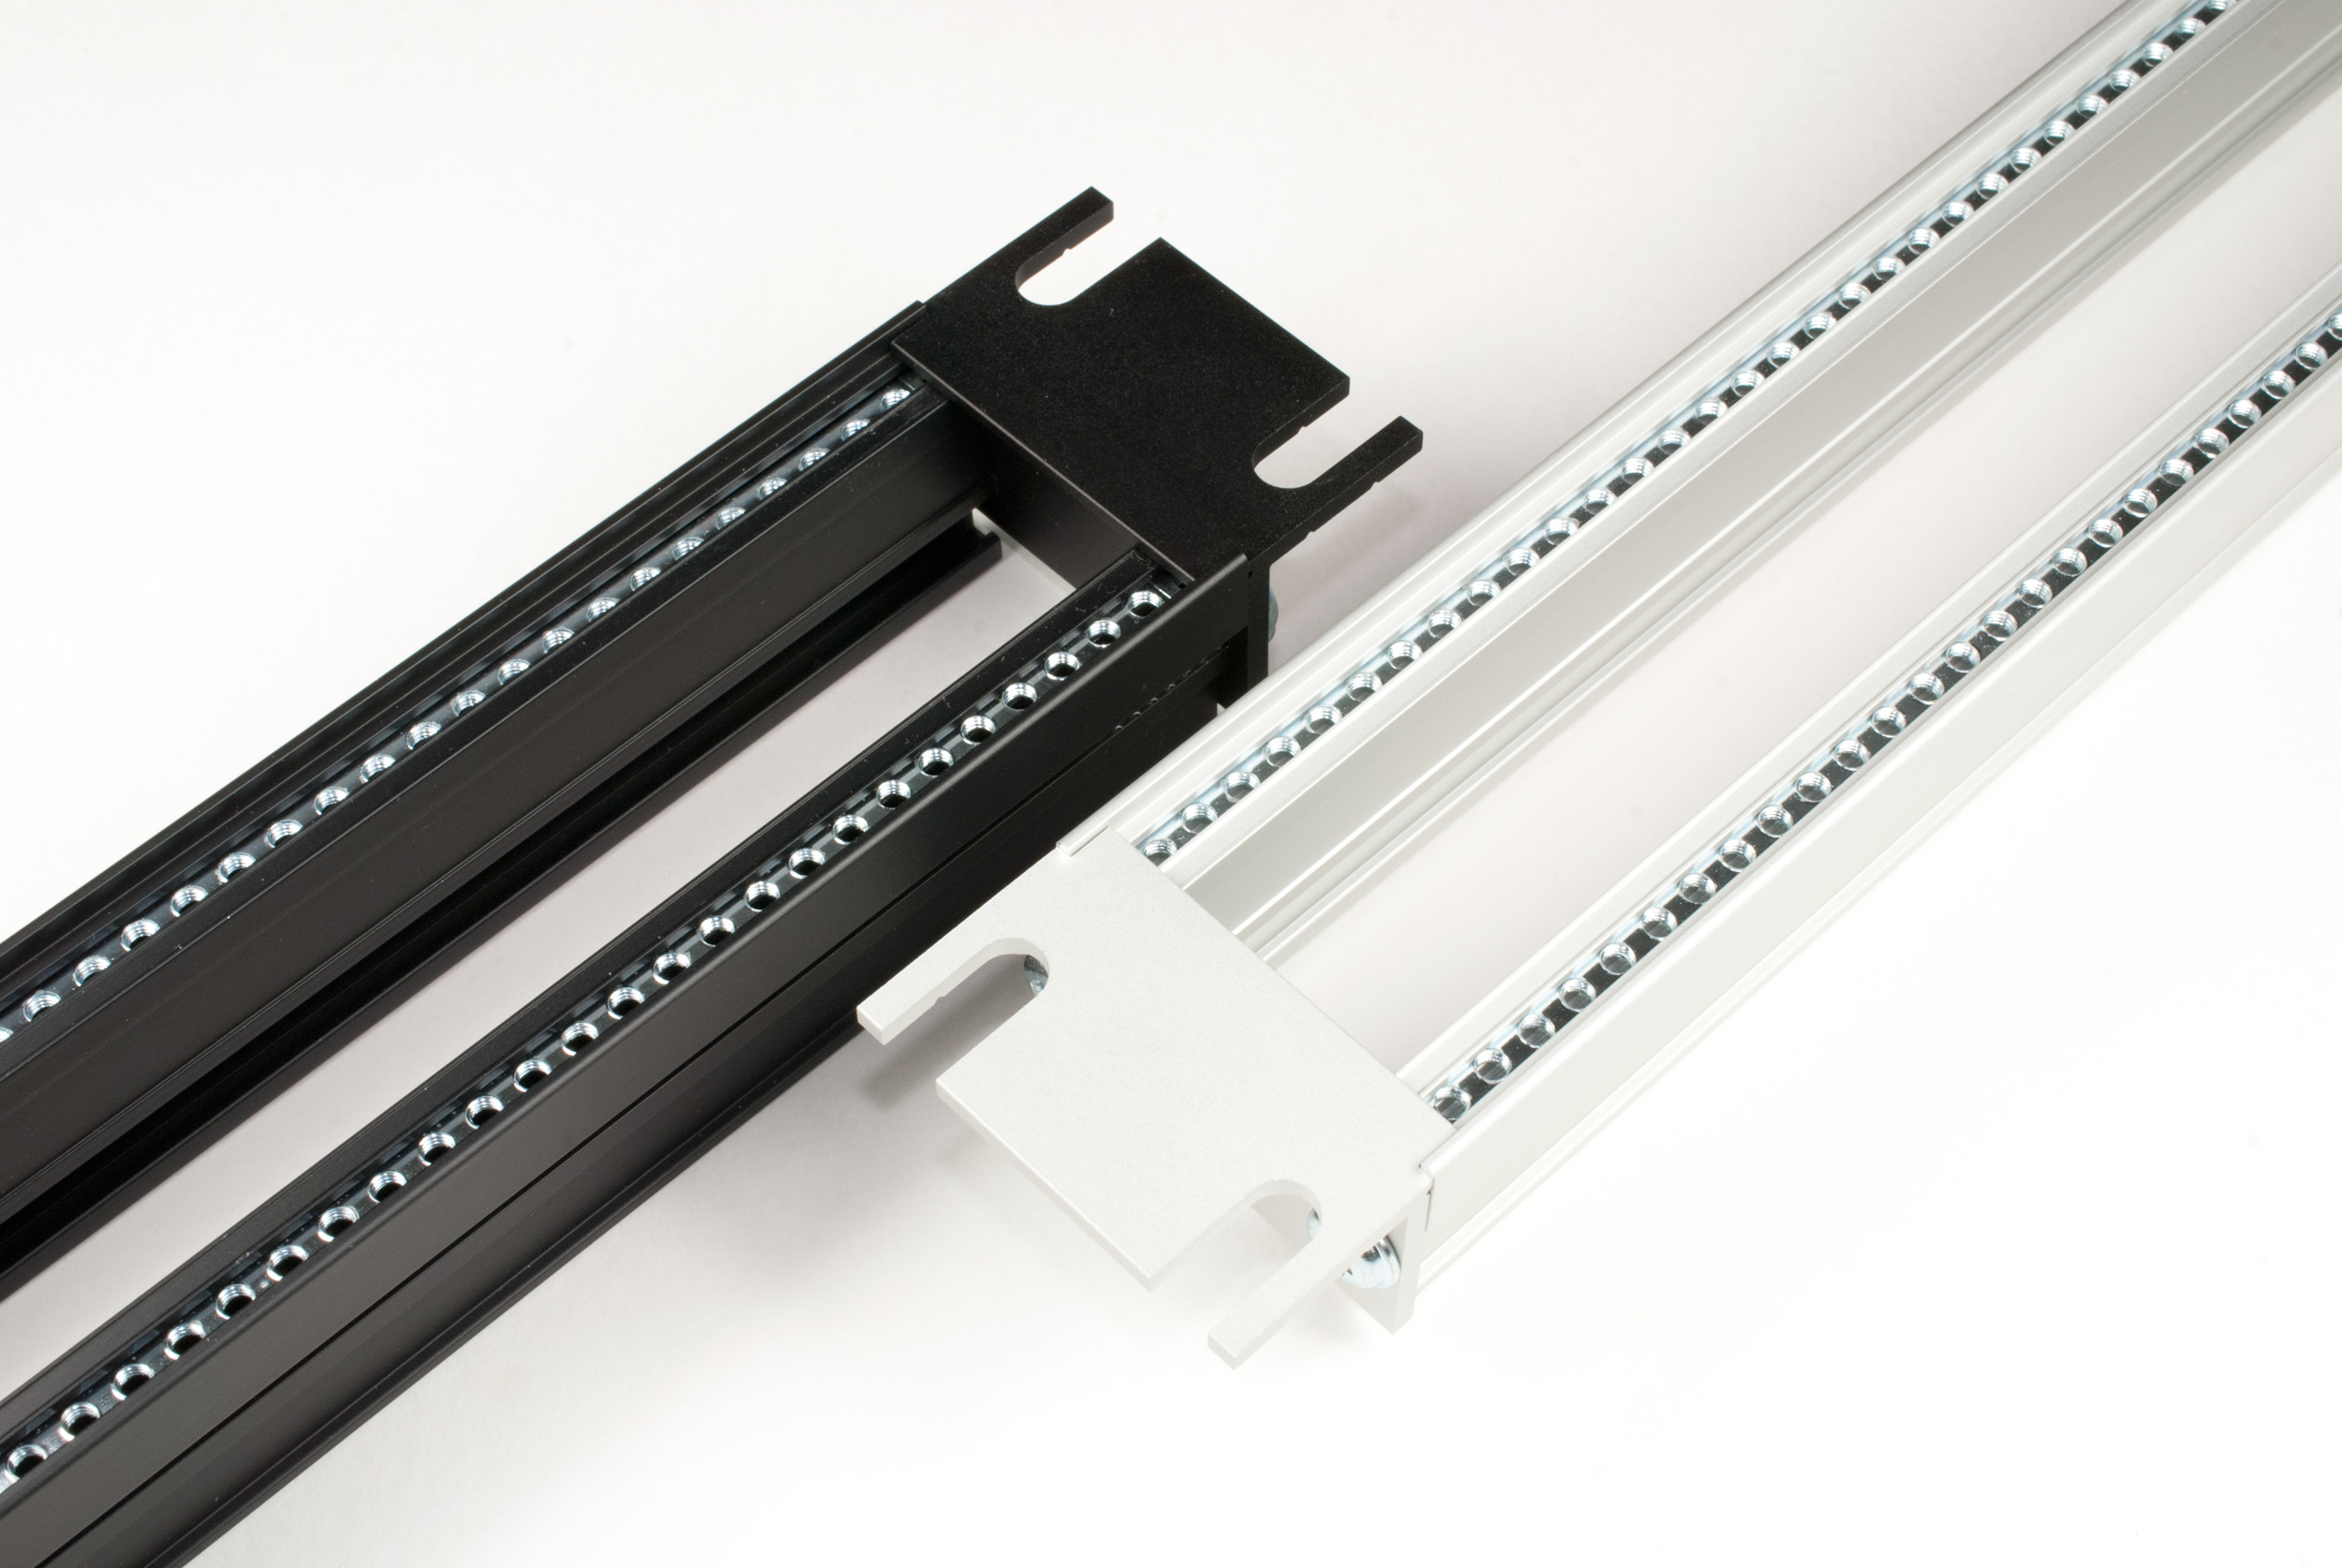
19 inch 3U Frame
This frame gives you 84HP usable width and can easily be mounted in a 19 inch case.
- 2 Rails
- 2 Threaded inserts/strips
- 2 Rack ears, 3U
- 4 screws
Fully assembled, ready to use. Other width possible, also without threaded inserts.

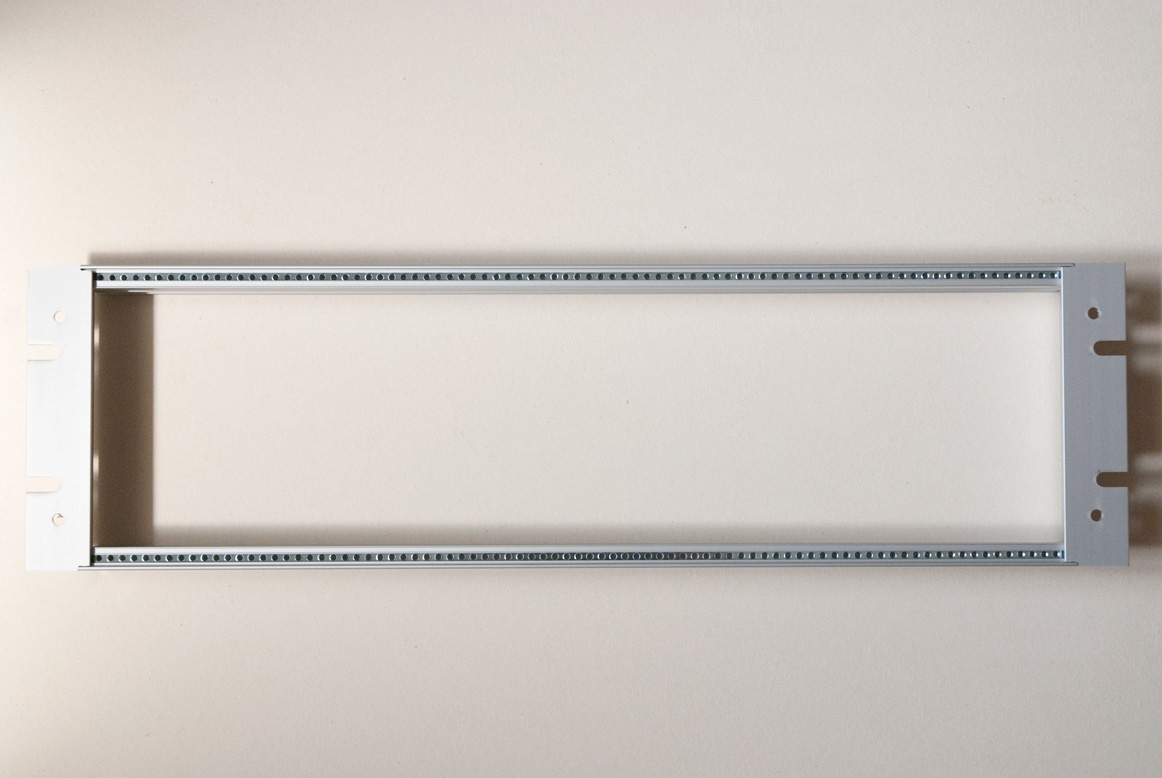
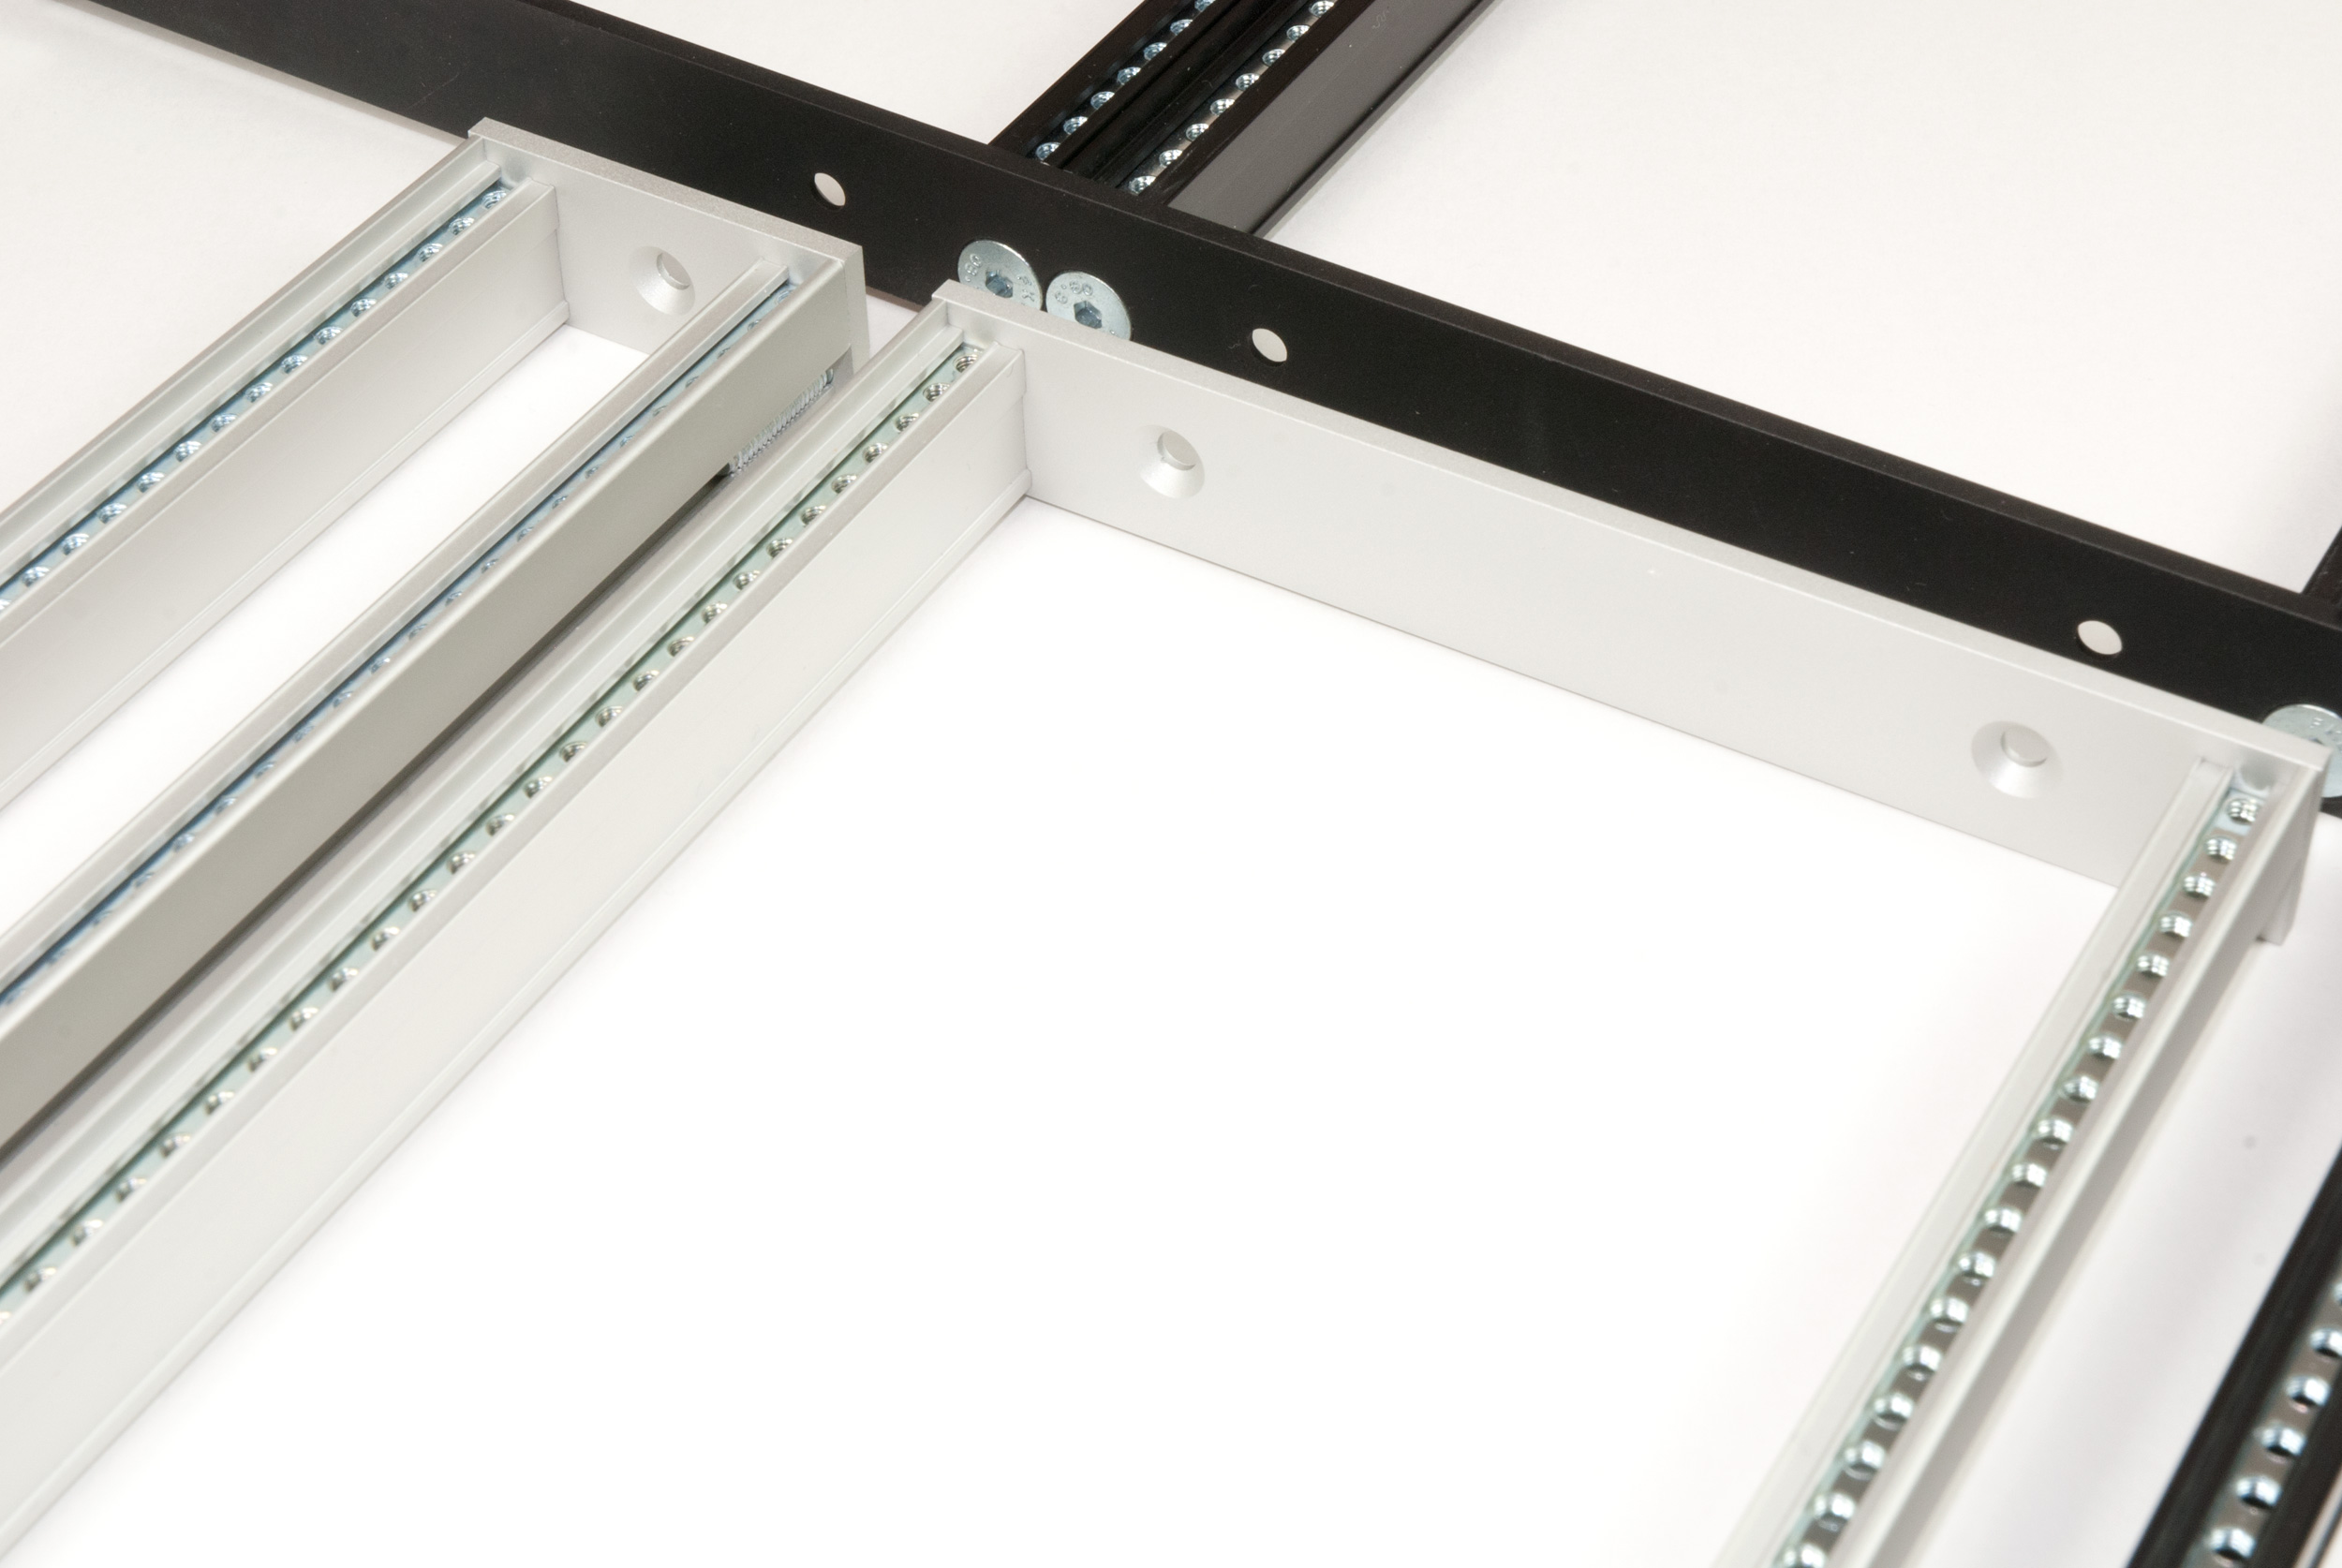
3U Frame
Another 3U frame, but without rack ears. The usable width is also 84HP. The frame has an outer width of 433 mm and a height of 133 mm and can easily be screwed in your case.
- 2 Rails, 84HP, 427 mm
- 2 Threaded inserts/strips
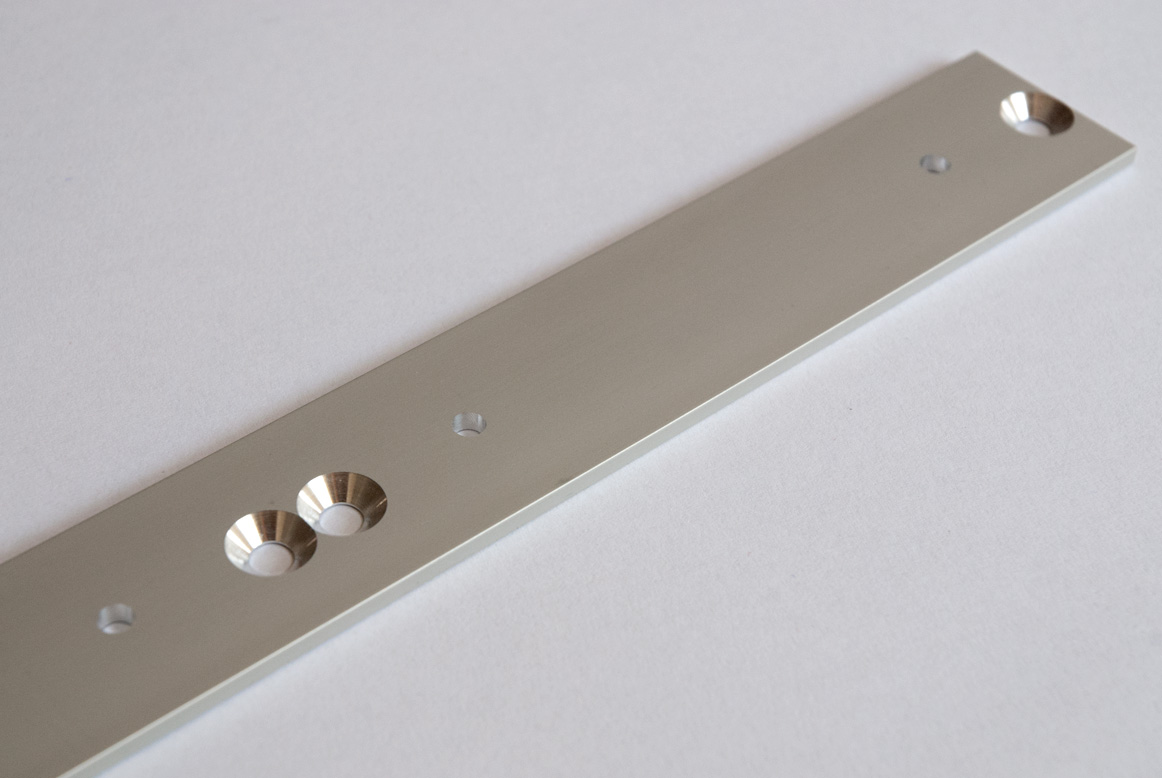
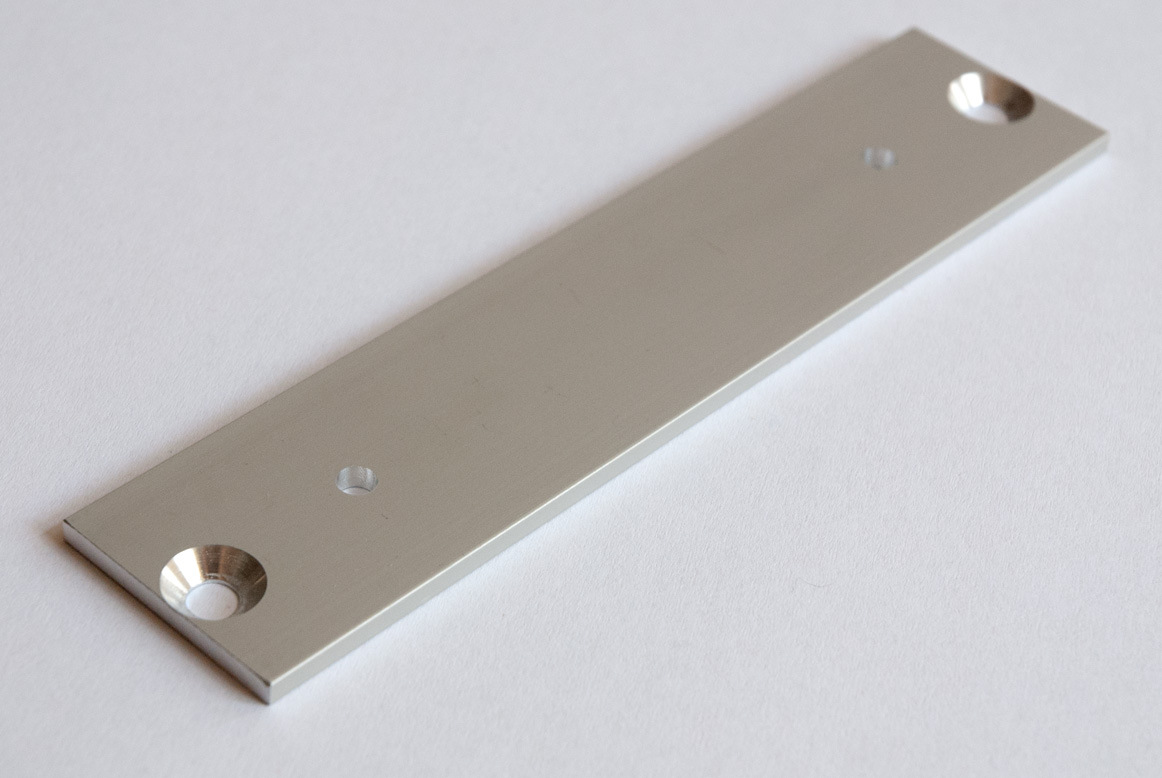
- 2 Side panels, 3U
- 4 screws
Fully assembled, ready to use. Other width possible, also without threaded inserts.

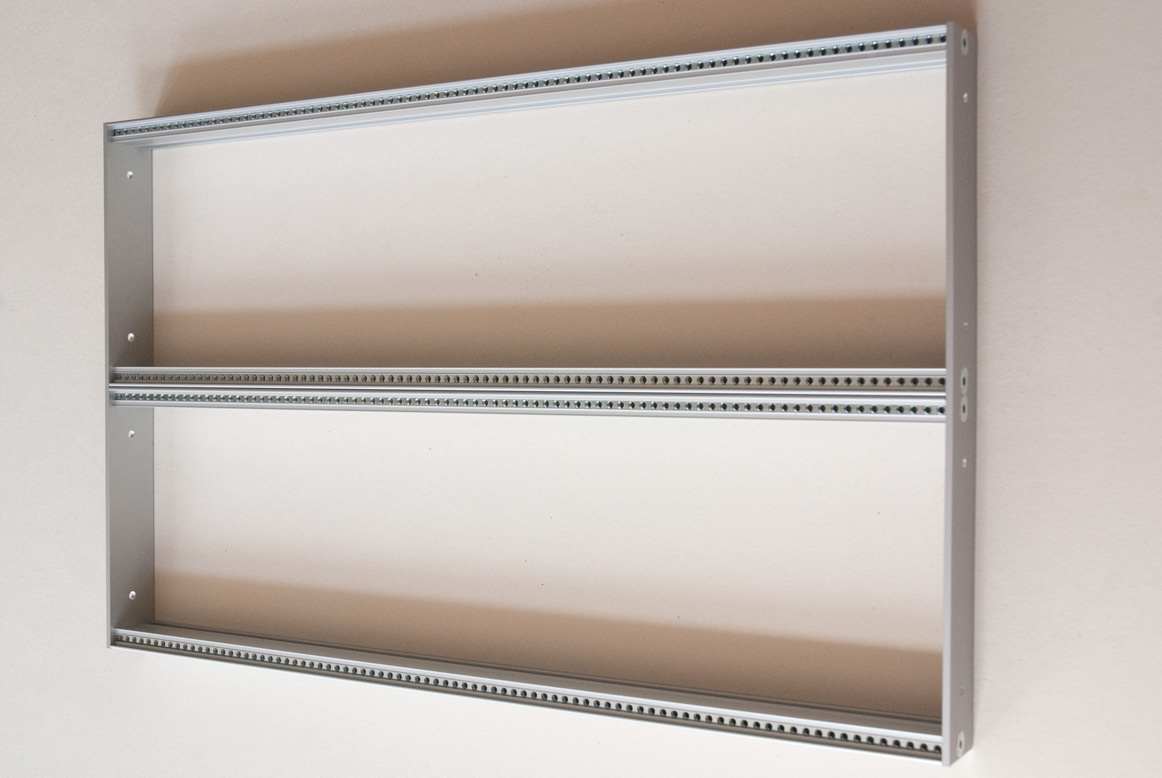
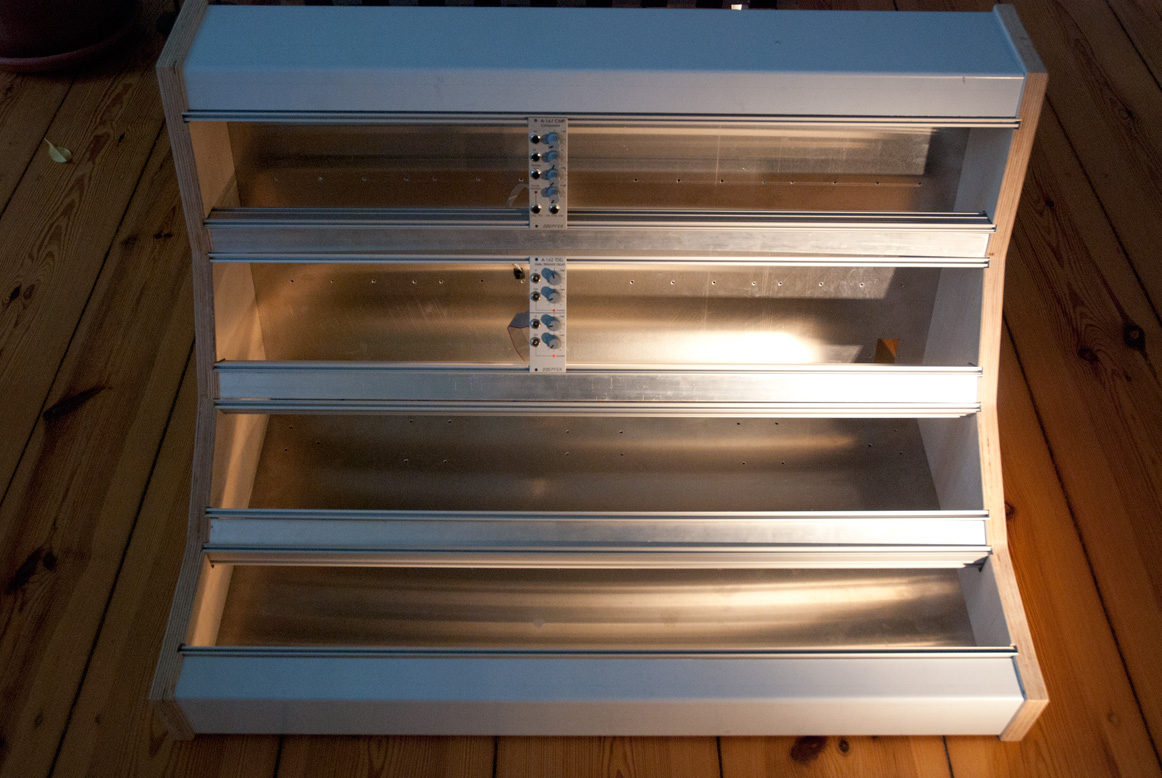
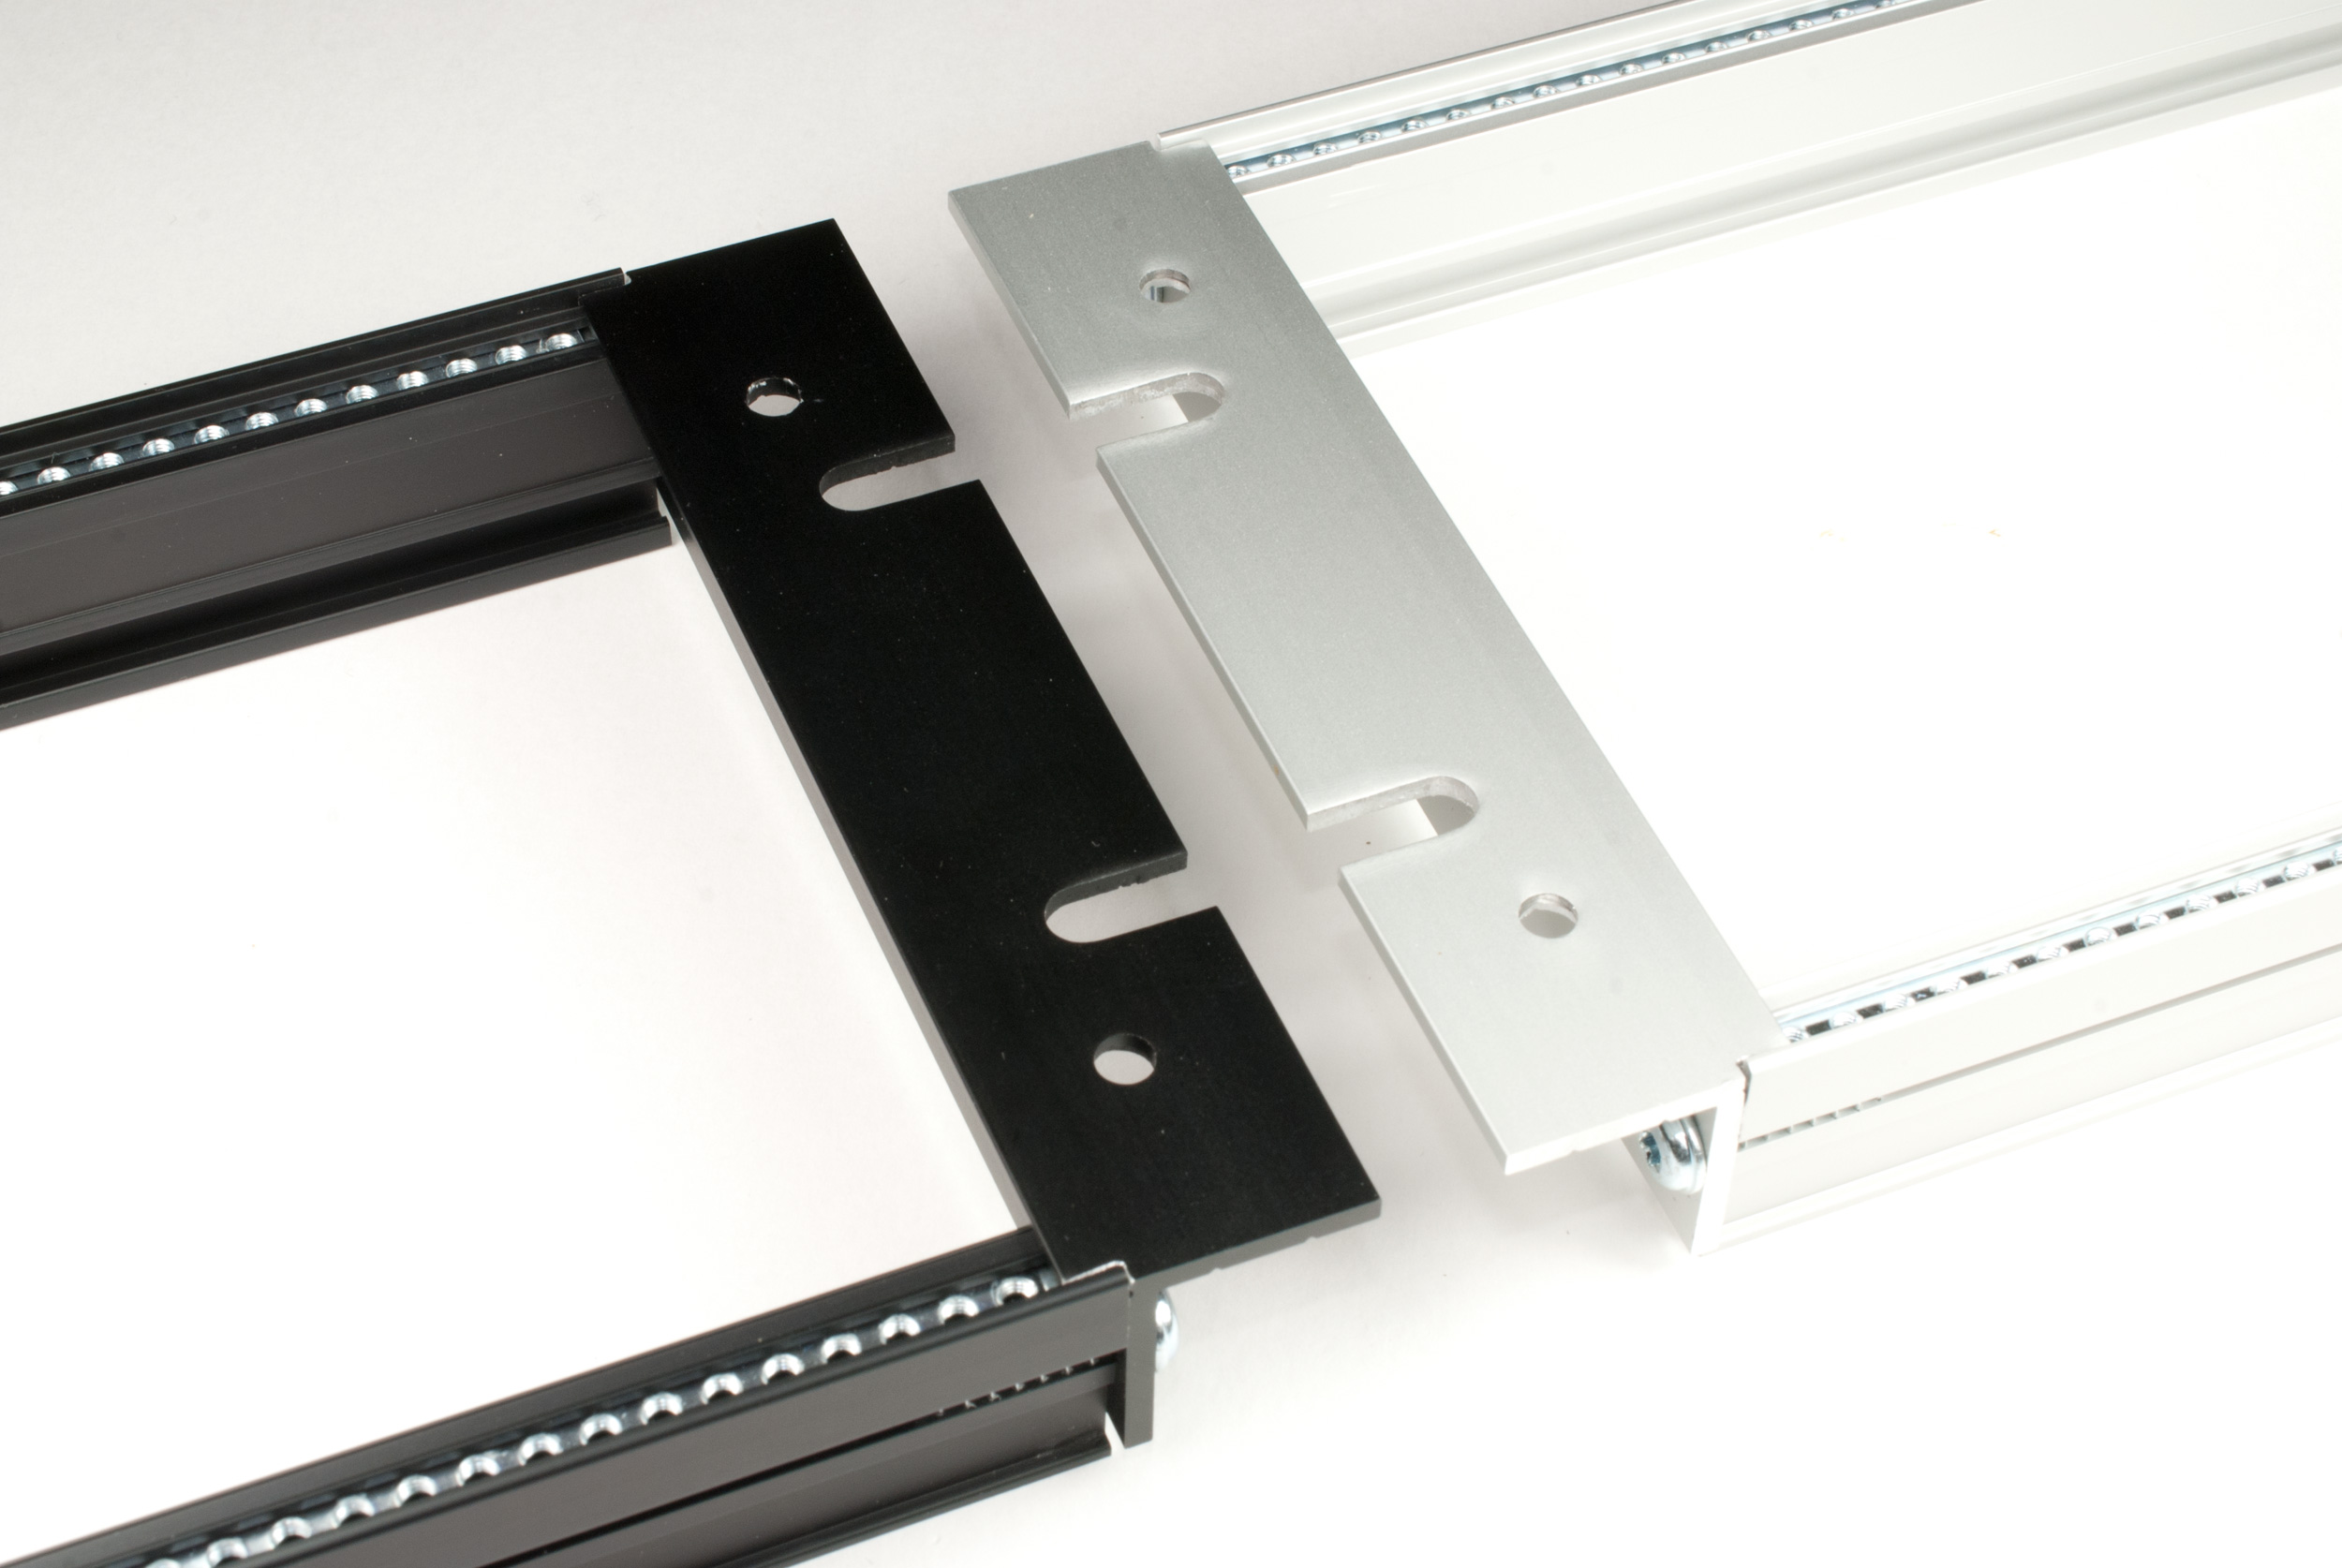
6U Frame
And finally the 6U frame. Same configuration as the 3U frame but double height (266 mm).
- 4 Rails, 84HP, 427mm
- 4 Threaded inserts/strips
- 2 Side panels, 6U
- 8 screws
Fully assembled, ready to use. Other width possible, also without threaded inserts.

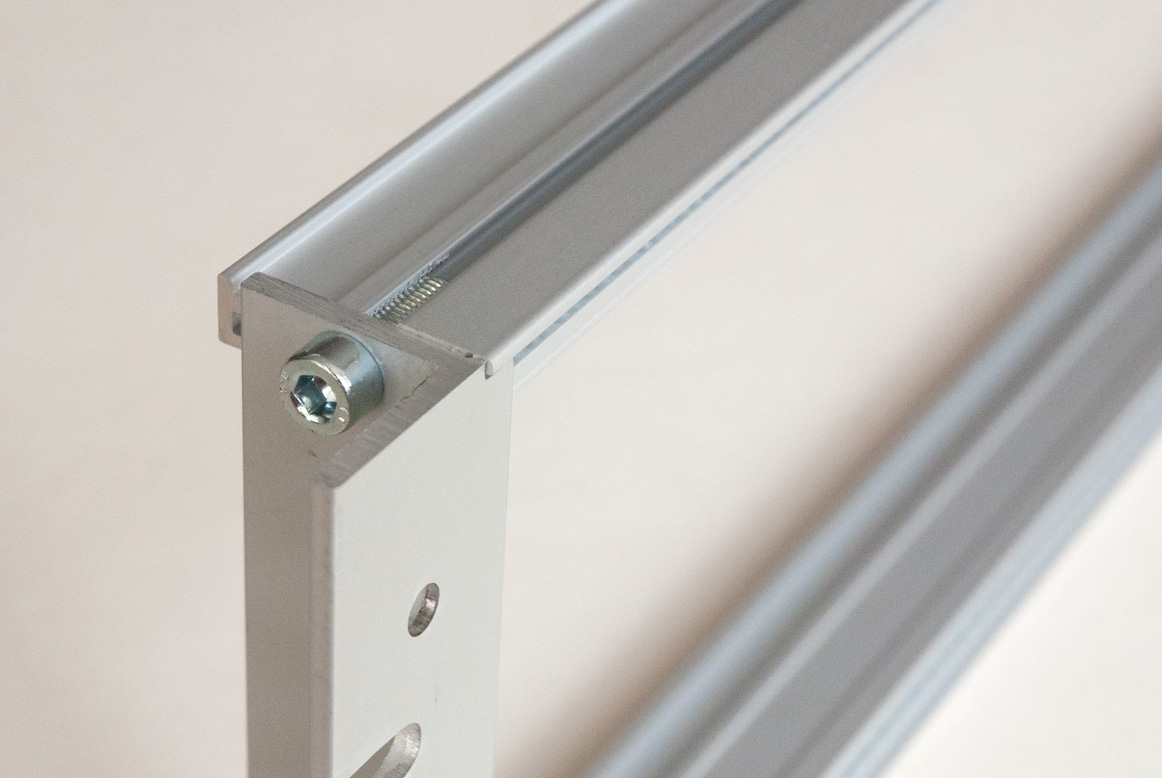
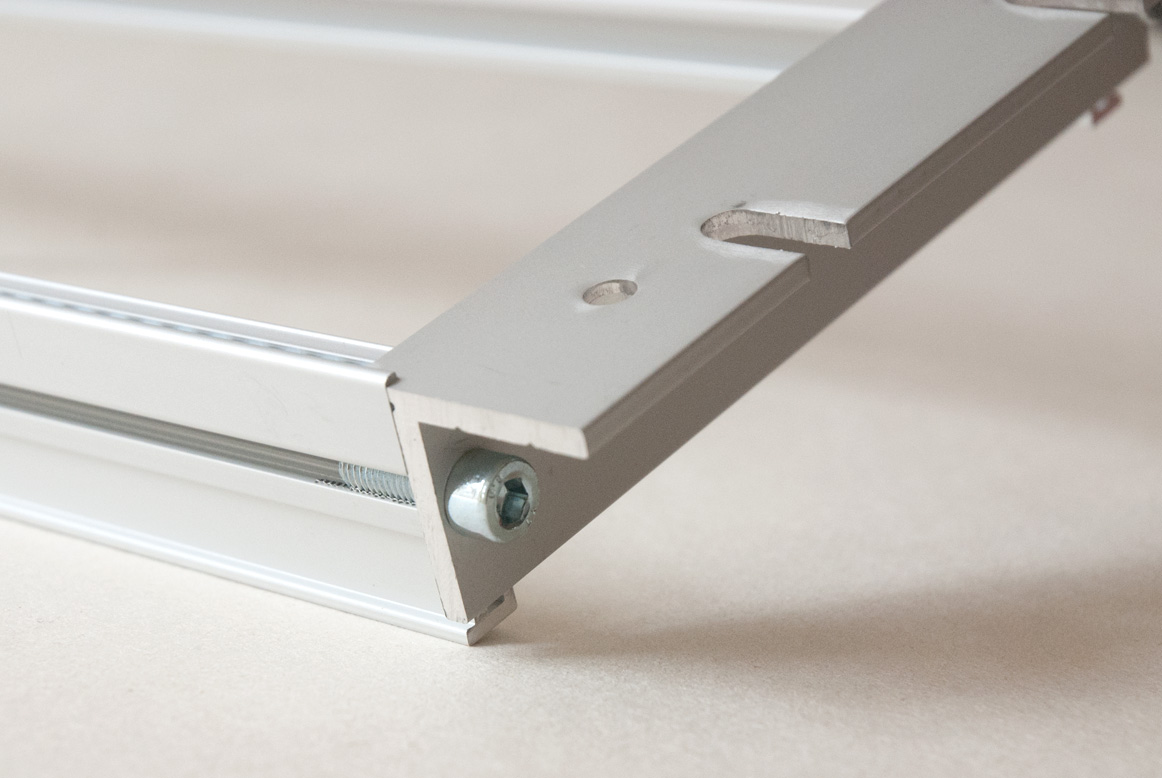
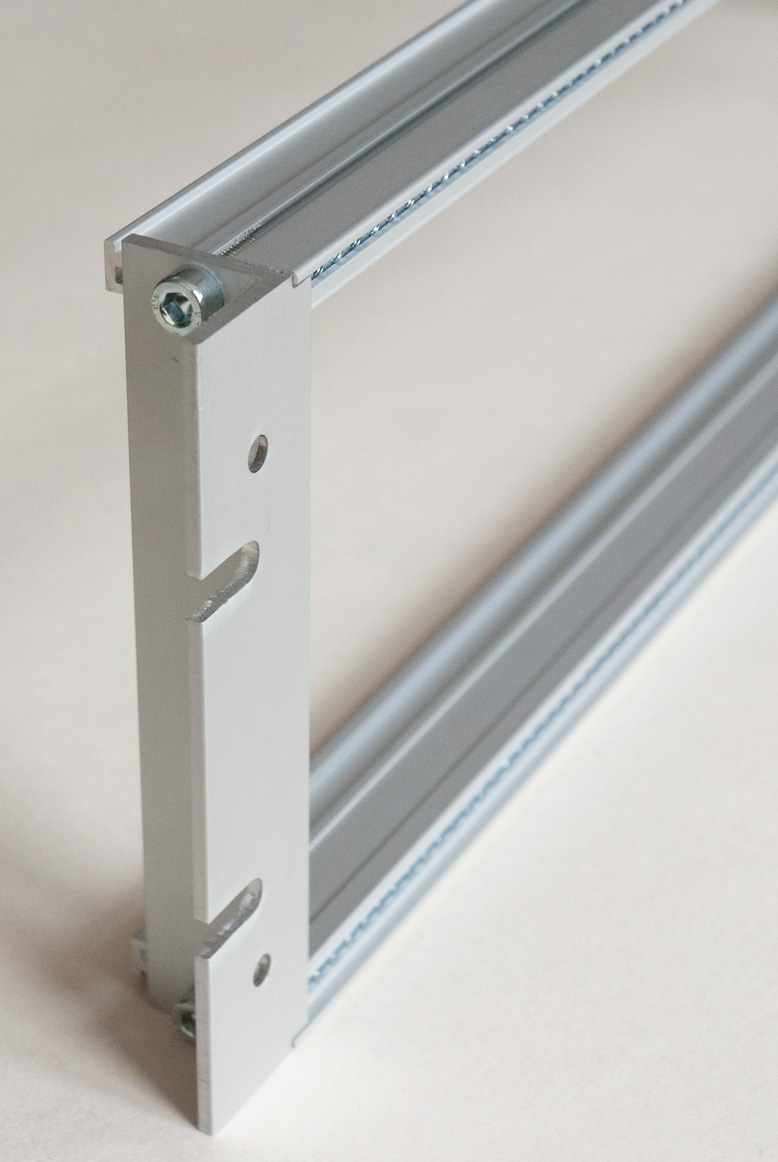
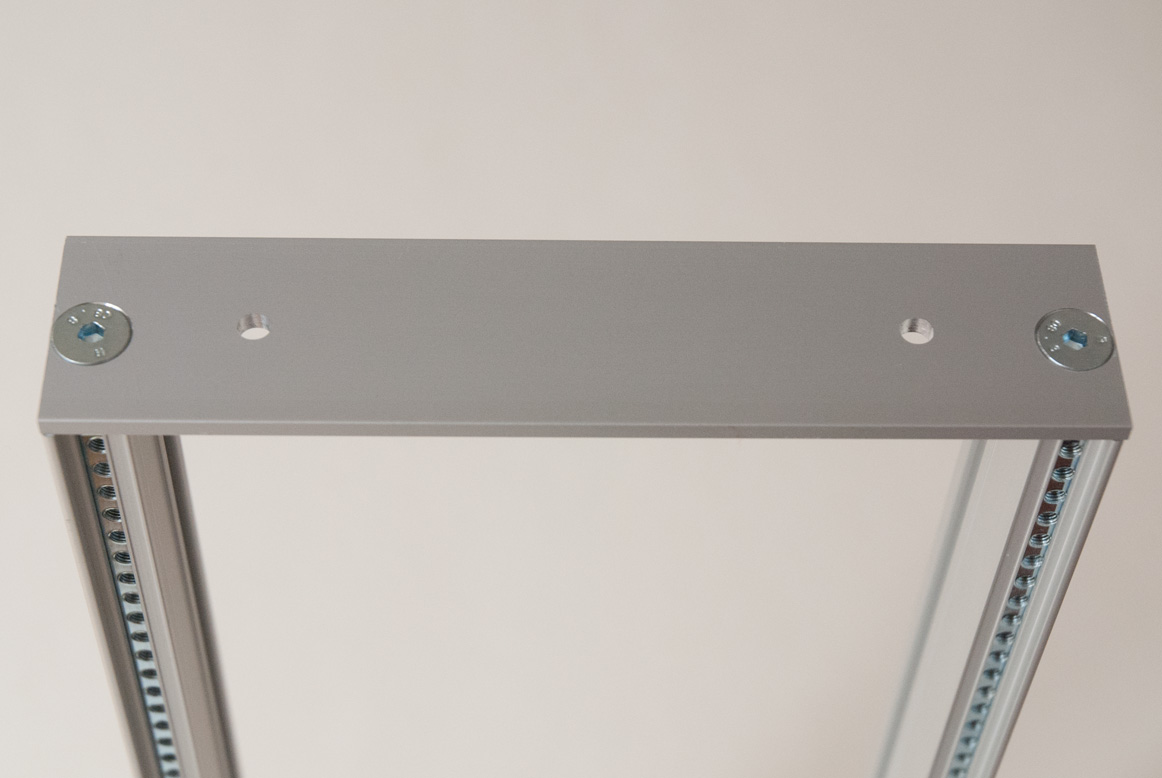
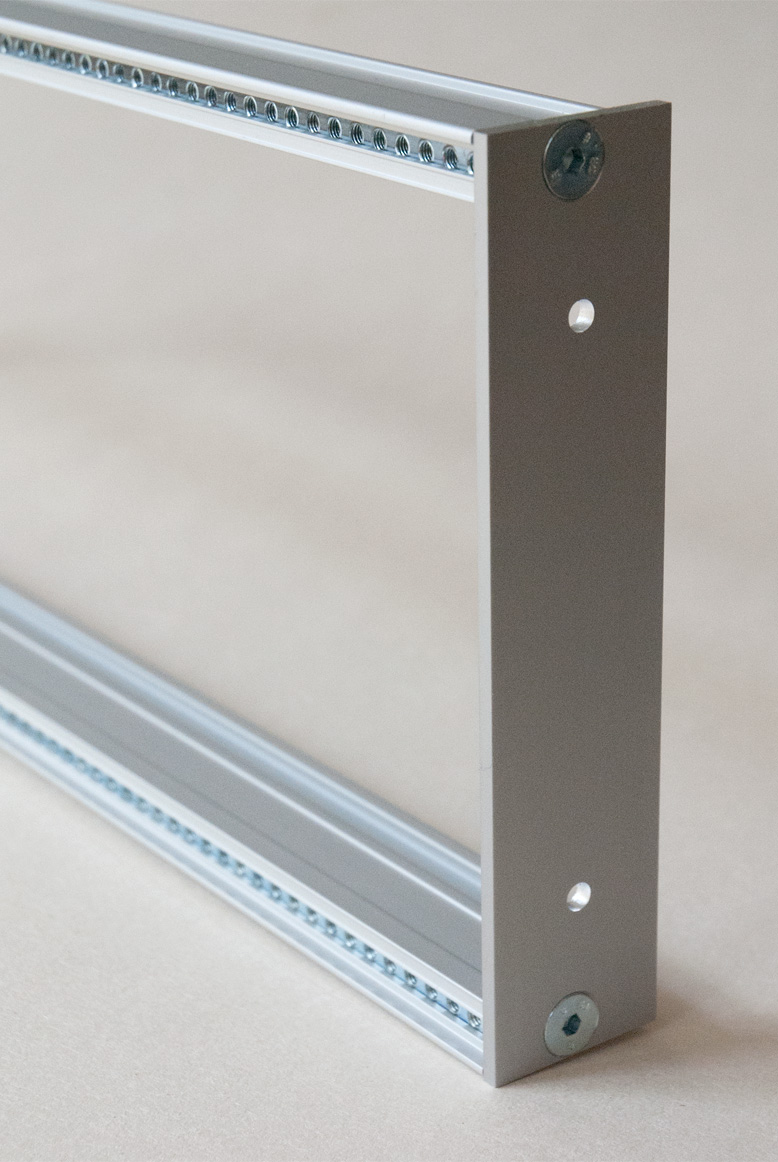
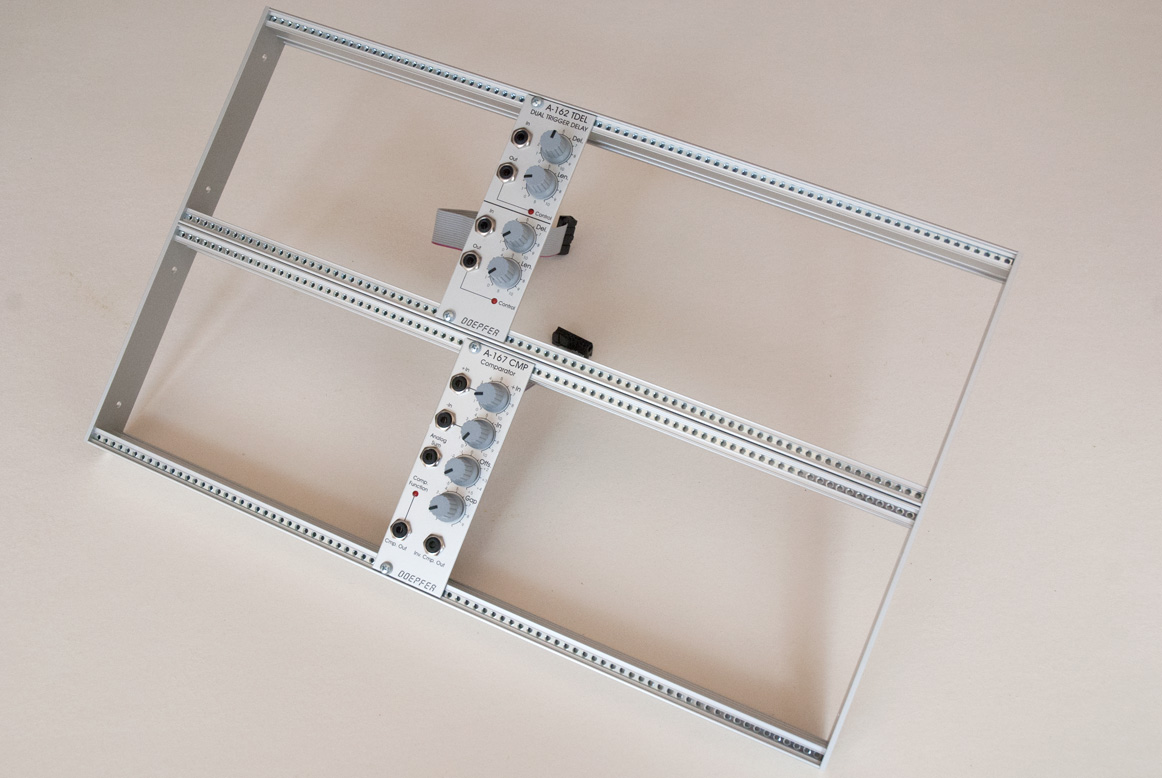
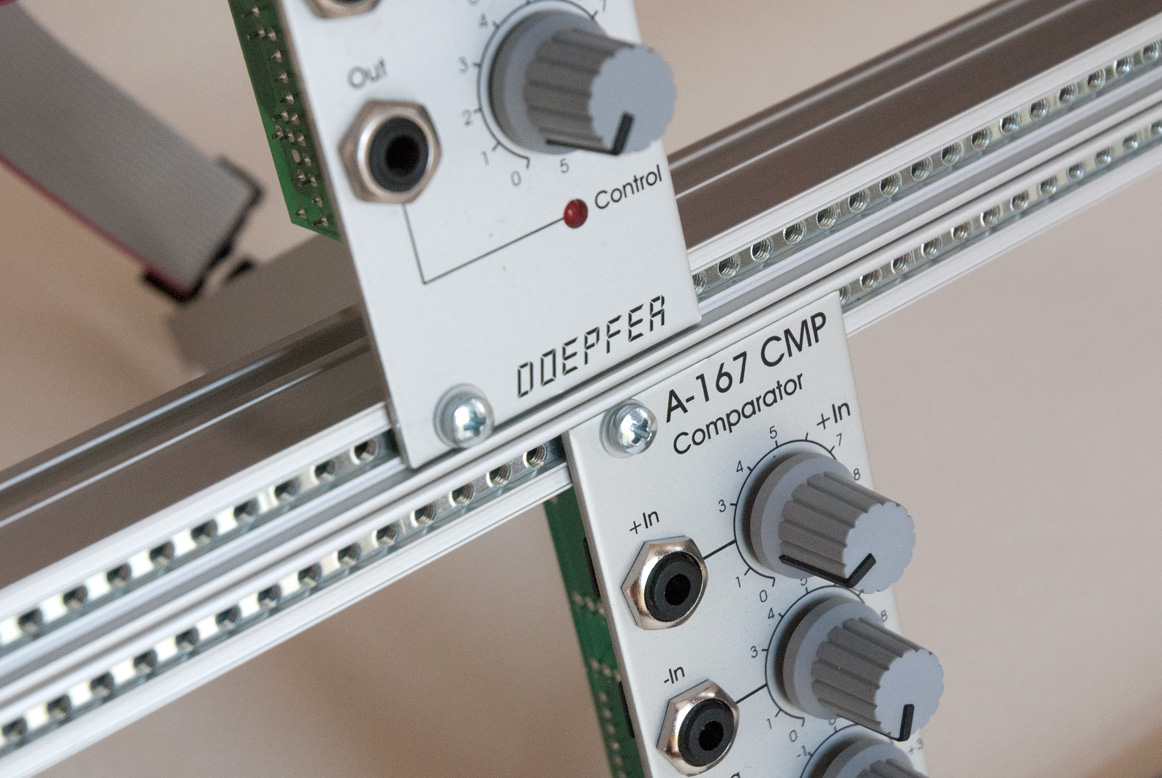
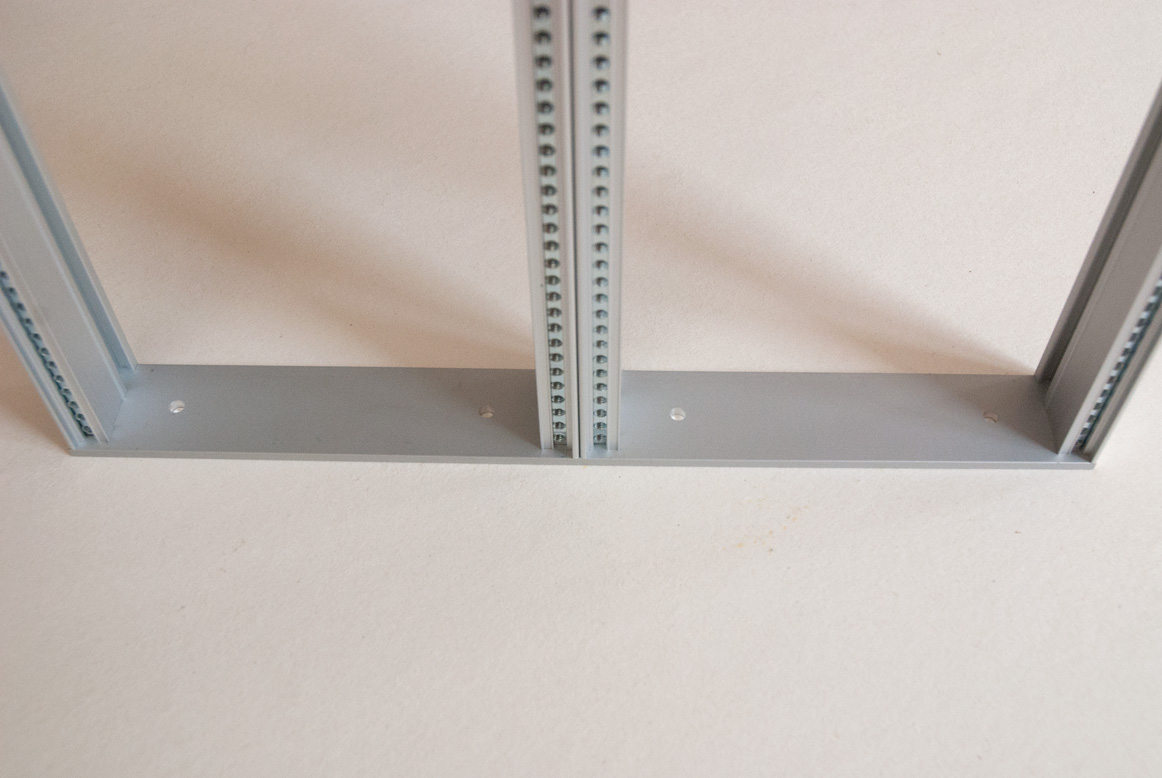
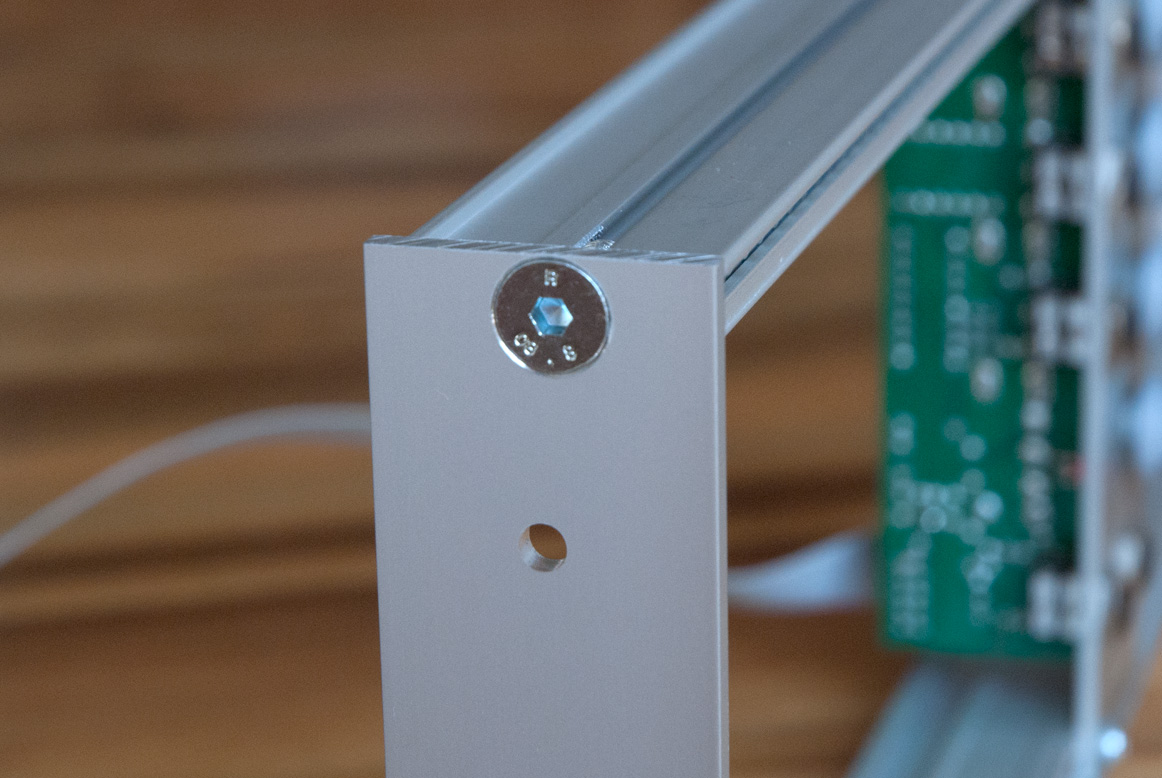
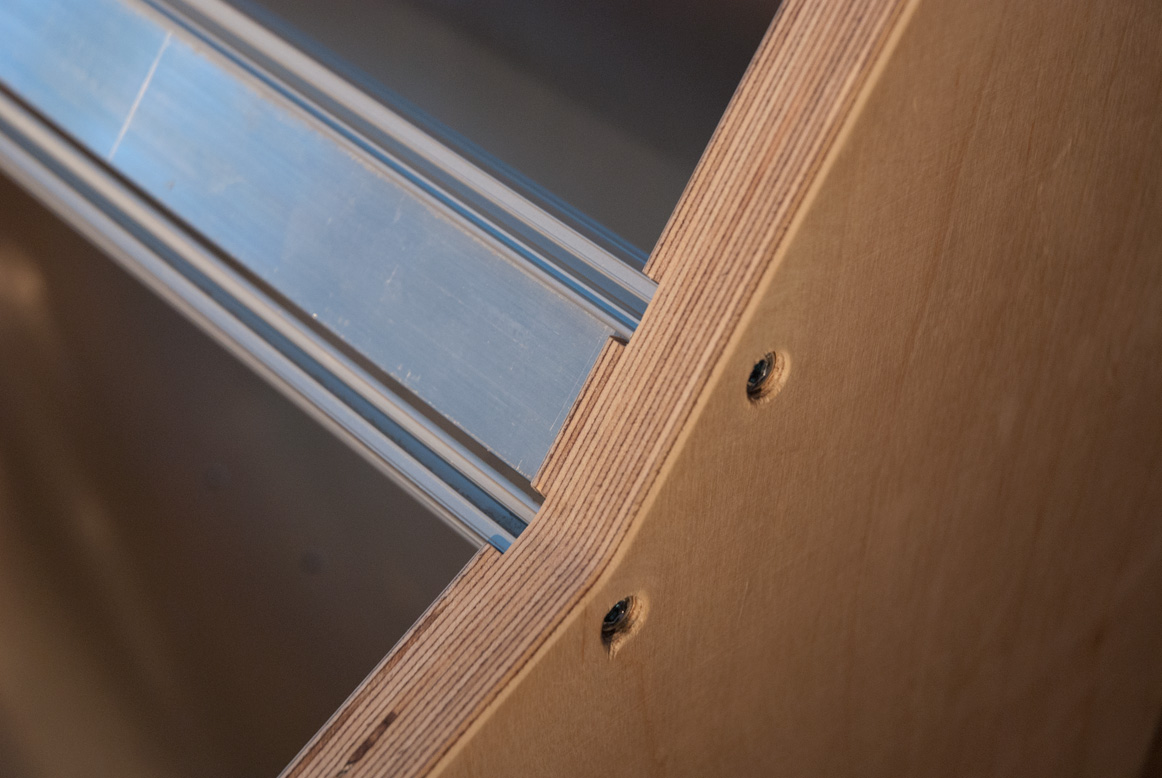
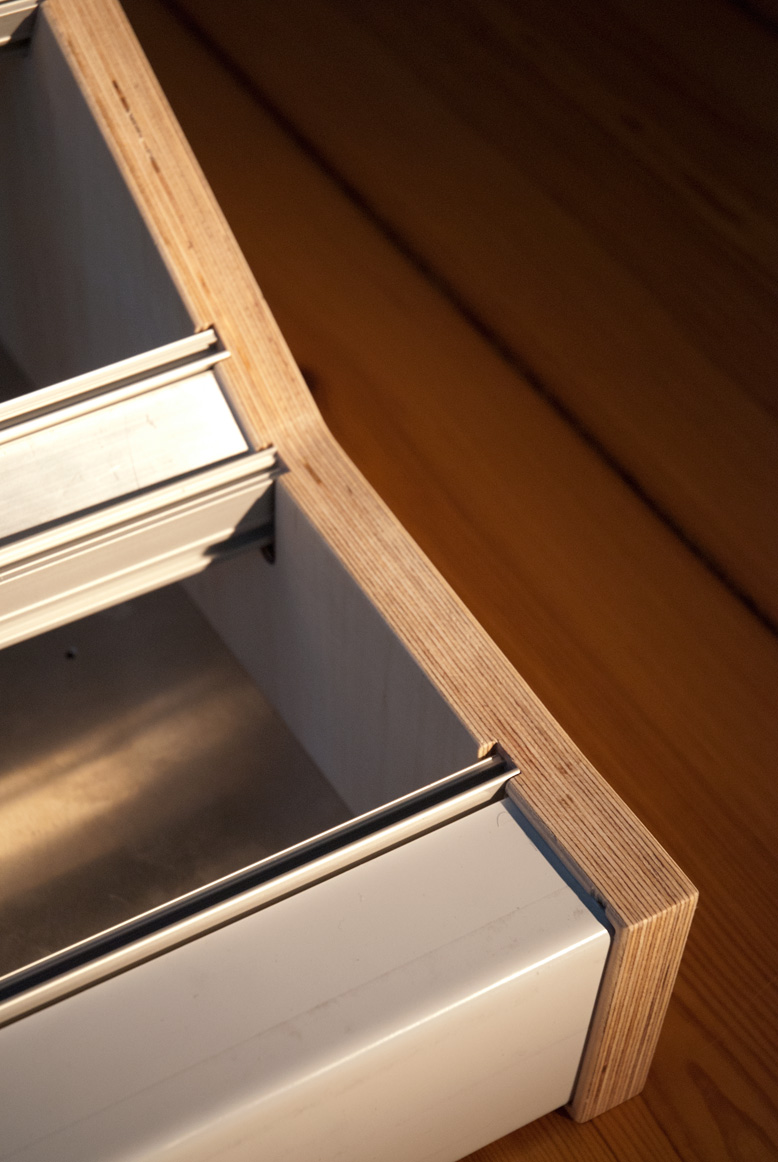
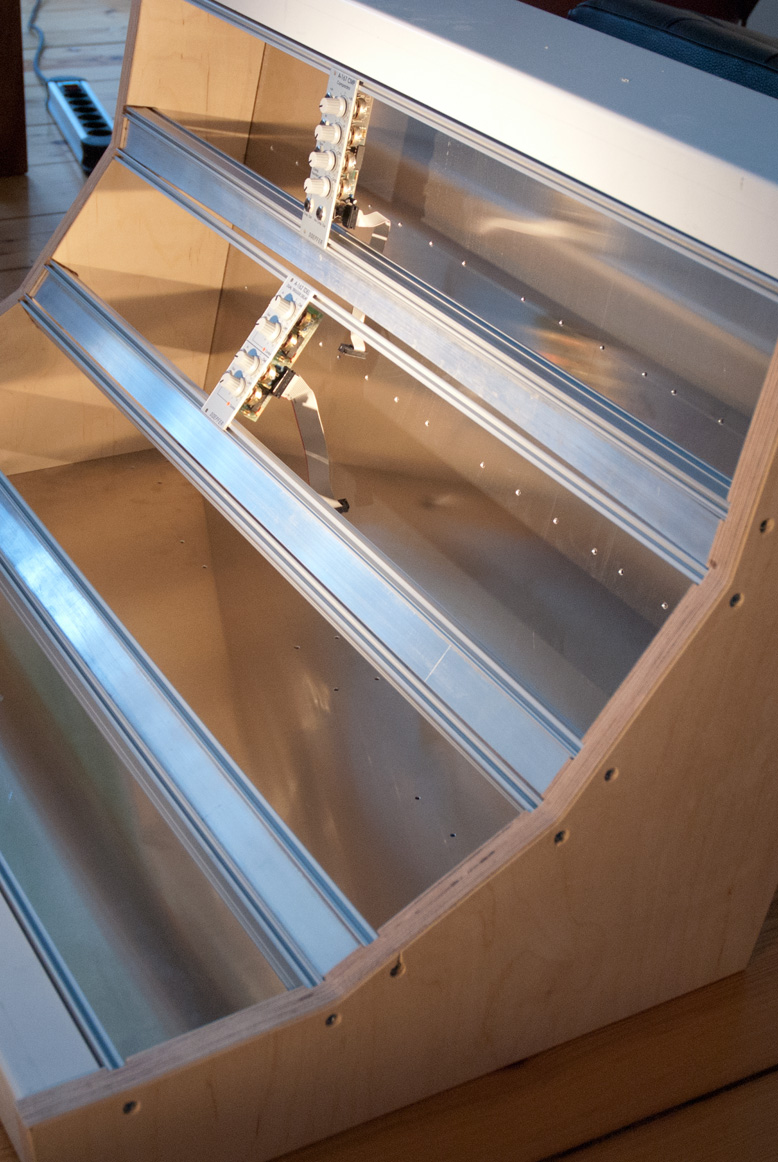
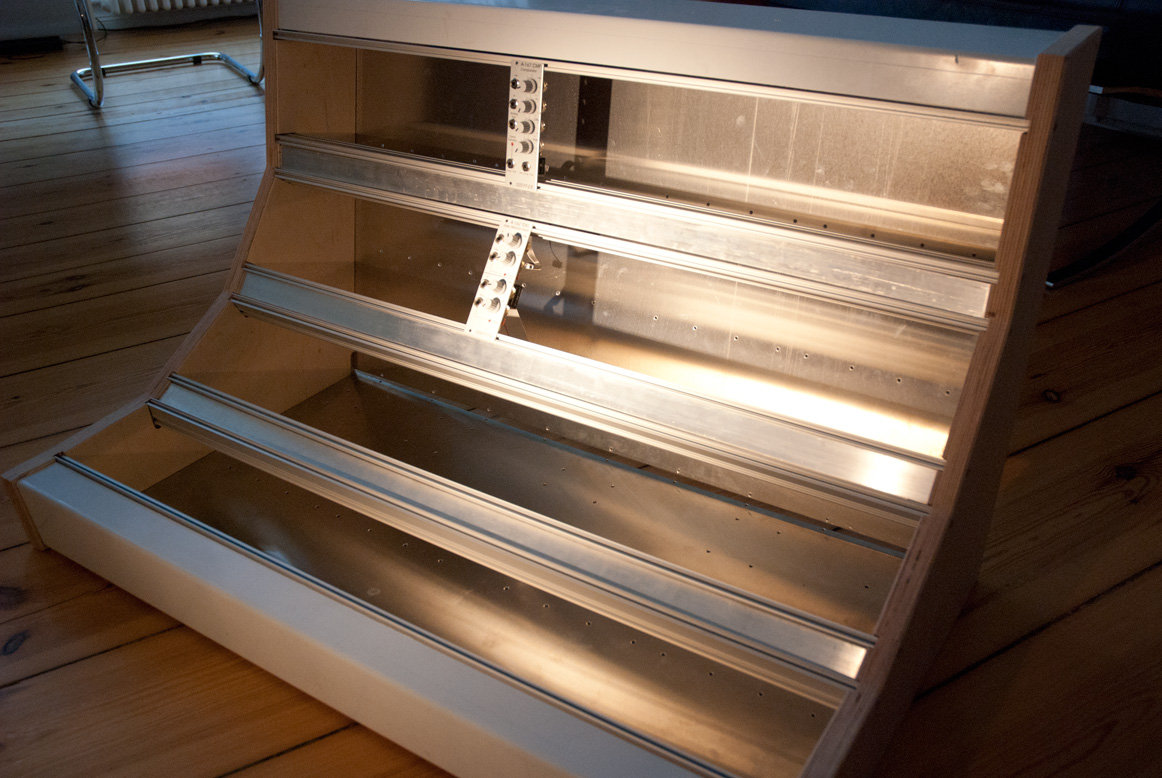
Some more detailed pictures of the Clicks and Clocks Eurorack frames: