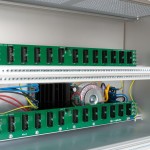
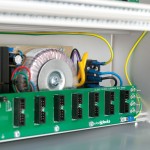
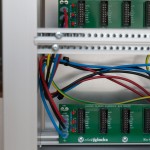
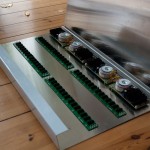
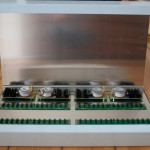
Assembling a 19 inch case is not rocket science but it has some pitfalls. Especially when you buy the components from eBay or different vendors.
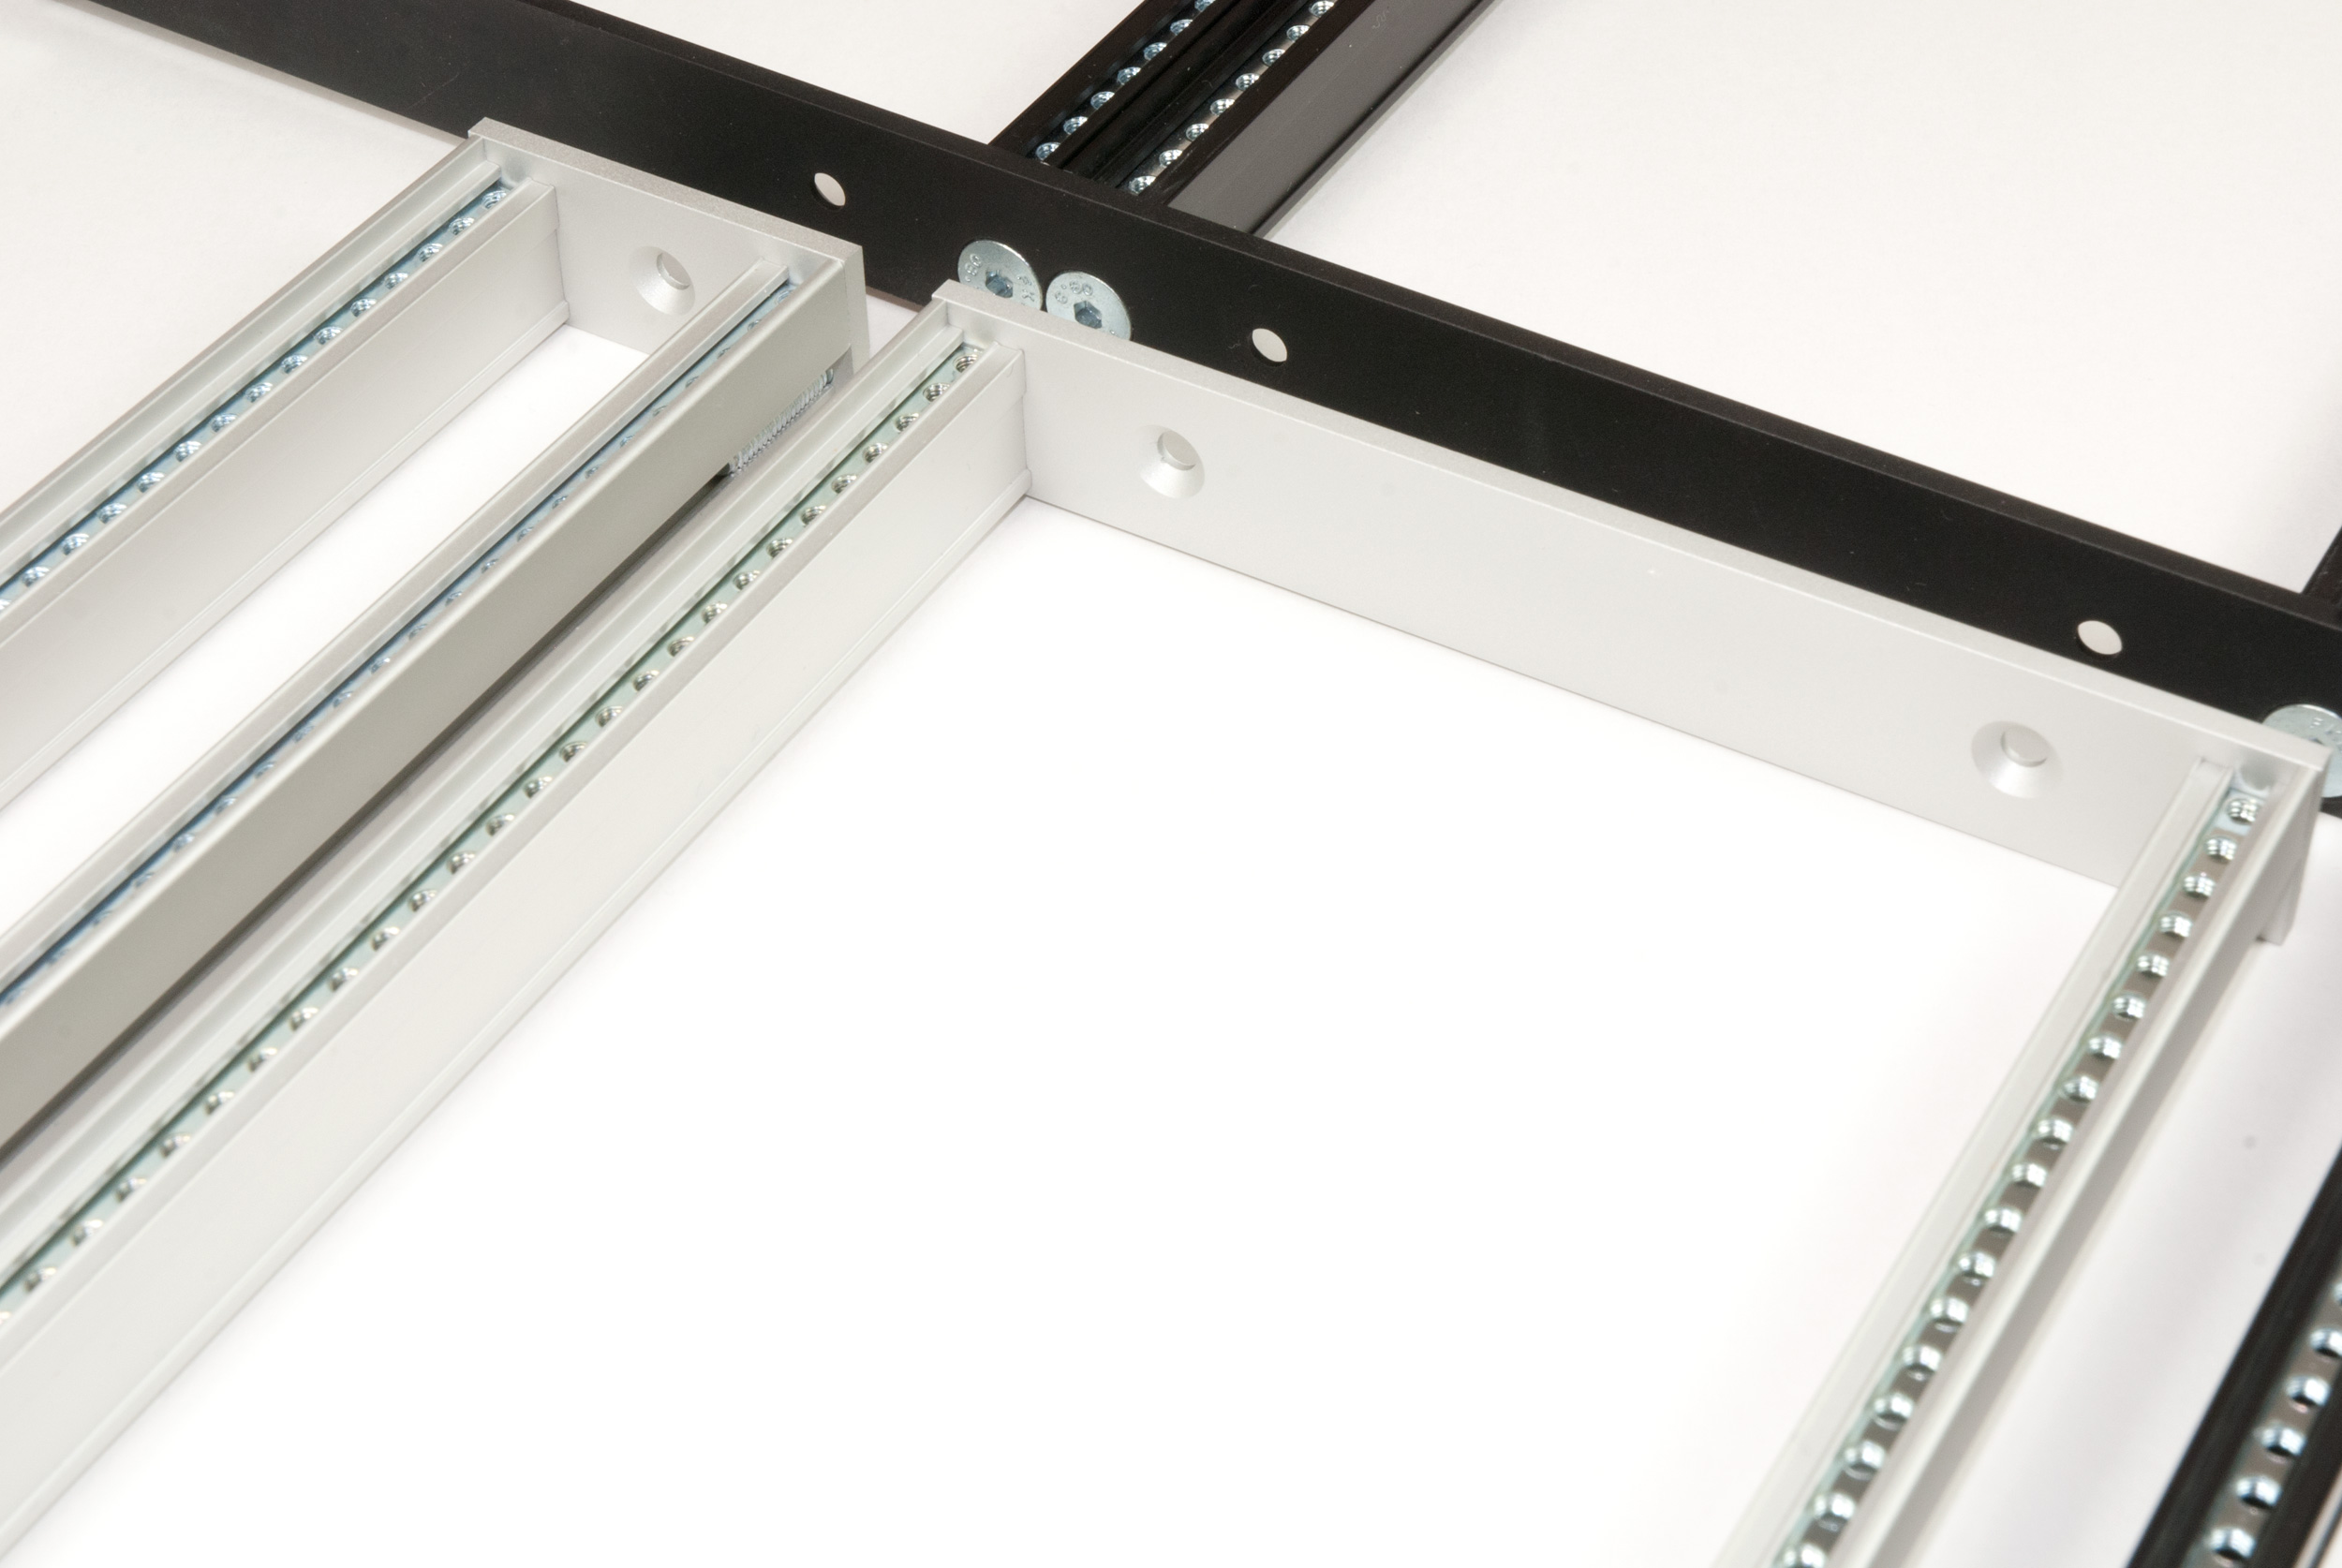
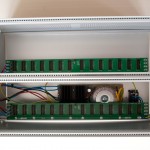
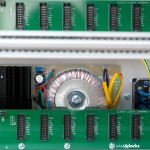
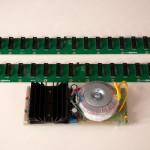
Before you start be aware that there is no standard, not all components from all manufacturers fit together. This post should give you an overview of the components you will need. The construction is based on the Doepfer A-100G6 rackmount cases. The parts of my construction are a mix of Roger and Gie-Tec parts as well as my own power supply (PSU) and busboards.
I can provide you with a complete DIY set for your case or just some parts, just ask for pricing.
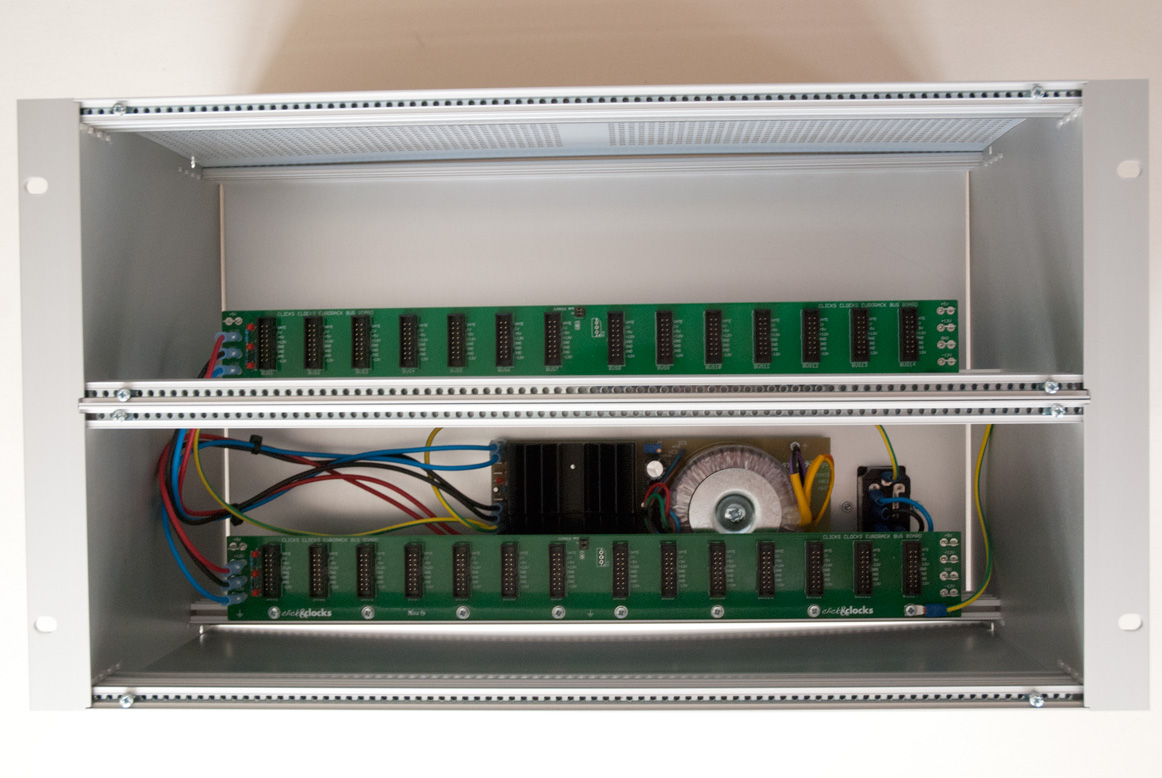
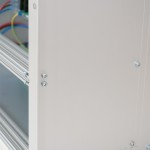
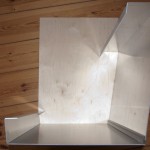
Not to get confused, some rack systems use rails with M2.5 threaded strips. You will hardly fit M3 strips in these rails. Please also notice that my rack uses side panels which are already combined with the rack ears as one part. This is usually not the case.
Some rails use M4 threads instead of M5 for the side fixing. The parts of the list below fit perfectly together.
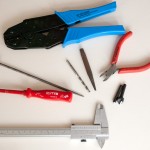
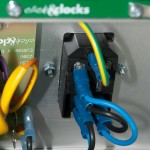
There is also some mechanical work that needs to be done, drilling holes to fit the PSU on the rear panel and filing a big hole to fit in the mains inlet and fuse holder also on the rear panel. But this is it.
List of mechanical rack parts with order numbers from Gie-Tec as of May 2013
- 4 pcs. 138006 – Rack ears 3HE
- 2 pcs. 138010 – Side panels 6U
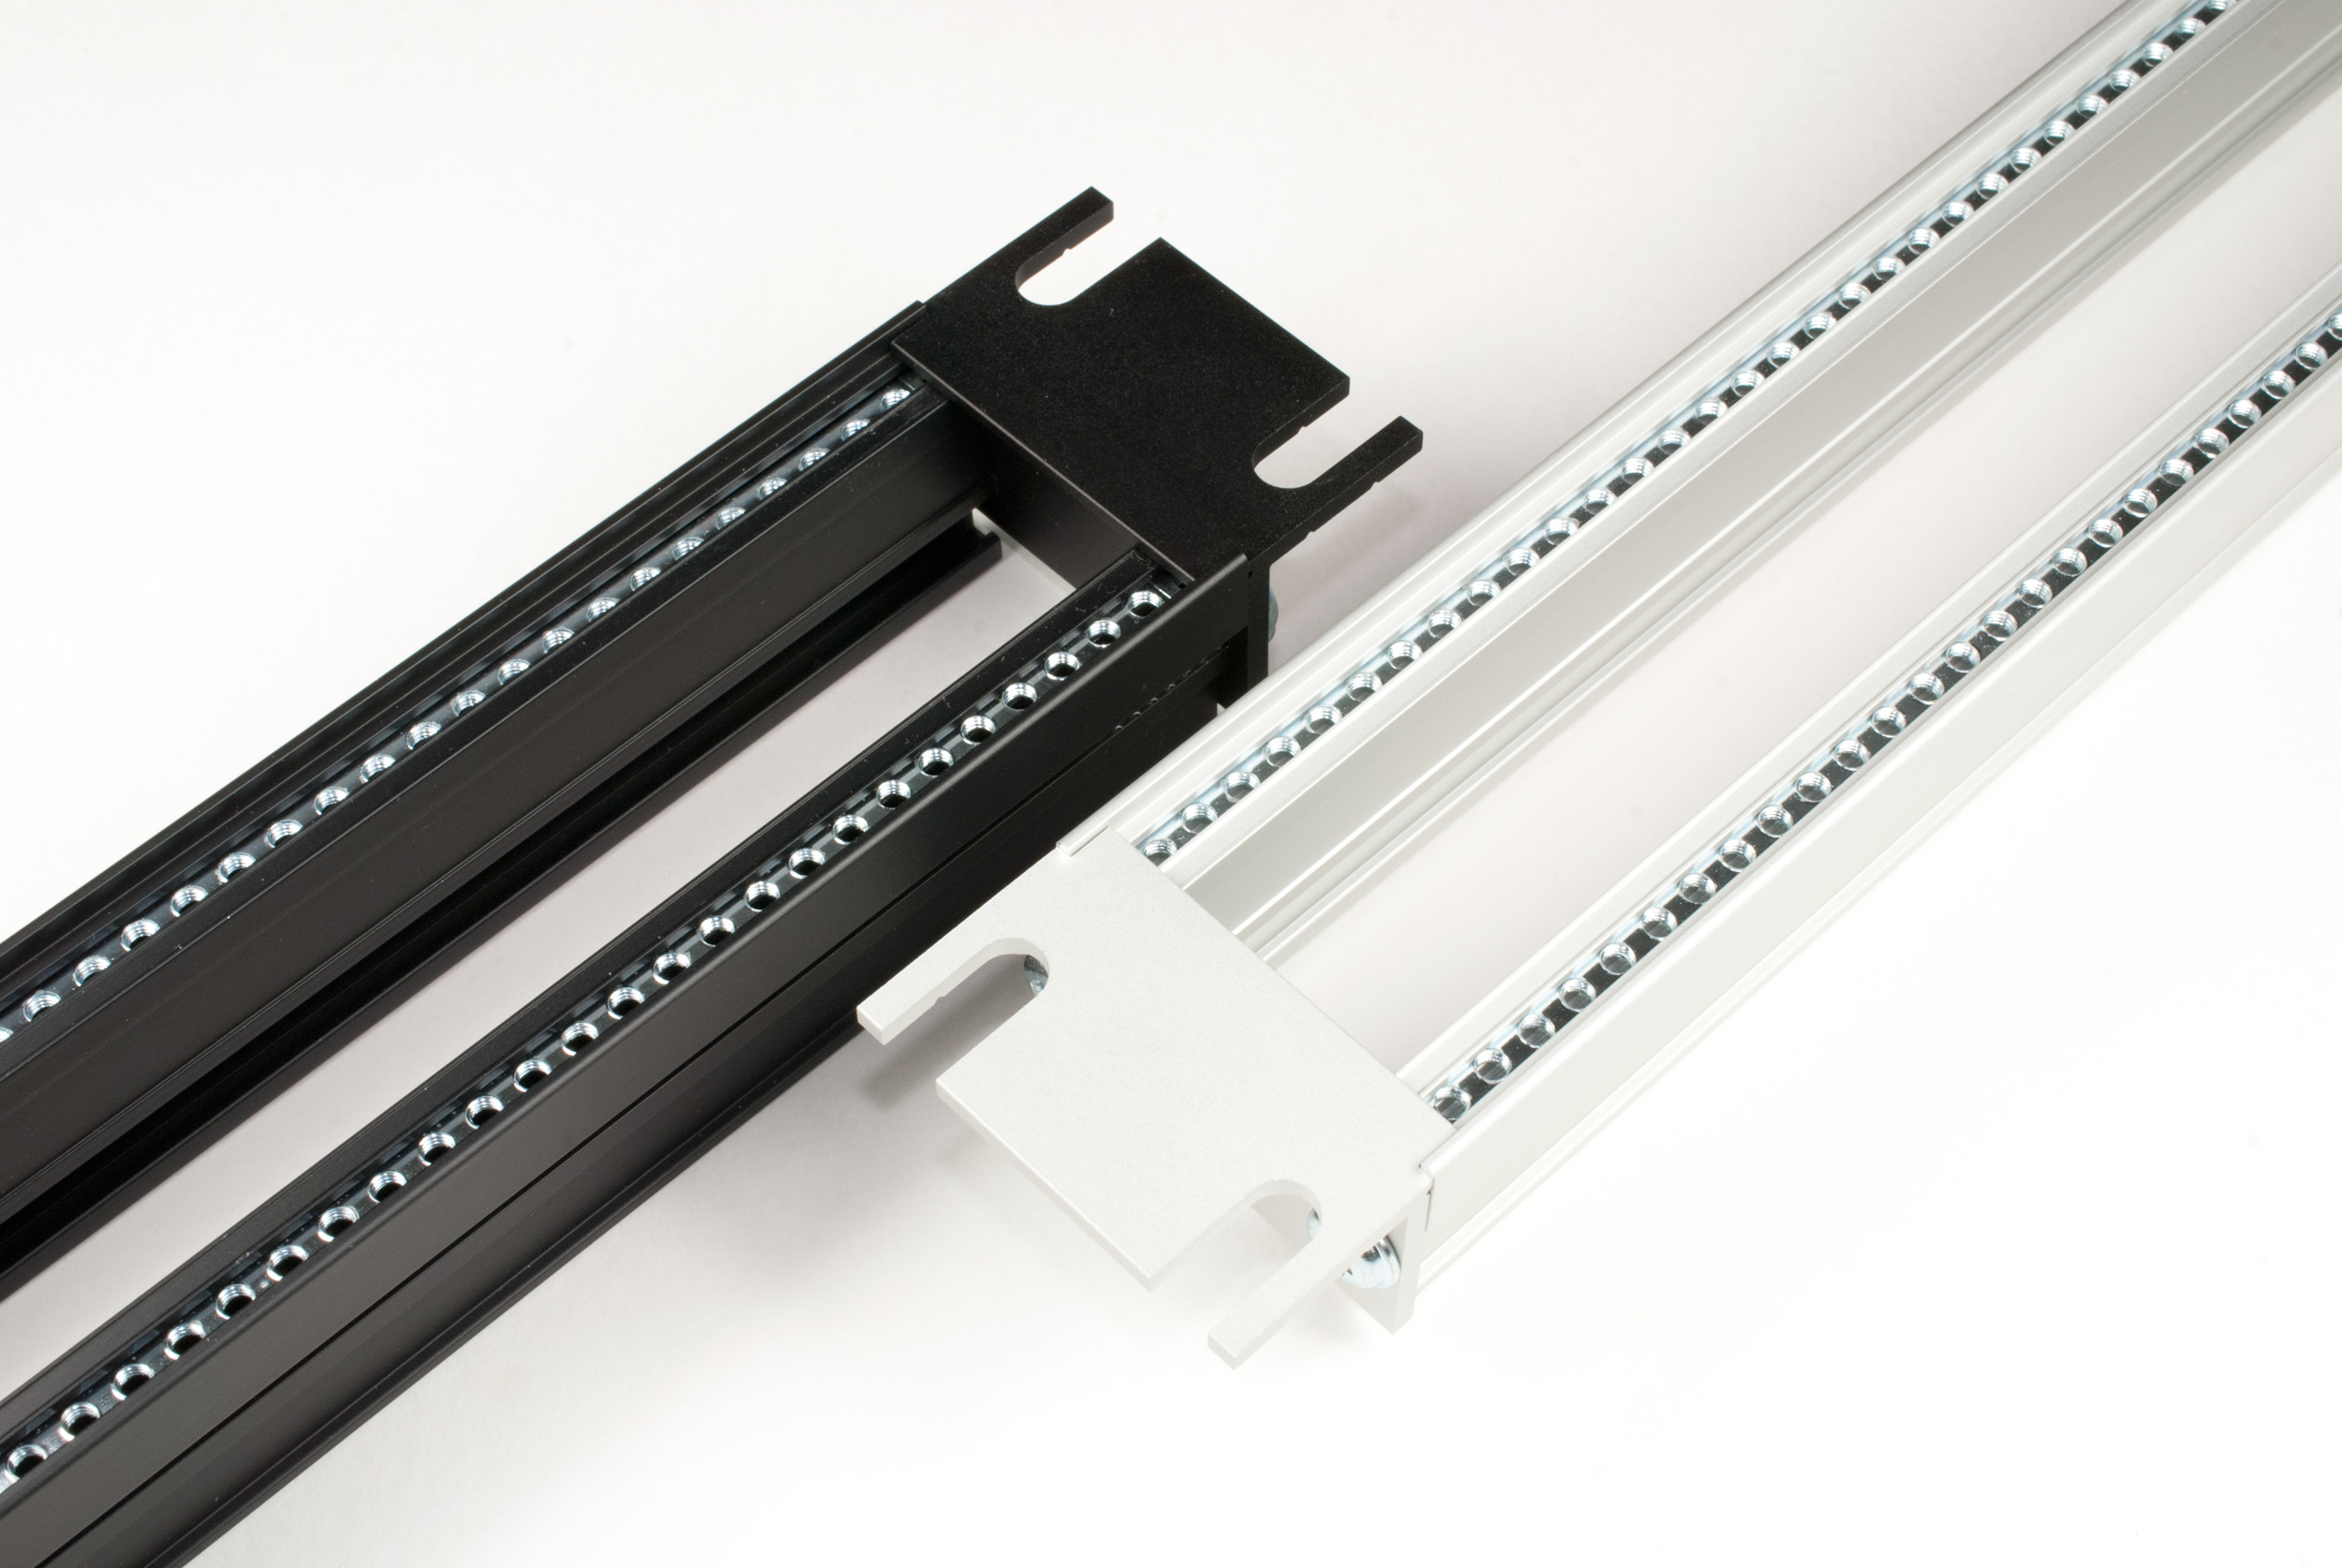
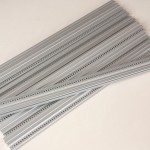
- 8 pcs. 125010 0432 – Rails type 1, non perforated, l=432mm, 85HP
- 2 pcs. 125021 0432 – Rails type 2, perforated, l=432mm, 85HP
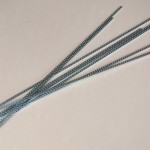
- 4 pcs. 138049 – M3 Threaded strips
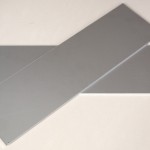
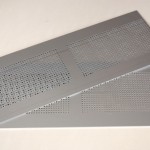
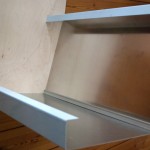
- 2 pcs. 138124 – Top and Bottom cover, perforated (222,3×431,7×1,5mm)
- 2 pcs. 138087 0001 – Rear panels, 3HE/85TE
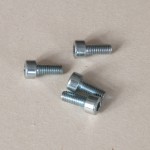
- 20 pcs. 490050 1206 – M5x20 Allen screws, DIN 6912
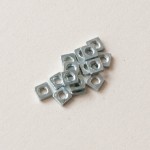
- 28 pcs. 499530 0006 – M3 Square sliding nuts, DIN 562
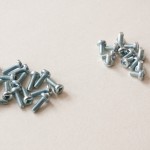
- 32 pcs. 493030 0066 – M3x6 Pan head screws, DIN 7985/ISO 7045
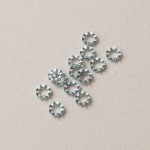
- 5 pcs. M3 Thooth Lock Washers
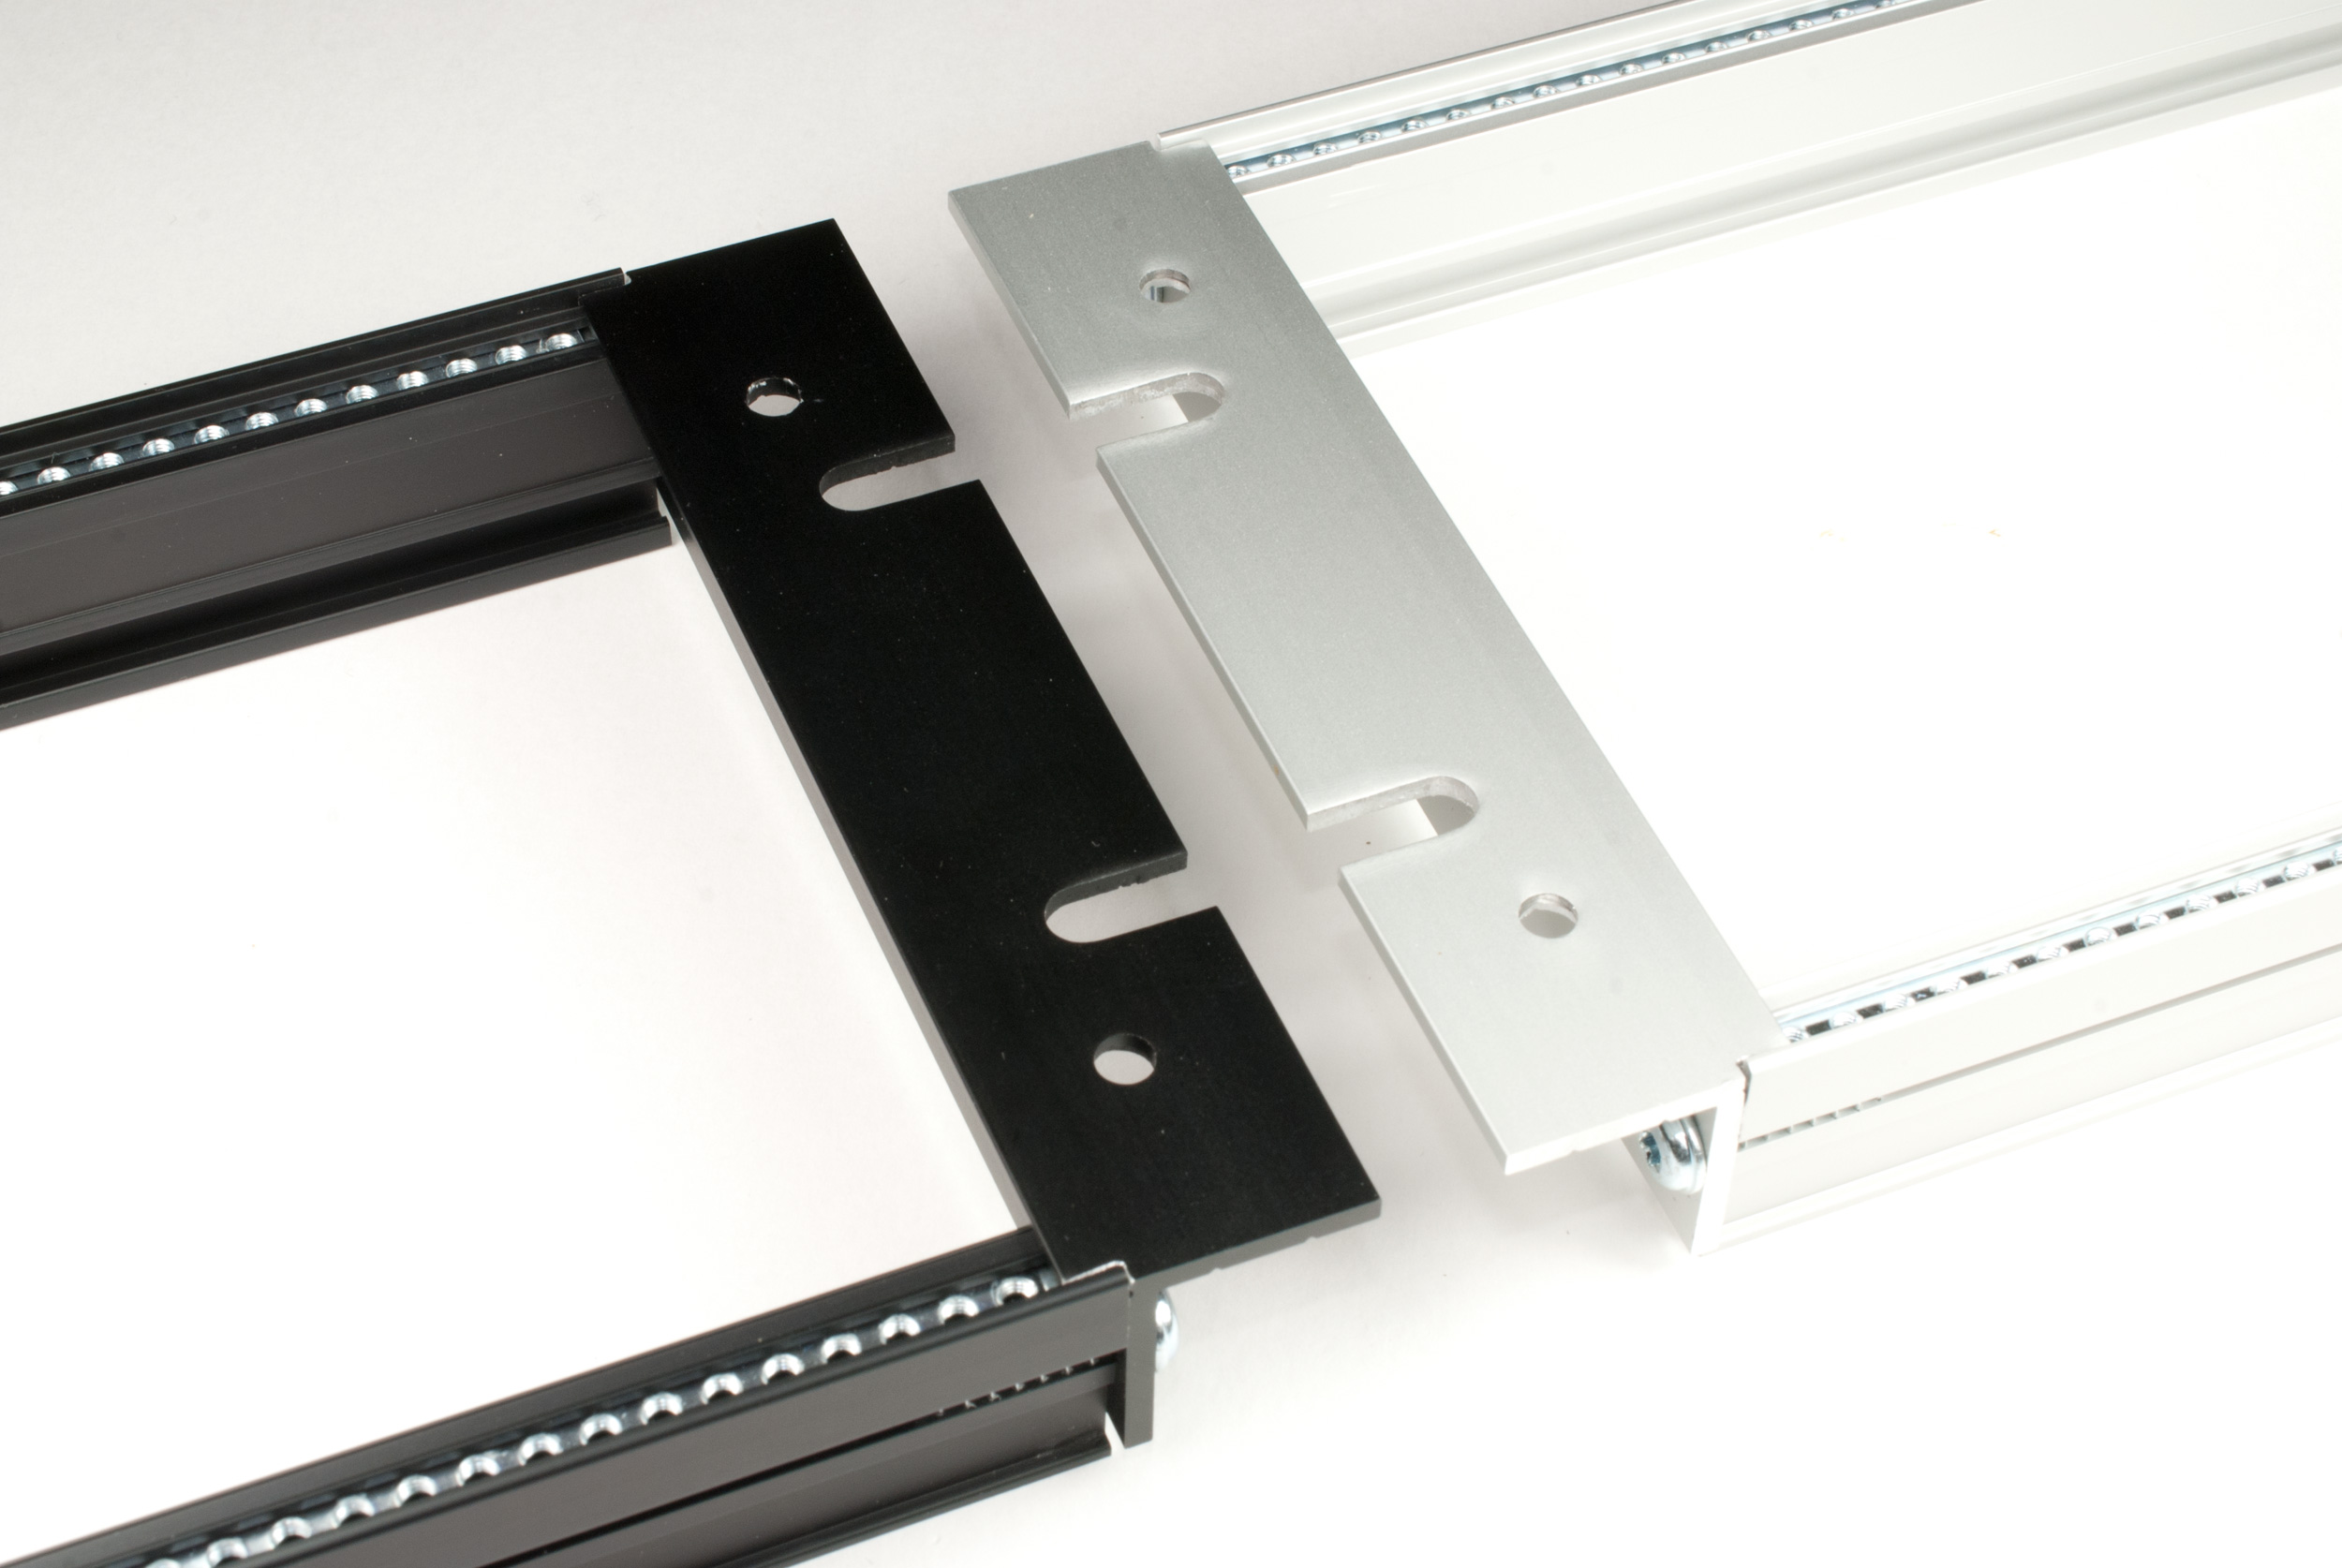
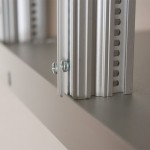
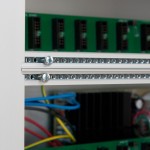
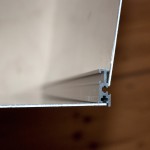
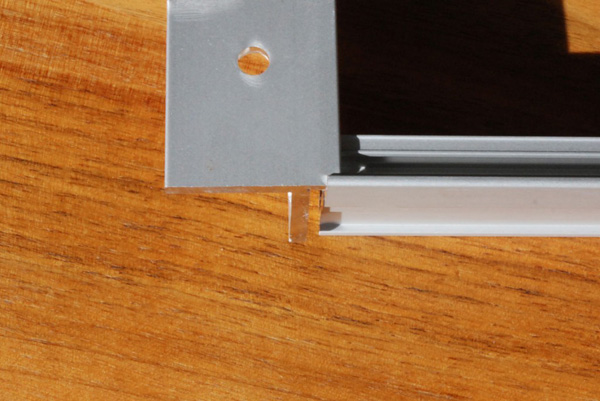
What really confused me when I started to build my first 19 inch rack was the width of the rails. To build a 19 inch rack with a usable width of 84HP (ca. 427 mm, exact 426.72 mm) you will need 85HP (432 mm, exact 431.8 mm) rails. The rack ears need 2,54 mm space on each side of the rack, as you can see on the following picture.
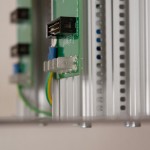
The busboards will be screwed on the two perforated rails using pan head screws, thooth look washers and square sliding nuts. Don’t worry, the part that is connected to the rail does not carry any contacts. So no risk of short circuit.
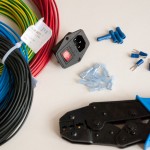
List of electrical components
- 1 pcs. IEC 320 Mains inlet with fuse holder and switch
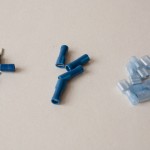
- 5 Fully Insulated Receptacles, 6.3 mm
- 10 Fully Insulated Receptacles, 4.8 mm
- 5 Insulated Fork Cable Lug
- 1 Micro Fuse, 230V – 400mA, time lag or slow blow
- 1m PVC Cabel for internal wiring, H05V-K or H07V-K, green-yellow
- 1m PVC Cabel for internal wiring, H05V-K or H07V-K, black or brown
- 1m PVC Cabel for internal wiring, H05V-K or H07V-K, blue
- 1 IEC 320 Mains Cable
If you have questions feel free to contact me.
TECHNICAL DISCLAIMER: Please be aware that the power supply carries mains voltage (115 or 230 V AC). According to the safety rules the installation has to be done by qualified personnel only. Please keep that in mind: Danger to Life!
This is a private blog, and it is about sharing experiences. No warranty at all.
