DIY Eurorack: Spannungsversorgung (PSU) und Busboards

Interessanterweise bekomme ich die meisten Anfragen aus dem Ausland. Das freut mich natürlich, gleichzeitig wundert es mich aber auch. Liegt das vielleicht nur daran, dass ich hier überwiegend in Englisch poste? Deshalb mal wieder was auf Deutsch. – English version

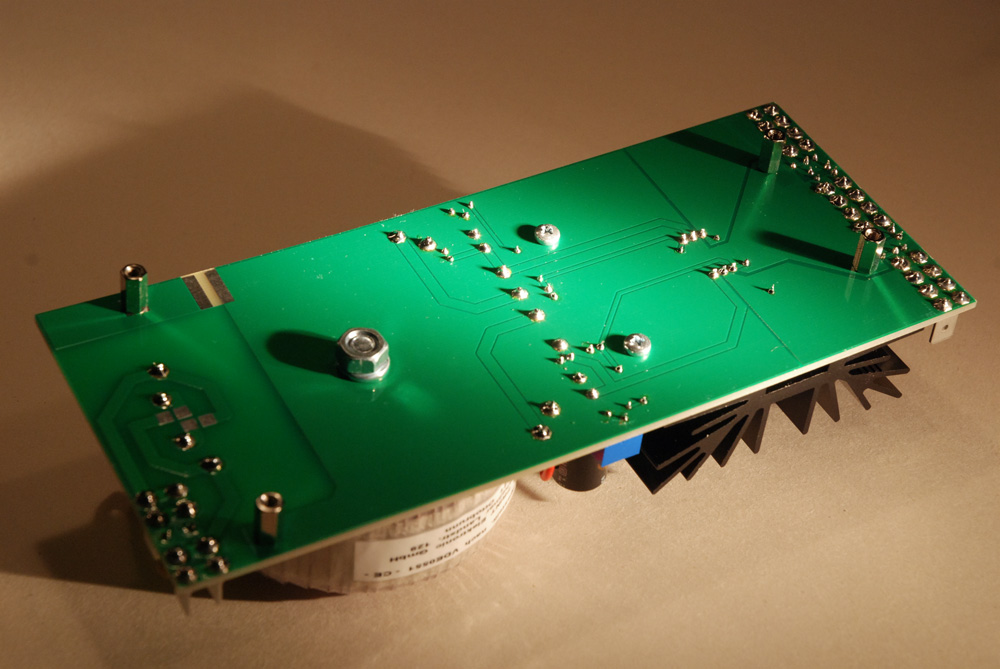
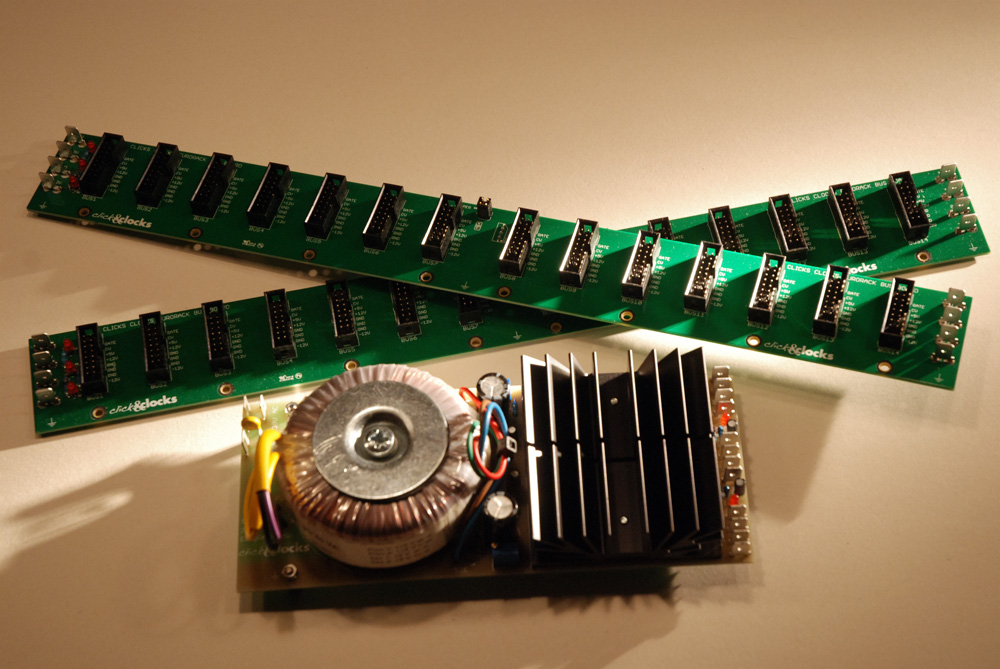
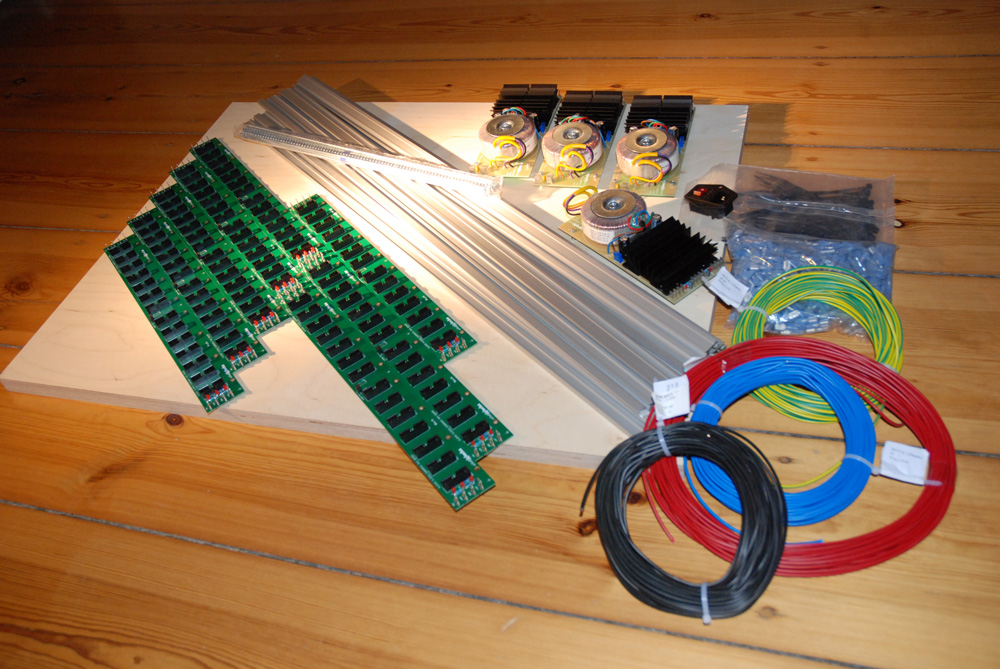
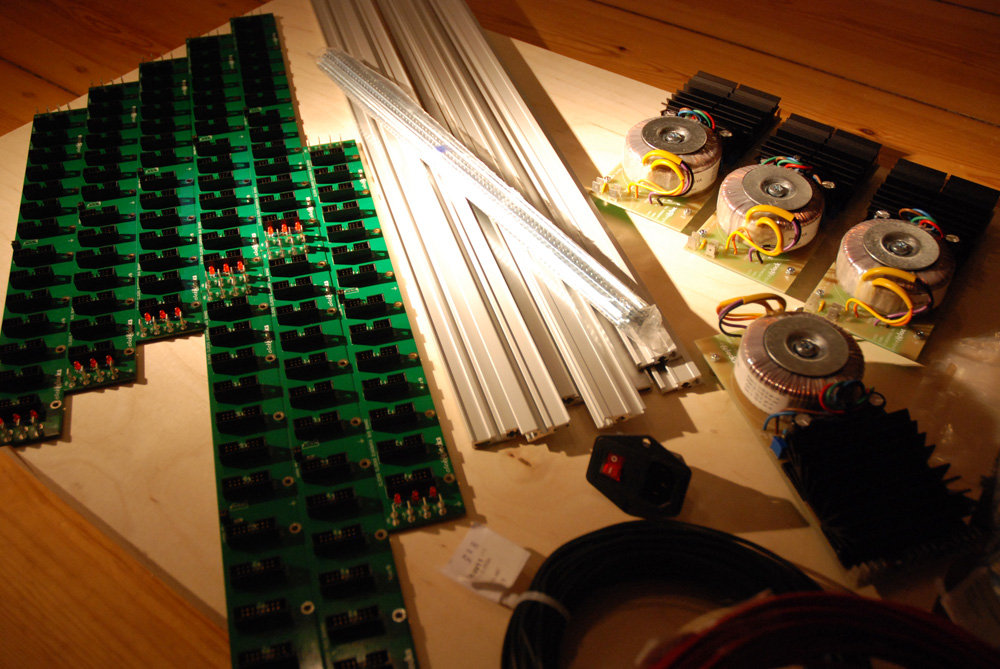
Hier ein paar Bilder der Clicks and Clocks Eurorack Spannungsversorgung (PSU) und der Busboards. Zu Beginn wollte ich eigentlich nur ein pultartiges Case für meinen Eurorack-Modularsynthesizer bauen. Da ich mindestens vier Spannungsversorgungen benötigte, dachte ich von anfang an über eine eigene Lösung nach Doepfer-Vorbild nach. Ich weiß, dass es günstige Schaltnetzteile gibt, aber mich reizte die Aufgabe und ich wollte Erfahrungen sammeln.
Es war klar, dass ich einige überzählige Spannungsversorgungen und Busboards haben werde. Wer dran interessiert ist und Preise und Versandkosten erfahren möchte, schickt mir bitte eine E-Mail

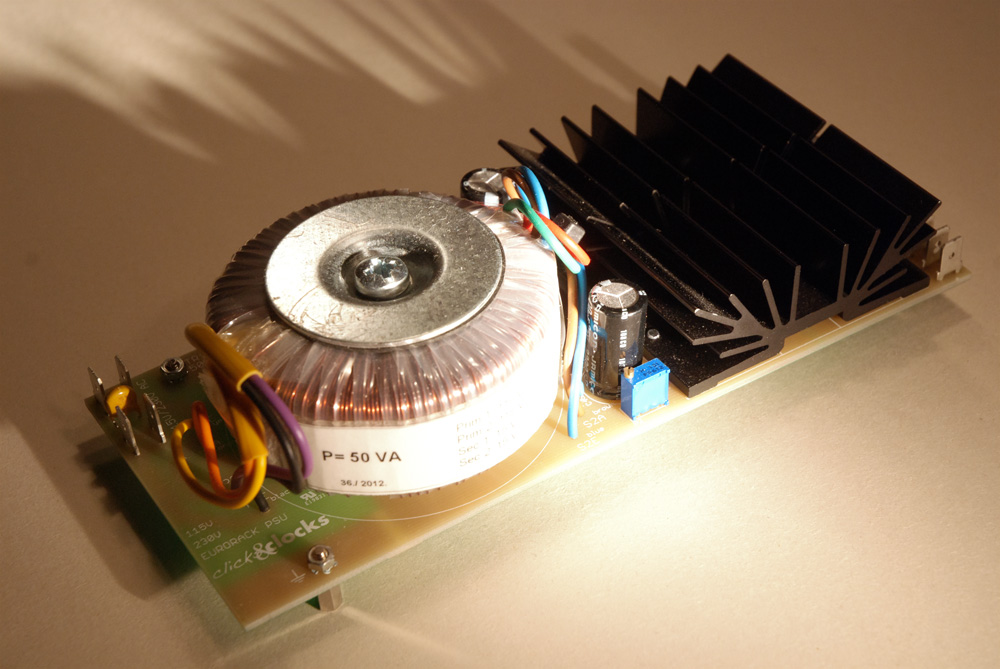
ClicksClocks – Spannungsversorgung (PSU) 1
ClicksClocks – Spannungsversorgung (PSU) 2
ClicksClocks – Spannungsversorgung (PSU) Unterseite
ClicksClocks – Busboards
ClicksClocks – Busboard 5V Option
ClicksClocks Bundle – 2 Busboards und 1 PSU

TECHNISCHER HINWEIS: Bitte sei Dir darüber bewusst, dass das Netzteil Netzspannung führt (115 or 230 V AC). Aus Sicherheitsgründen darf die Installation nur von Fachpersonal durchgeführt werden. ACHTUNG: Bei unsachgemäßer Handhabung besteht Lebensgefahr!
Dies ist ein privater Blog, es geht darum Wissen zu teilen. Keine Garantie und Haftung.
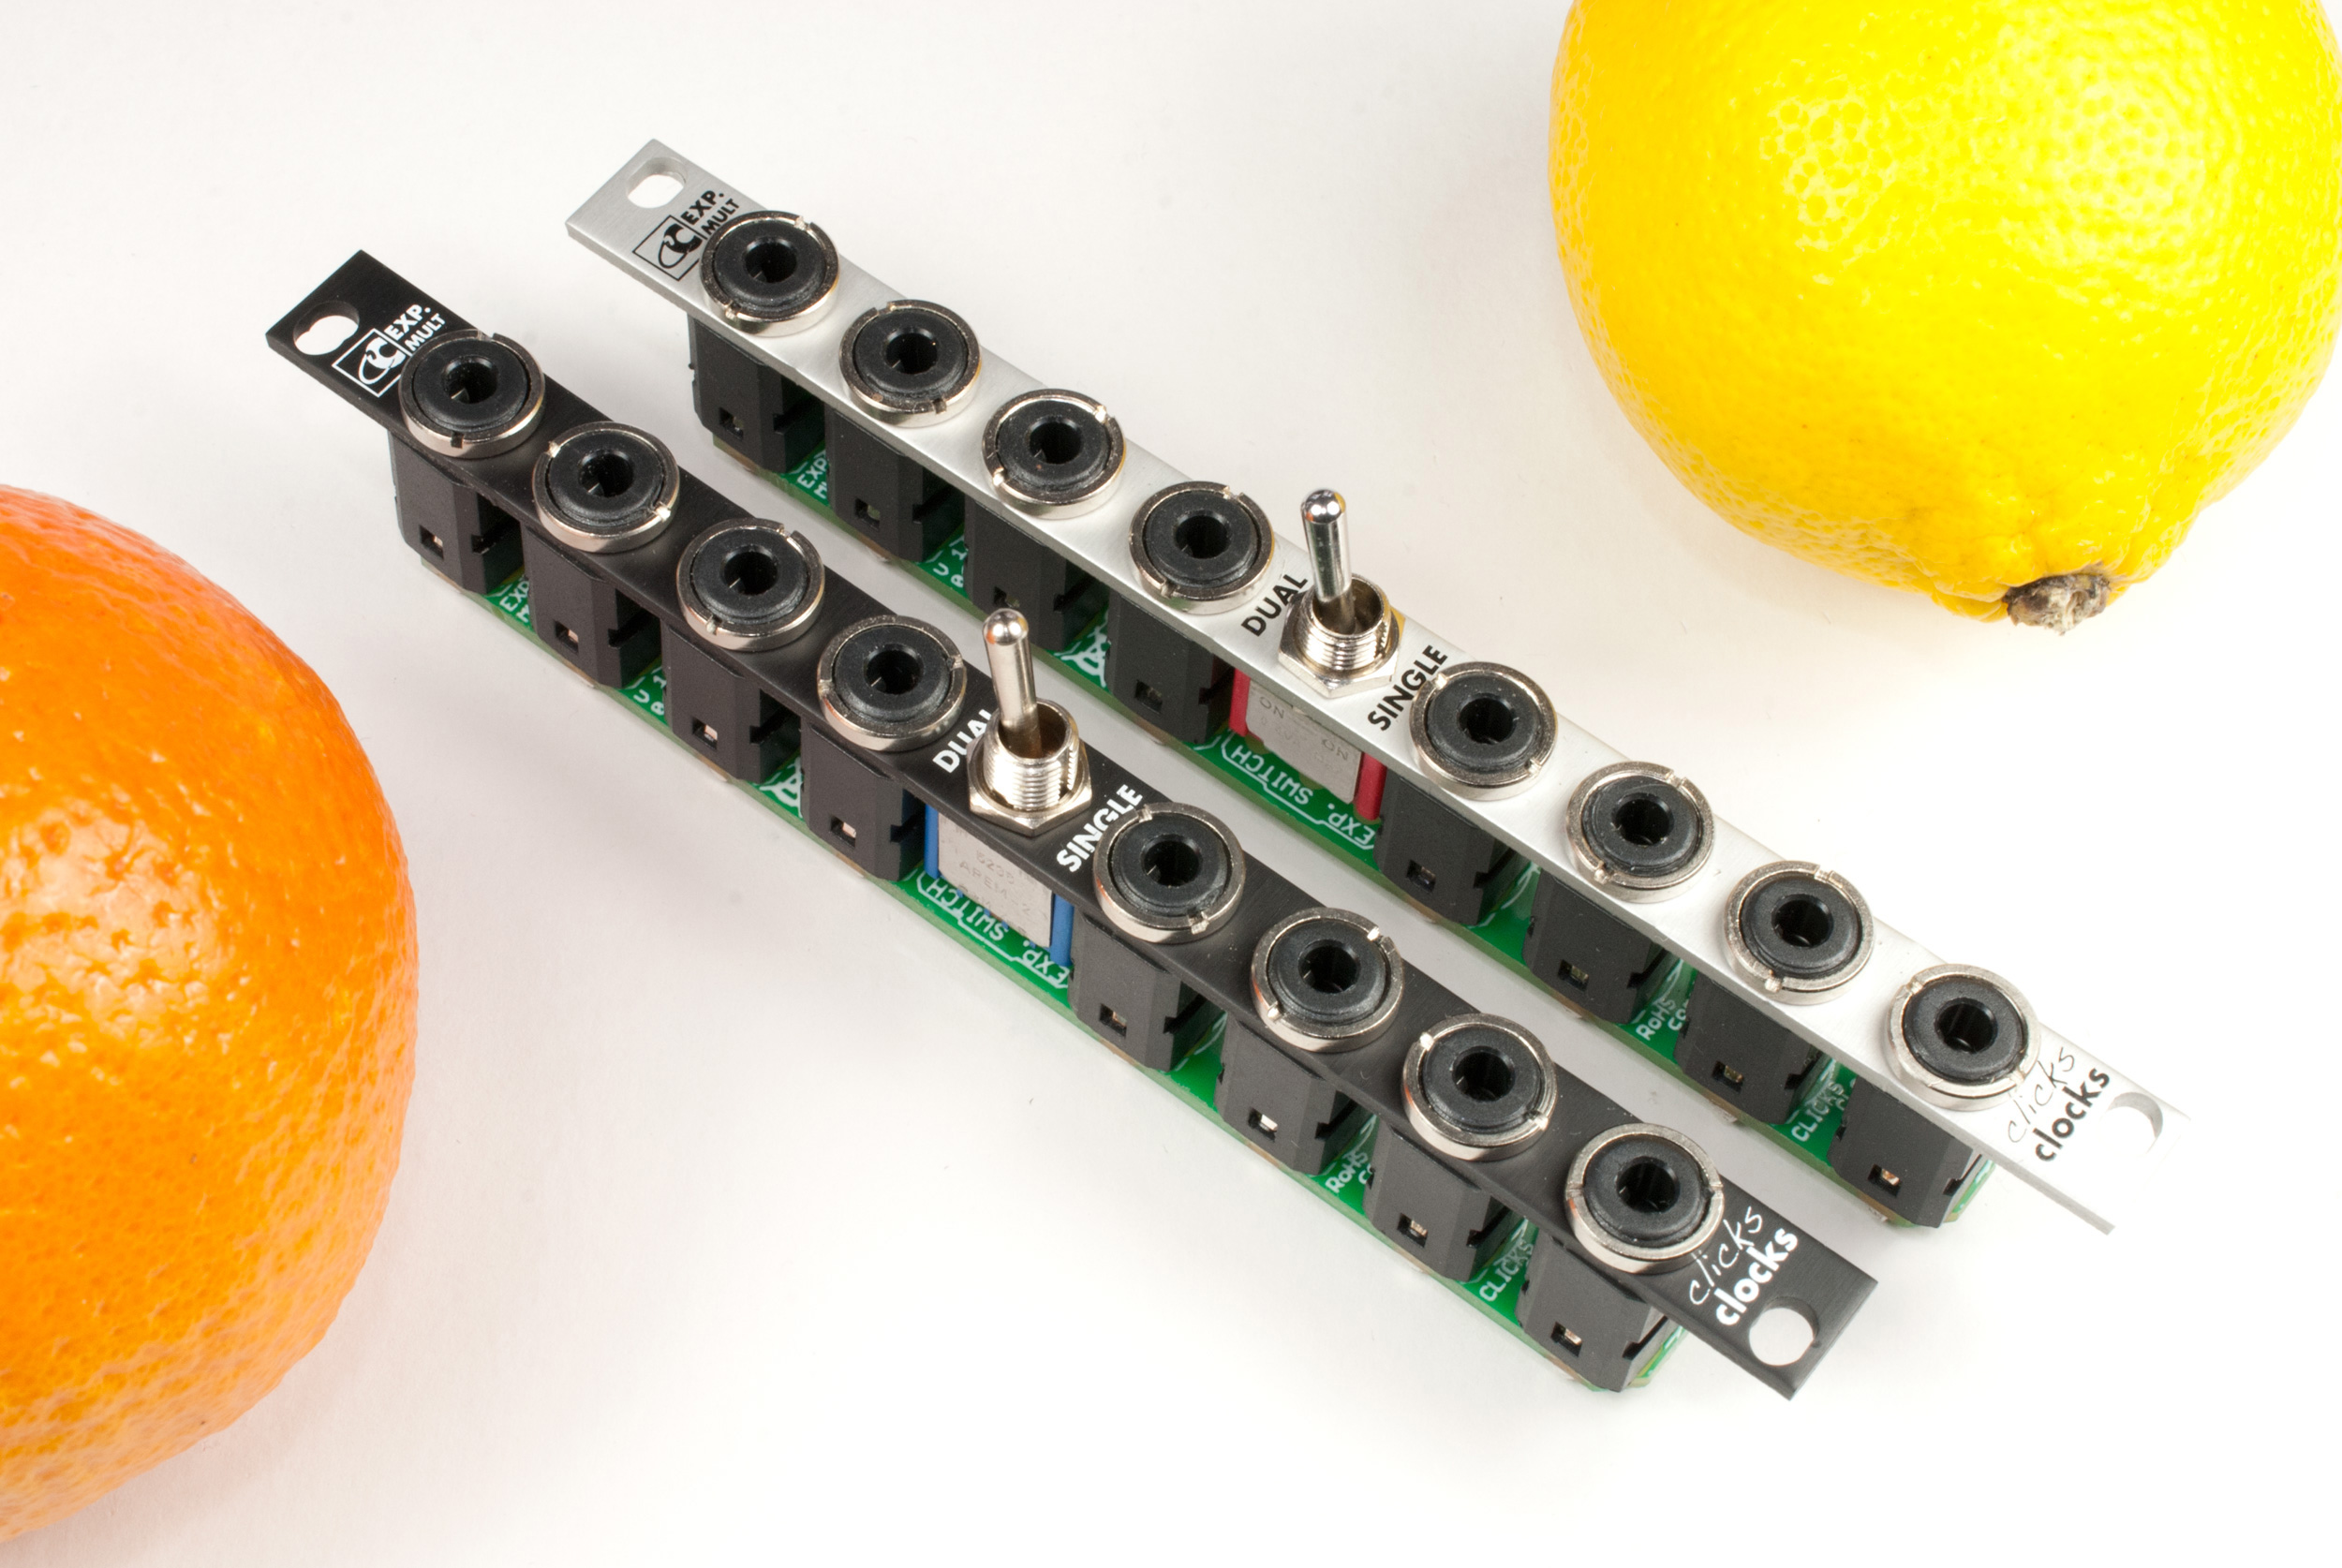
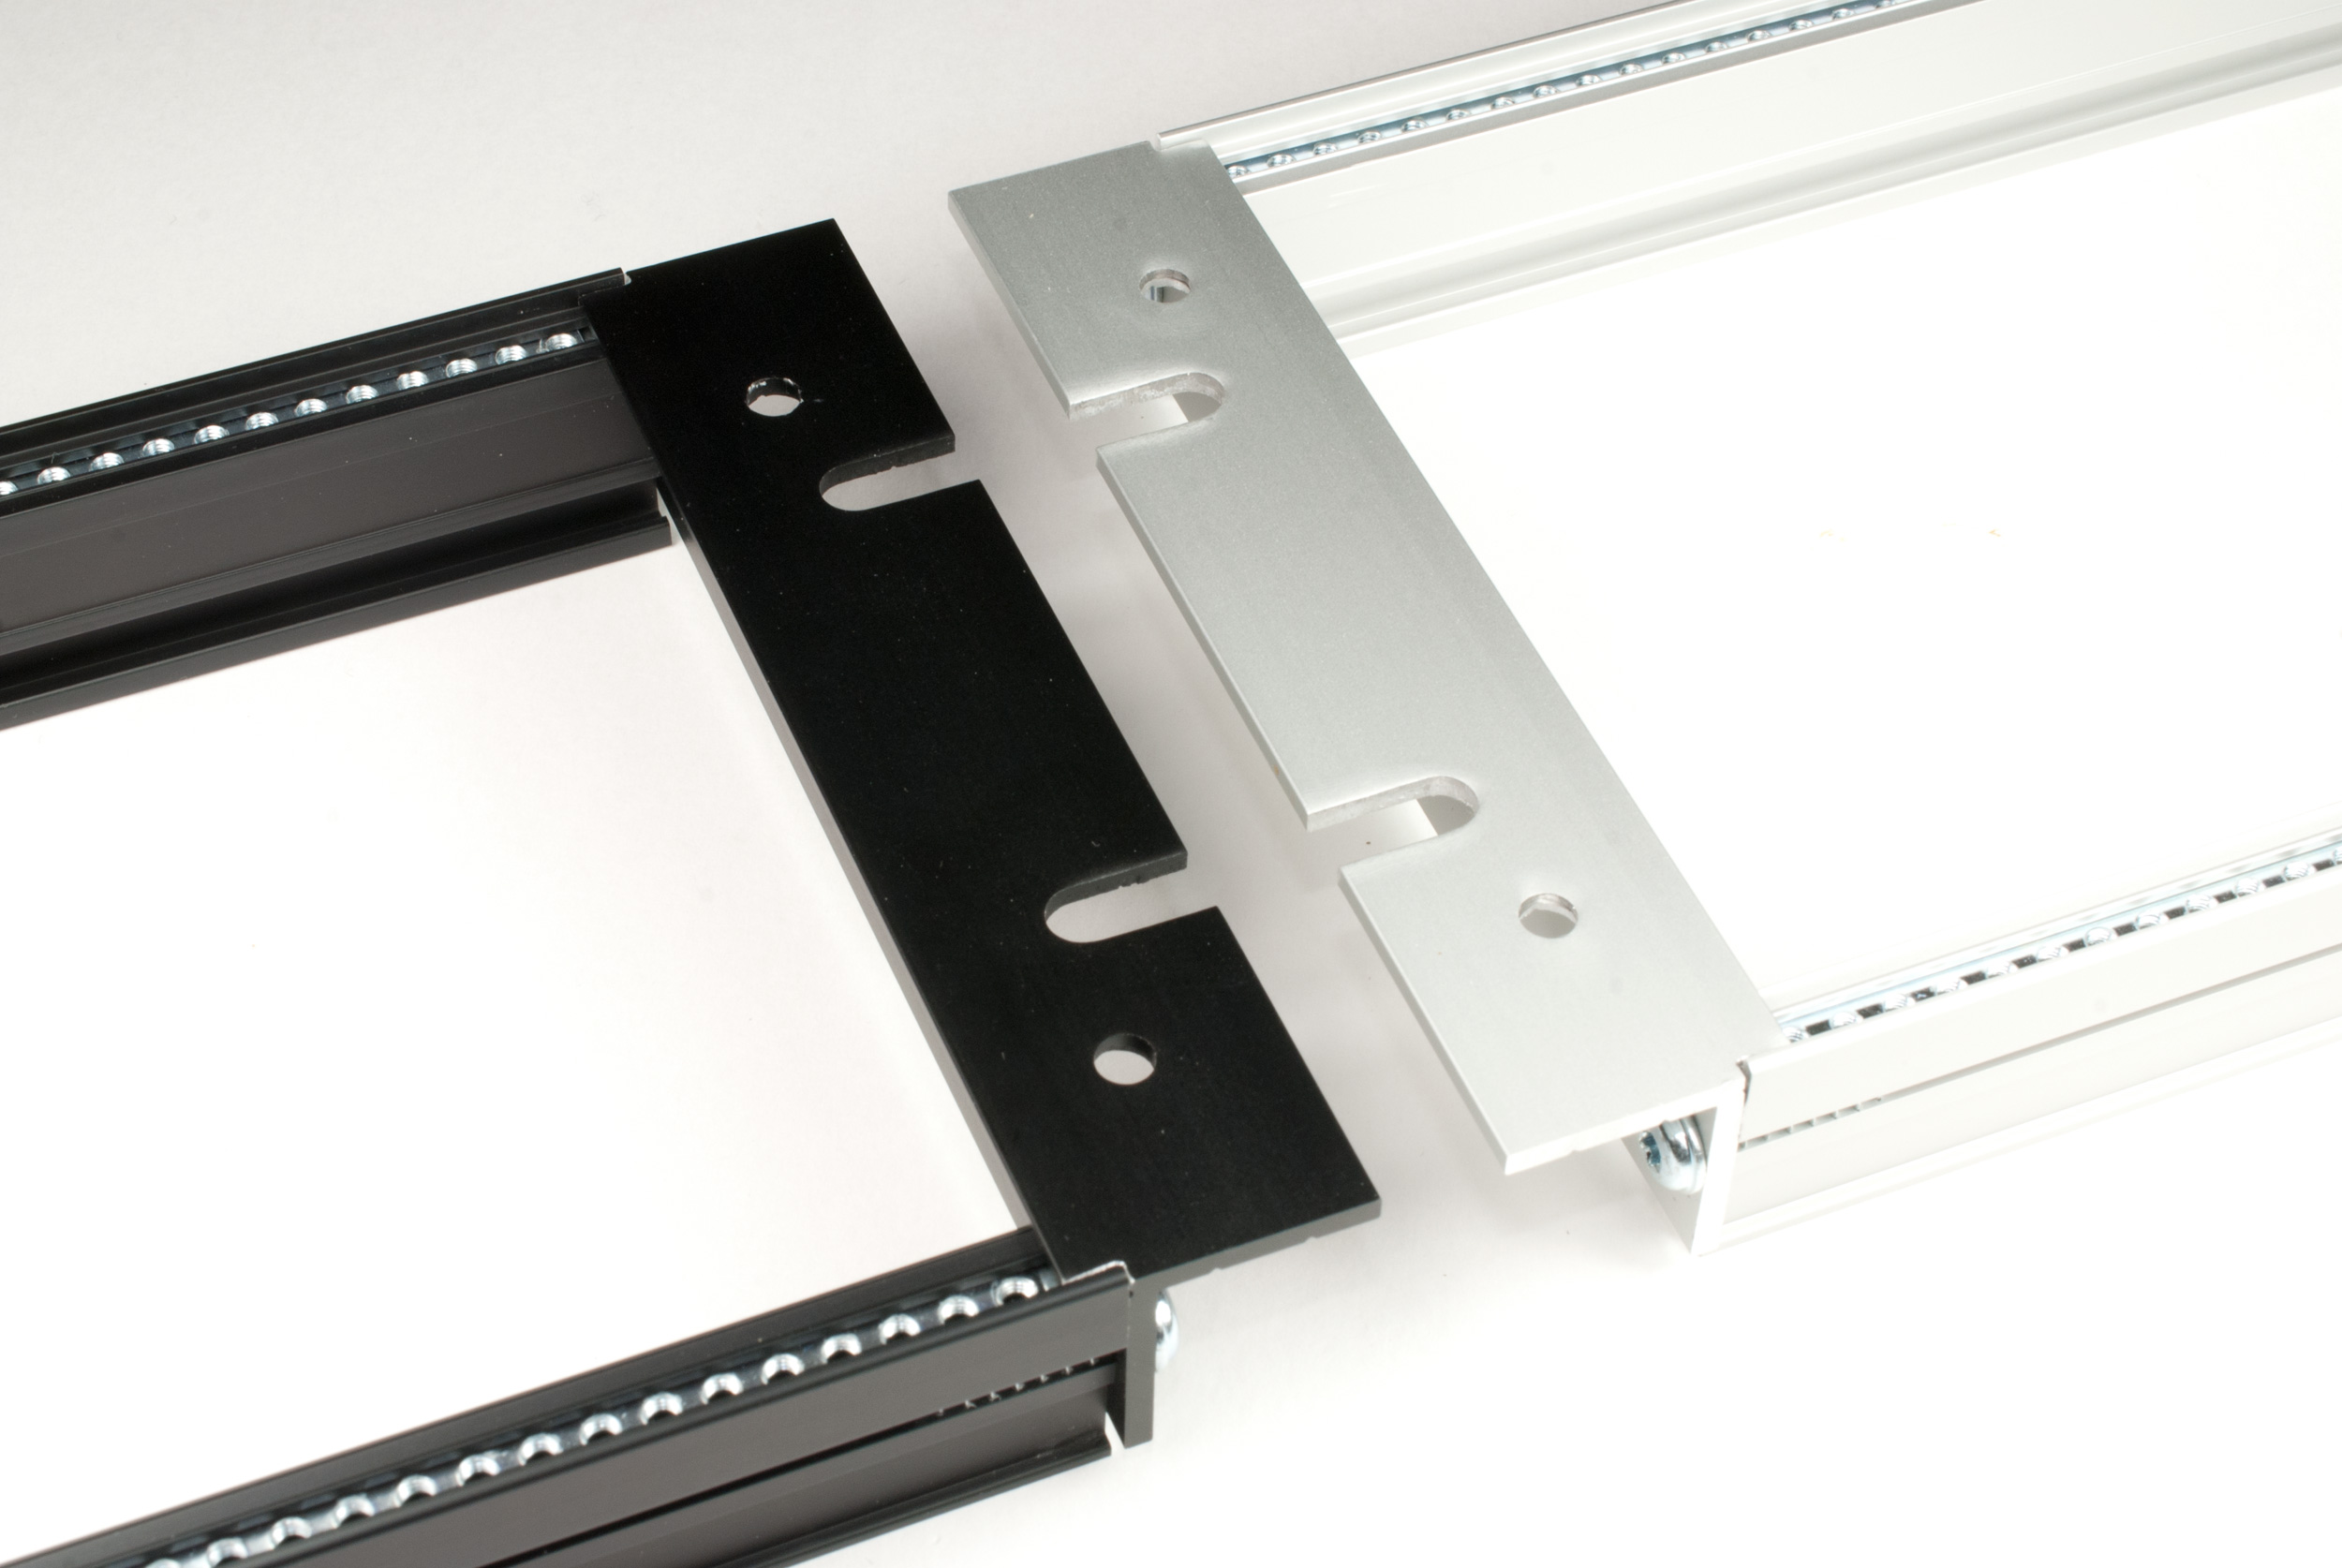
DIY Eurorack Console Case – The Journey continues

Starting the detailed planning of the case for my modular Eurorack synth.

After spending a few month on creating my own Doepfer like Clicks and Clocks Eurorack power supplies (PSU) and busboards, I now continuing with planning and building the case. The main idea is to have wooden side wings which will enclose the aluminium rear and bottom panel. The construction will be kept together by threaded rods.

Clicks and Clocks Console Case
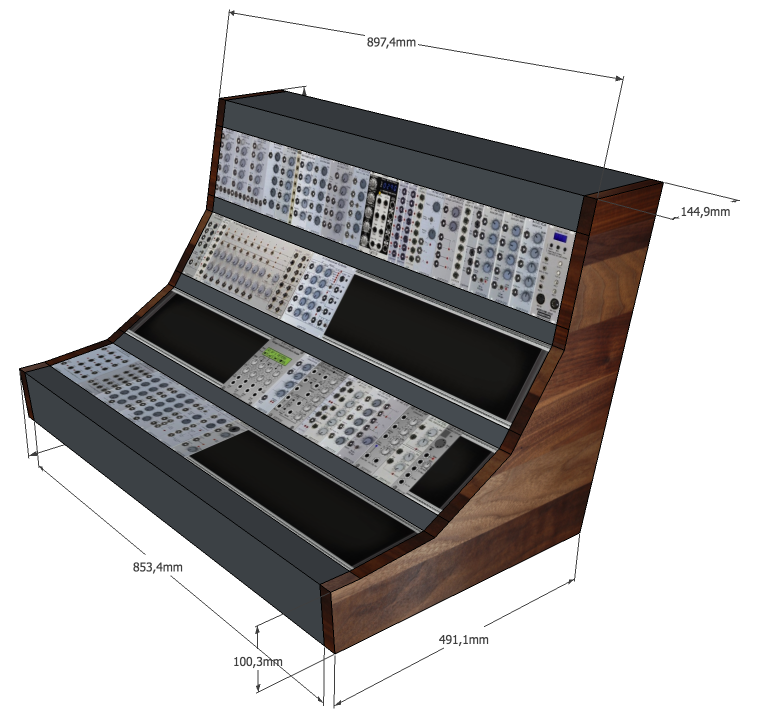
A bit more exact sketch of the case. The measurements are almost correct, the thickness of the side wings is 22mm. The case is planned as a double 19 inch sized case.

Clicks and Clocks Console Case
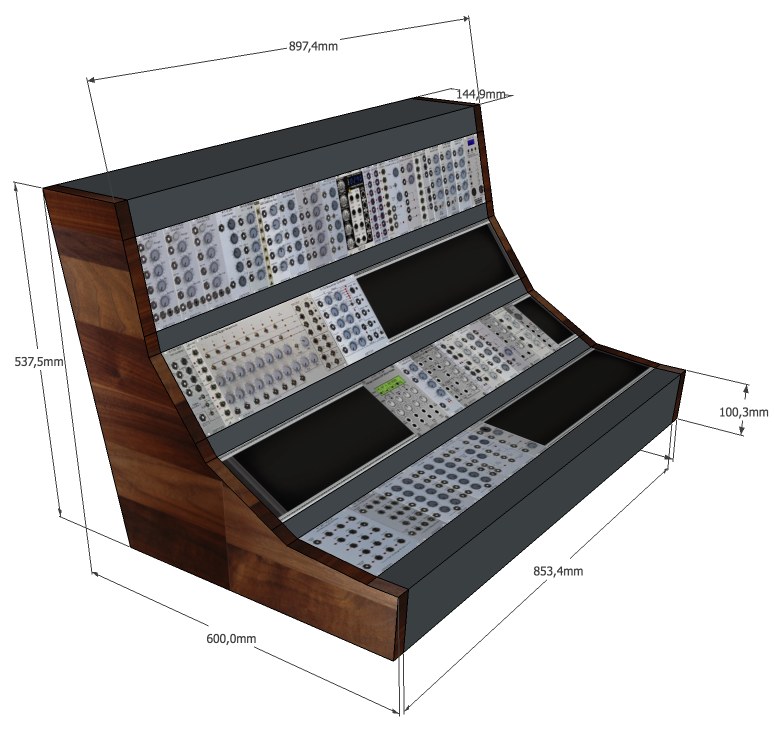
The Eurorack case from the viewed from the other side.

Here you find the latest SketchUp drawings.

I have most of the parts together, except the rear and bottom panels which will be made of bent aluminium plates. The idea is to pulver coat the aluminium parts after they are bended and the mount holes for the PSUs and busboards are drilled. The shape of the side wings need to be routed, as well as a thin groove that hold the aluminium panels. Still some manual work to do…

Parts for the Clicks and Clocks Eurorack Console Case
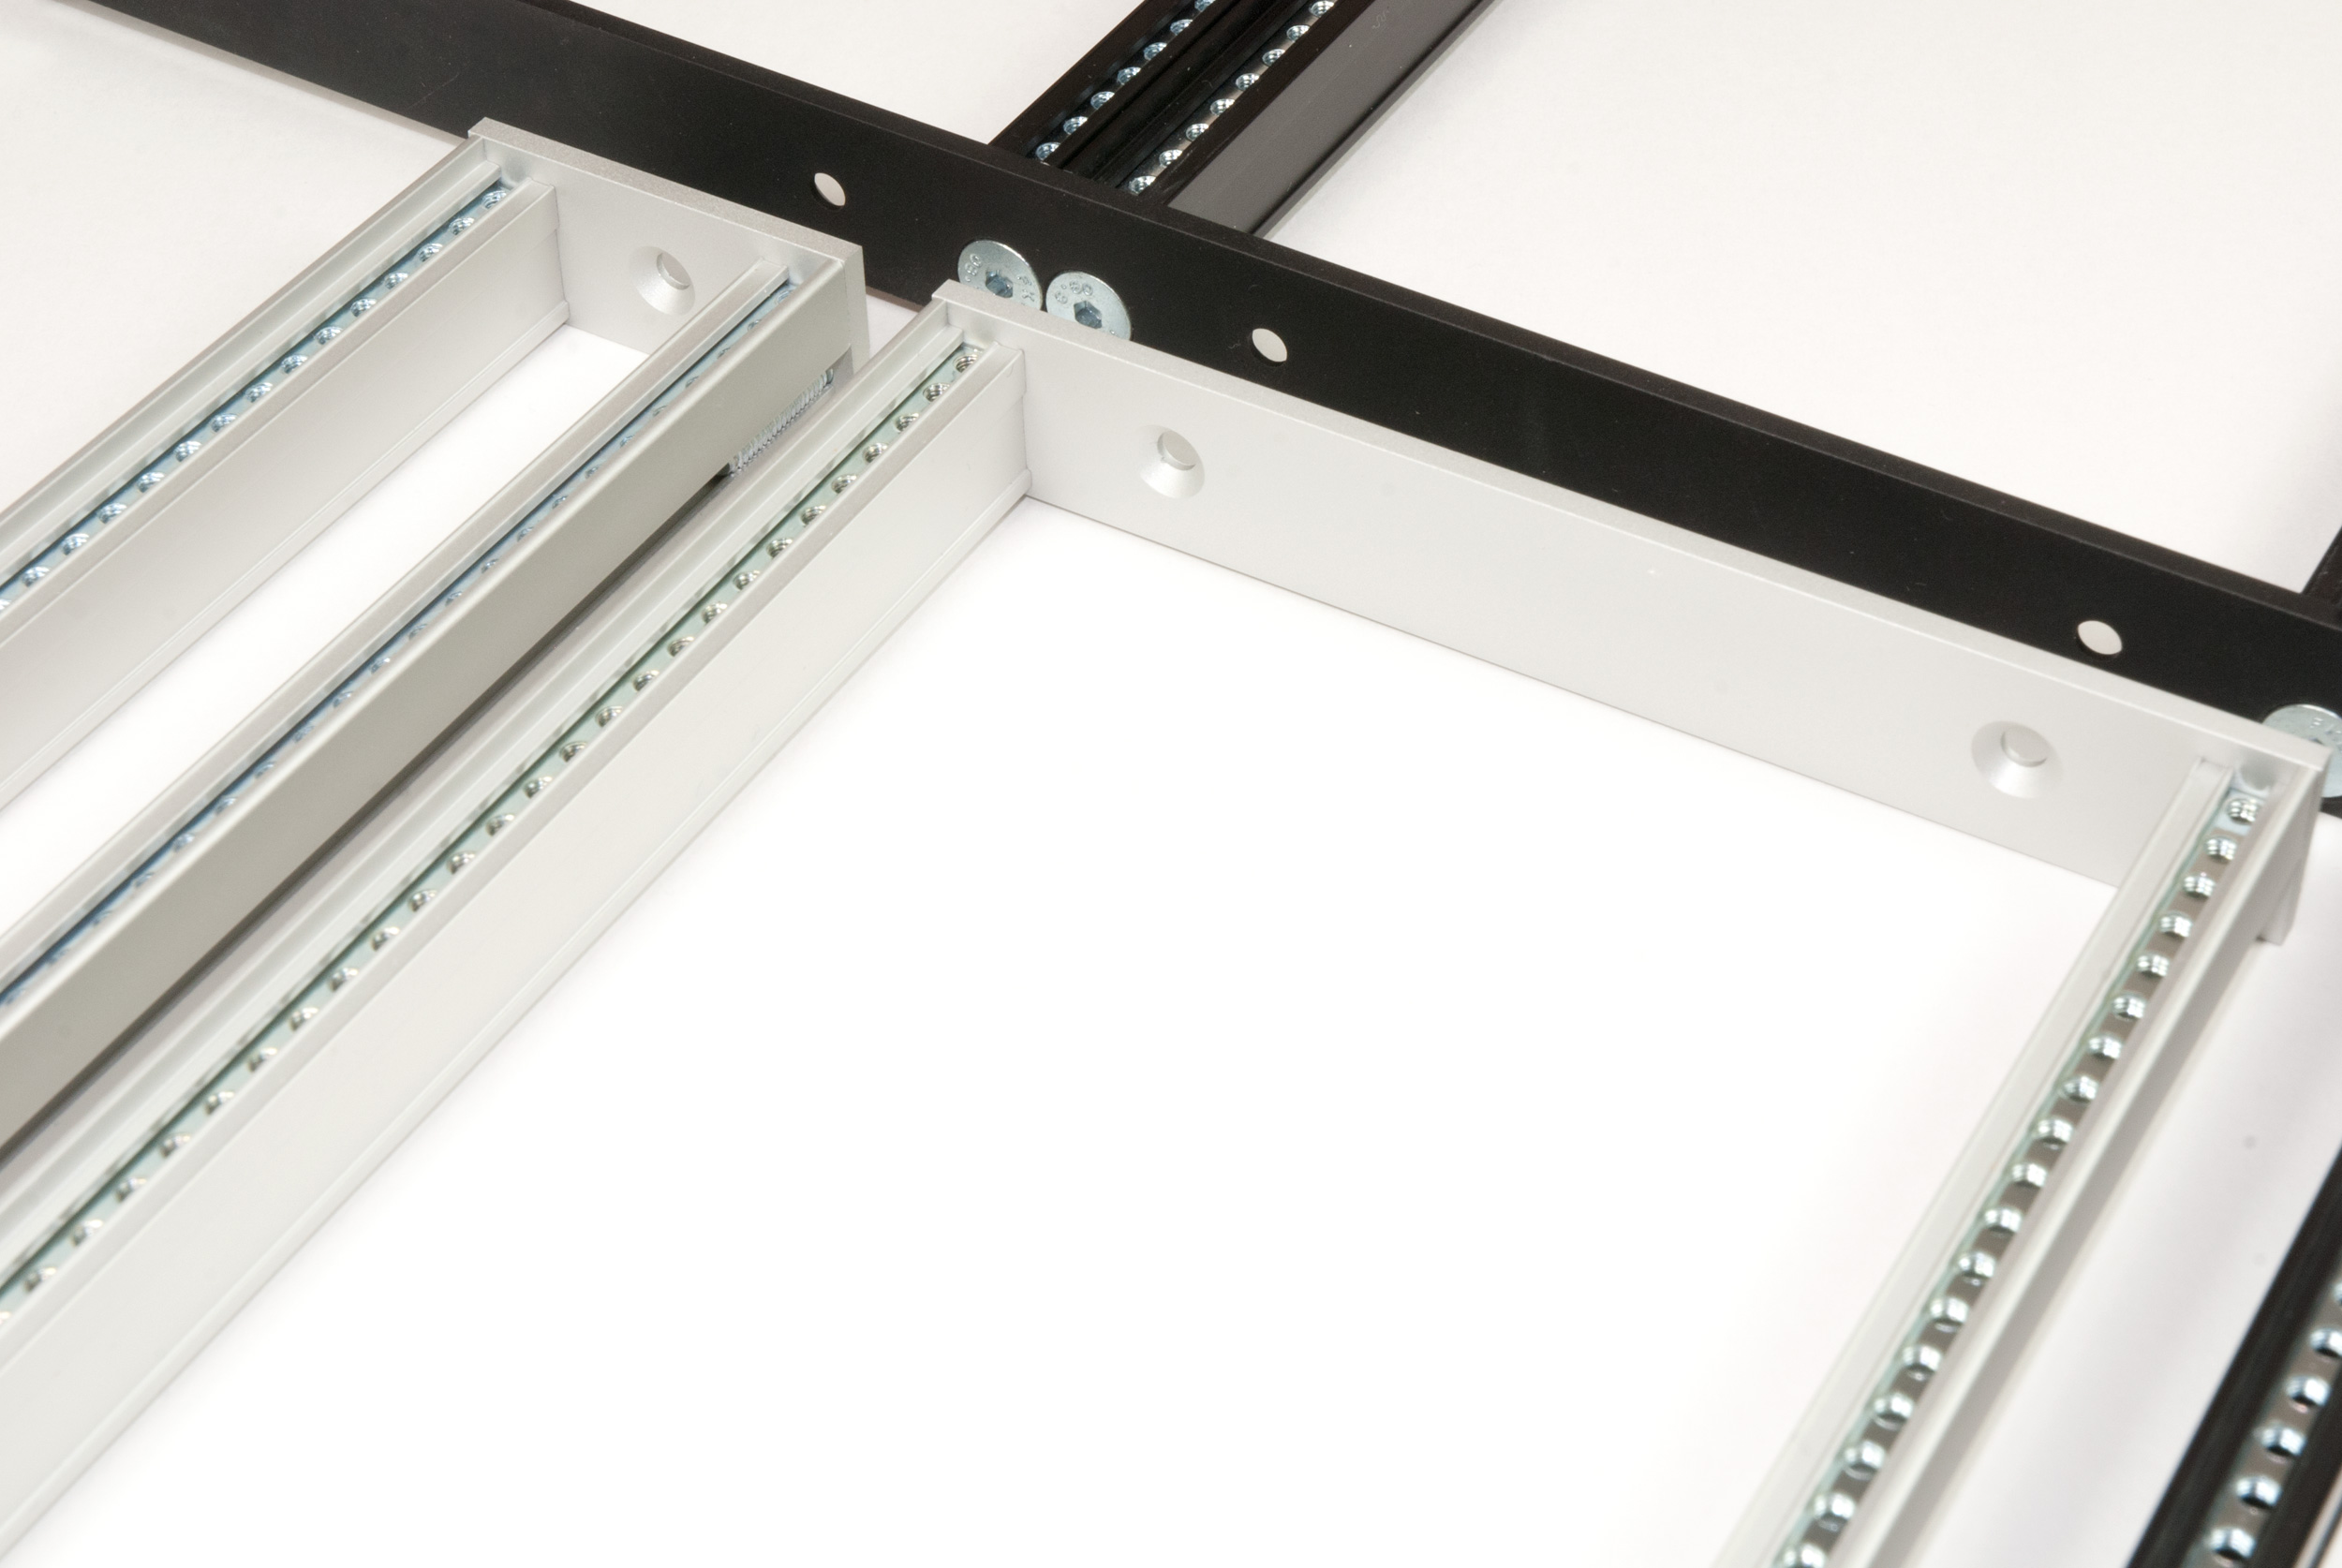
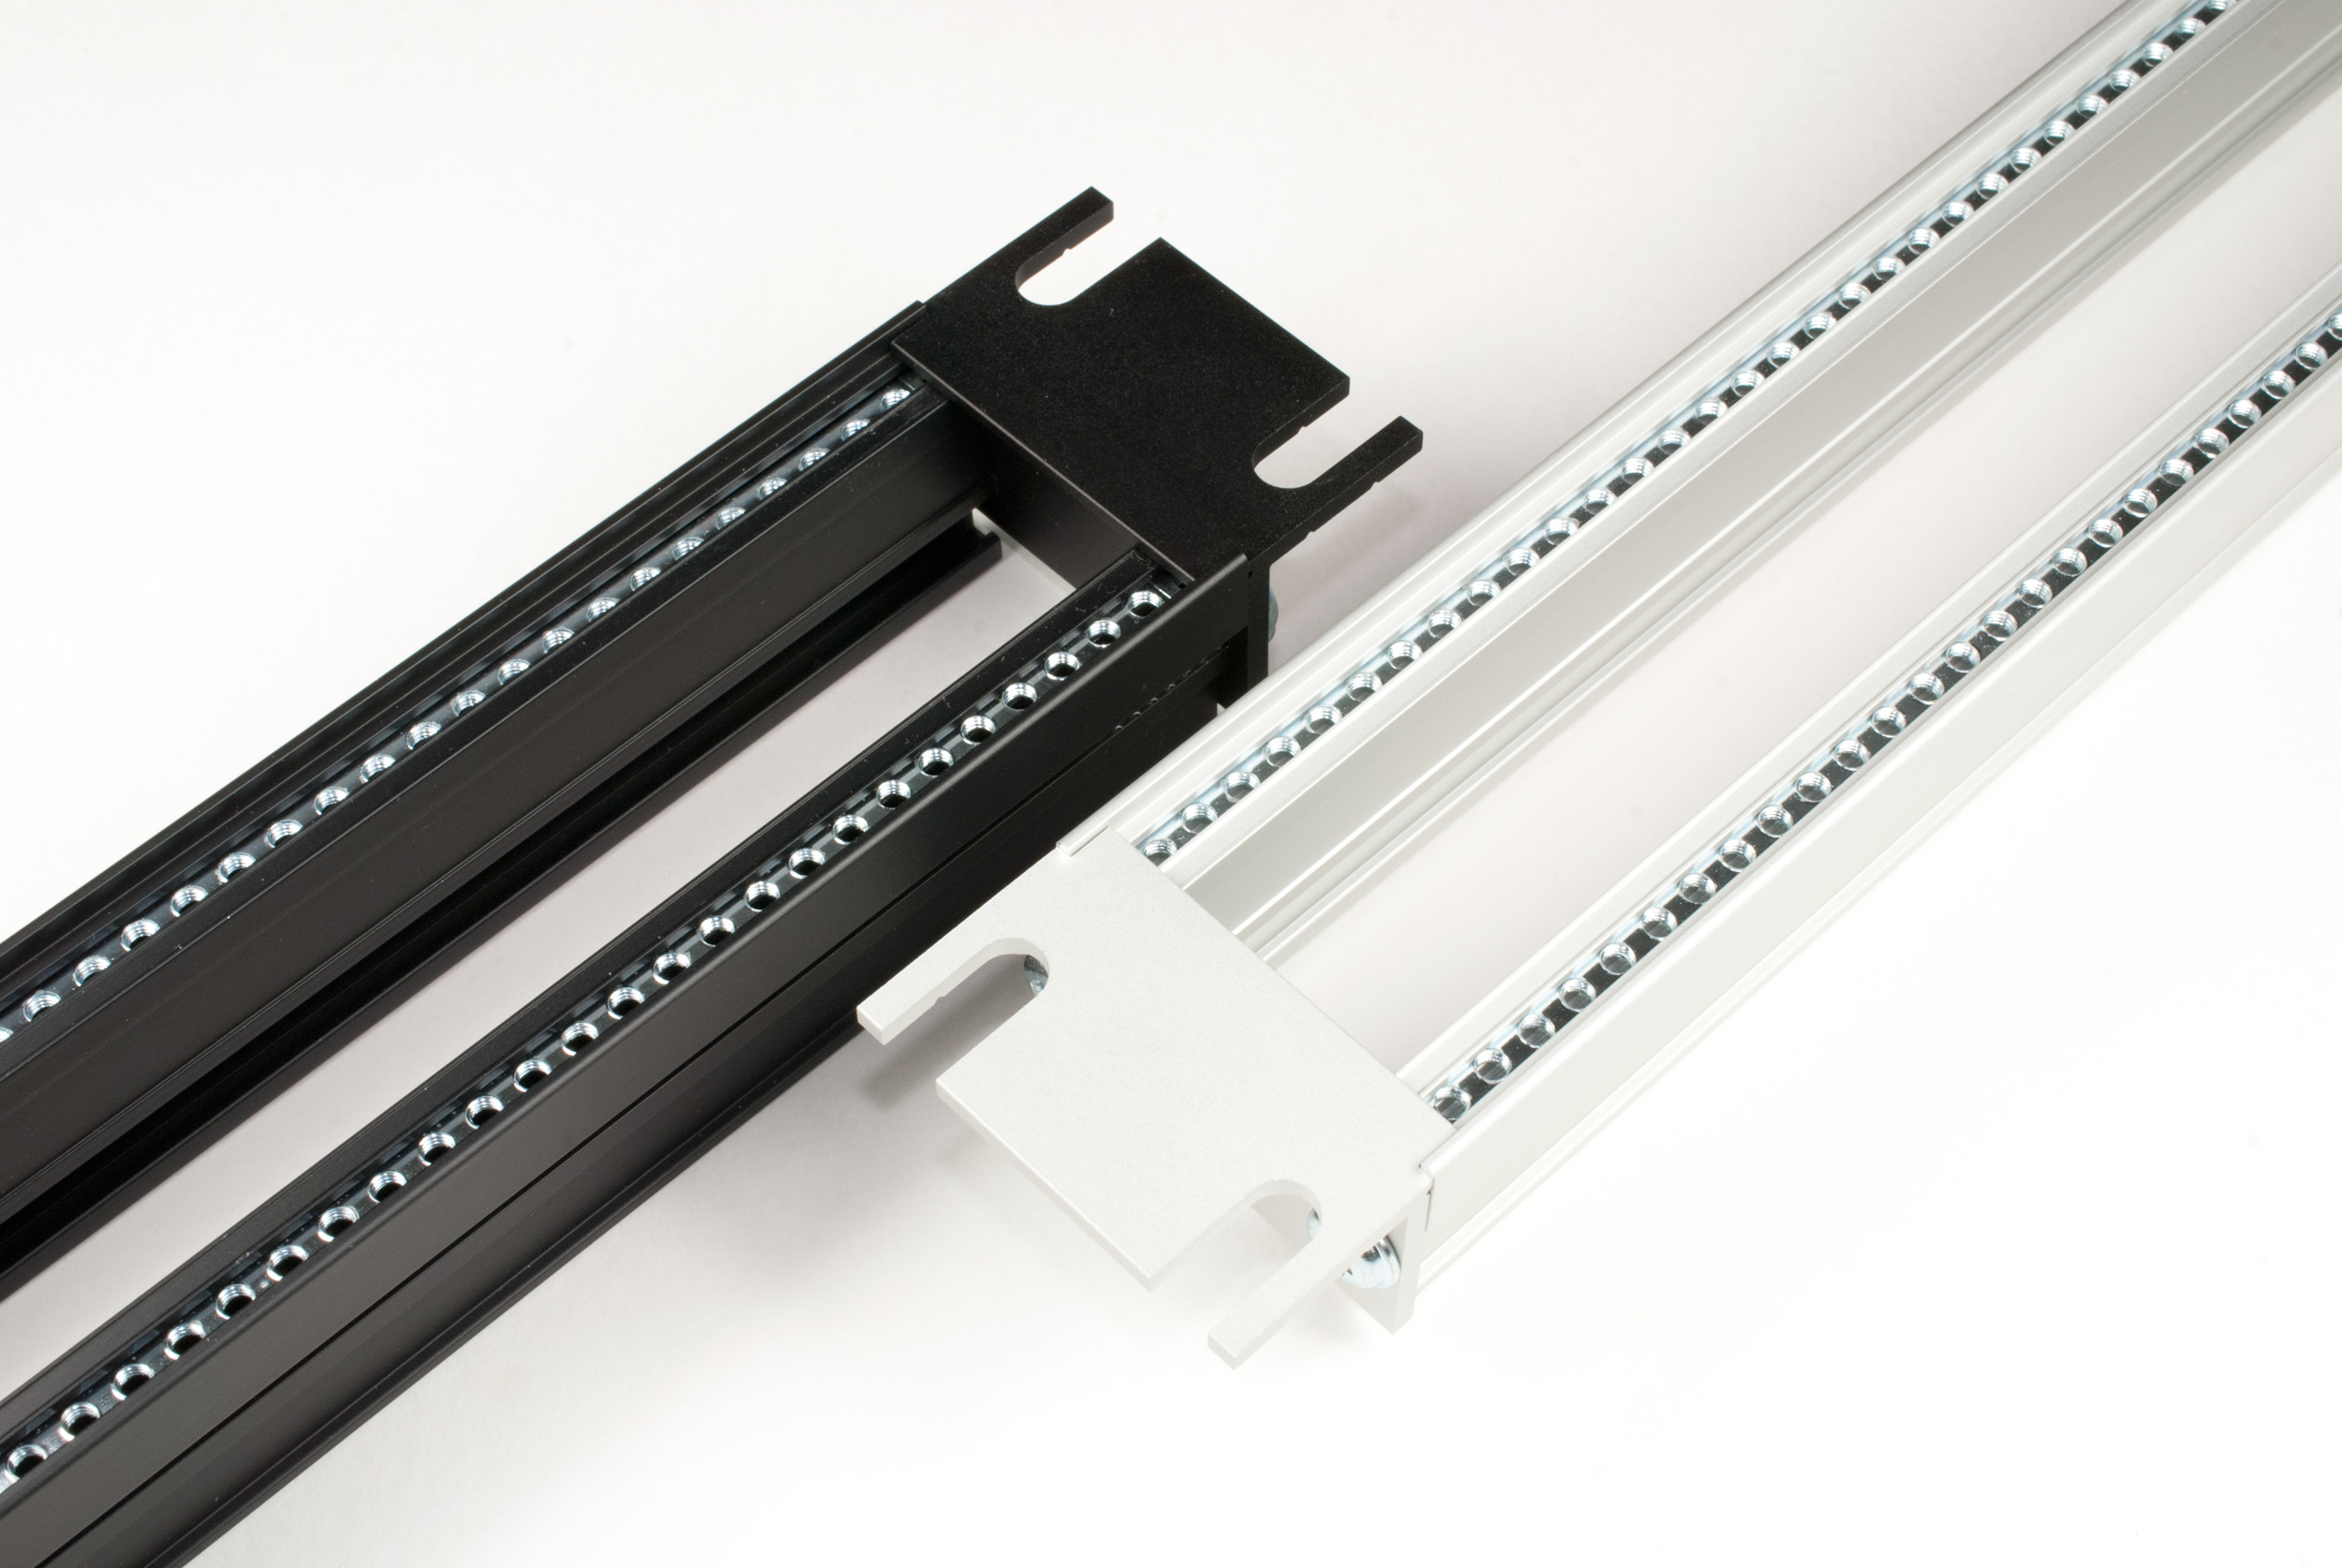
Parts for the Clicks and Clocks Eurorack console case with my self-manufactured power supplies and busboards and the double 19 inch rails.
Parts for the Clicks and Clocks Eurorack Console Case
More parts for the Clicks and Clocks Eurorack console case with my self-manufactured power supplies and busboards and busboards and the double 19 inch rails.

For the moment the side wings are planned to be made of solid multiplex wood, which you see on the picture above. I still think about buying solid walnut for the wings as it looks much better.

Next steps are the detailed drawings for the wood works and the aluminium parts. I will keep you updated. By the way, some of the PSUs and busboards are still available, just ask for the conditions.

If you want to read the full story, here are all the posts: