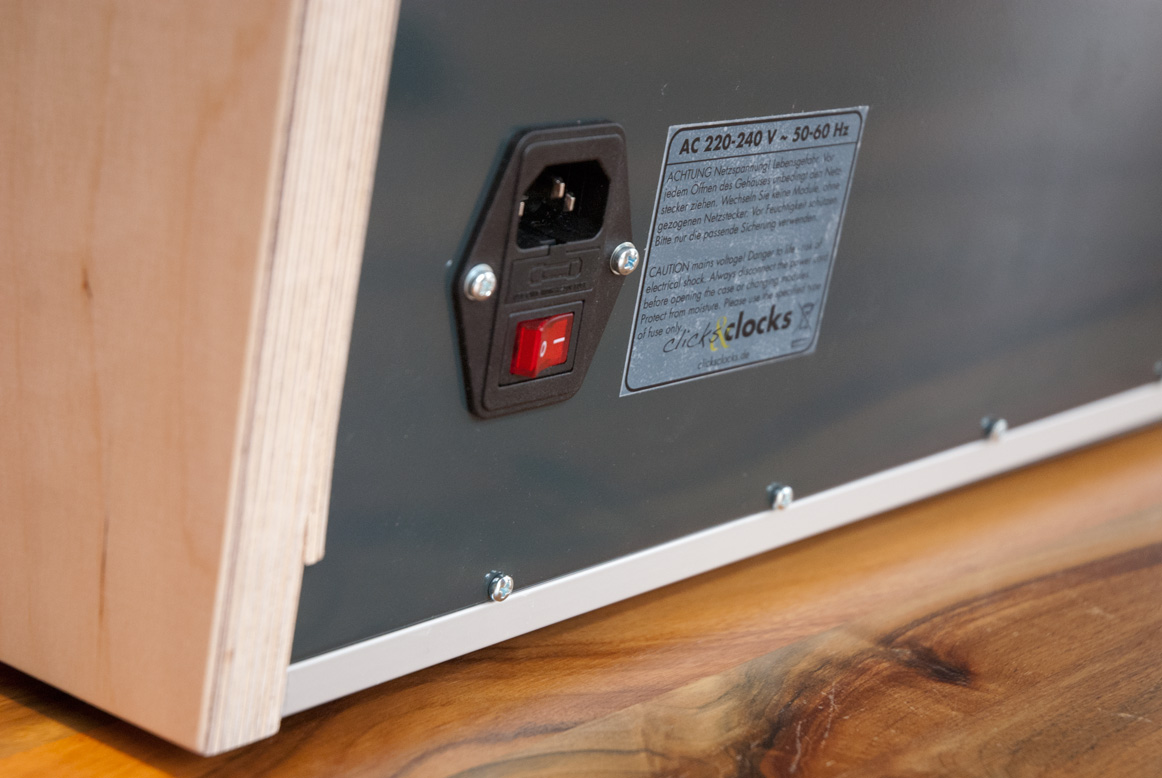
The rear and bottom panel were powder coated last week, now assembling again.
If you want to read the full story, here are all the posts:
- The Console Case – How it all started
- The Console Case – The Journey continues
- The Console Case – Rear and Bottom Panels
- The Console Case – The Wooden Side Panels, 1st Step
- The Console Case – First assembling
- The Console Case – After the Powder Coating
- The Console Case – It’s Done
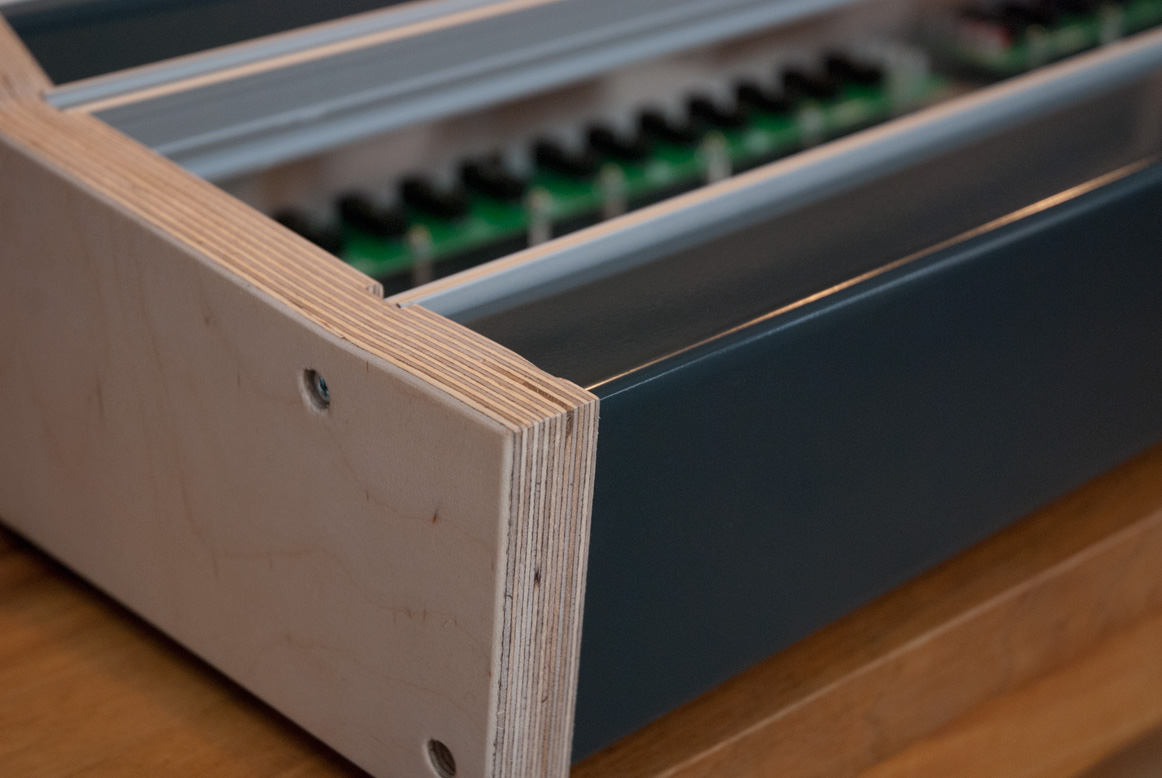
It was part of the concept of case that the aluminium panels should have a nice colour. Okay, it can be discussed if RAL 7016 is a colour at all, as grey is not considered to be a colour. From the beginning on I wanted to use the same service I’ve used for my bike frame. They did a very good job and that’s why I choose them again. The pricing is decent as well.

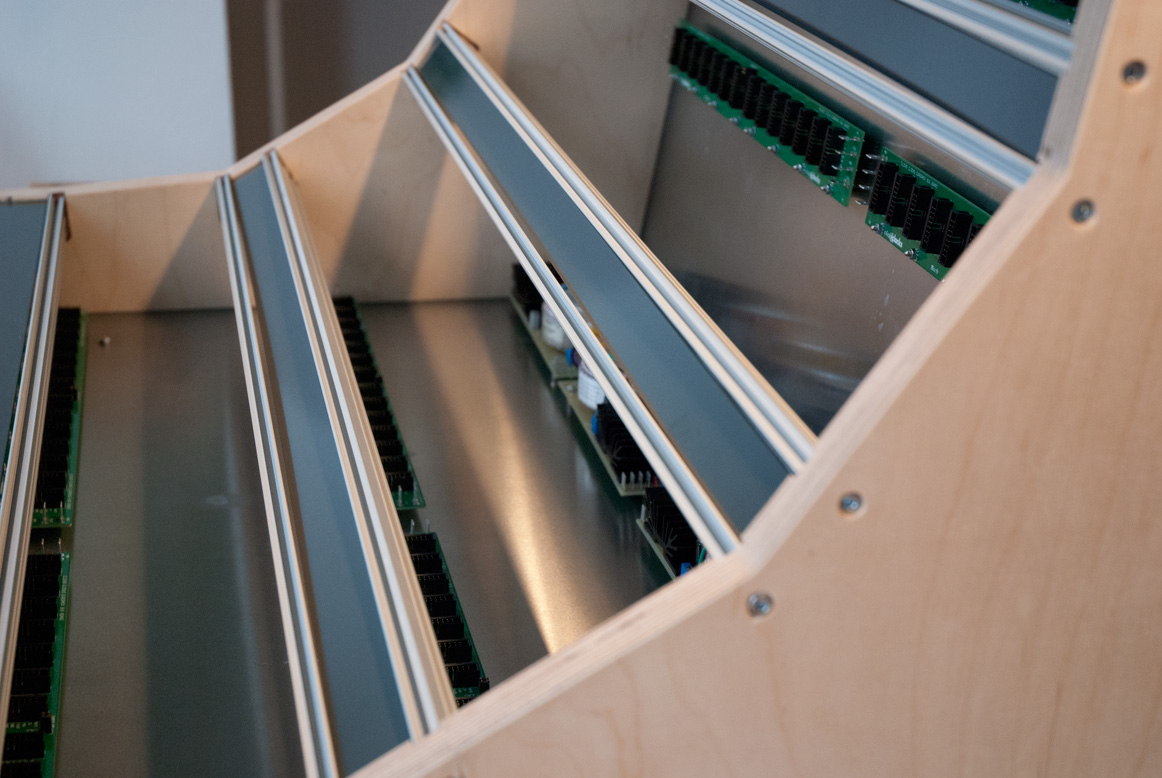
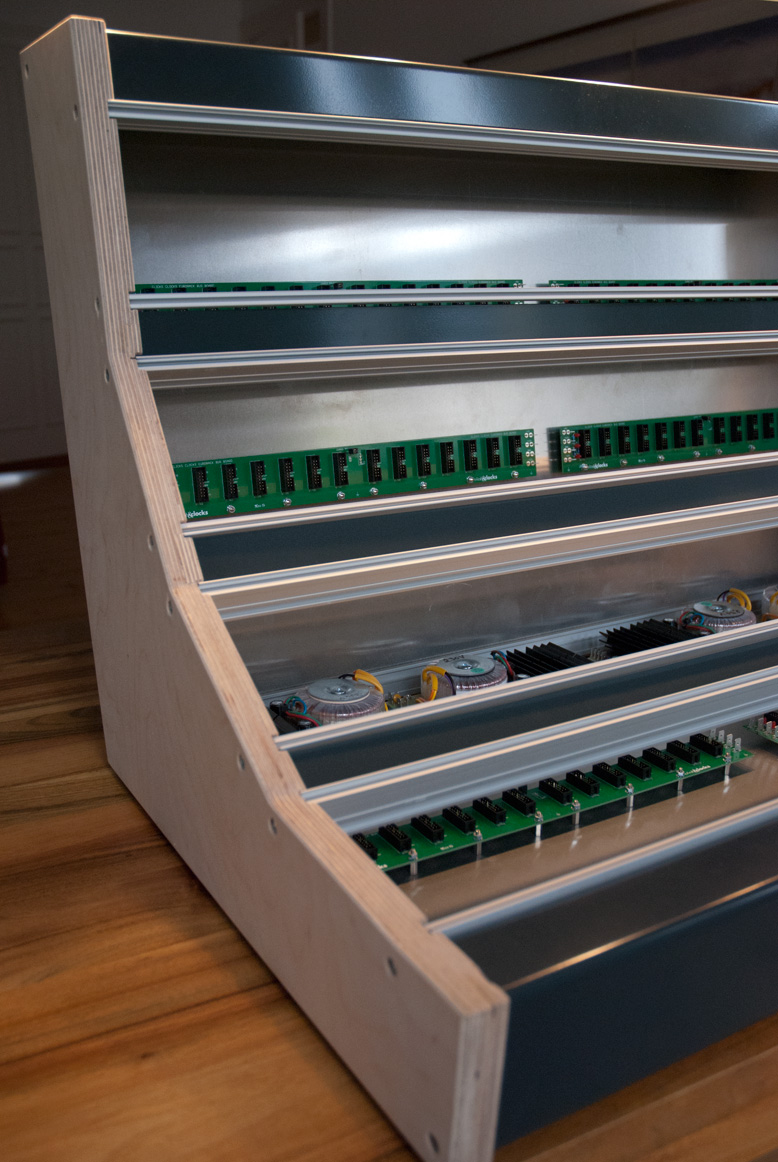
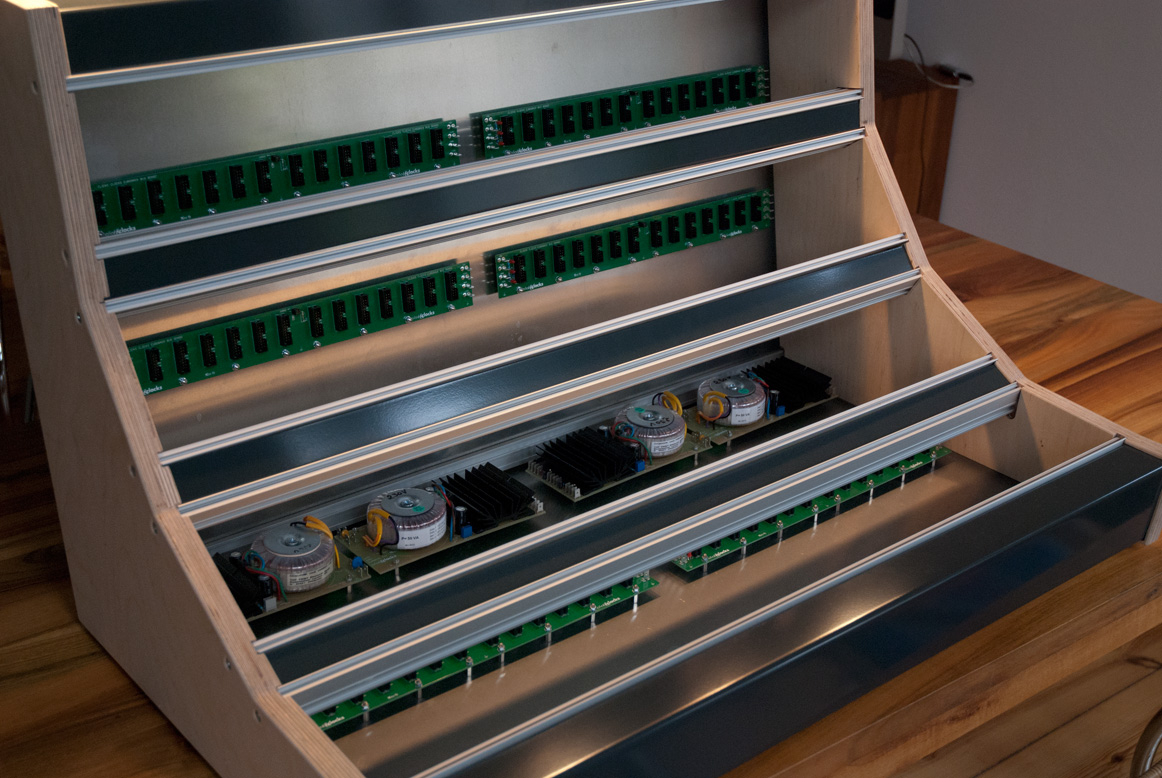
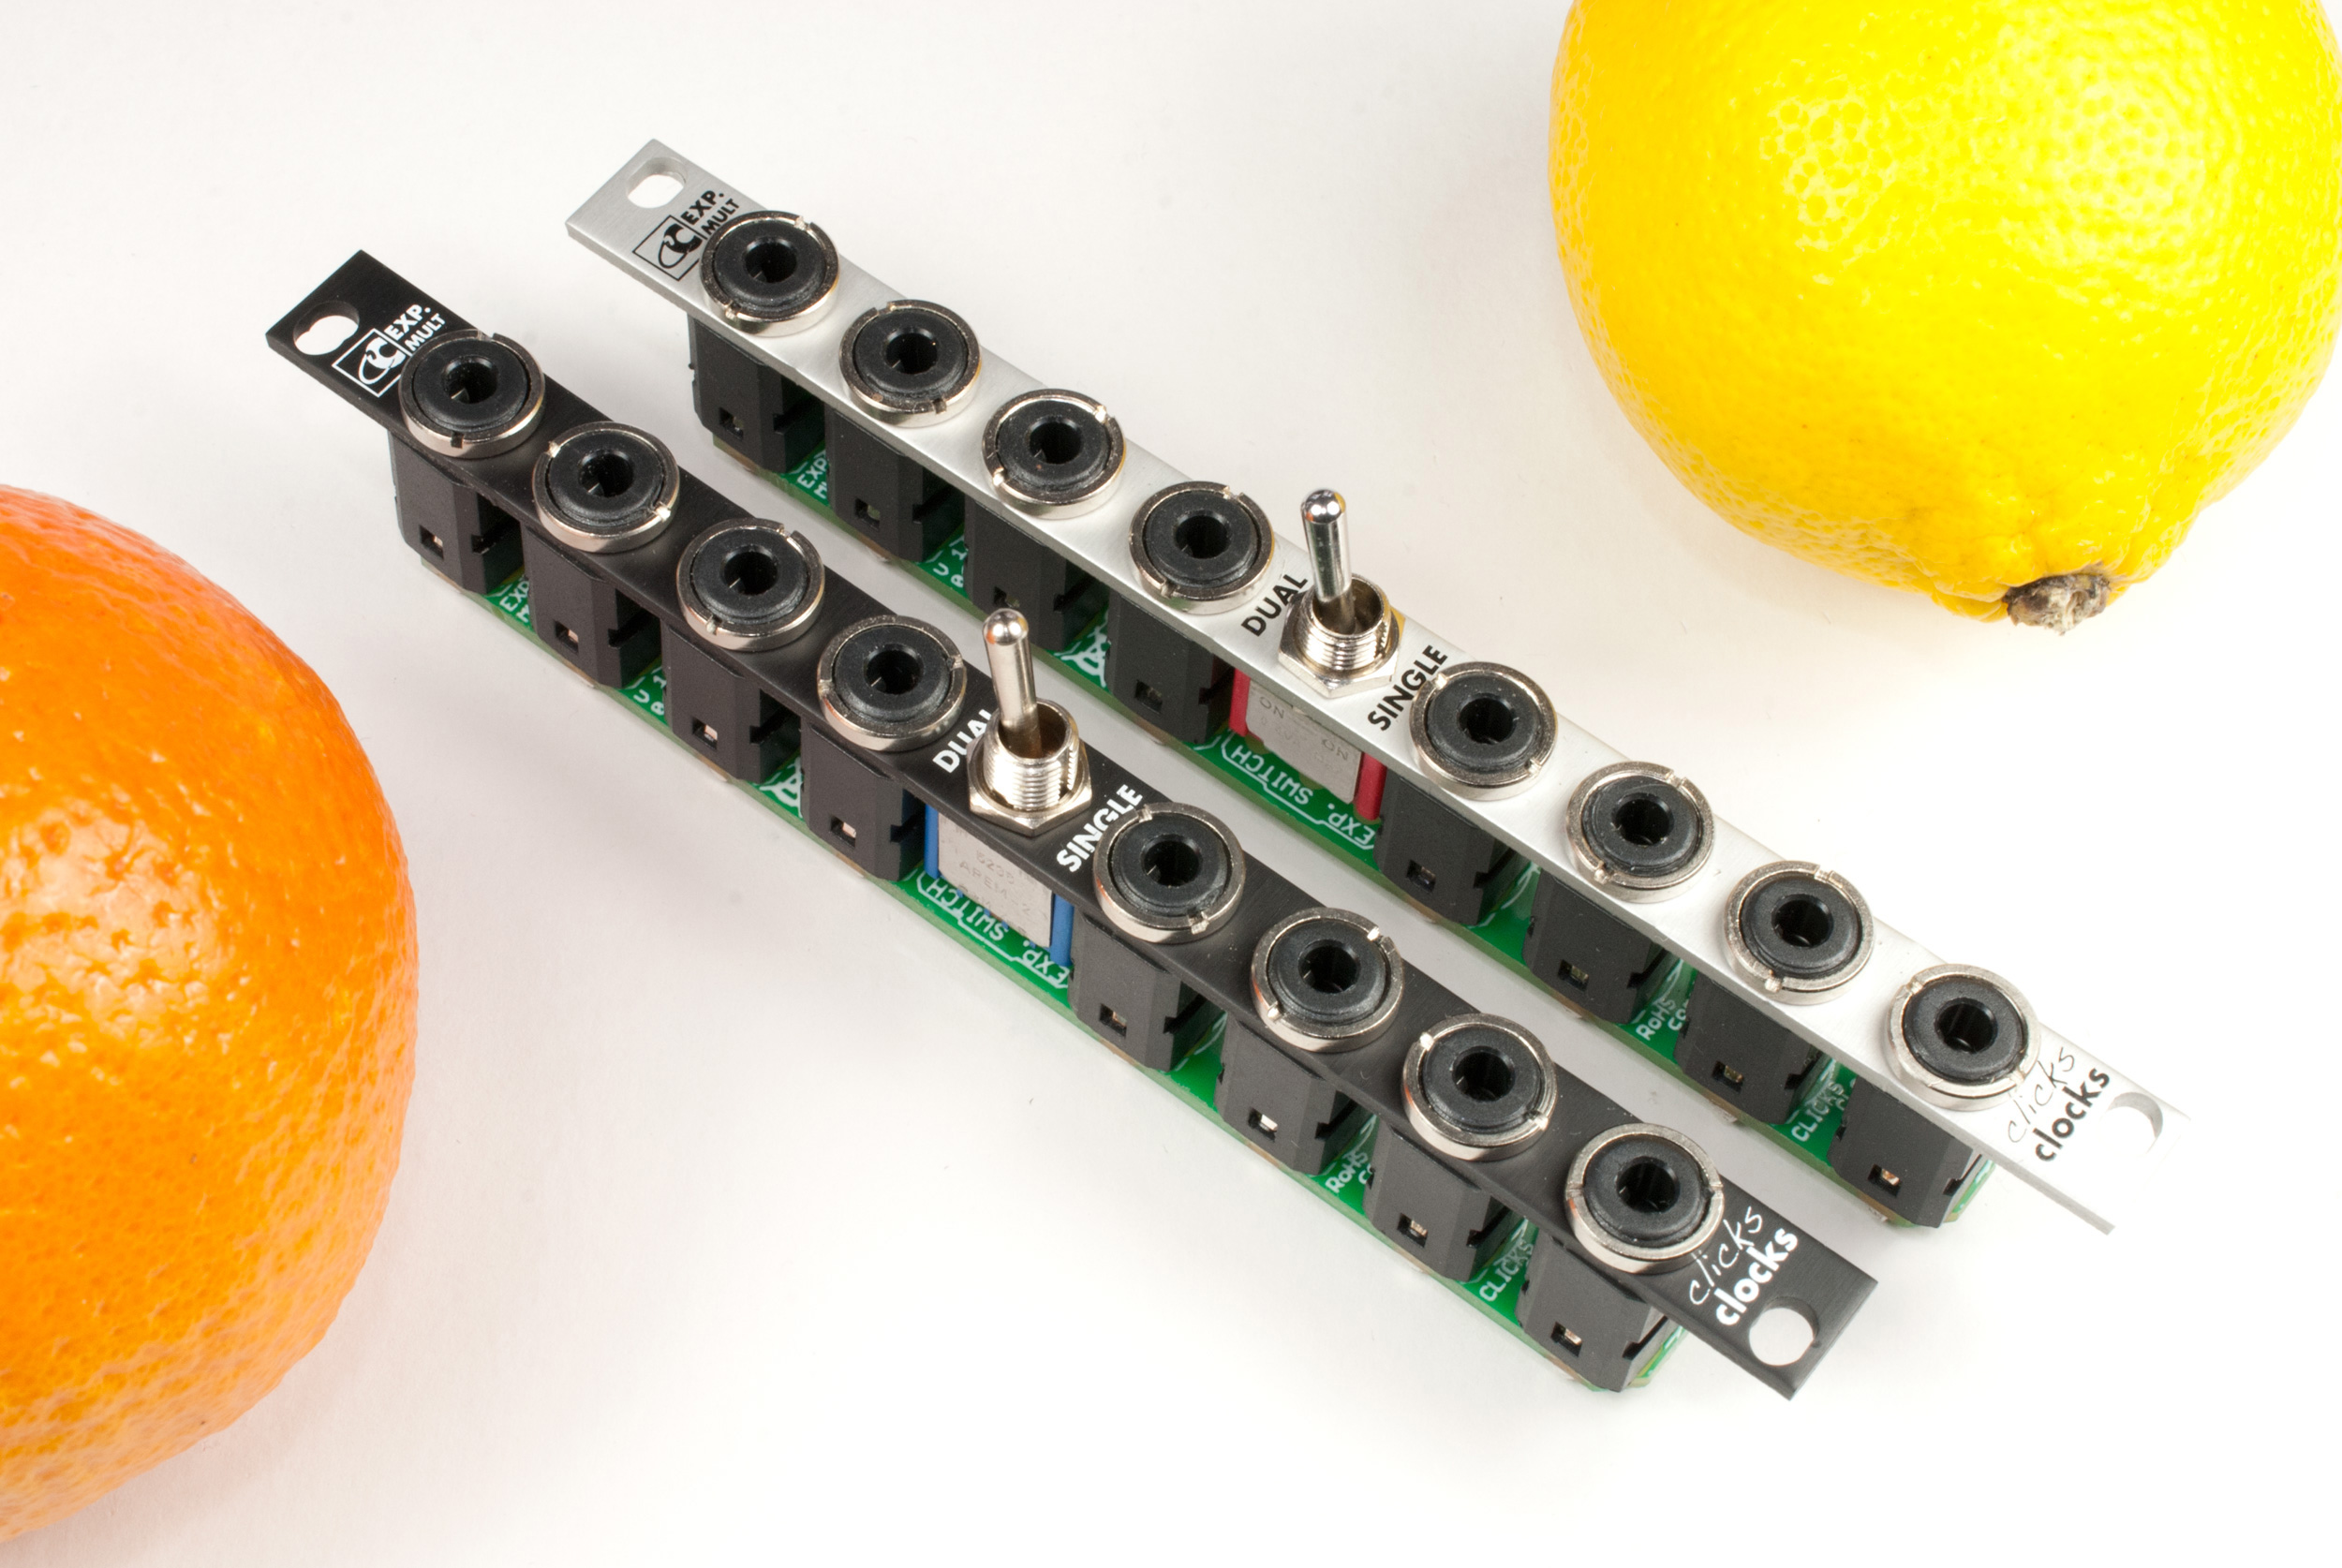
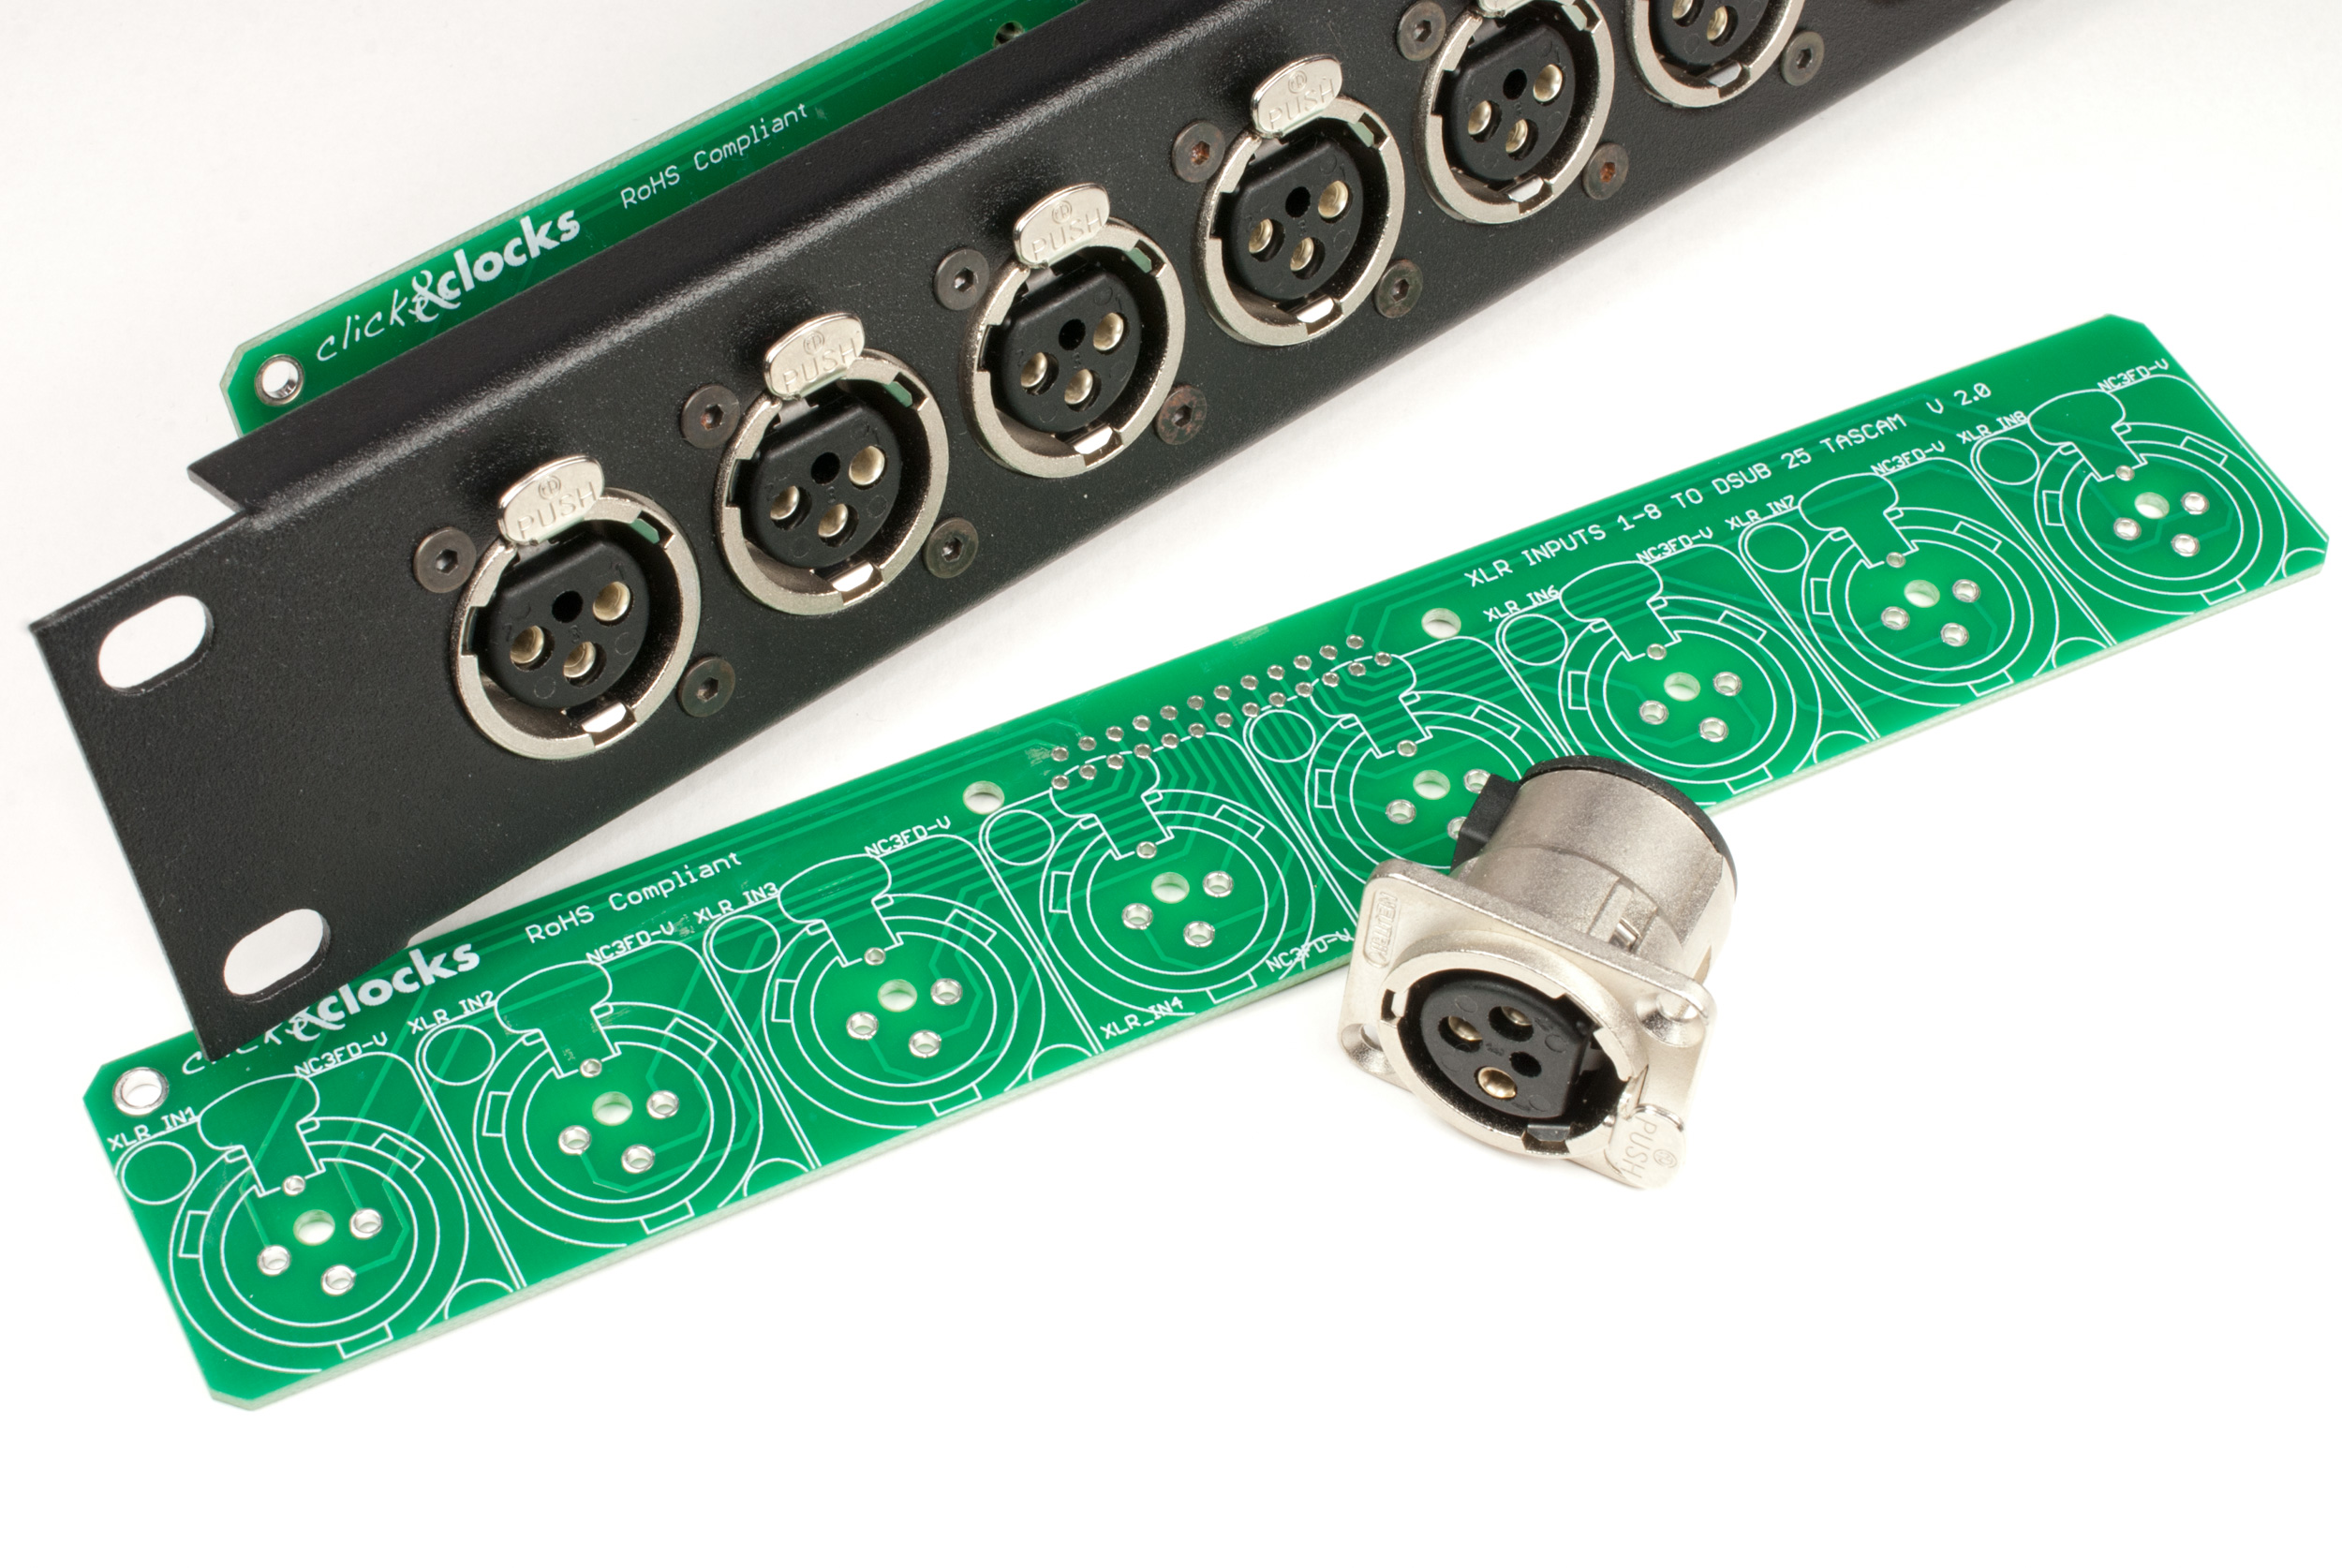
For my own enjoyment I needed to assemble the case one more time before the final steps. All boards are mounted on the rear and bottom panels, 4 PSUs and 8 busboards. The mains inlet is set up, and so I could start with the wiring of all components. I am really proud of what I have achieved so far. It’s not that much left to do and I am really looking forward to turn some nobs soon.
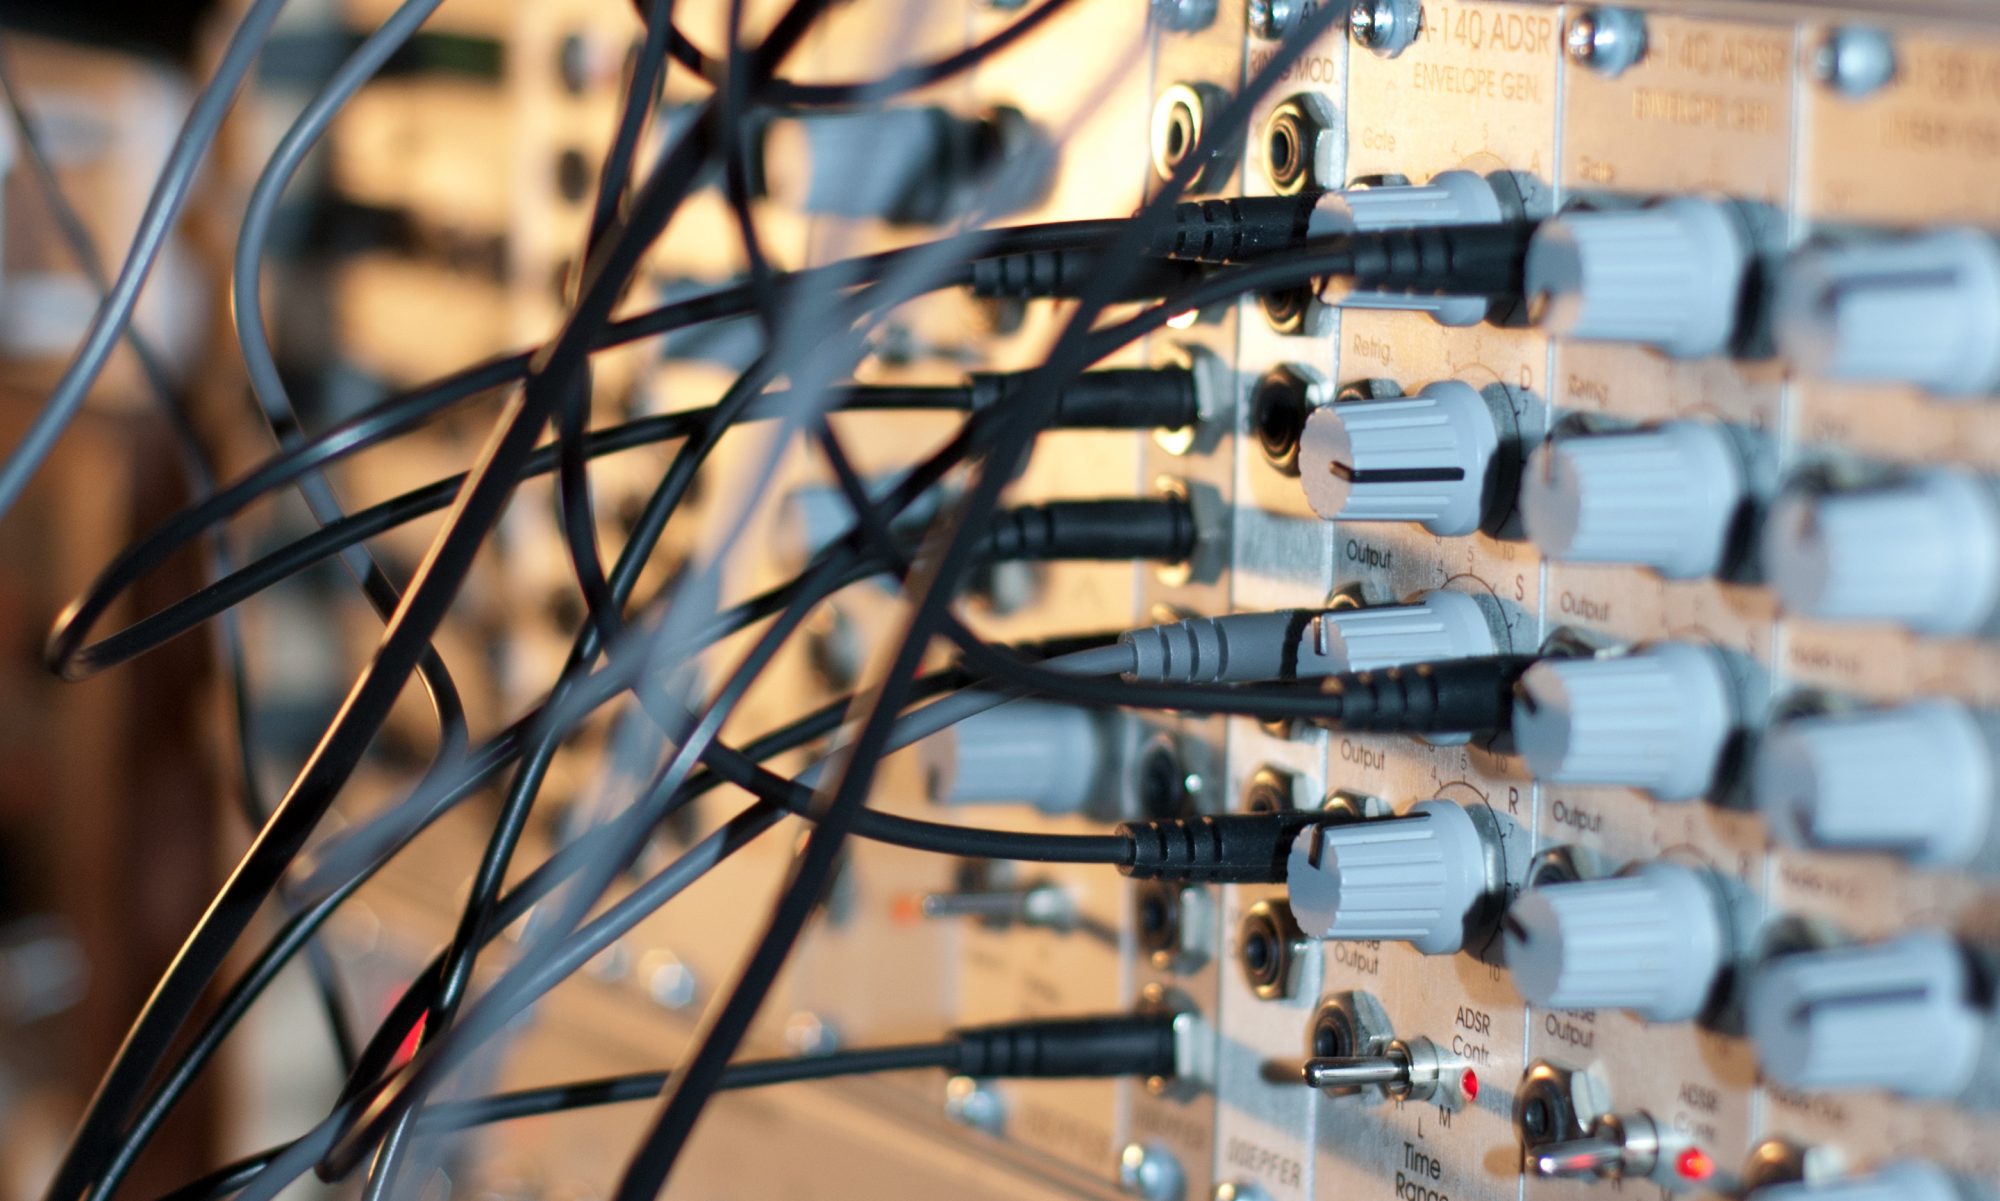
Some impressions: