The Console Case – It’s Done

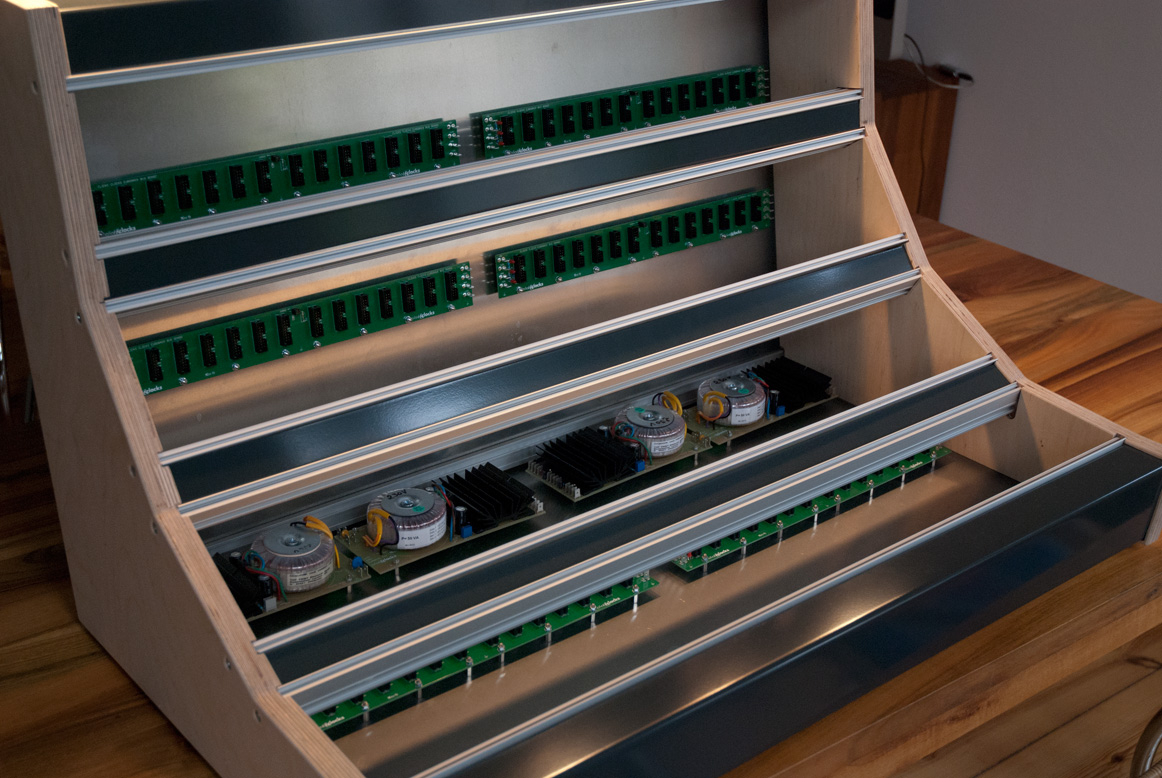
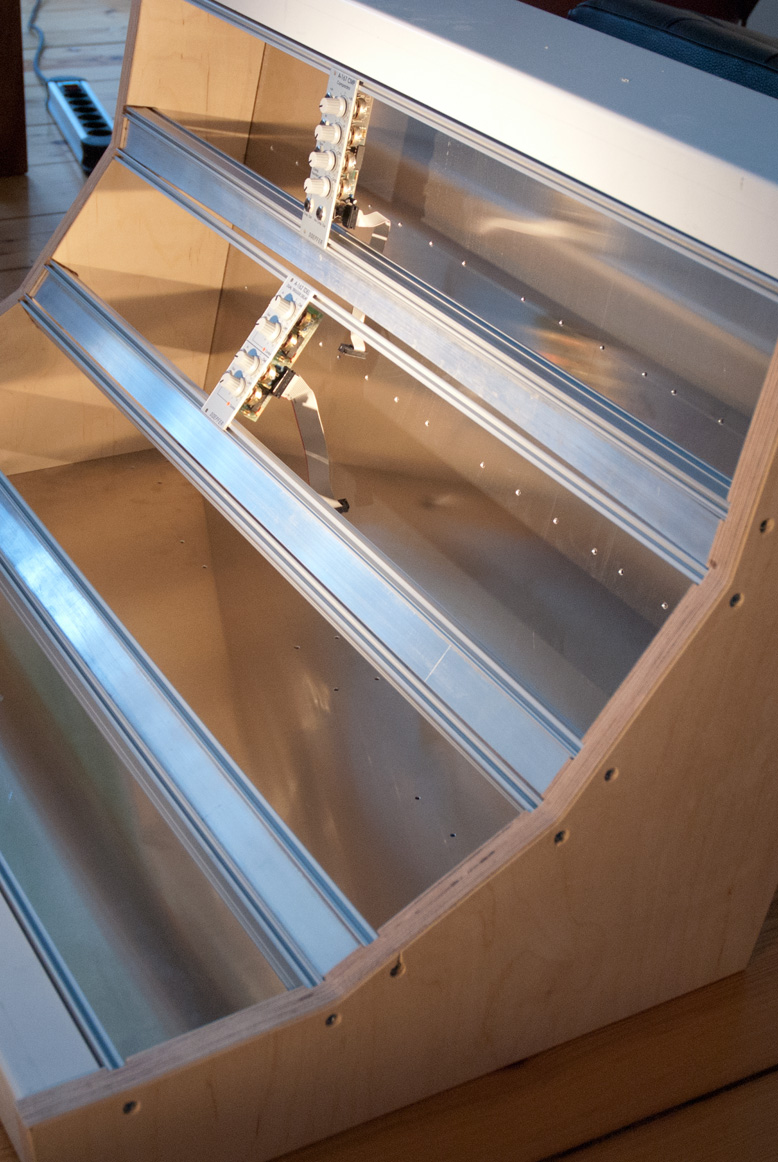
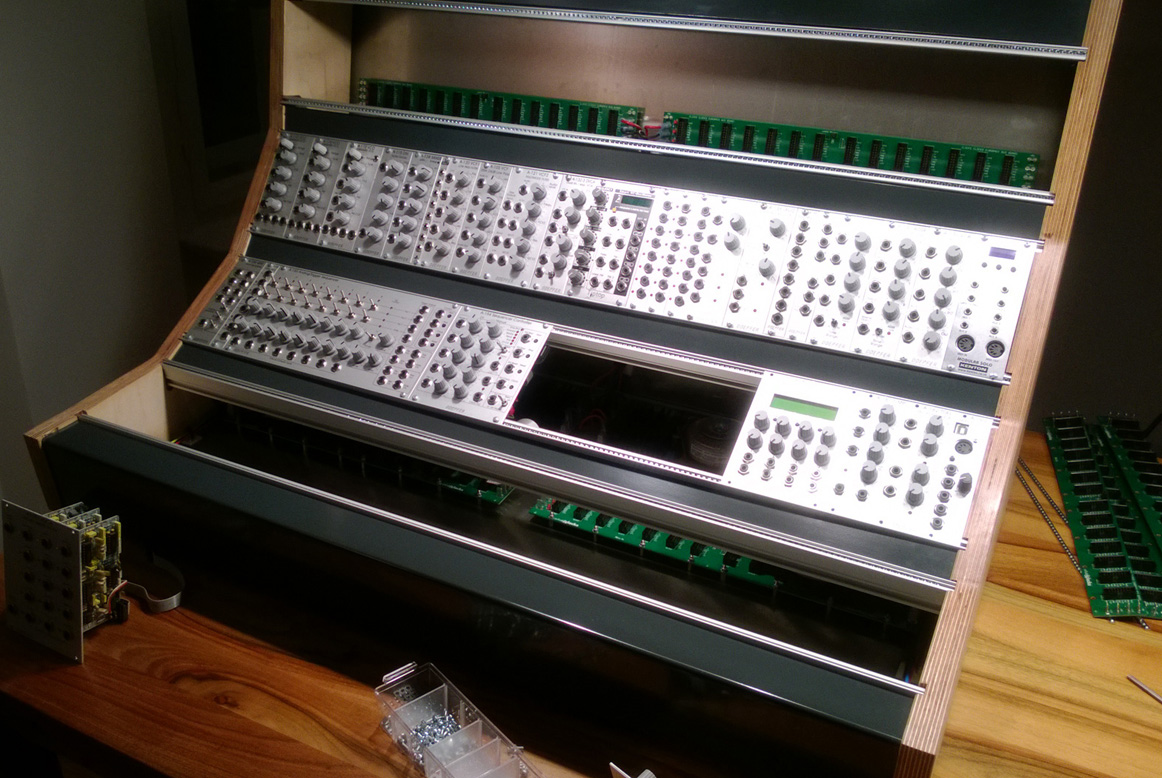
The final assembly and the installation of the modules.

The journey is over. 18 month of planning, development, side projects and work. I am really proud to present the result.

ClicksClocks Console Case final with modules side
Console Case – assembled and filled with modules, view from the side

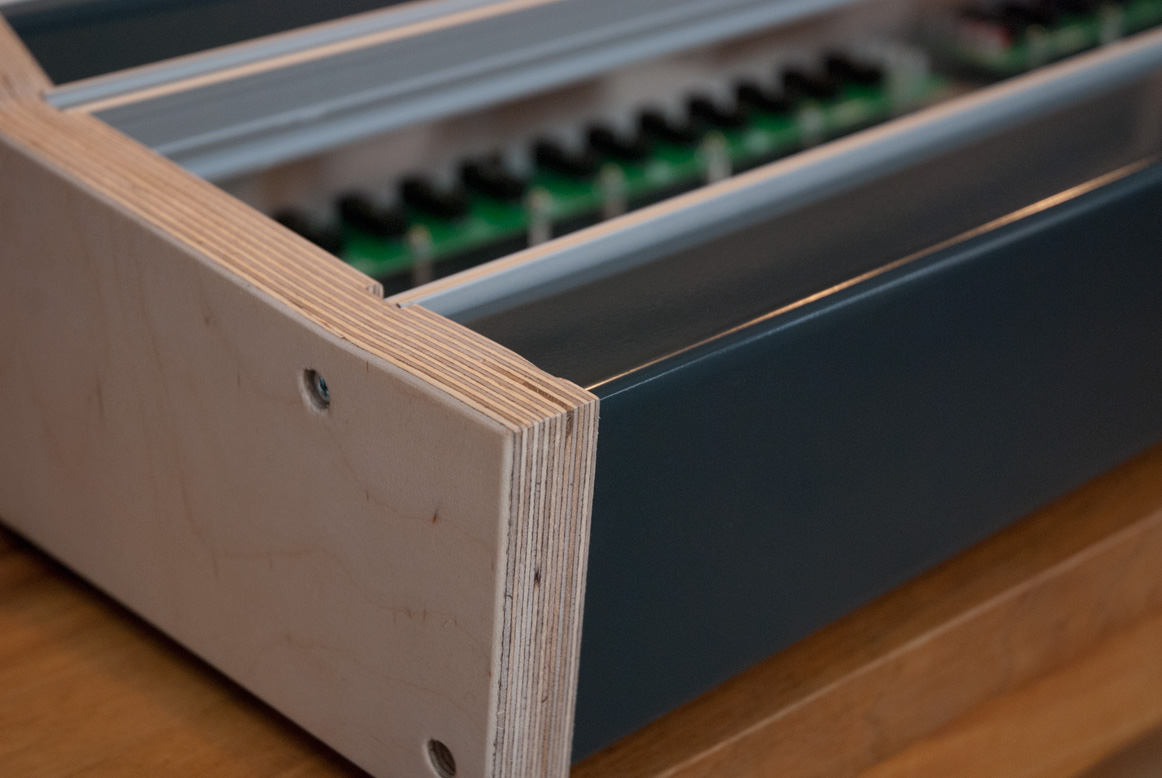
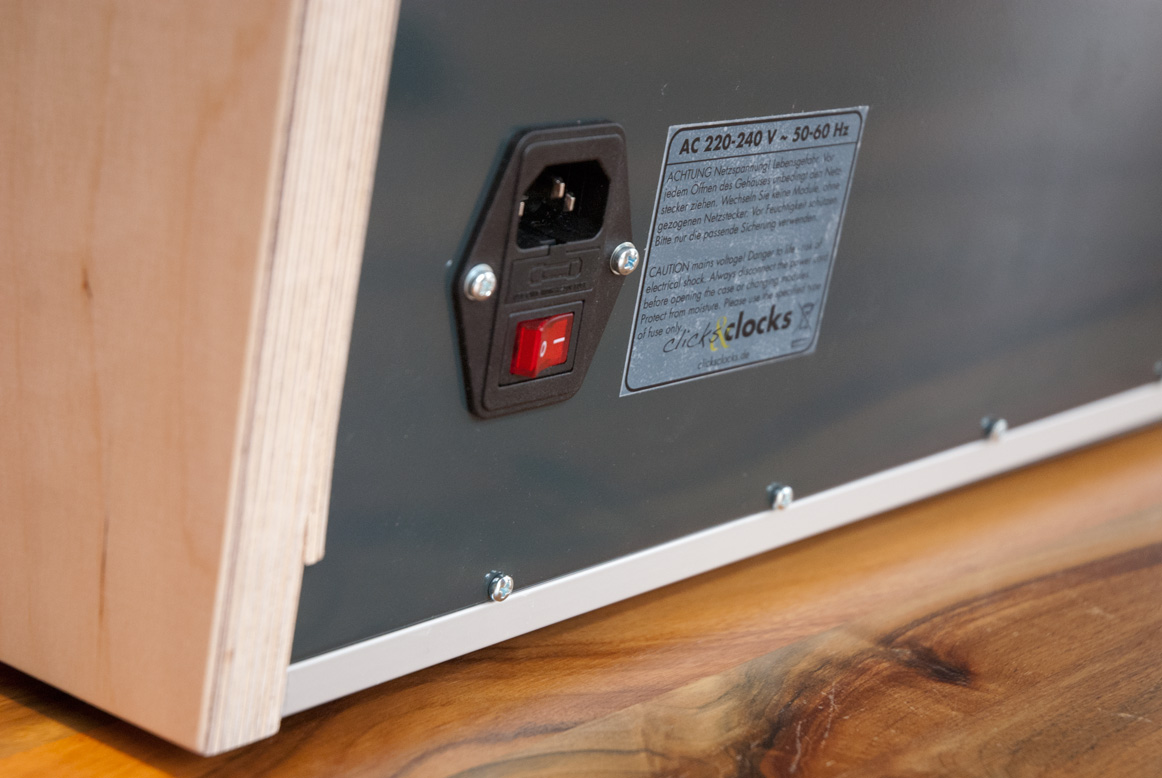
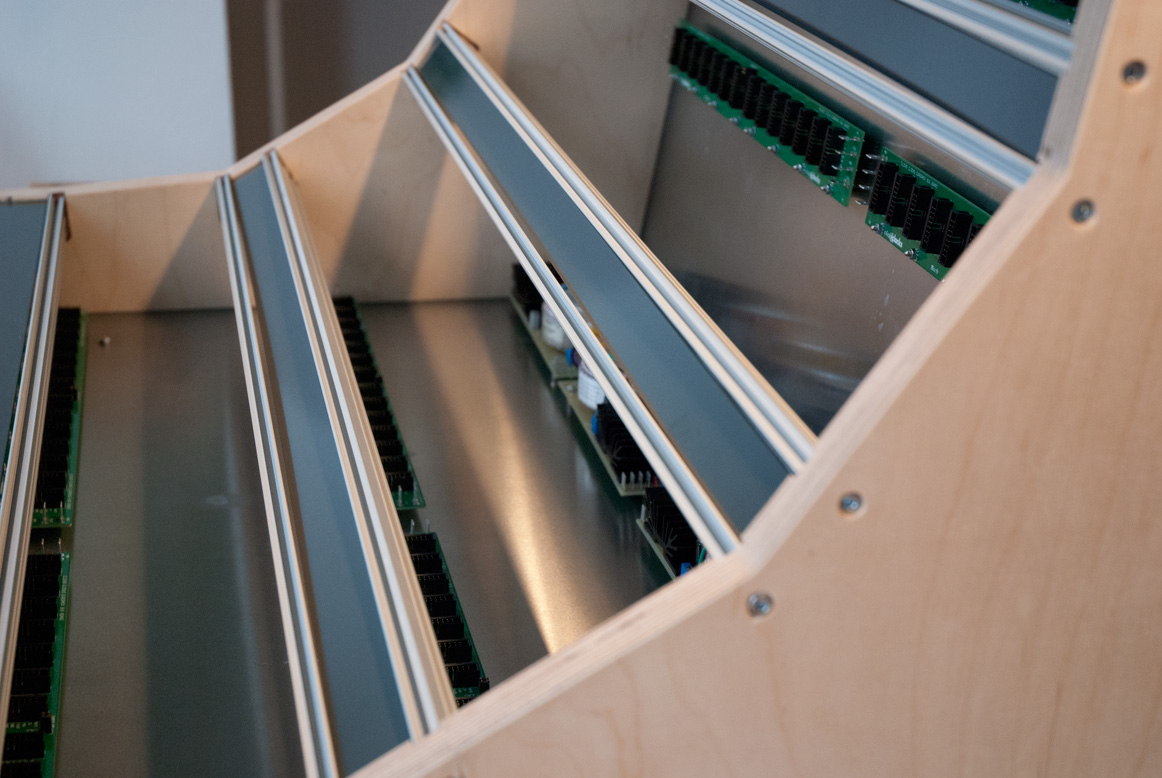
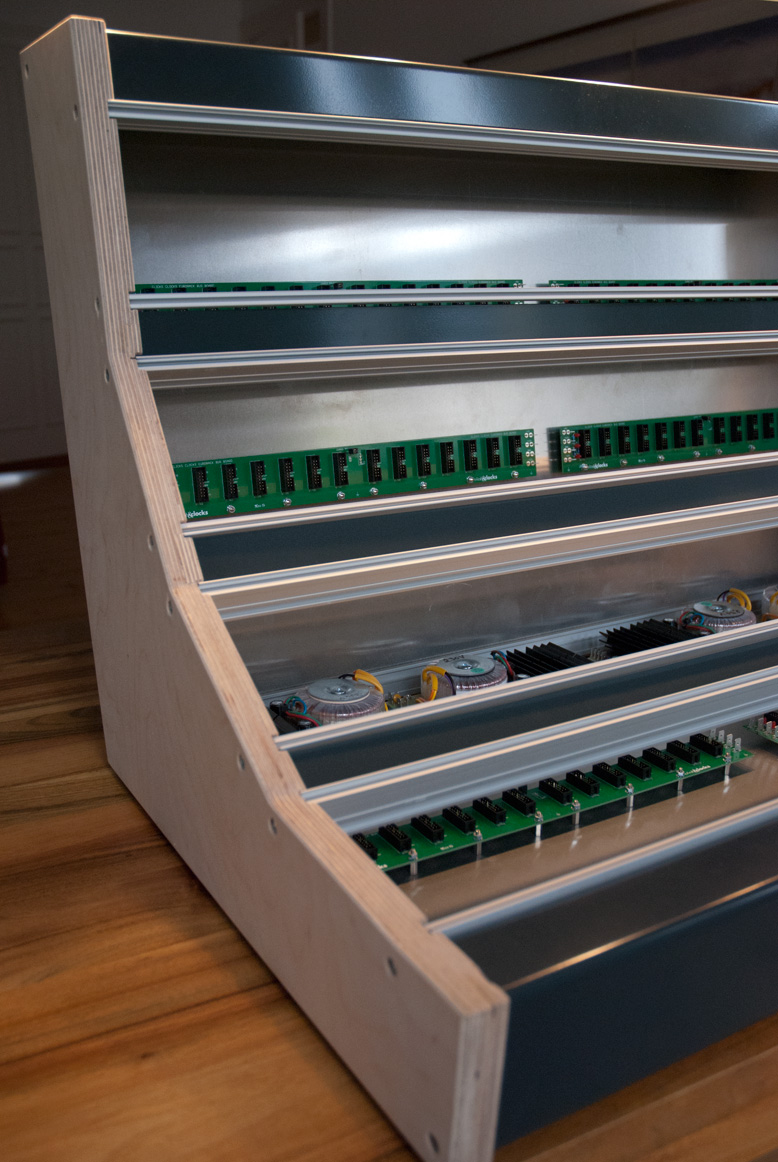
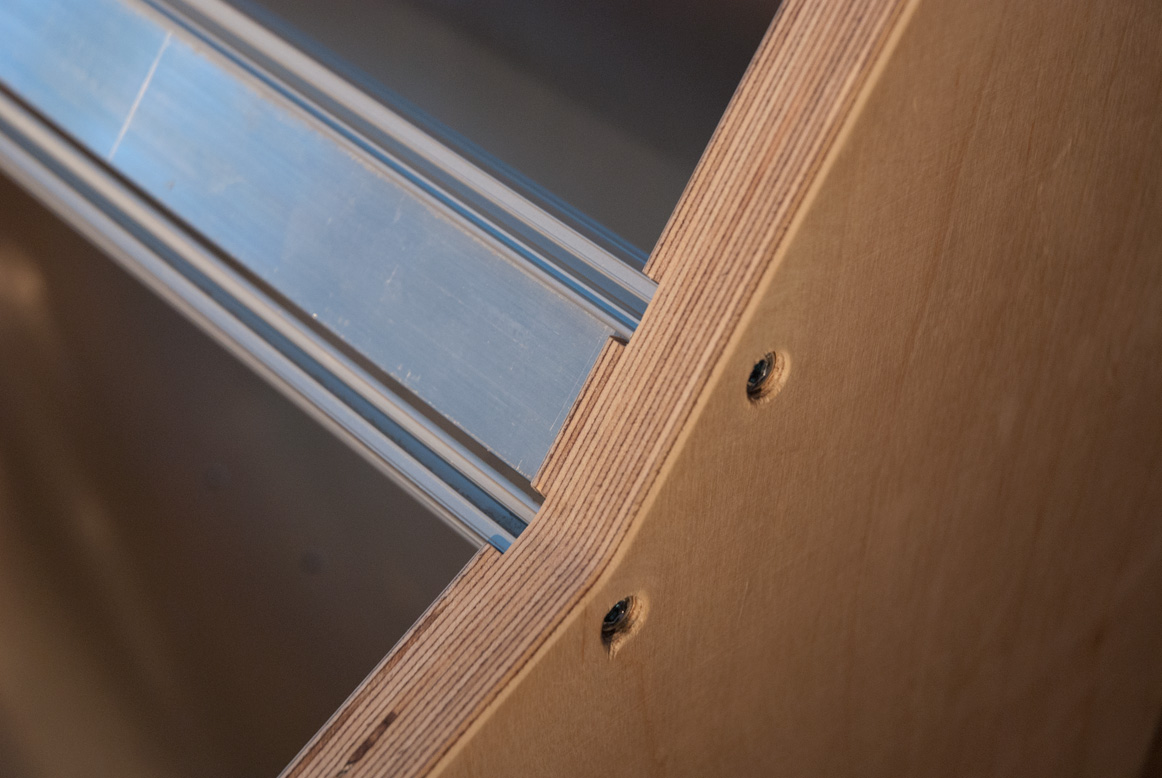
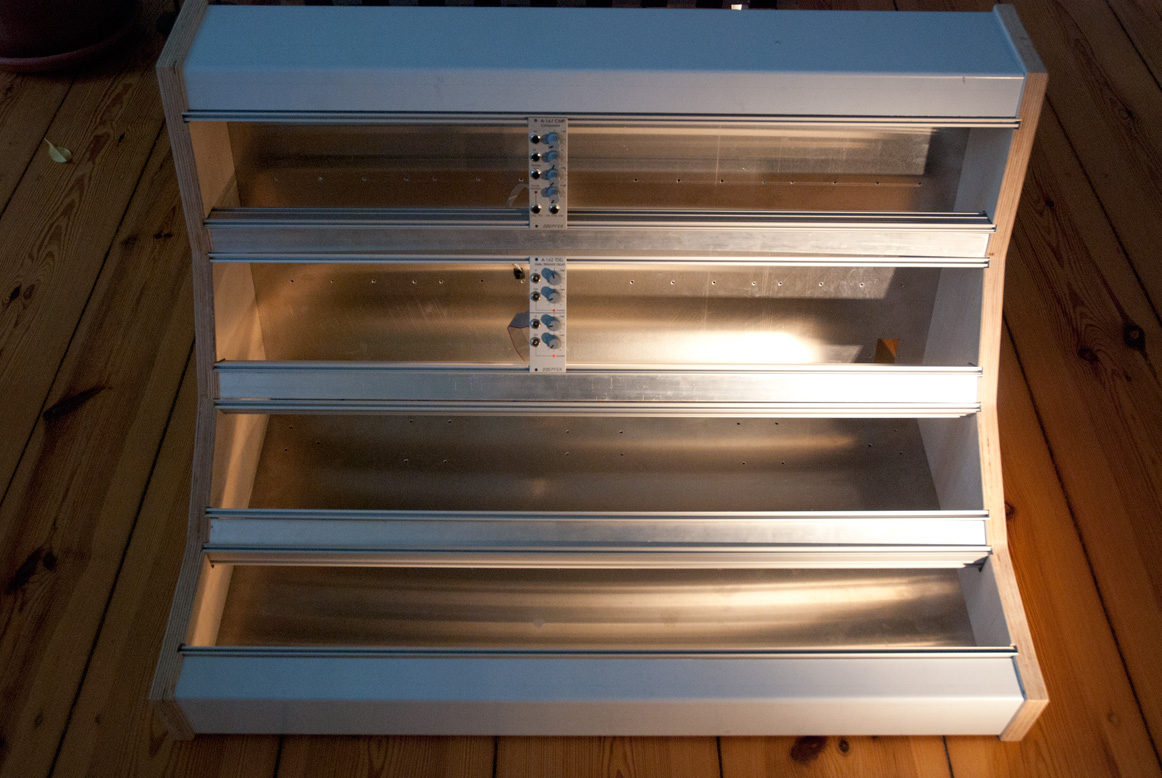
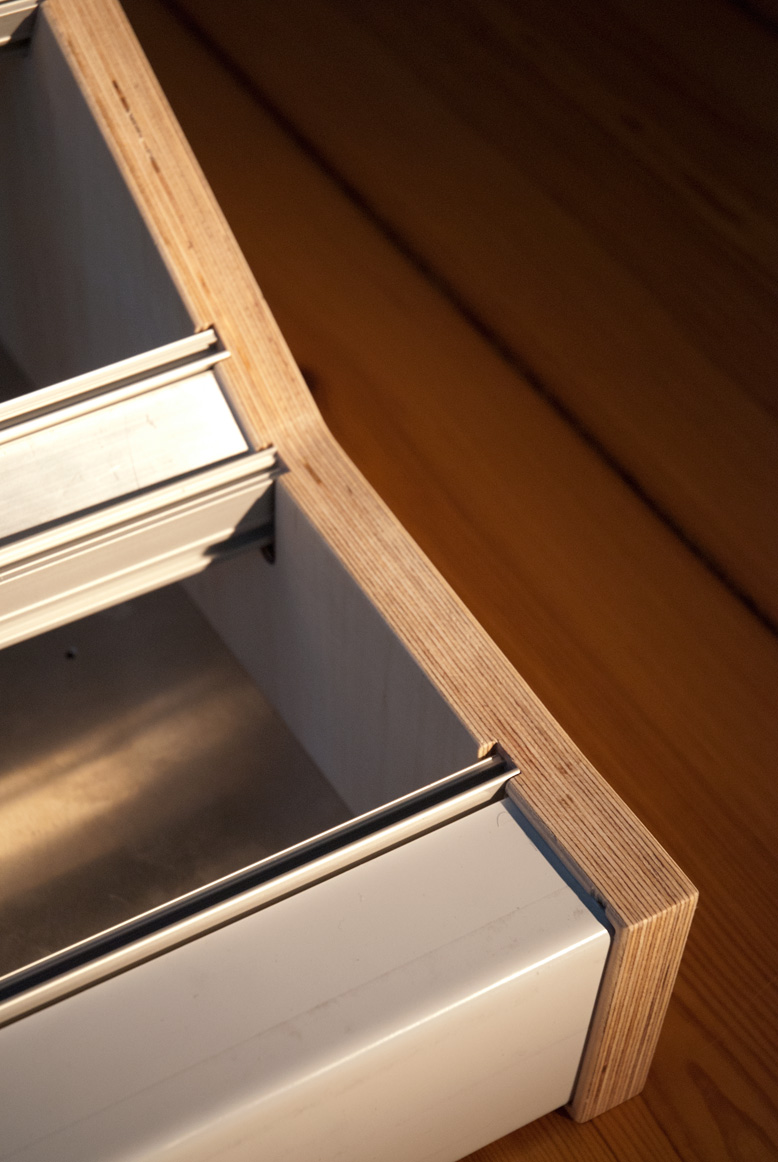
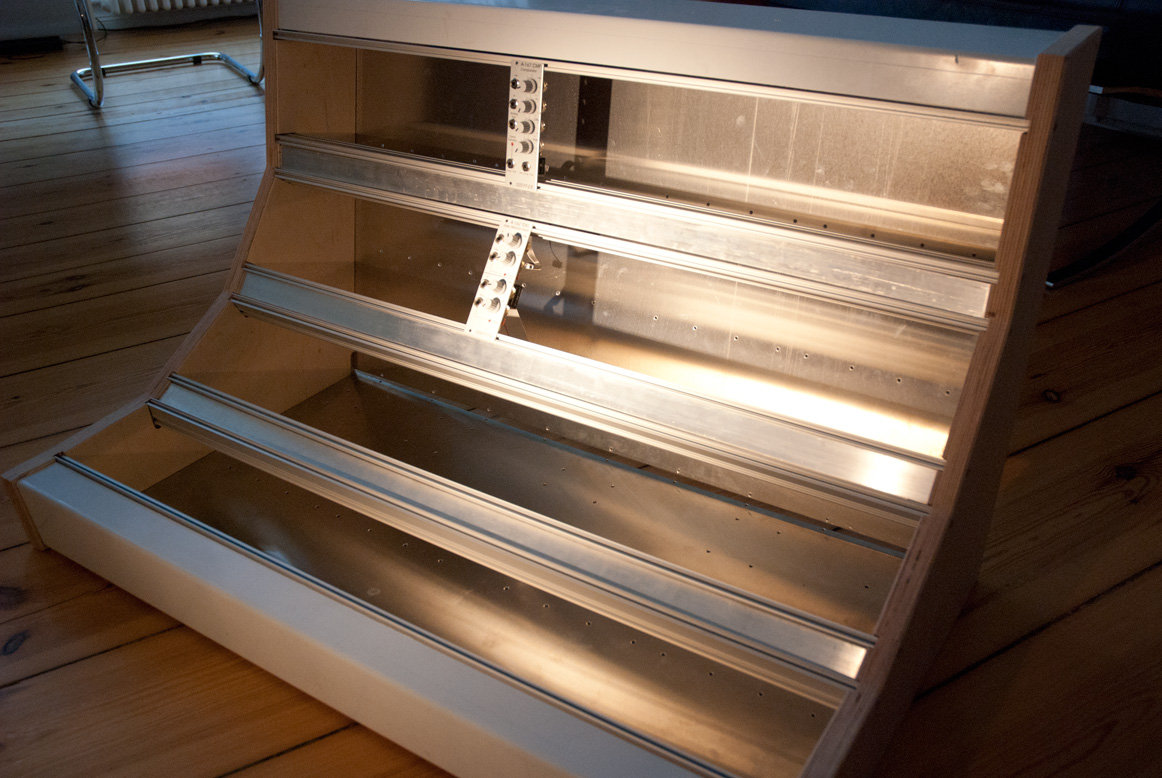
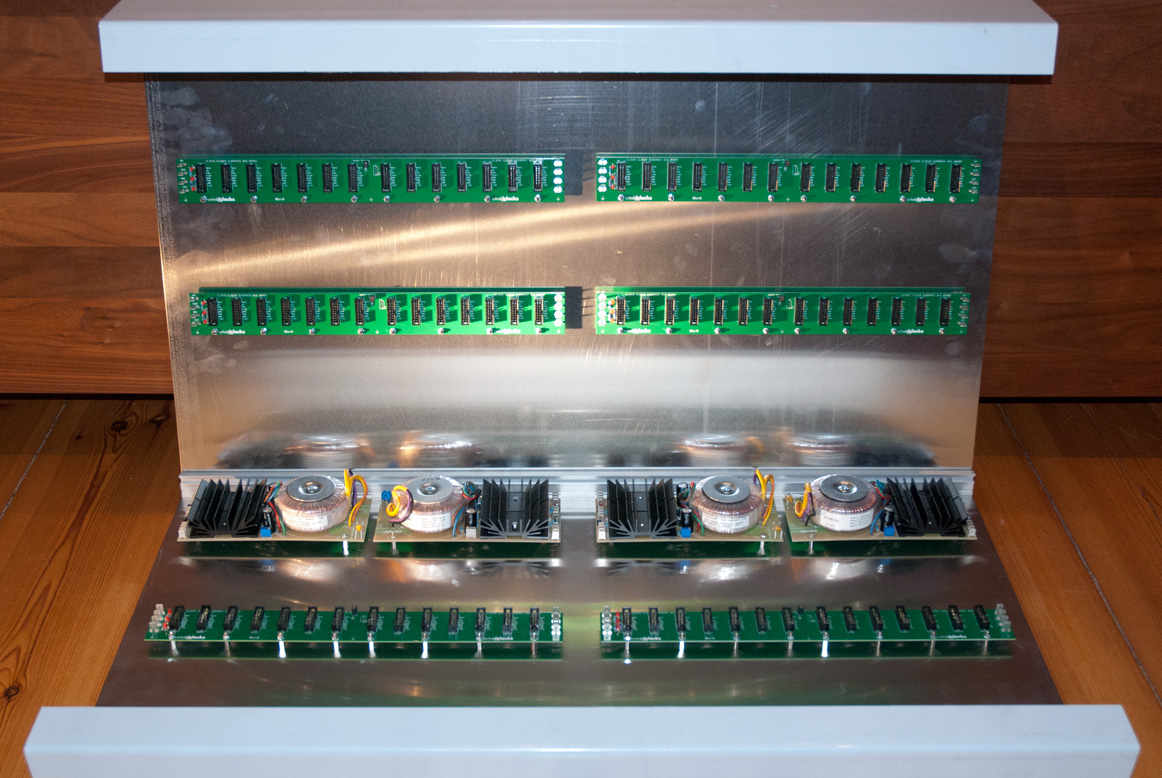
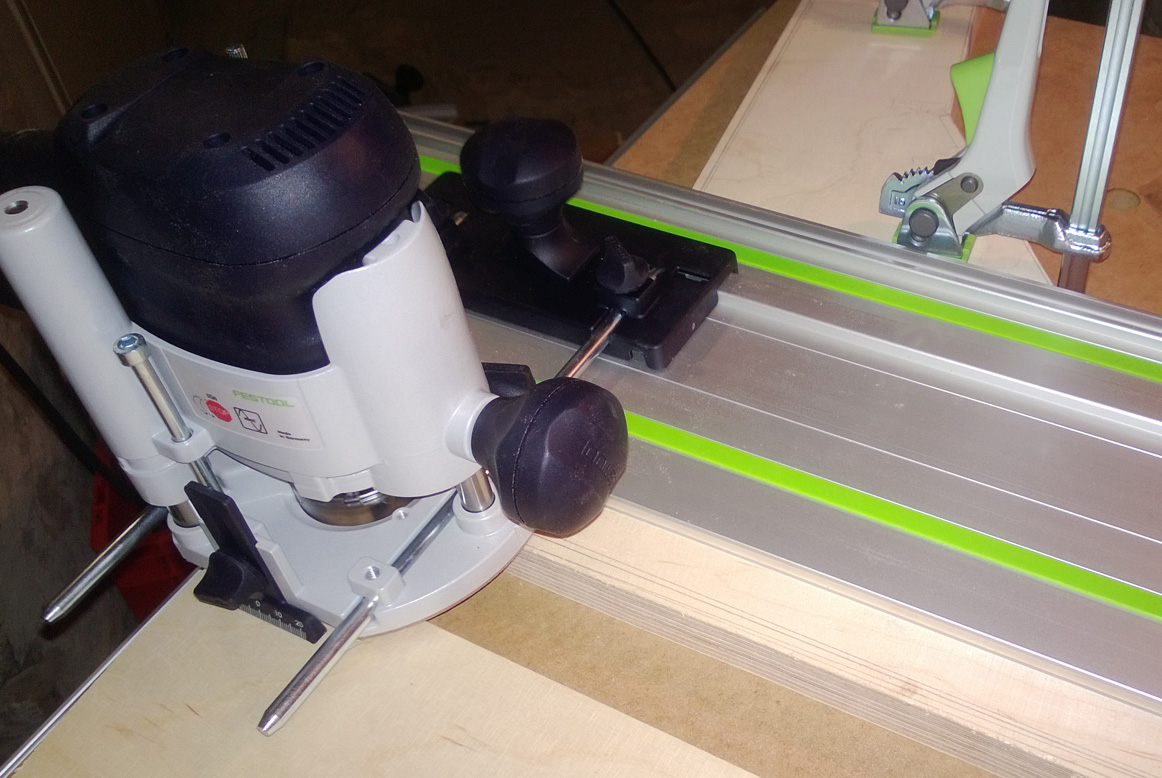
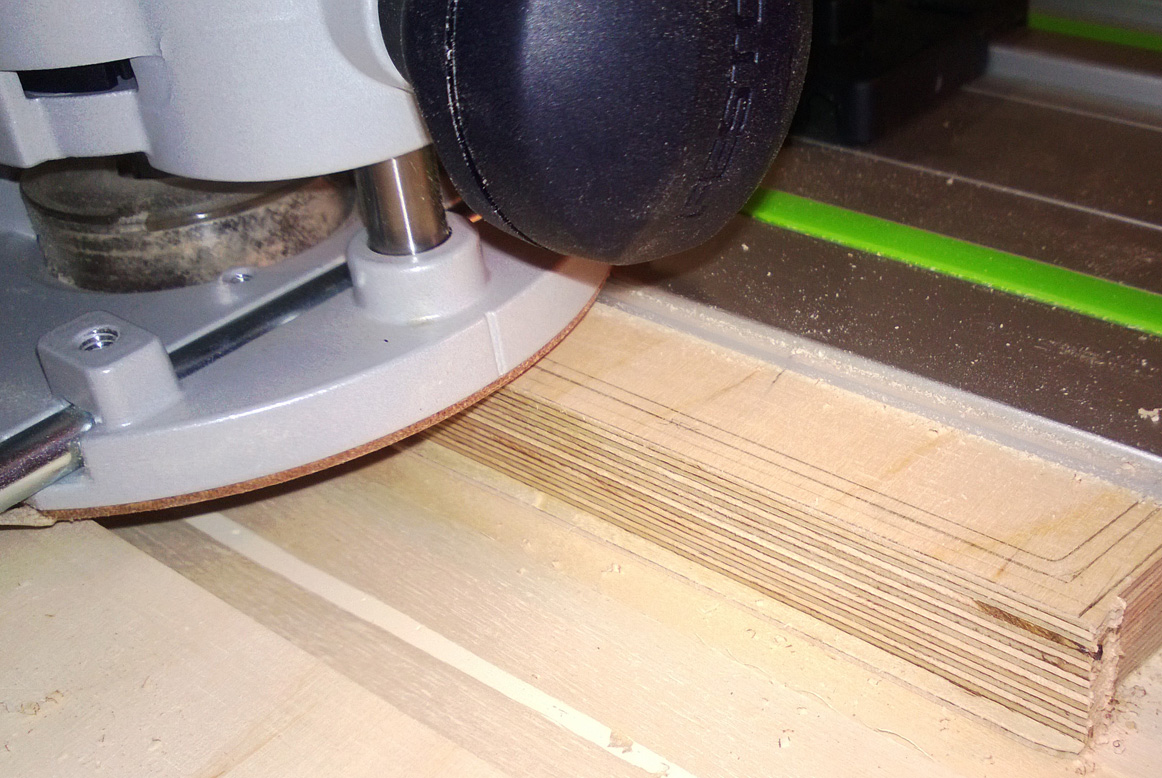
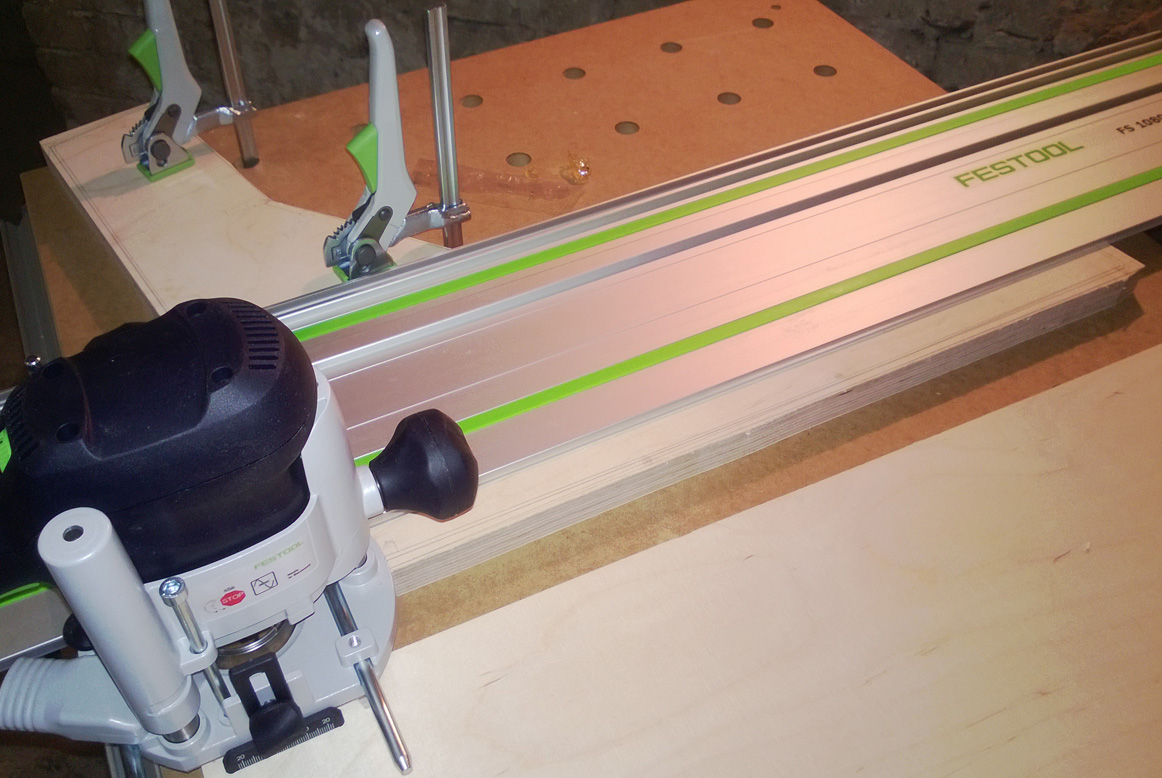
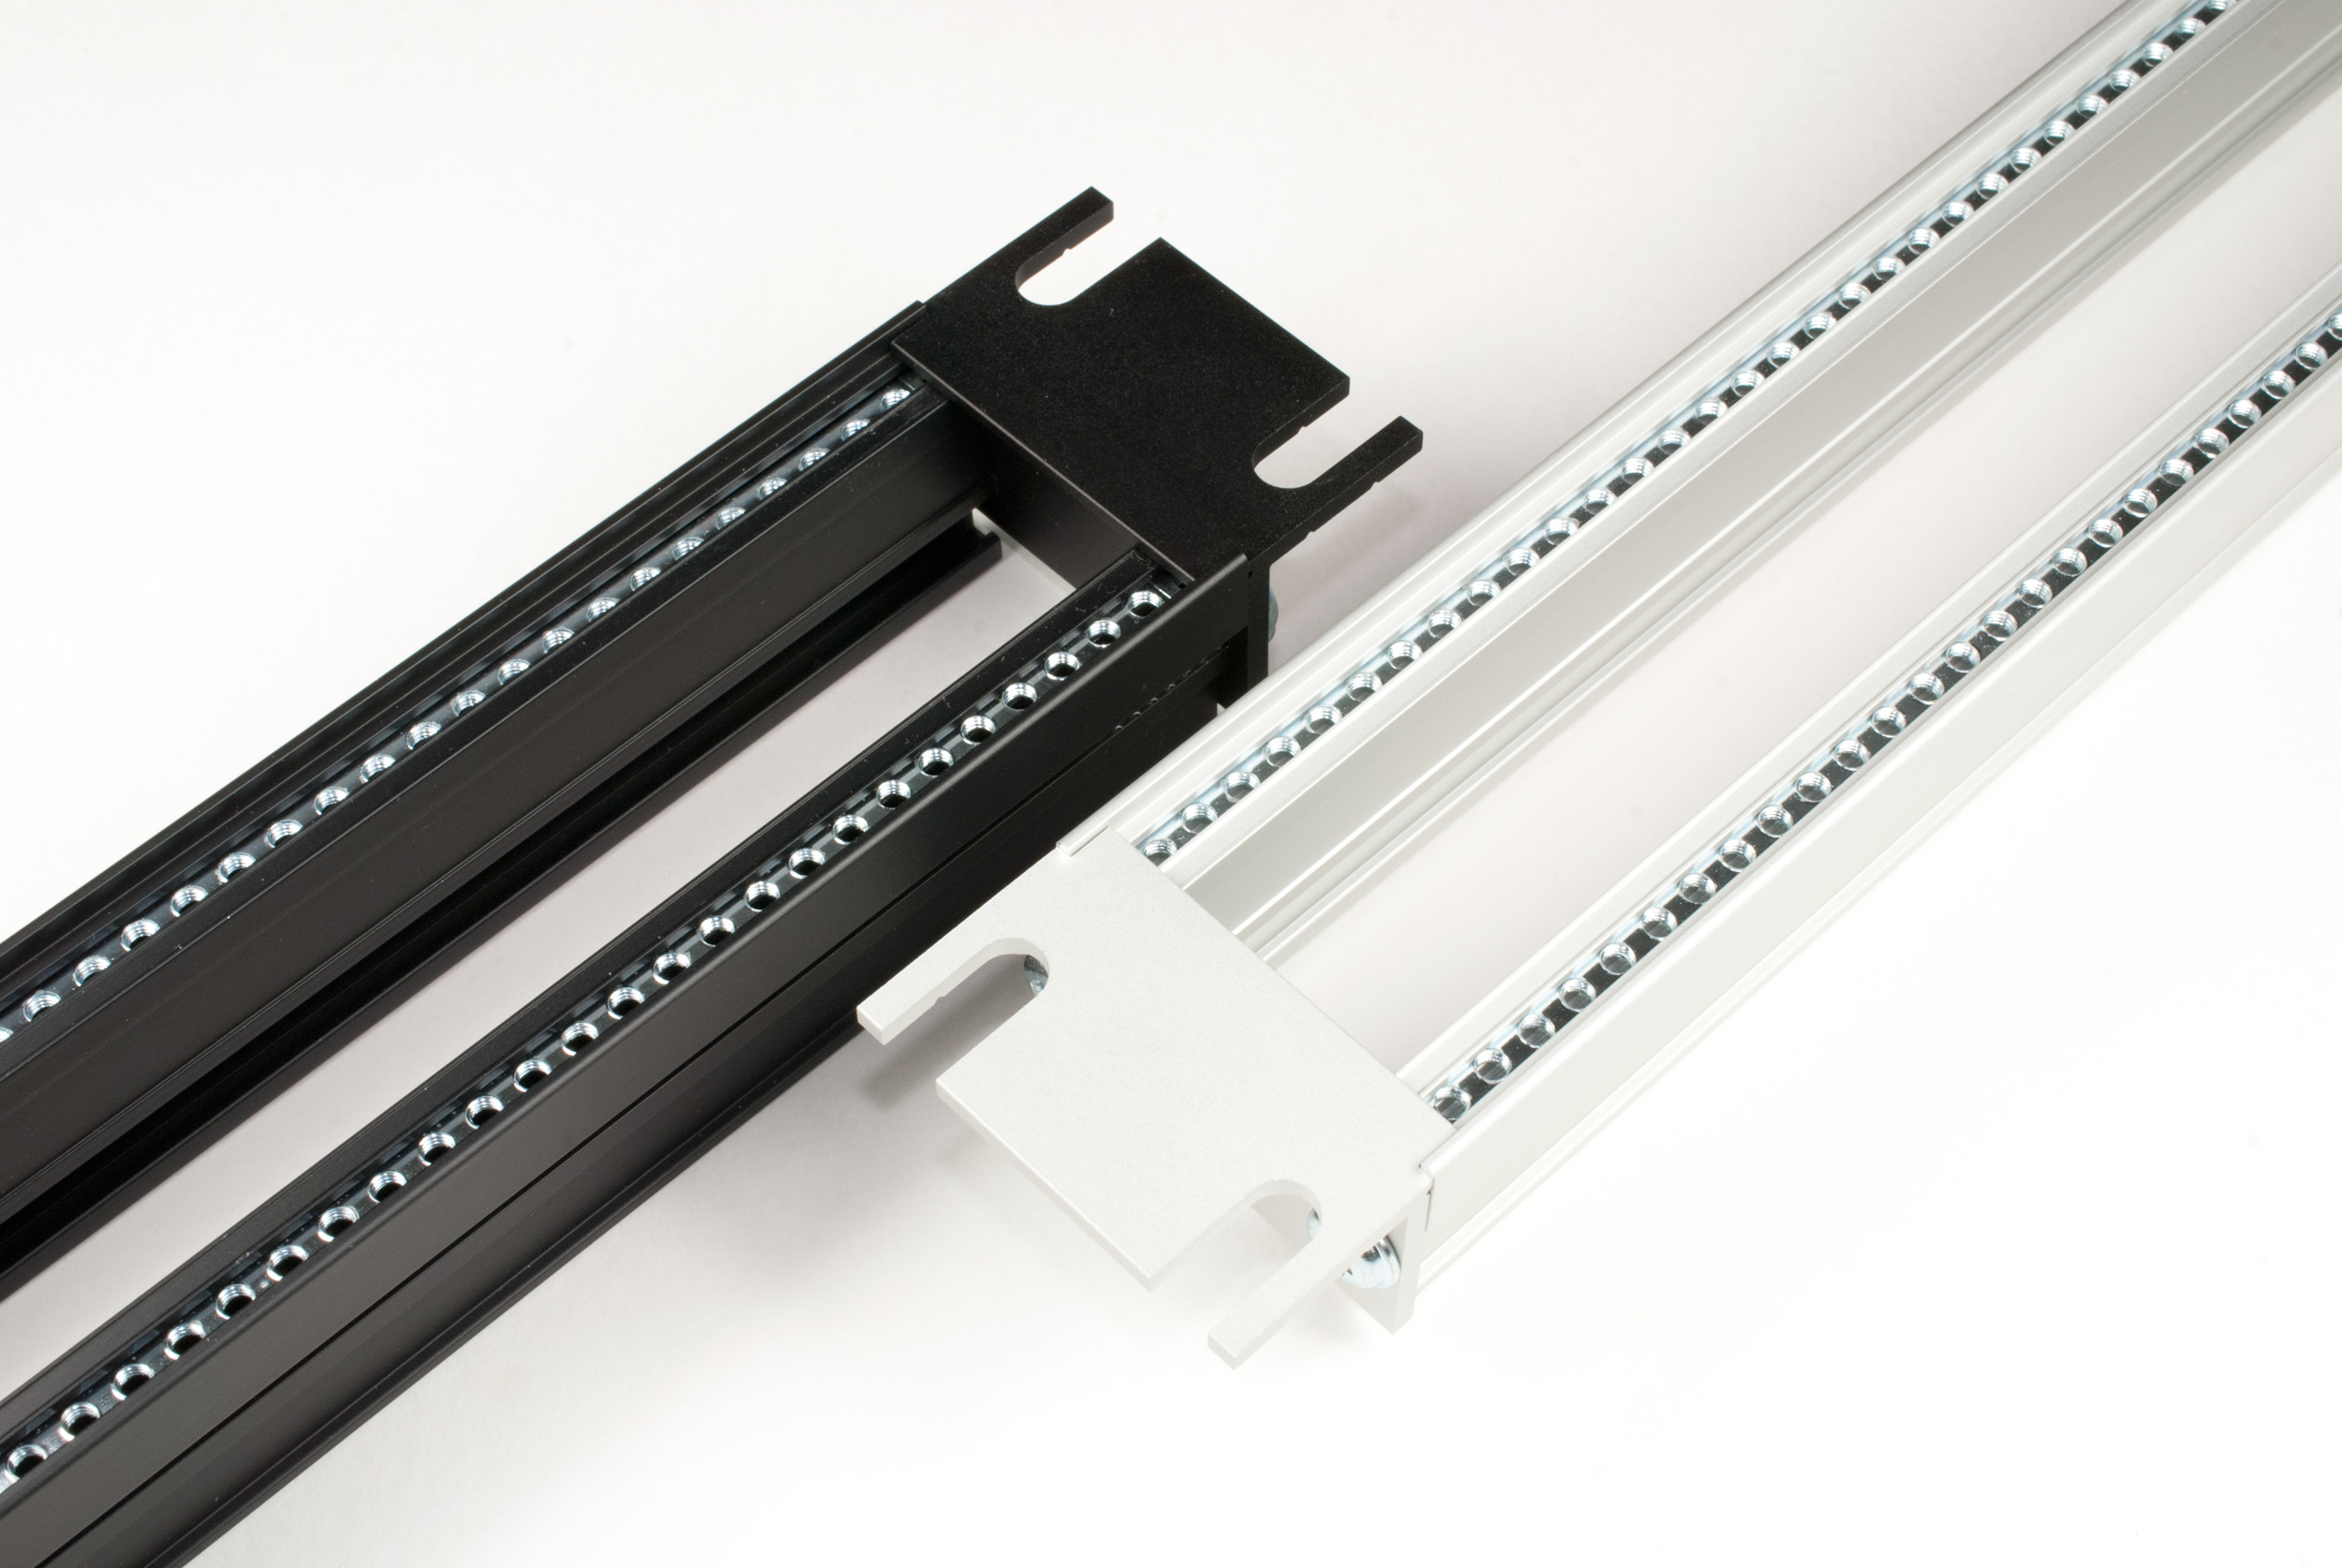
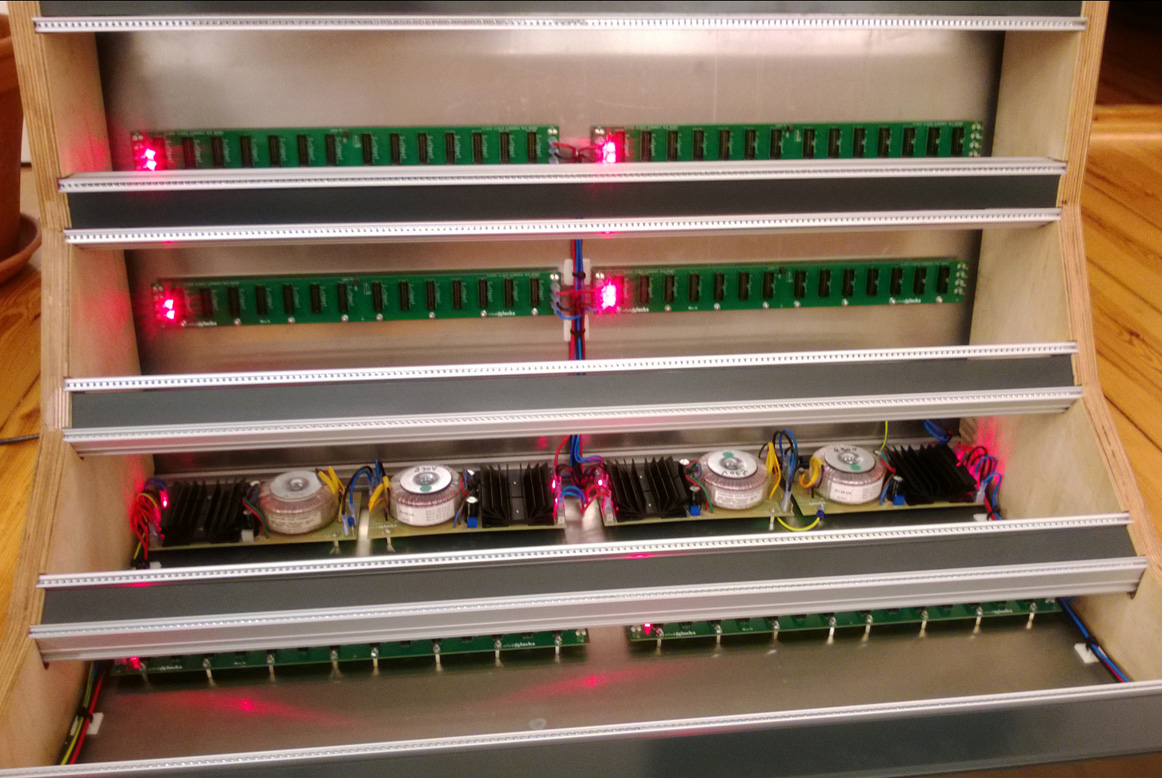
The idea was to have an ergonomically shaped Eurorack case. I also knew that the size should be around a Doepfer monster case with 12U. The main parameters where set: 12U, 168HP, 4 PSUs (+/- 12V, 4.8 A) , 8 busboards. I also knew the construction, wooden side panels (oil finish) clamping the aluminium panels (powder coated). The woodwork gave me the biggest headache as I don’t have a workshop where I could properly do the routing and sanding of the side panels. But I got it done altough it was a bit more effort with a flexible workshop.
ClicksClocks Console Case final assembly
Console Case final assembly

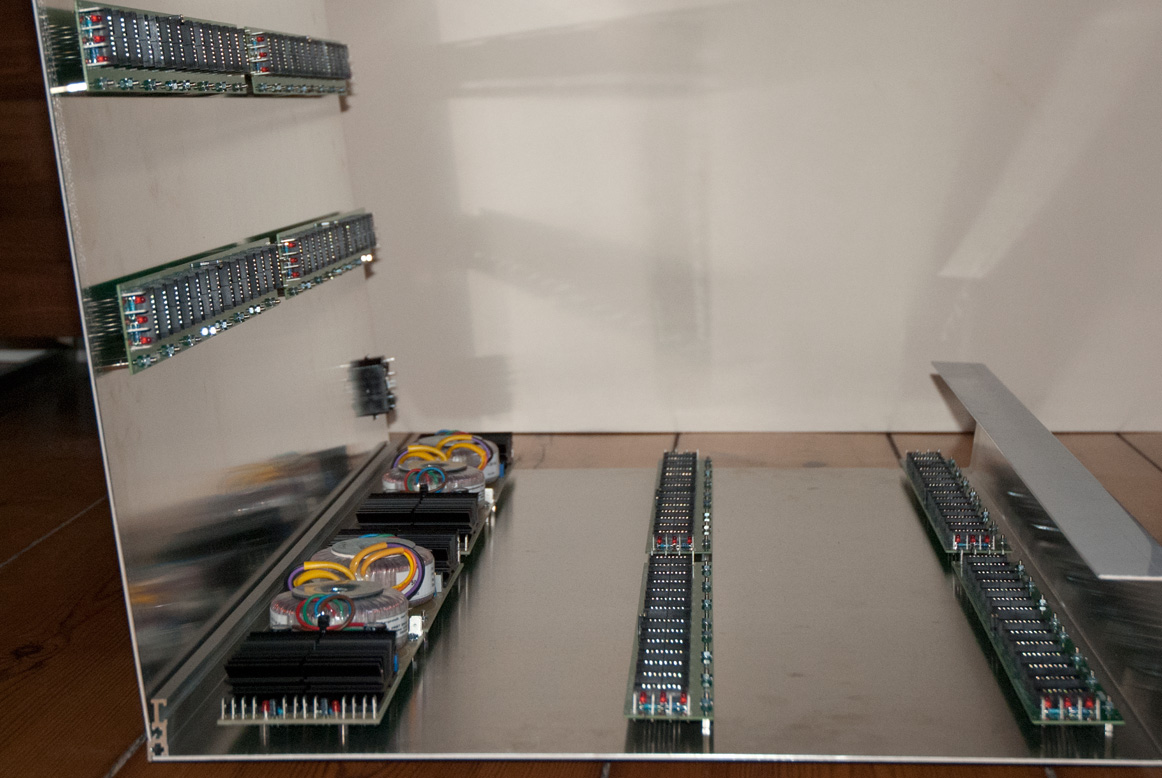
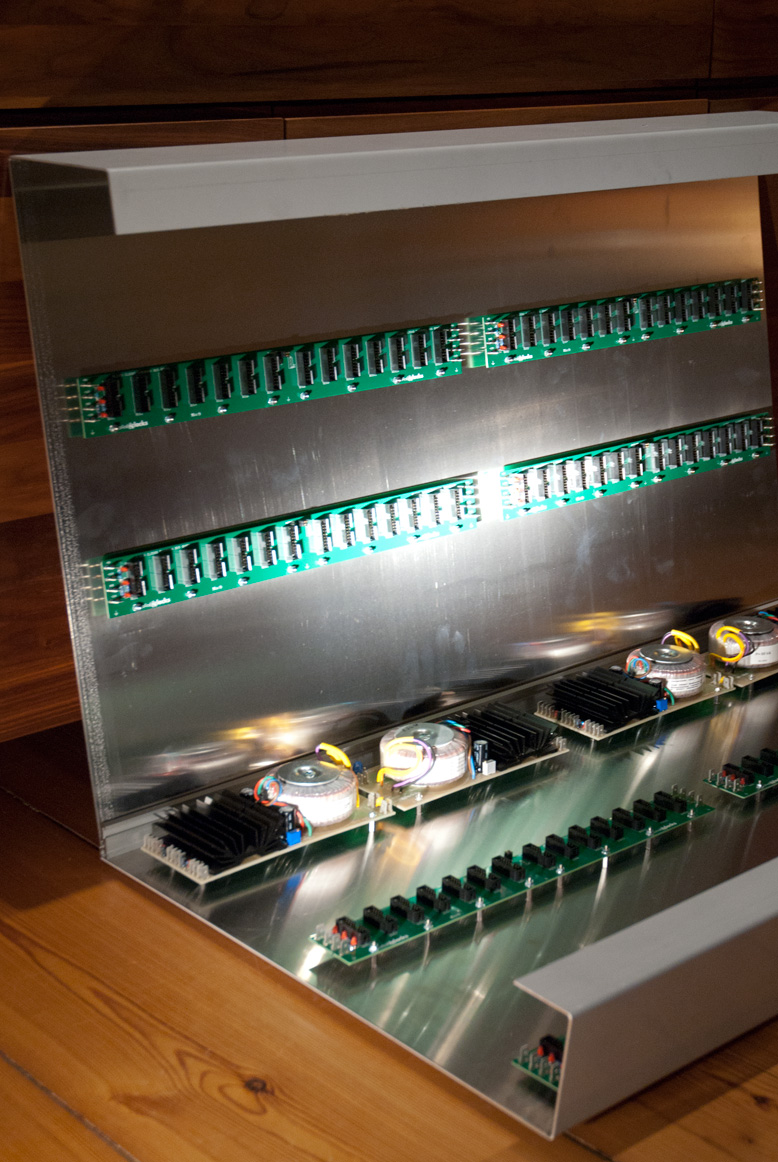
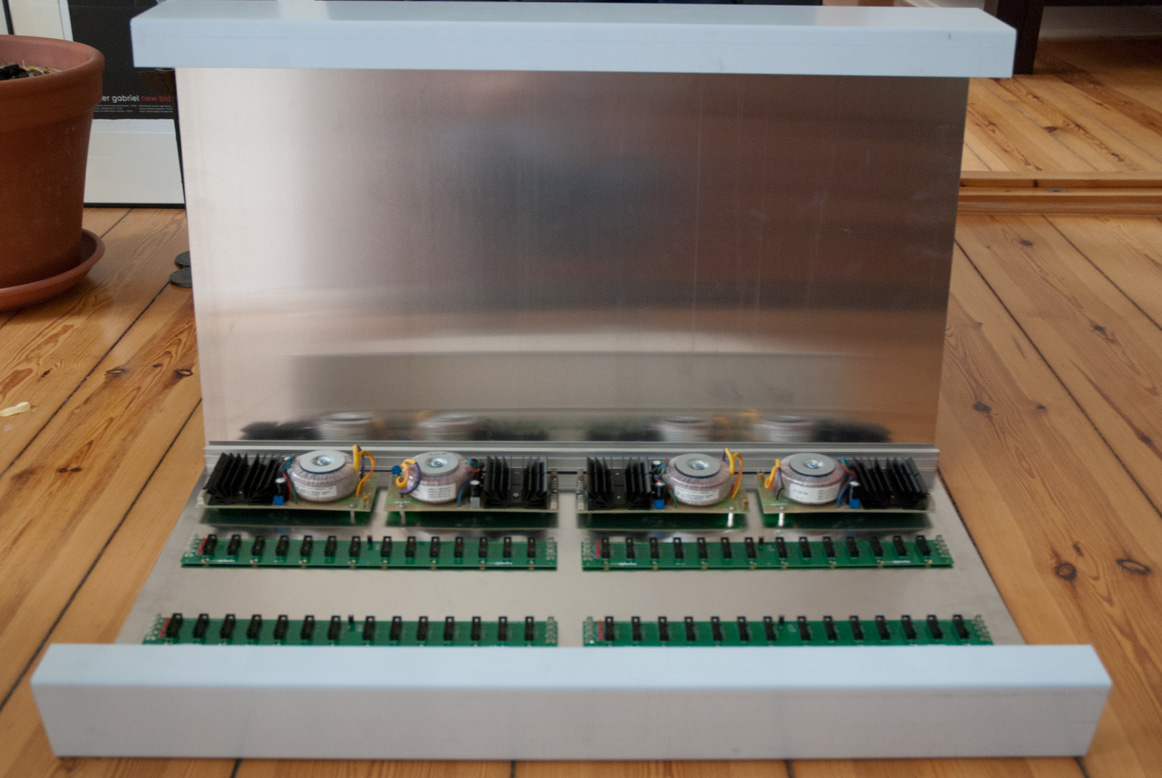
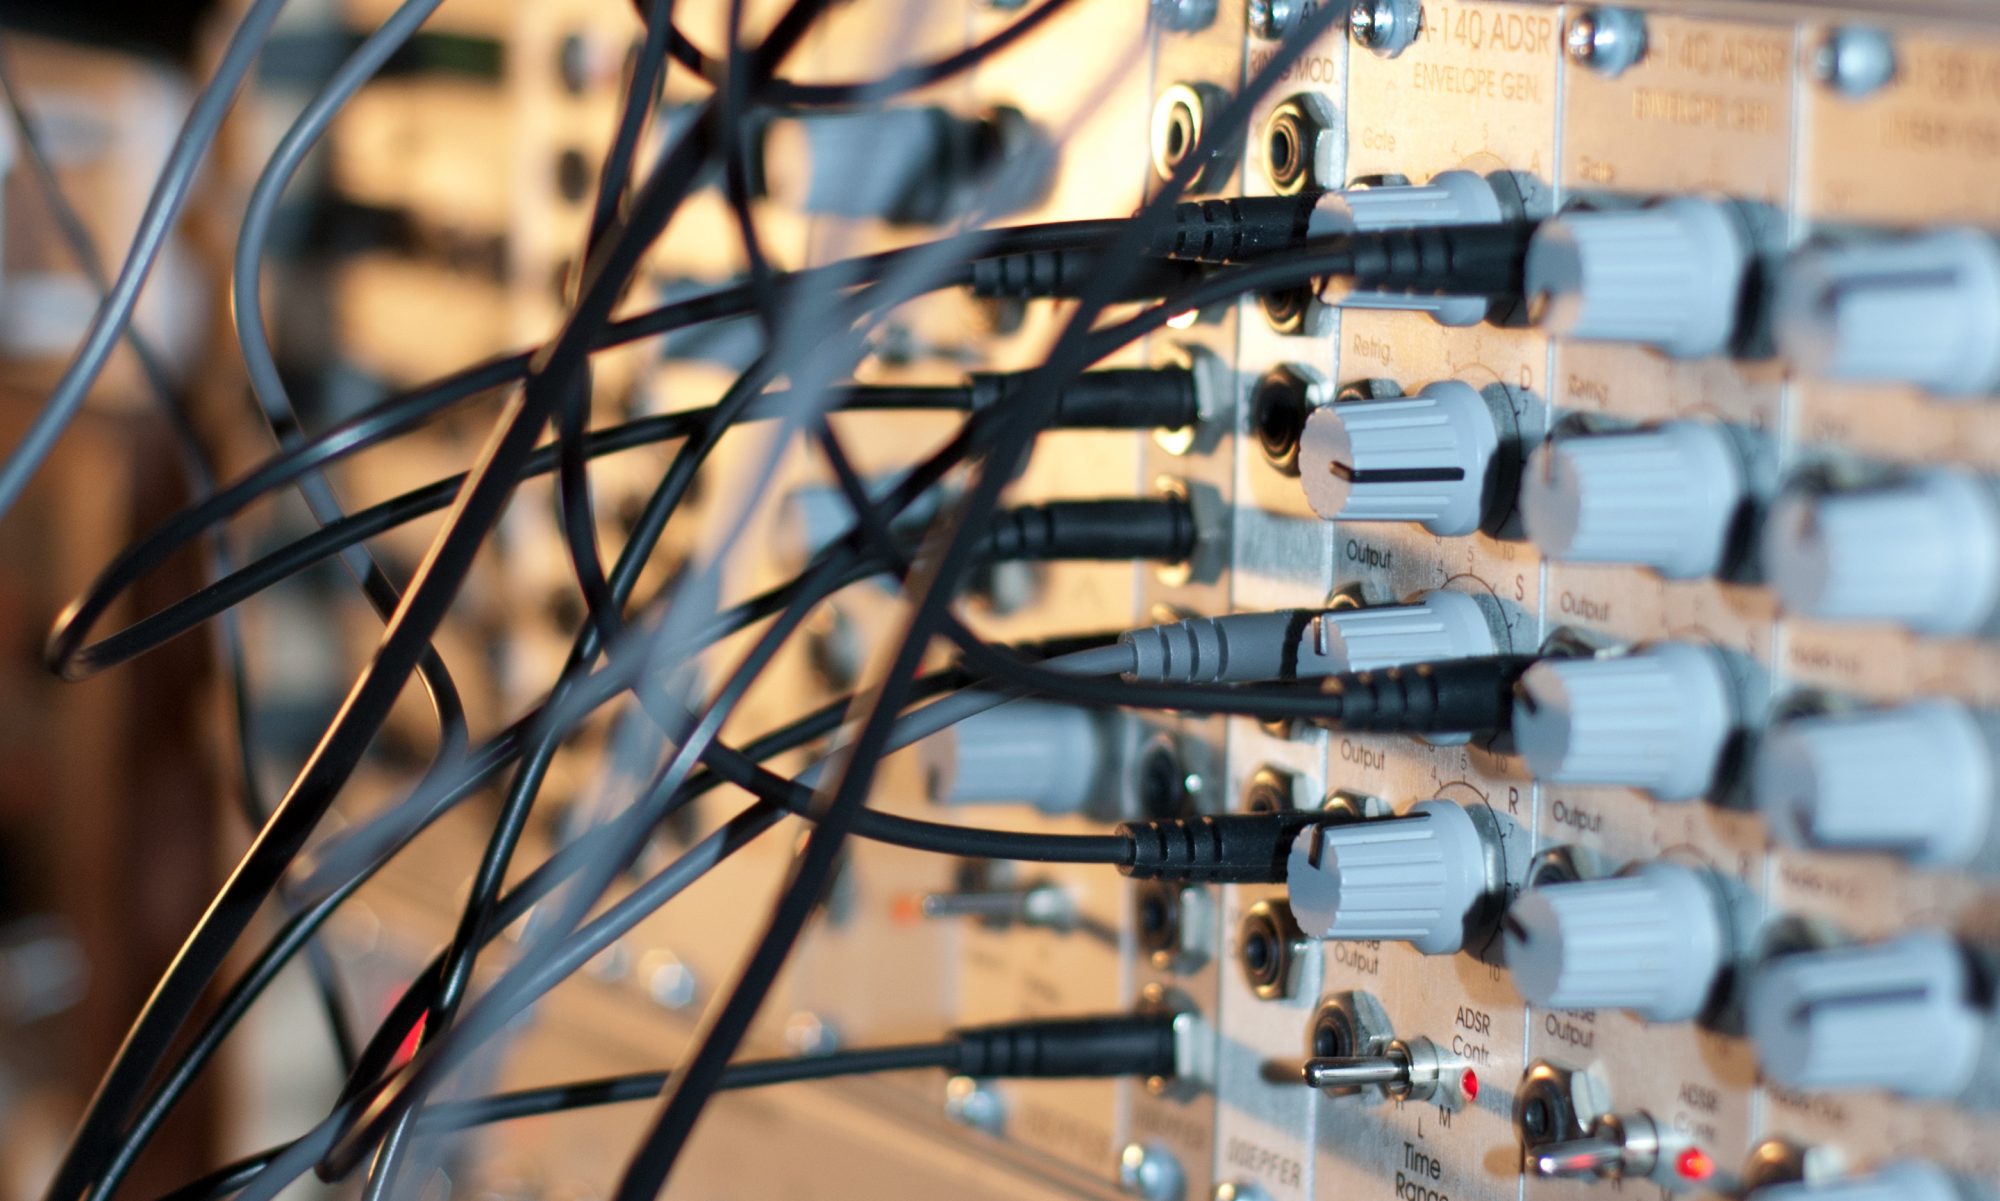
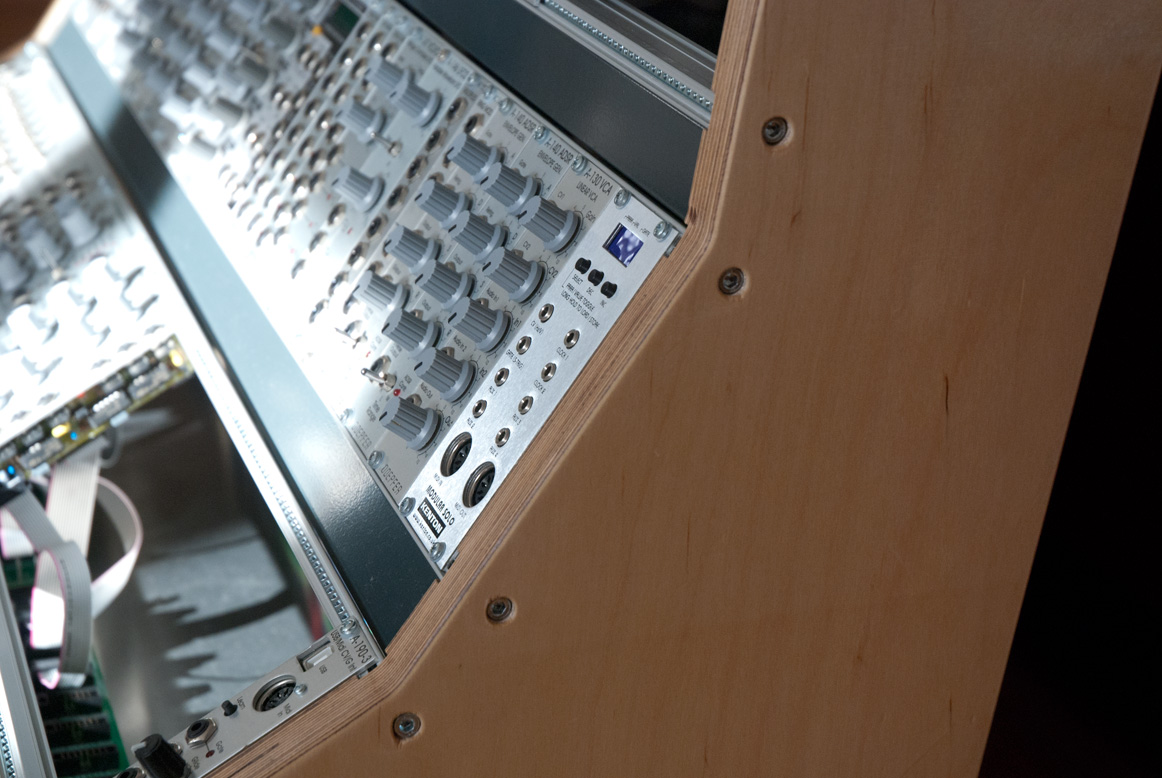
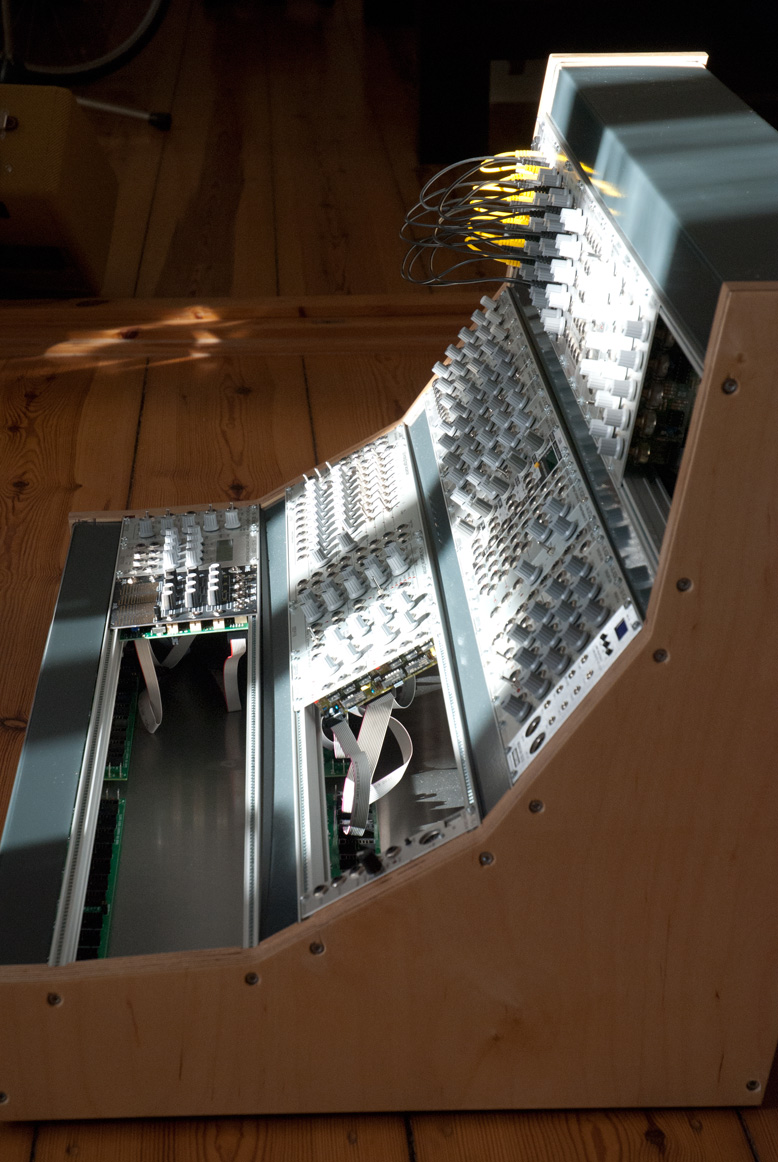
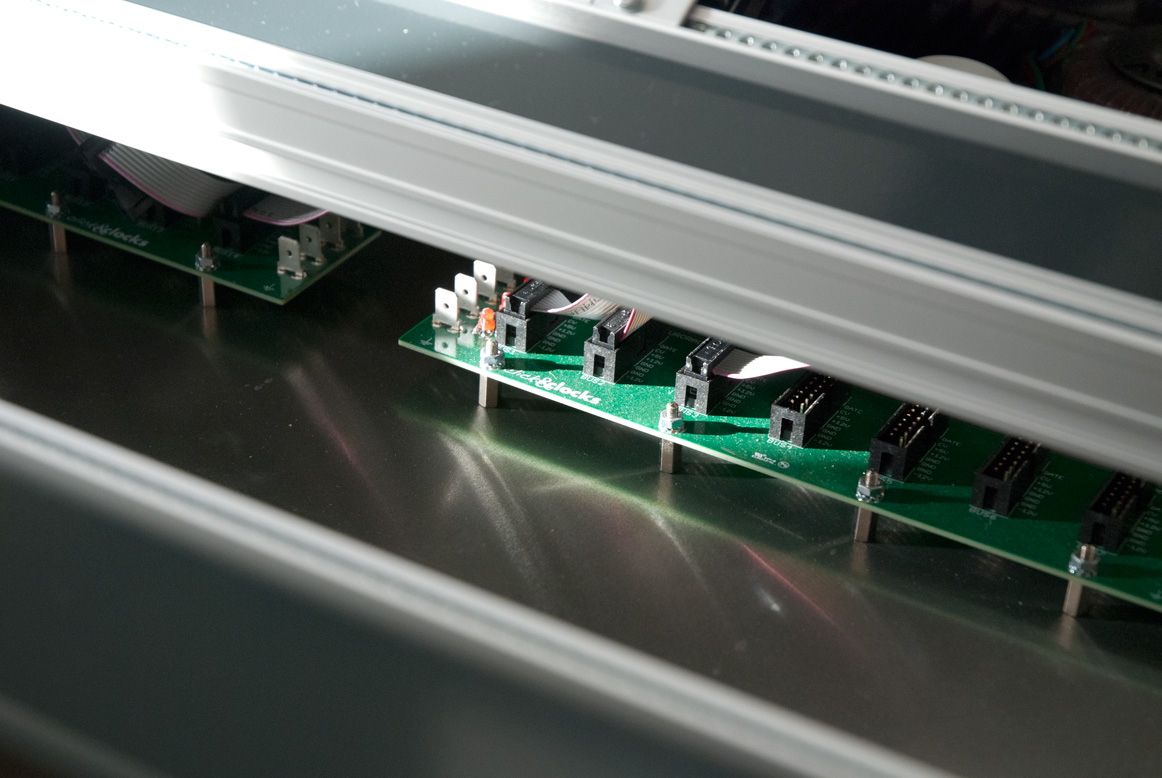
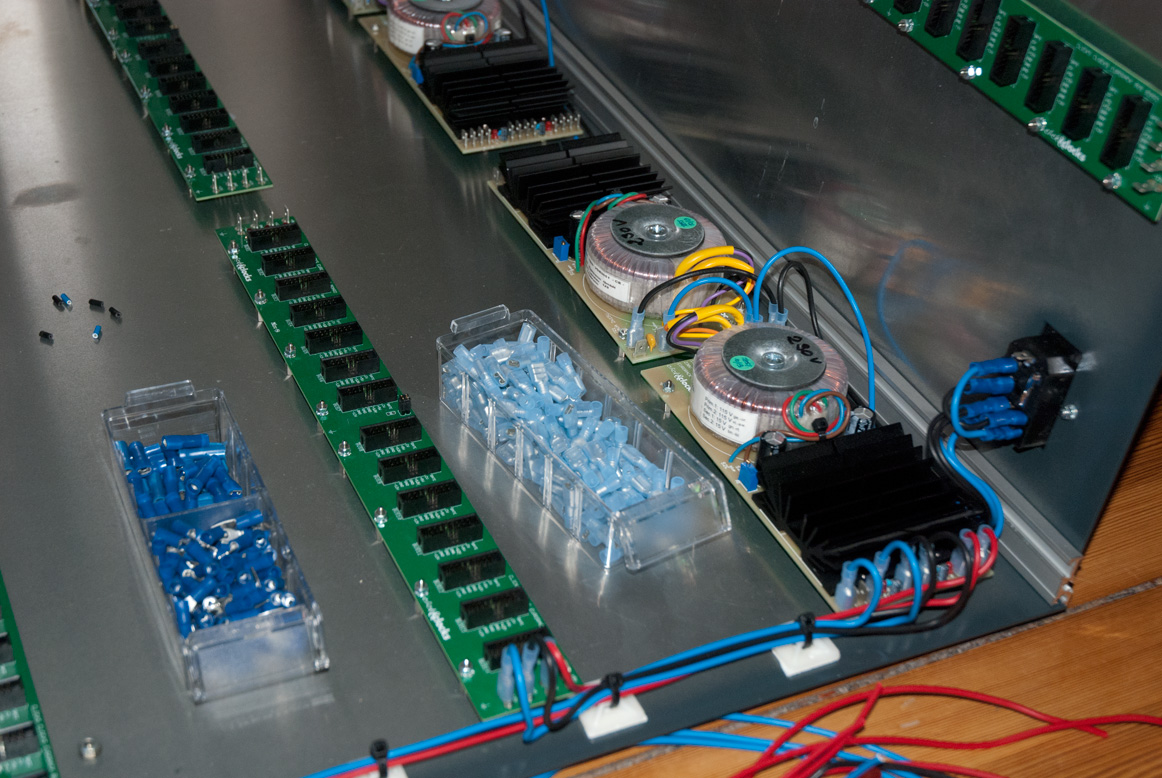
After the oil finish of the side panels and the mechanical assembly, I needed to do the complete wiring of the 4 PSUs, the 8 busboards and the mains inlet. The most amazing moment was the first powering of the complete unit without modules. It all worked as expected. Then it was pure fun to install all the modules in the new case. Now it is time to turn the knobs again.

One of the first sketches, done with Google SketchUp. It shows how exact the case was planned and then realised. Only the wood of side panels is a bit a compromise. I actually wanted to use walnut but then decided to go for multiplex or multilayer wood. I think I will replace the side panels at some point with solid walnut.

Clicks and Clocks Console Case
A bit more exact sketch of the case. The measurements are almost correct, the thickness of the side wings is 22mm. The case is planned as a double 19 inch sized case.

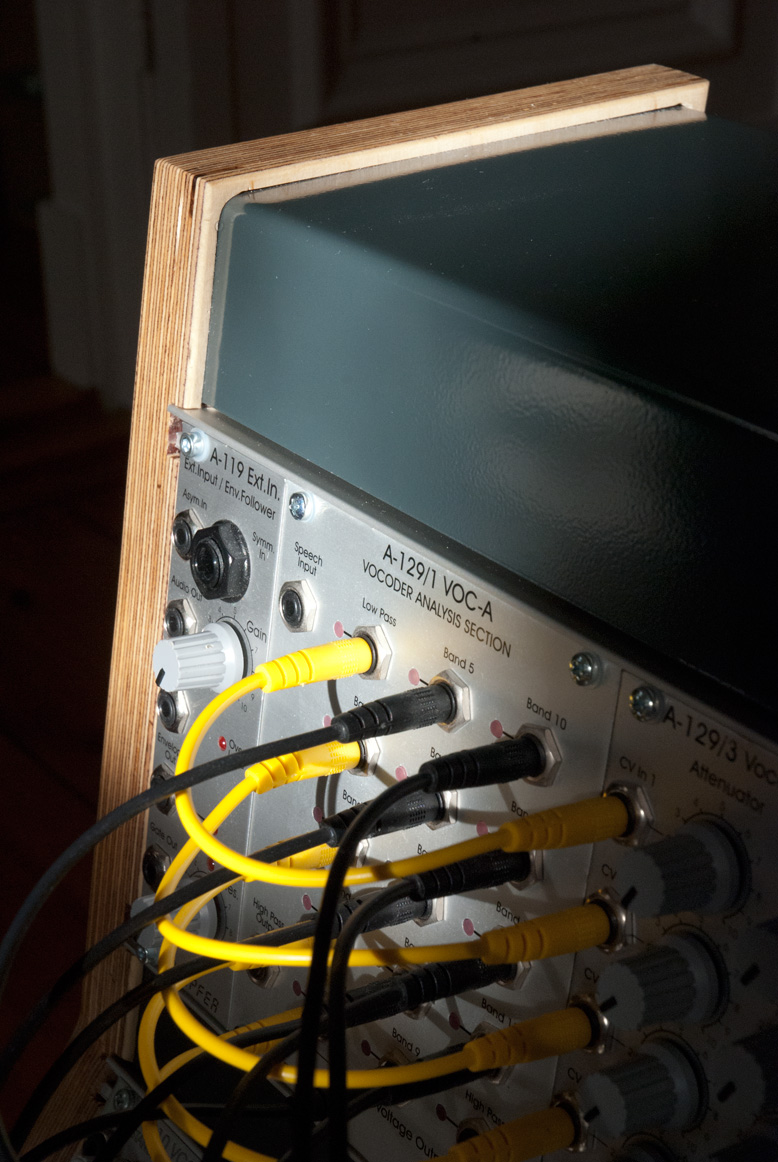
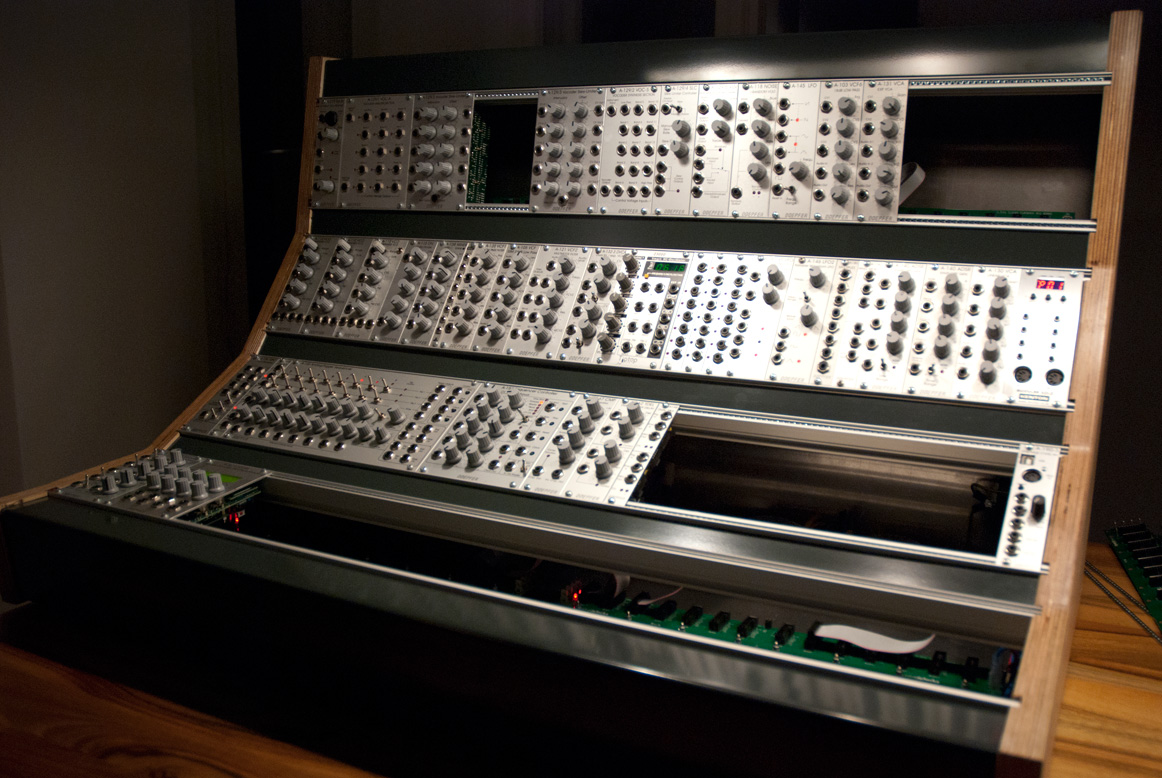
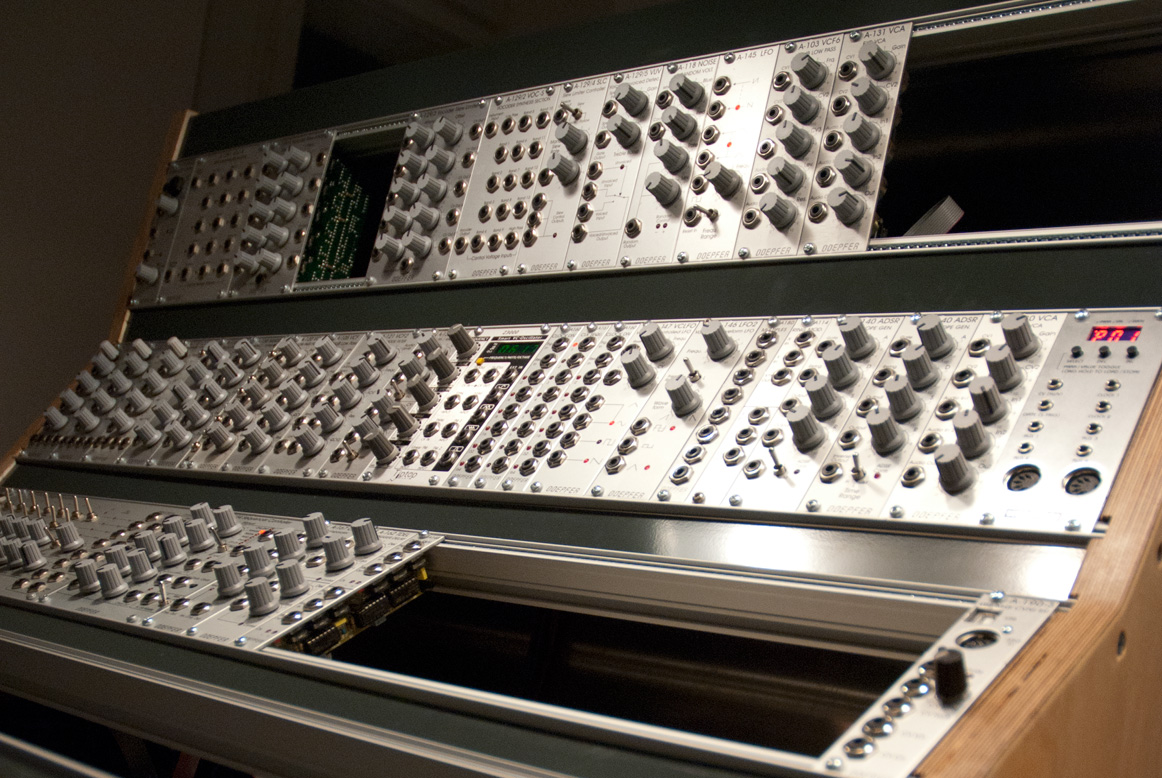
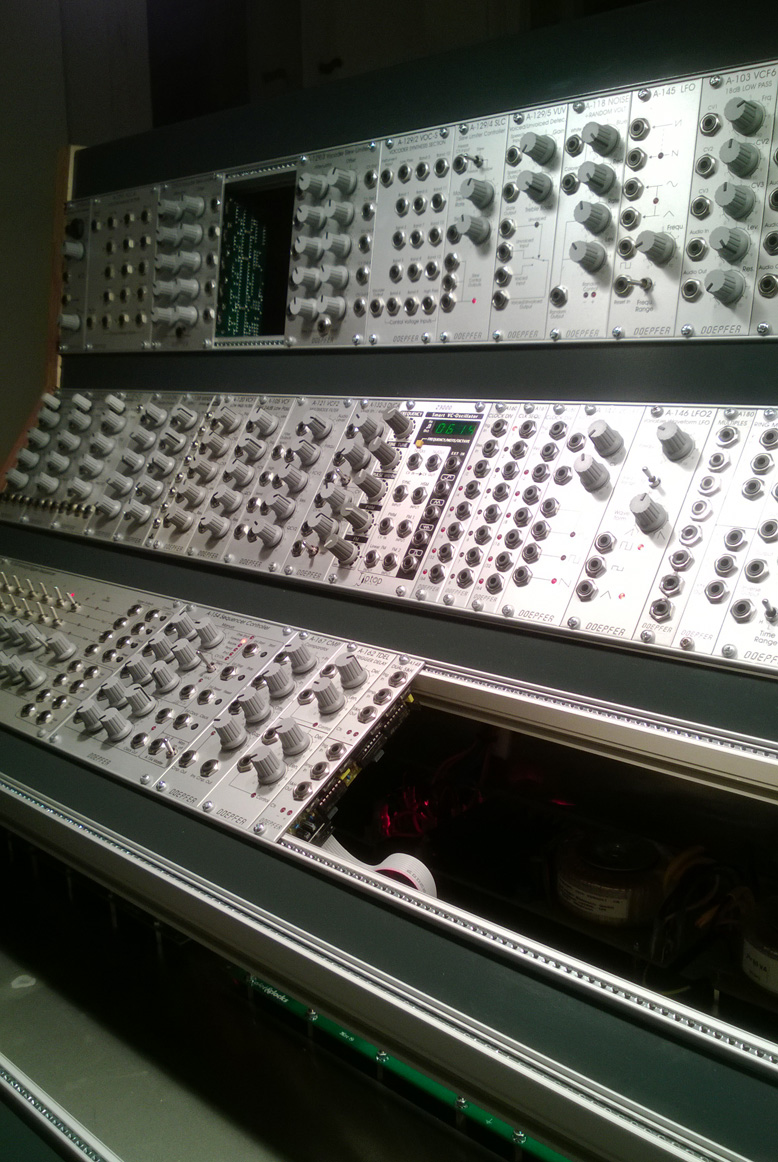
See yourself, here is the result:

If you want to read the full story, here are all the posts:

DIY Eurorack Console Case – After the Powder Coating

The rear and bottom panel were powder coated last week, now assembling again.

If you want to read the full story, here are all the posts:

It was part of the concept of case that the aluminium panels should have a nice colour. Okay, it can be discussed if RAL 7016 is a colour at all, as grey is not considered to be a colour. From the beginning on I wanted to use the same service I’ve used for my bike frame. They did a very good job and that’s why I choose them again. The pricing is decent as well.

ClicksClocks Console Case powder coated total view
Console Case powder coated total view

For my own enjoyment I needed to assemble the case one more time before the final steps. All boards are mounted on the rear and bottom panels, 4 PSUs and 8 busboards. The mains inlet is set up, and so I could start with the wiring of all components. I am really proud of what I have achieved so far. It’s not that much left to do and I am really looking forward to turn some nobs soon.
Some impressions:

DIY Eurorack Console Case – First assembling

Another update on my console case. The woodworking for the side panels is almost done.

If you want to read the full story, here are all the posts:

The next major step is taken. After routing, drilling and sanding the wooden side panels, I could assemble the case with all its parts for the first time. Everything fits, allmost. Minor modifications need to be done, but then I can start with the last step, oiling the wooden side panels and get the rear and bottom panels powder coated. I still don’t know which colour the aluminium parts will get, any ideas?
When this is all done, the final assembling and the wiring of the four PSUs and the eight busboards needs to be done. And that’s it.
I’ll keep you updated.

Here are some impressions from the first assembling:

DIY Eurorack Console Case – The Wooden Side Panels, 1st Step

Quick status update on my console case. I dived a bit into woodworking and started routing the wooden side panels

If you want to read the full story, here are all the posts:

The works on wooden side panels have started. First time ever using a proper router, amazing tool. Does exactly what I needed. I routed the shape of the panels out of 24mm multiplex wood. This was a step I had a lot of respect for, as I never handled a router before. So I started with an easy straight line and then step by step raised the bar a bit higher. There are two edges where I need to add some wood again, but some dues you have to pay when learning.
Next step will be drilling, sanding, staining the wood and then finishing with oil. I will keep you updated.

ClicksClock Eurorack console case with wooden side wings
Eurorack console case with wooden side wings

Here are some impressions from my first experiences with woodworking and some shots off the drilled bottom and rear panels.

DIY Eurorack Console Case – Rear and Bottom Panels

This was a major step. Today I got the bottom and rear panels bended. Two main parts of my case construction, which I couldn’t do on my own.

The idea of the case construction is to fix the rear and bottom panels with threaded rods between to wooden side wings. Next up I have to drill several holes to fix the busboards and and PSUs on the panels. The hole for mains inlet with switch and fuse holder needs to be routed. Once the metal work is done the panels will be powder-coated.

Some sketches of the case to visualize the construction. The other main components of the construction are the wooden side wings. These need to be drilled, routed and sanded before they finally get an oil finish. That’s the rough plan for the next weeks.

Some pictures of panels:

If you want to read the full story, here are all the posts: