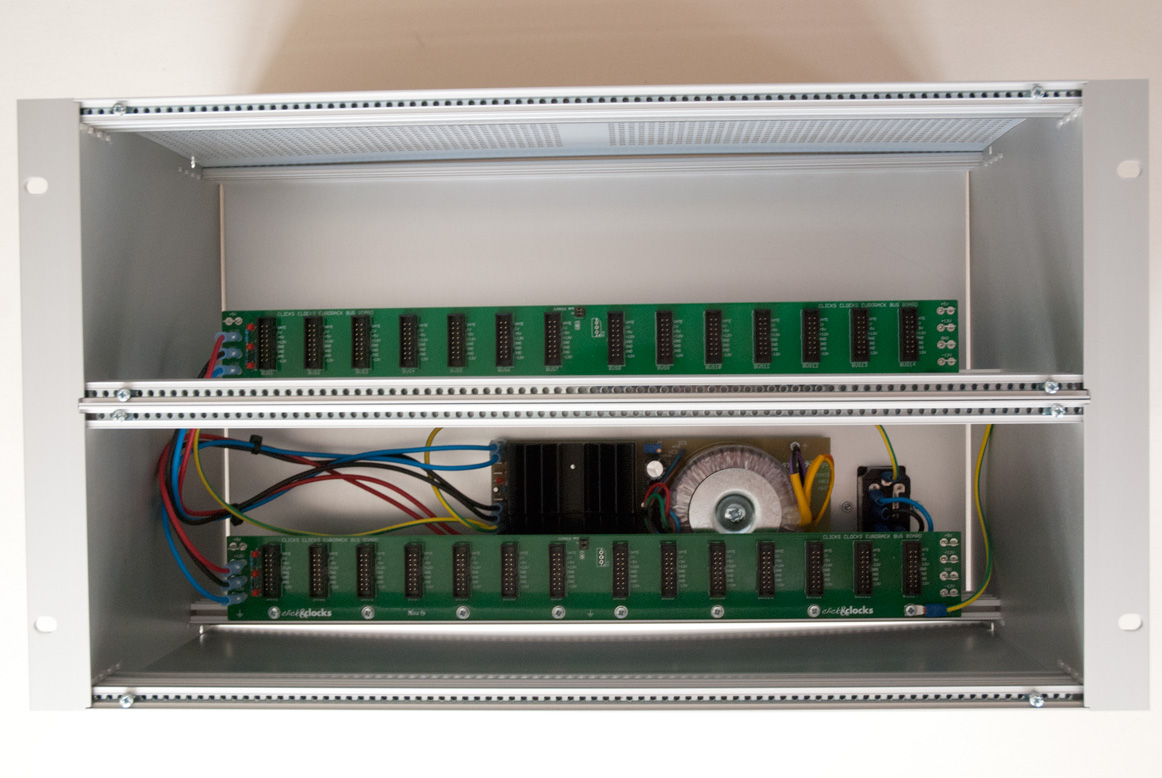
Just a few impressions on the latest case I build on a clients request.
Equipped with the Clicks and Clocks power supply and busboard with +5V option.
If you need parts for your own case, just contact me via email and ask for the latest price list
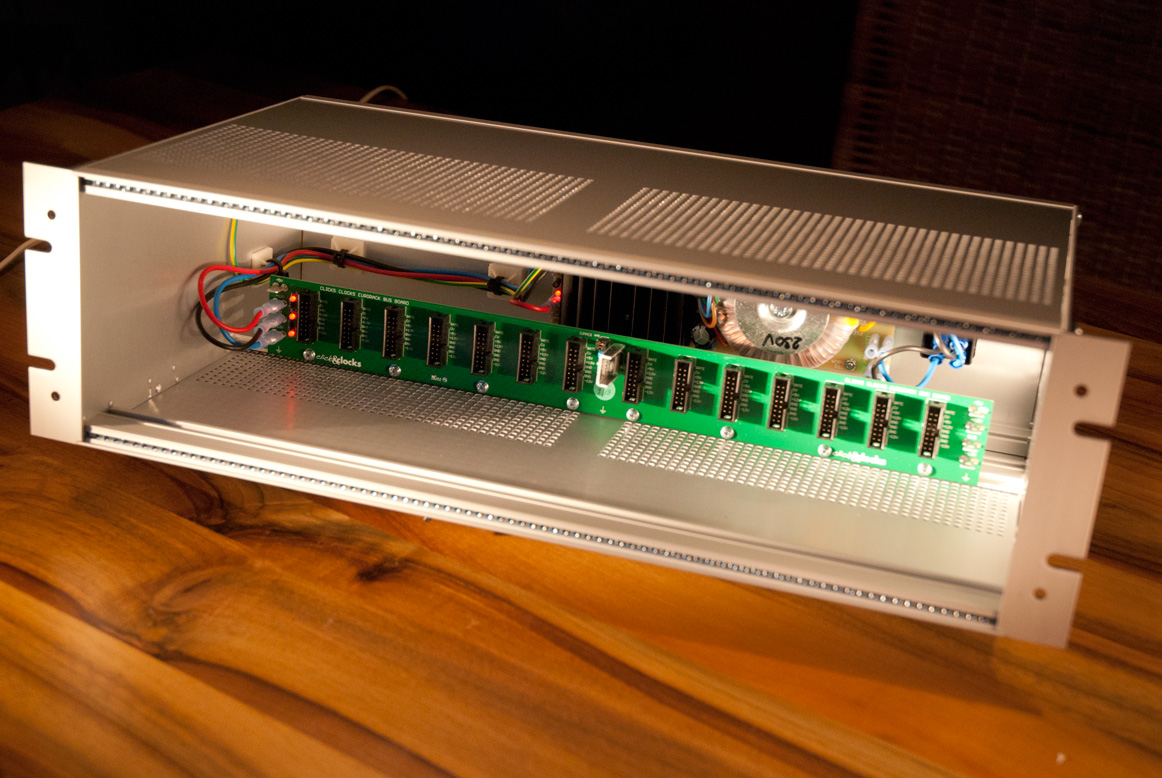
Just a few impressions on the latest case I build on a clients request.
Equipped with the Clicks and Clocks power supply and busboard with +5V option.
If you need parts for your own case, just contact me via email and ask for the latest price list

These frames make case building much easier.
It took some time, but now the side panels in 3U and 6U size where delivered. I assembled some example frames. I will sell them completely assembled in the standard width 19 inch or 84HP, but any width is possible on request. If you want to know the pricing, please contact me.
This frame gives you 84HP usable width and can easily be mounted in a 19 inch case.
Fully assembled, ready to use. Other width possible, also without threaded inserts.
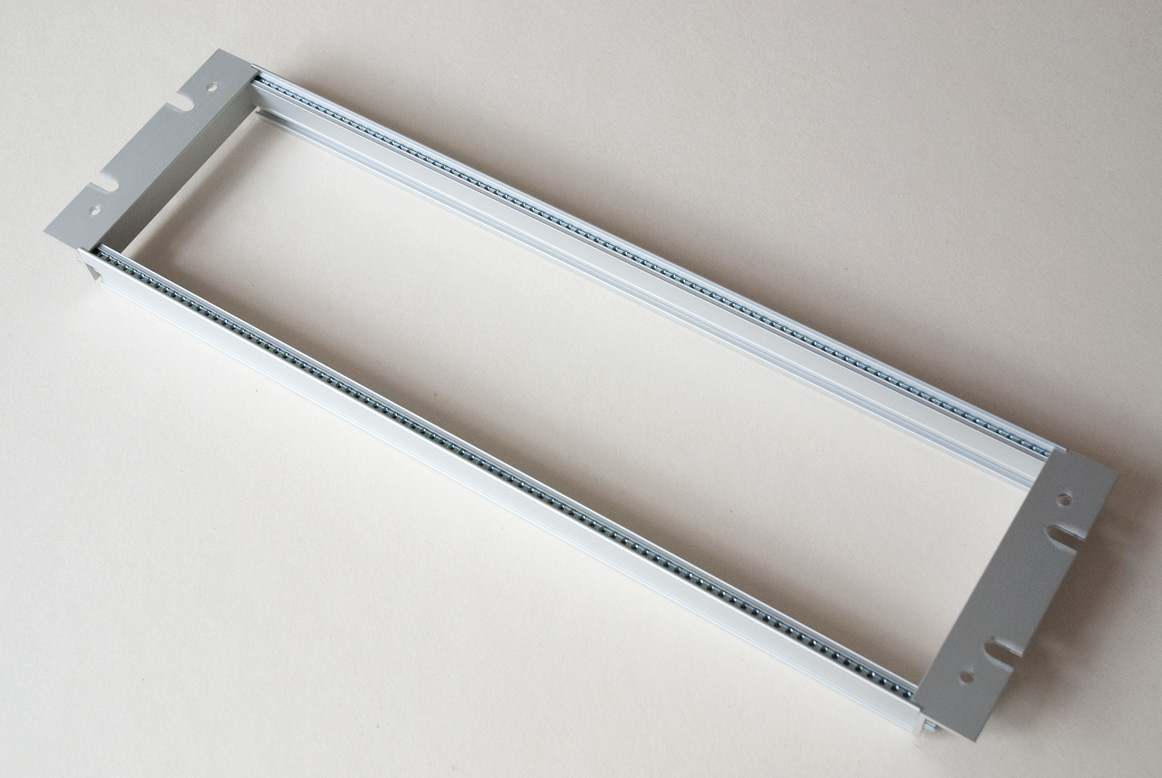
Another 3U frame, but without rack ears. The usable width is also 84HP. The frame has an outer width of 433 mm and a height of 133 mm and can easily be screwed in your case.
Fully assembled, ready to use. Other width possible, also without threaded inserts.
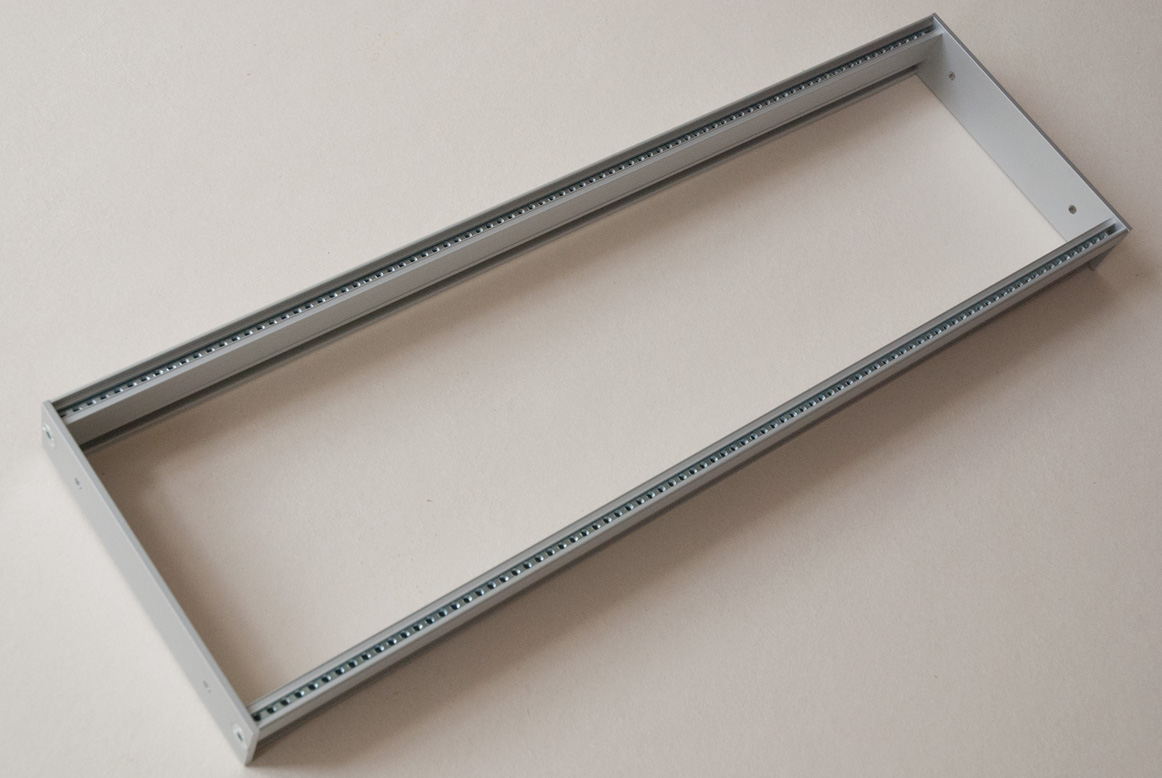
And finally the 6U frame. Same configuration as the 3U frame but double height (266 mm).
Fully assembled, ready to use. Other width possible, also without threaded inserts.

Some more detailed pictures of the Clicks and Clocks Eurorack frames:
This is actually a simple exercise but if you are not a handyman and have the right tools it might get annoying. This is why I am trying to organise a groupbuy for this side panels.
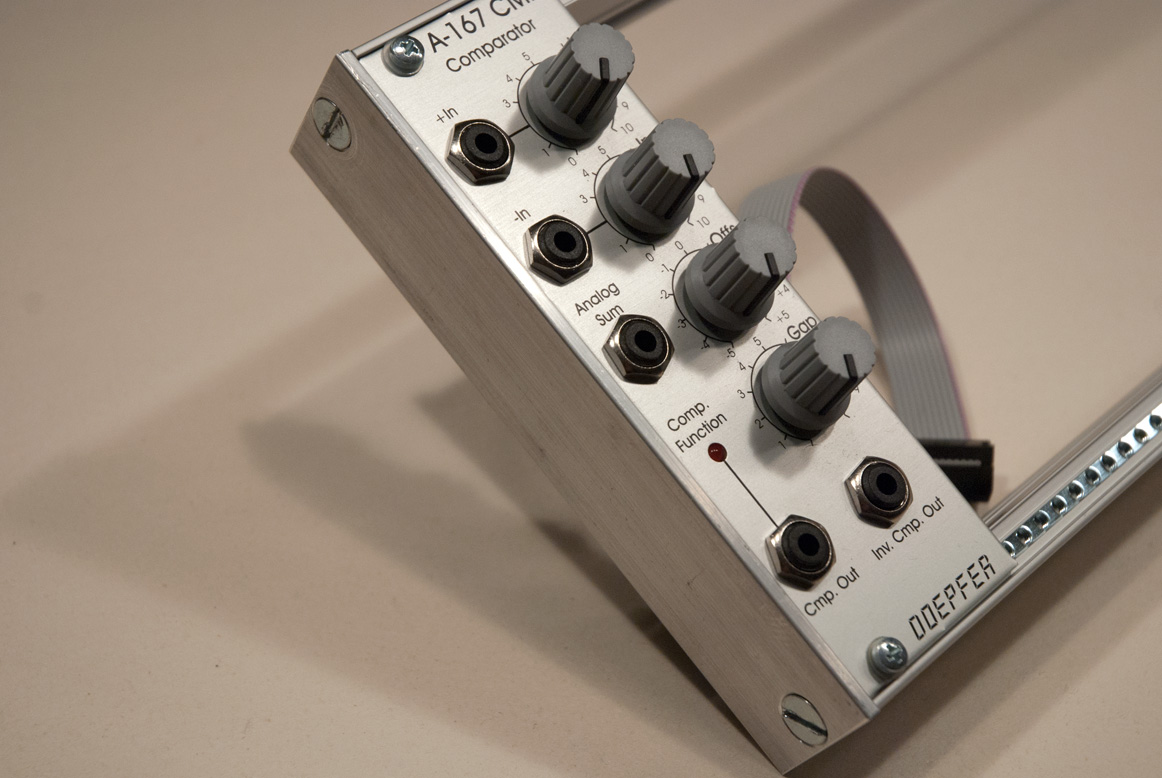
This is what it is all about. A prototype of a 3U side panel for fixing the rails on a rack (still missing the drillings for fixing). Sure, you can fix the rails directly on the rack, but using the panels is way more elegant.
You will find more details on Muffwiggler or on the German Sequencer Forum. If you have questions just leave a comment or send an email
Assembling a 19 inch case is not rocket science but it has some pitfalls. Especially when you buy the components from eBay or different vendors.
Before you start be aware that there is no standard, not all components from all manufacturers fit together. This post should give you an overview of the components you will need. The construction is based on the Doepfer A-100G6 rackmount cases. The parts of my construction are a mix of Roger and Gie-Tec parts as well as my own power supply (PSU) and busboards.
I can provide you with a complete DIY set for your case or just some parts, just ask for pricing.
Not to get confused, some rack systems use rails with M2.5 threaded strips. You will hardly fit M3 strips in these rails. Please also notice that my rack uses side panels which are already combined with the rack ears as one part. This is usually not the case.
Some rails use M4 threads instead of M5 for the side fixing. The parts of the list below fit perfectly together.
There is also some mechanical work that needs to be done, drilling holes to fit the PSU on the rear panel and filing a big hole to fit in the mains inlet and fuse holder also on the rear panel. But this is it.
List of mechanical rack parts with order numbers from Gie-Tec as of May 2013
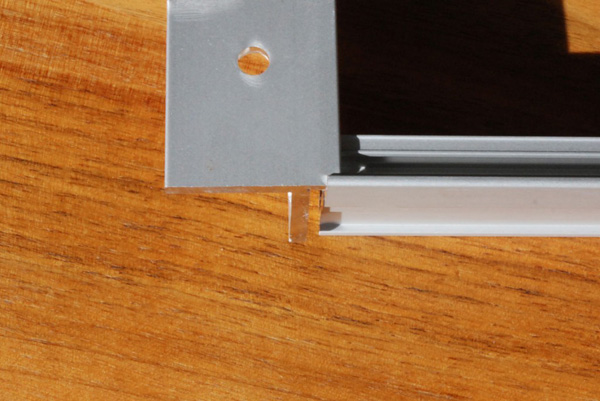
What really confused me when I started to build my first 19 inch rack was the width of the rails. To build a 19 inch rack with a usable width of 84HP (ca. 427 mm, exact 426.72 mm) you will need 85HP (432 mm, exact 431.8 mm) rails. The rack ears need 2,54 mm space on each side of the rack, as you can see on the following picture.
The busboards will be screwed on the two perforated rails using pan head screws, thooth look washers and square sliding nuts. Don’t worry, the part that is connected to the rail does not carry any contacts. So no risk of short circuit.
List of electrical components
TECHNICAL DISCLAIMER: Please be aware that the power supply carries mains voltage (115 or 230 V AC). According to the safety rules the installation has to be done by qualified personnel only. Please keep that in mind: Danger to Life!
This is a private blog, and it is about sharing experiences. No warranty at all.