Quick status update on my console case. I dived a bit into woodworking and started routing the wooden side panels
If you want to read the full story, here are all the posts:
- The Console Case – How it all started
- The Console Case – The Journey continues
- The Console Case – Rear and Bottom Panels
- The Console Case – The Wooden Side Panels, 1st Step
- The Console Case – First assembling
- The Console Case – After the Powder Coating
- The Console Case – It’s Done
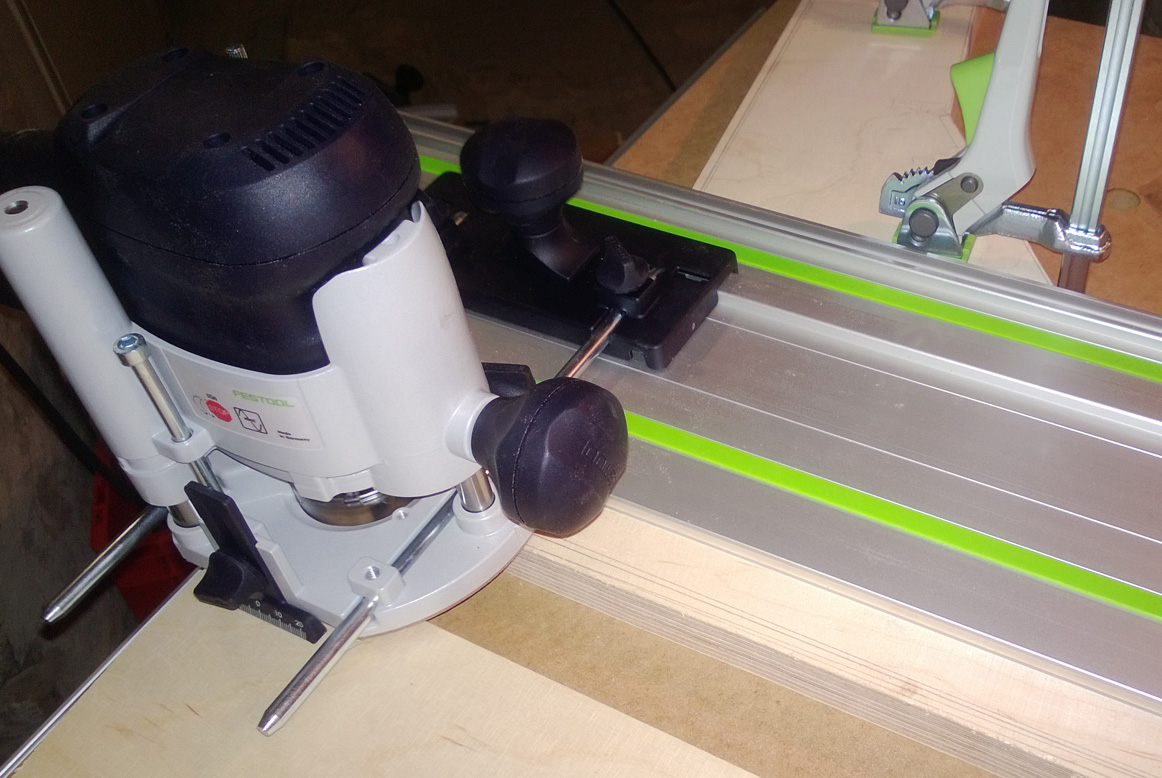
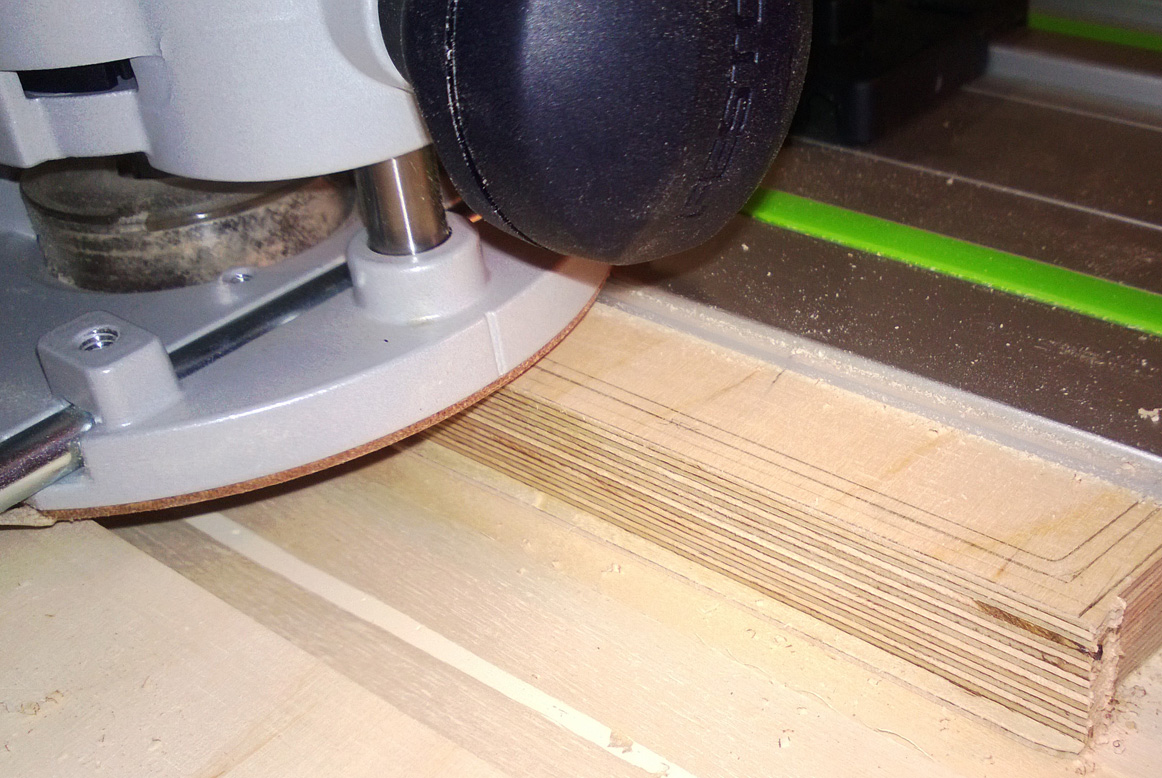
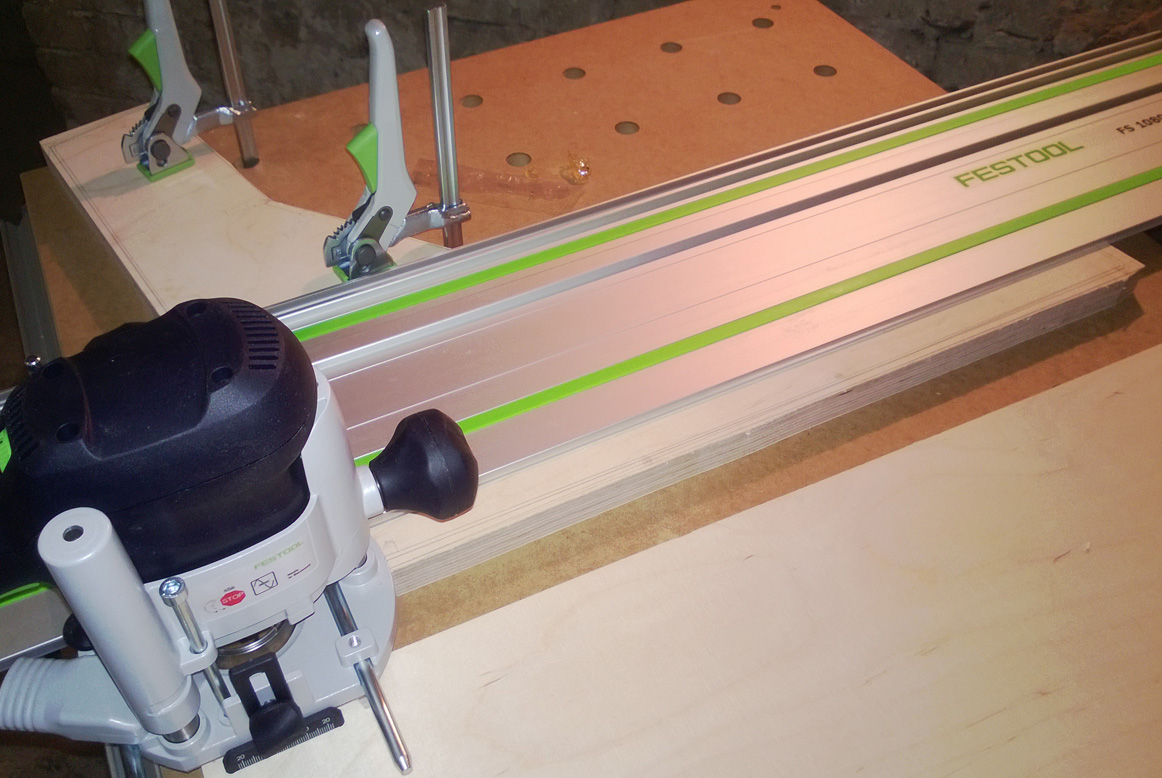
The works on wooden side panels have started. First time ever using a proper router, amazing tool. Does exactly what I needed. I routed the shape of the panels out of 24mm multiplex wood. This was a step I had a lot of respect for, as I never handled a router before. So I started with an easy straight line and then step by step raised the bar a bit higher. There are two edges where I need to add some wood again, but some dues you have to pay when learning.
Next step will be drilling, sanding, staining the wood and then finishing with oil. I will keep you updated.

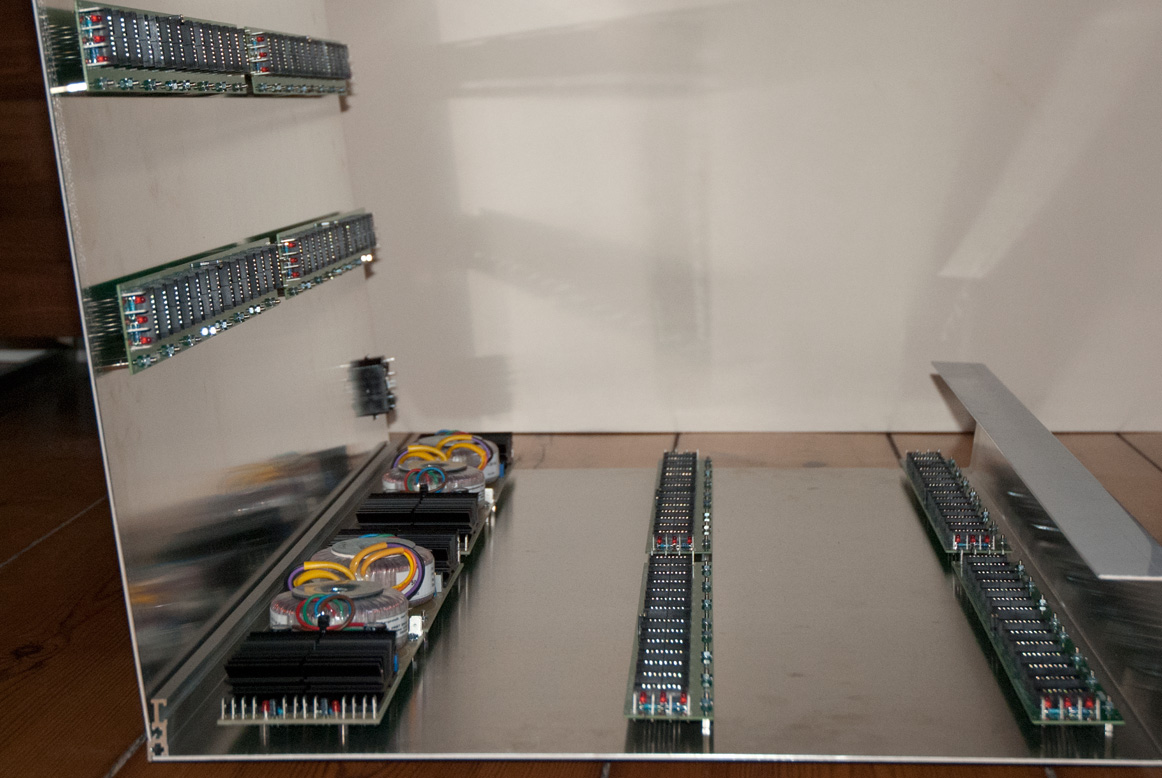
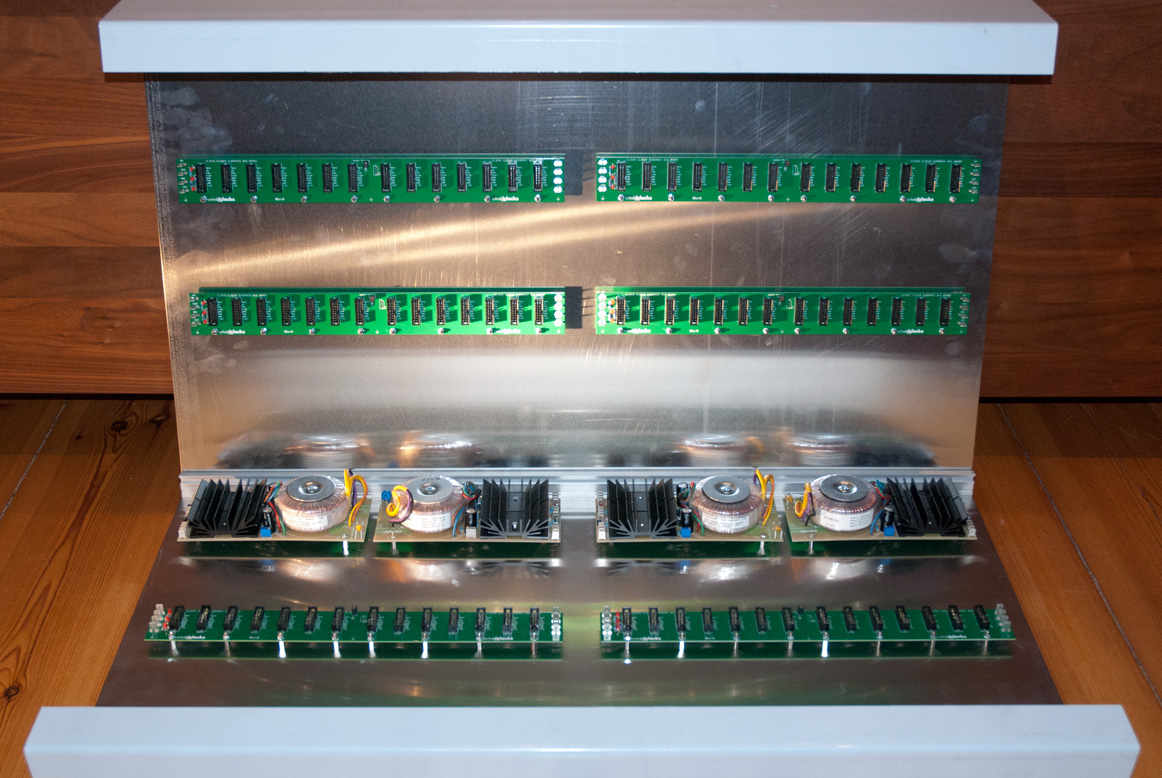
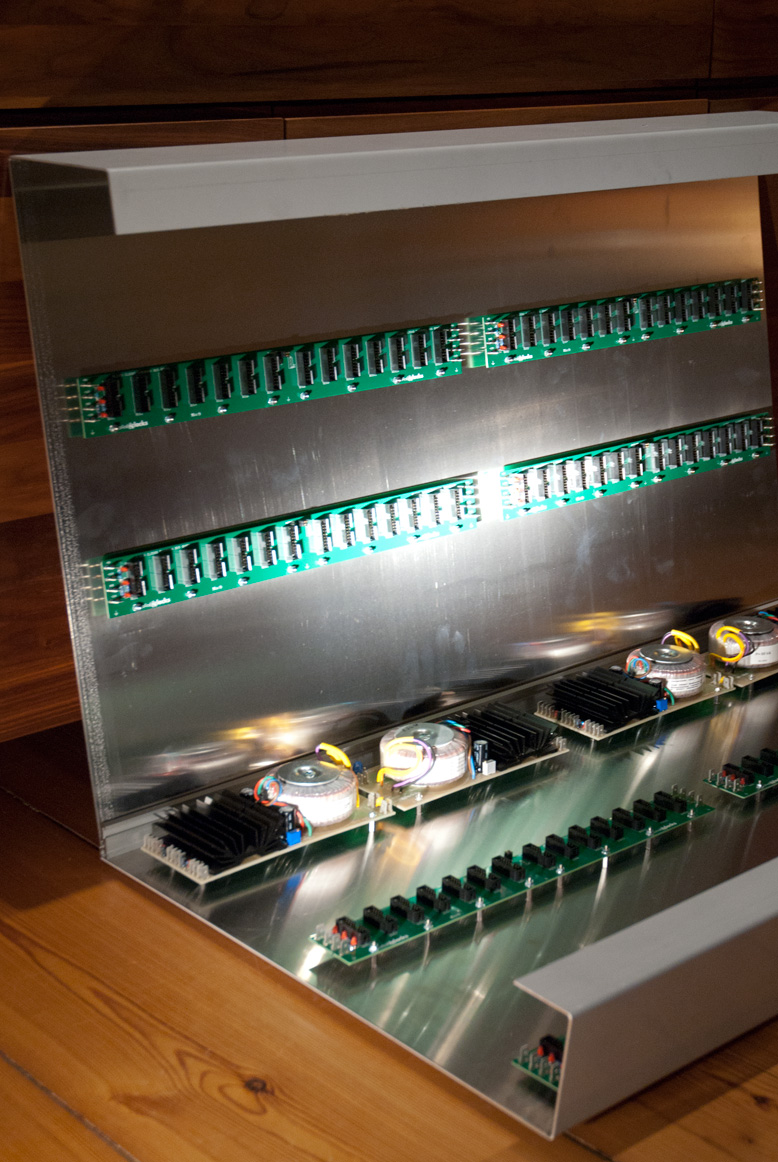
Here are some impressions from my first experiences with woodworking and some shots off the drilled bottom and rear panels.