Building a Doepfer style A-100P6 flightcase from a Thomann Economy custom case.
Since I started with my Eurorack synth I wanted to build a Doepfer style flight case. But it wasn’t too easy to find the right case. Then I checked out the Thomann custom case configurator and I ordered an economy case immediately. This was eight month ago and I never had the time to finish it. The case material is around 5 mm thick, the fittings are sturdy and the economy series is perfect if you carrying it yourself. Not to be mistaken, I am not selling cases. This is just meant as an inspiration to DIY your own case.

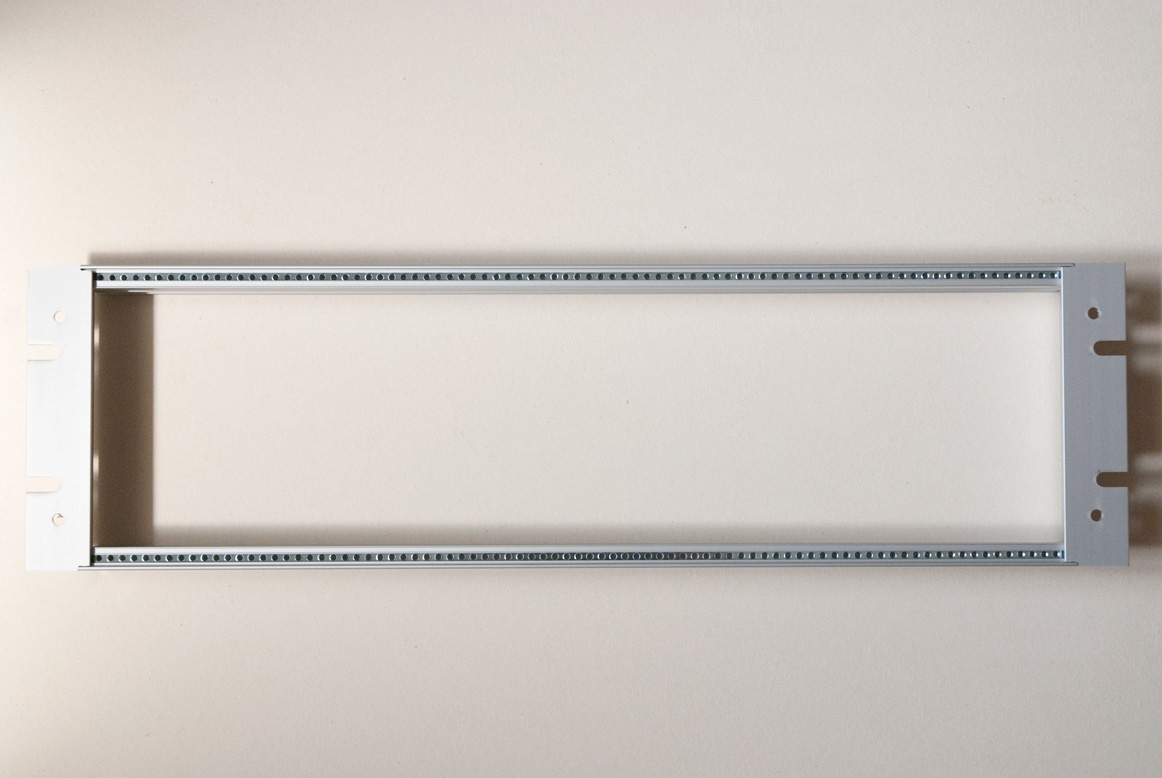
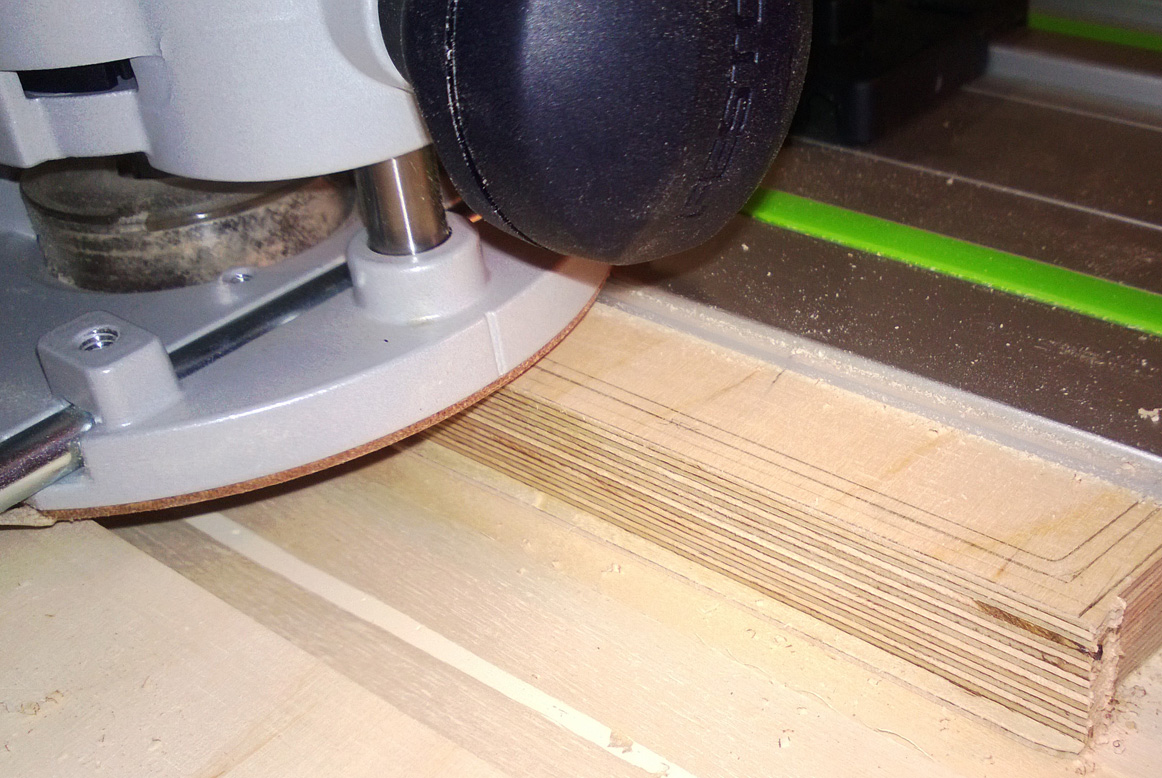
The internal dimensions of the case I ordered are 433 x 140 x 306 (w x d x h). Please be aware that for the configurator the depth is the height and vice versa. Unfortunately the case was delivered with a width of 439 mm, which made it impossible to mount one of my 6U 84HP frame (433 mm) directly in the case. I had to add some thin plywood (3mm) on each side. You should clarify with Thomann what their tolerances are. A customer told me, that they have tolerances, so the case might not have the exact internal dimensions you ordered. To be honest, I wonder how they build 19 inch cases, if they might be 19.something in end.
My recommendation would be, to order the case with slightly different dimensions, which would make the installation of the power supply and the frame easier and leaves a bit more space for the modules:
Width: 433 mm
Height: 160 mm
Depth: 315 mm
Depth and Height are already changed for the Thomann configurator.
Part list:
1 x Thomann economy case (433 x 160 x 315 mm)
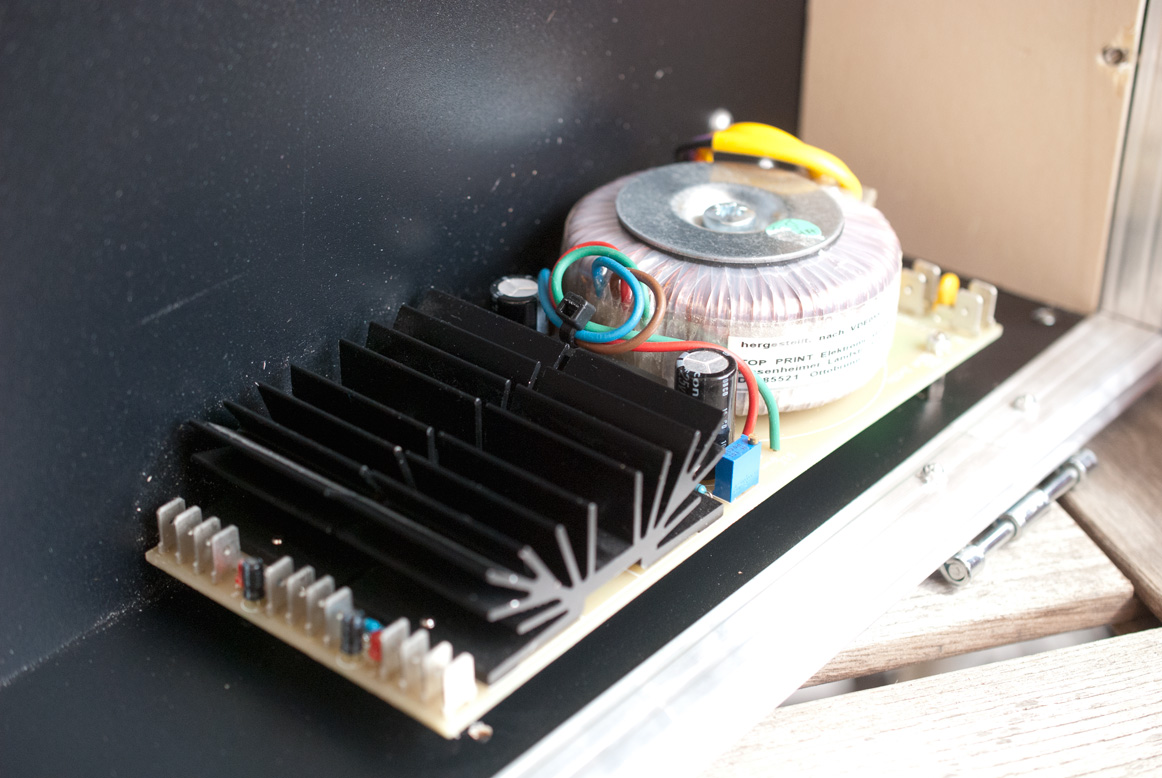
1 x PSU
2 x Busboards, plus cable set
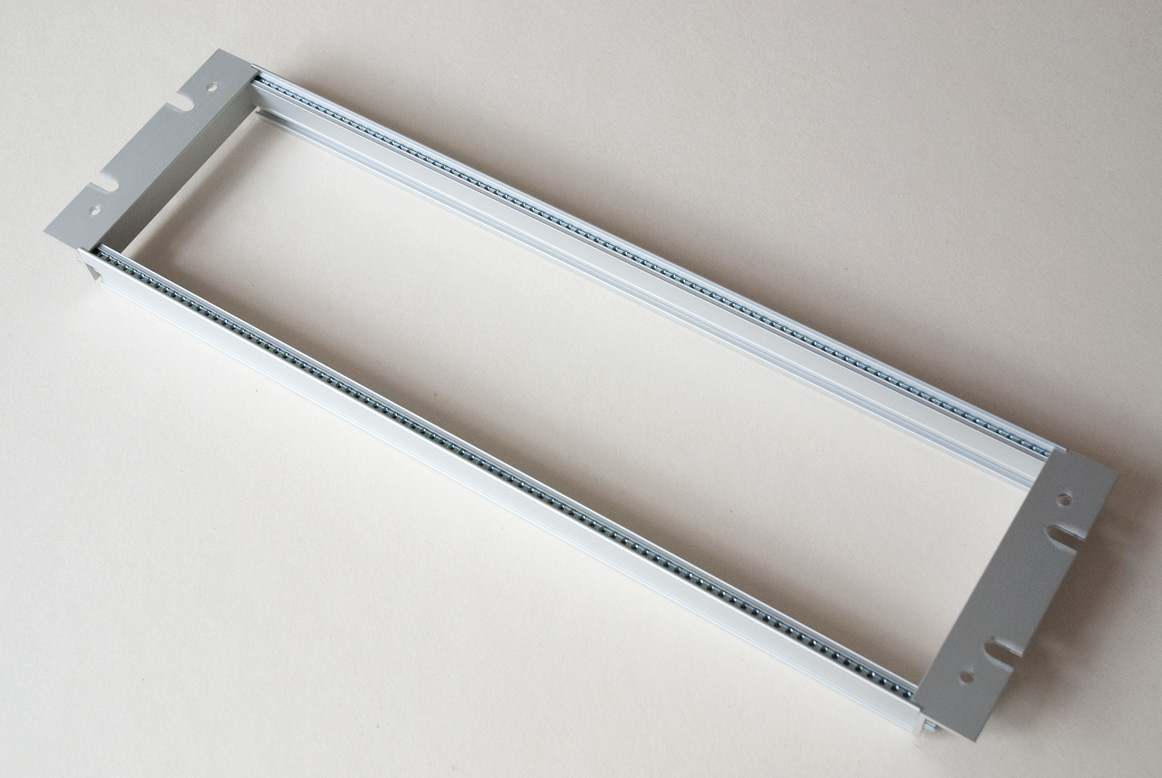
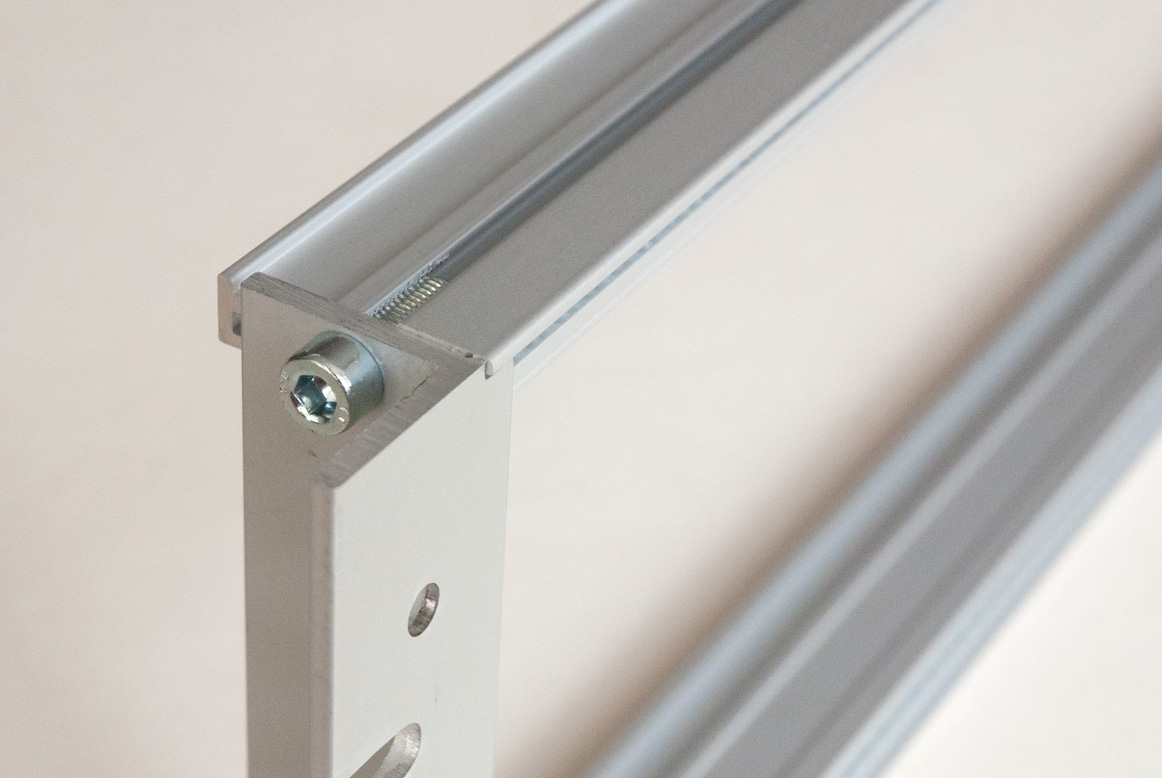
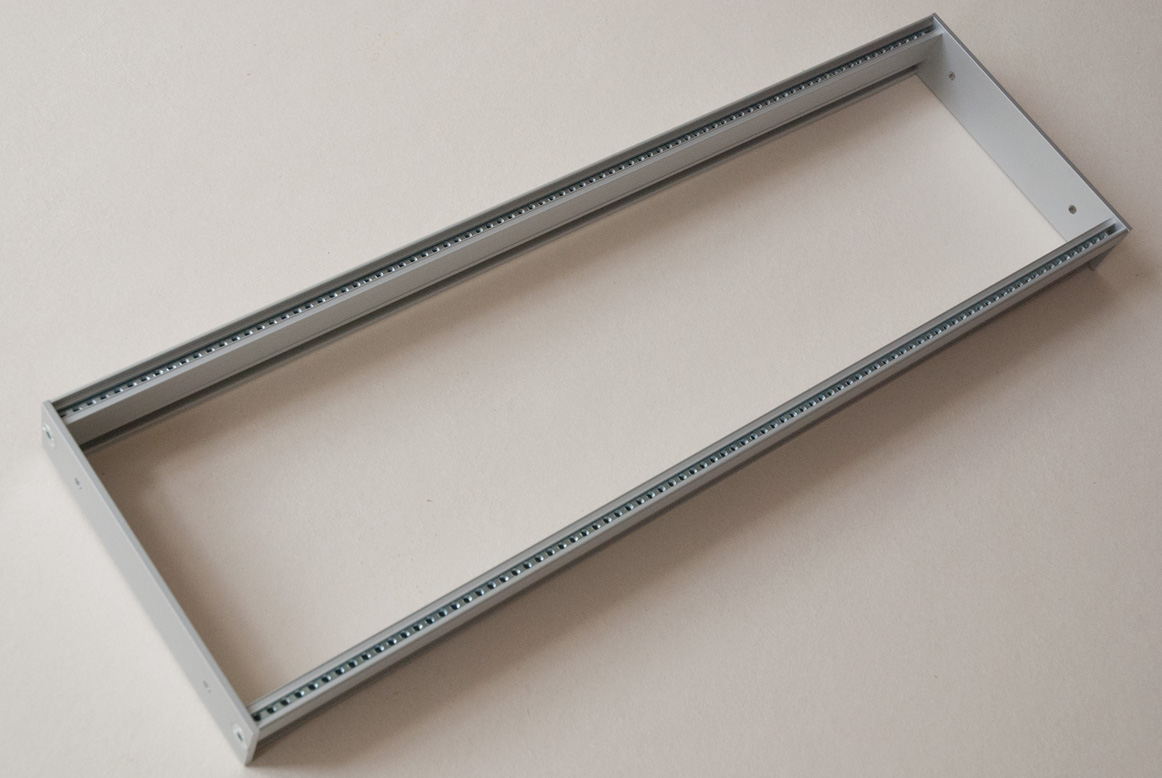
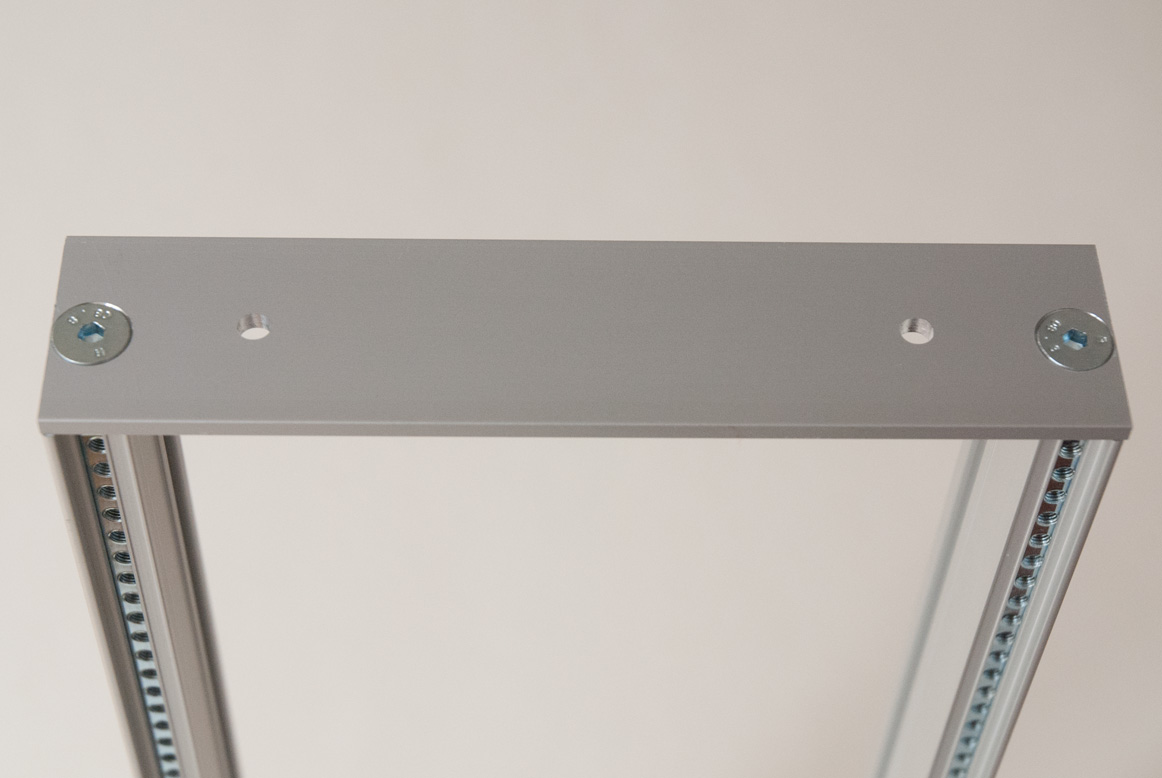
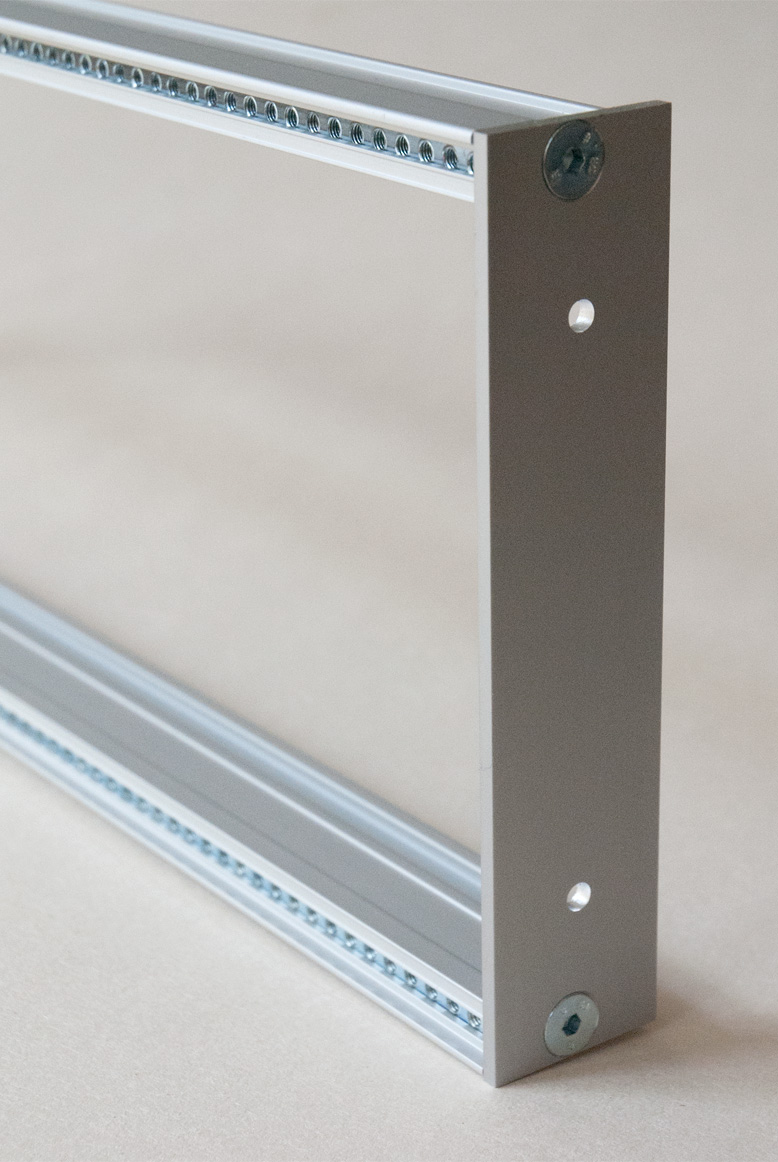
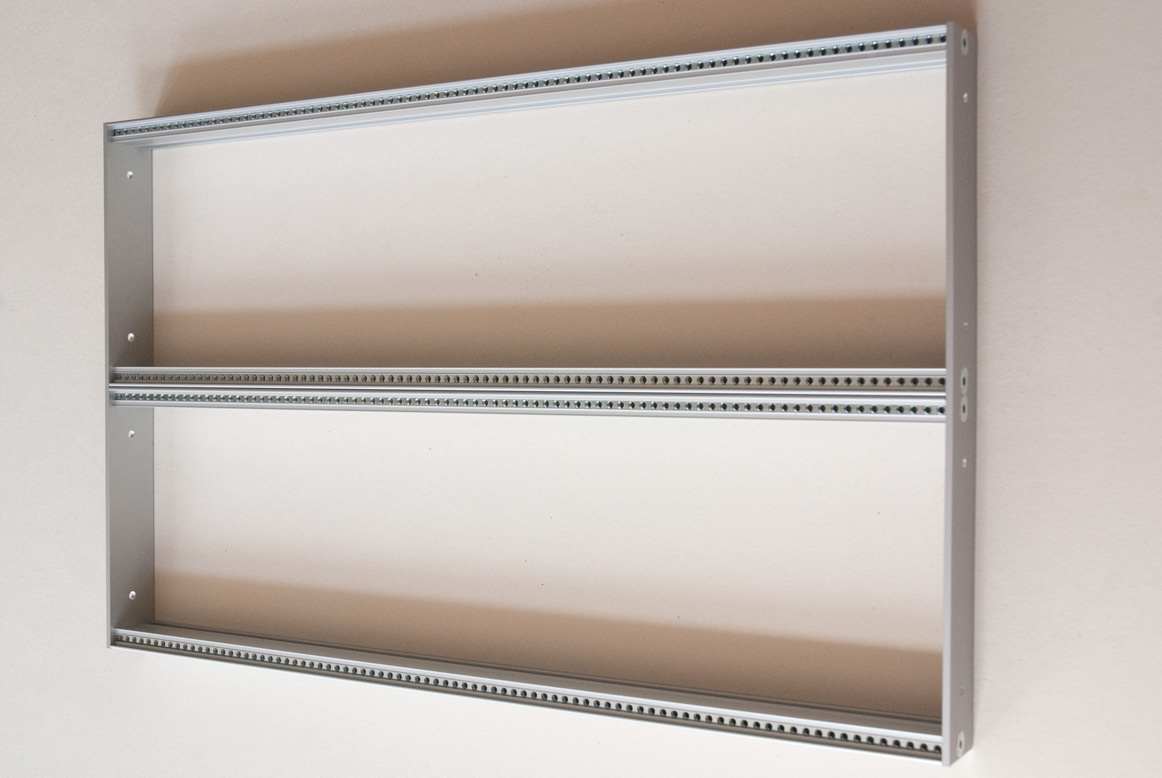
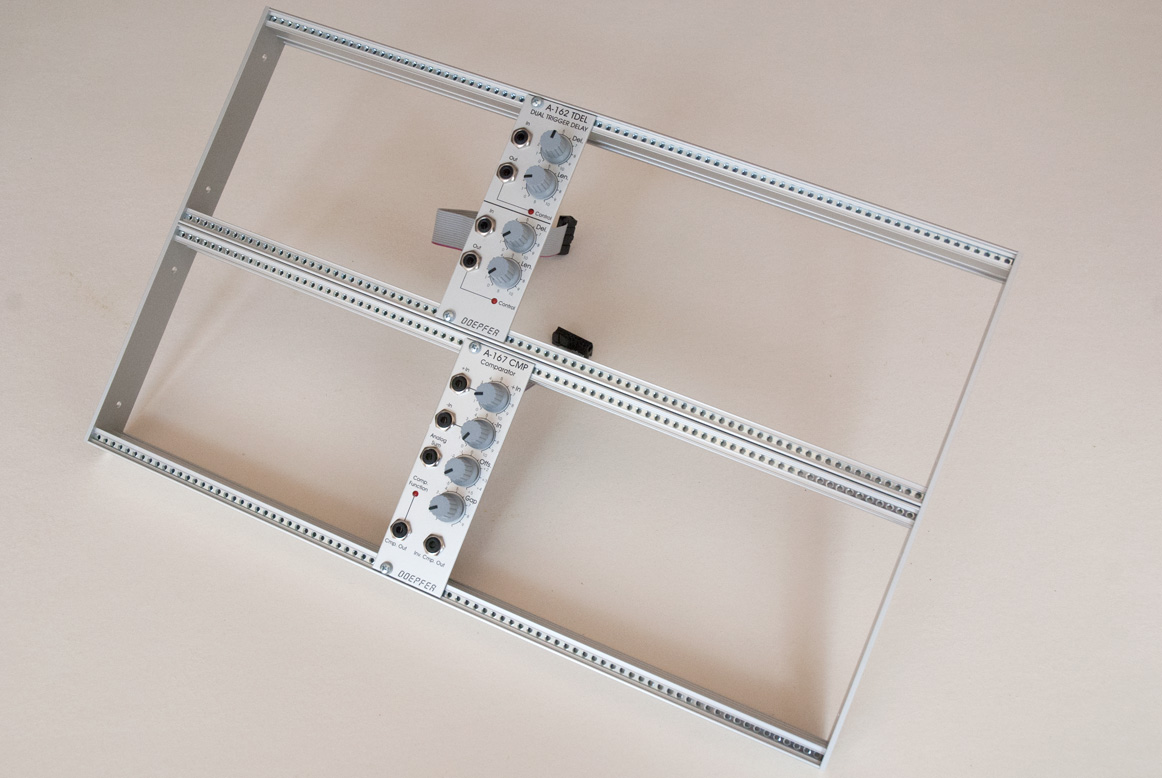
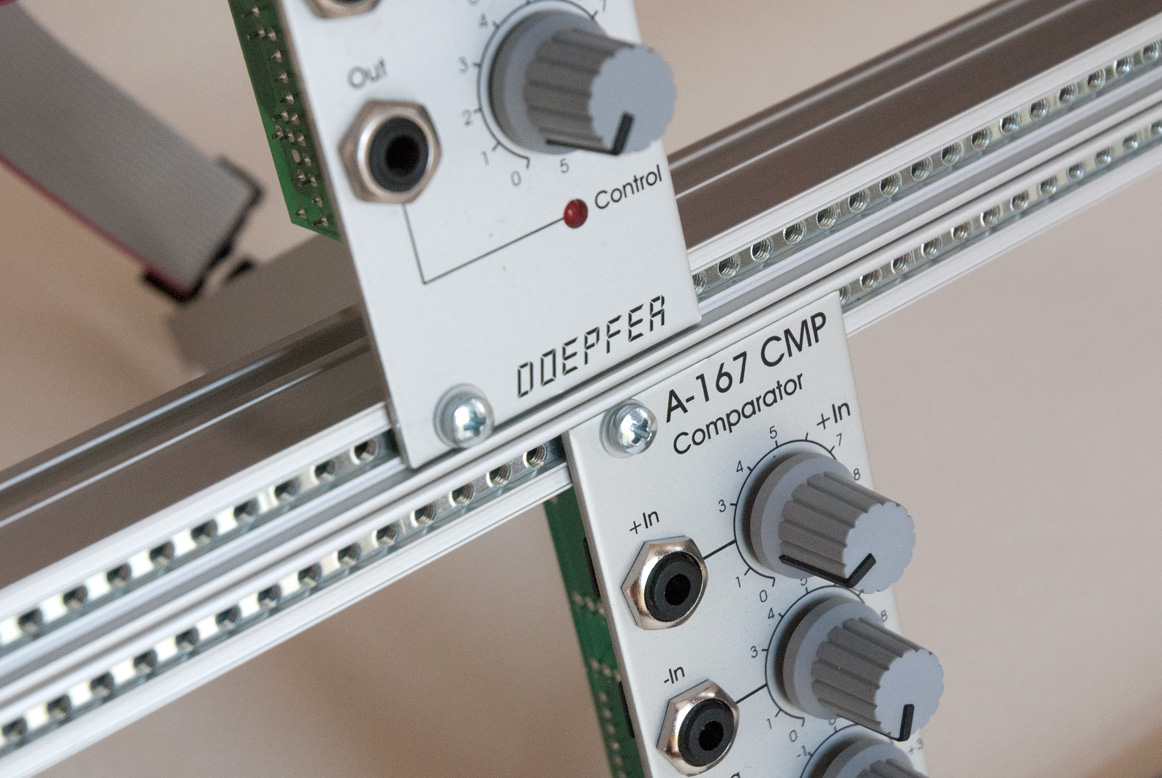
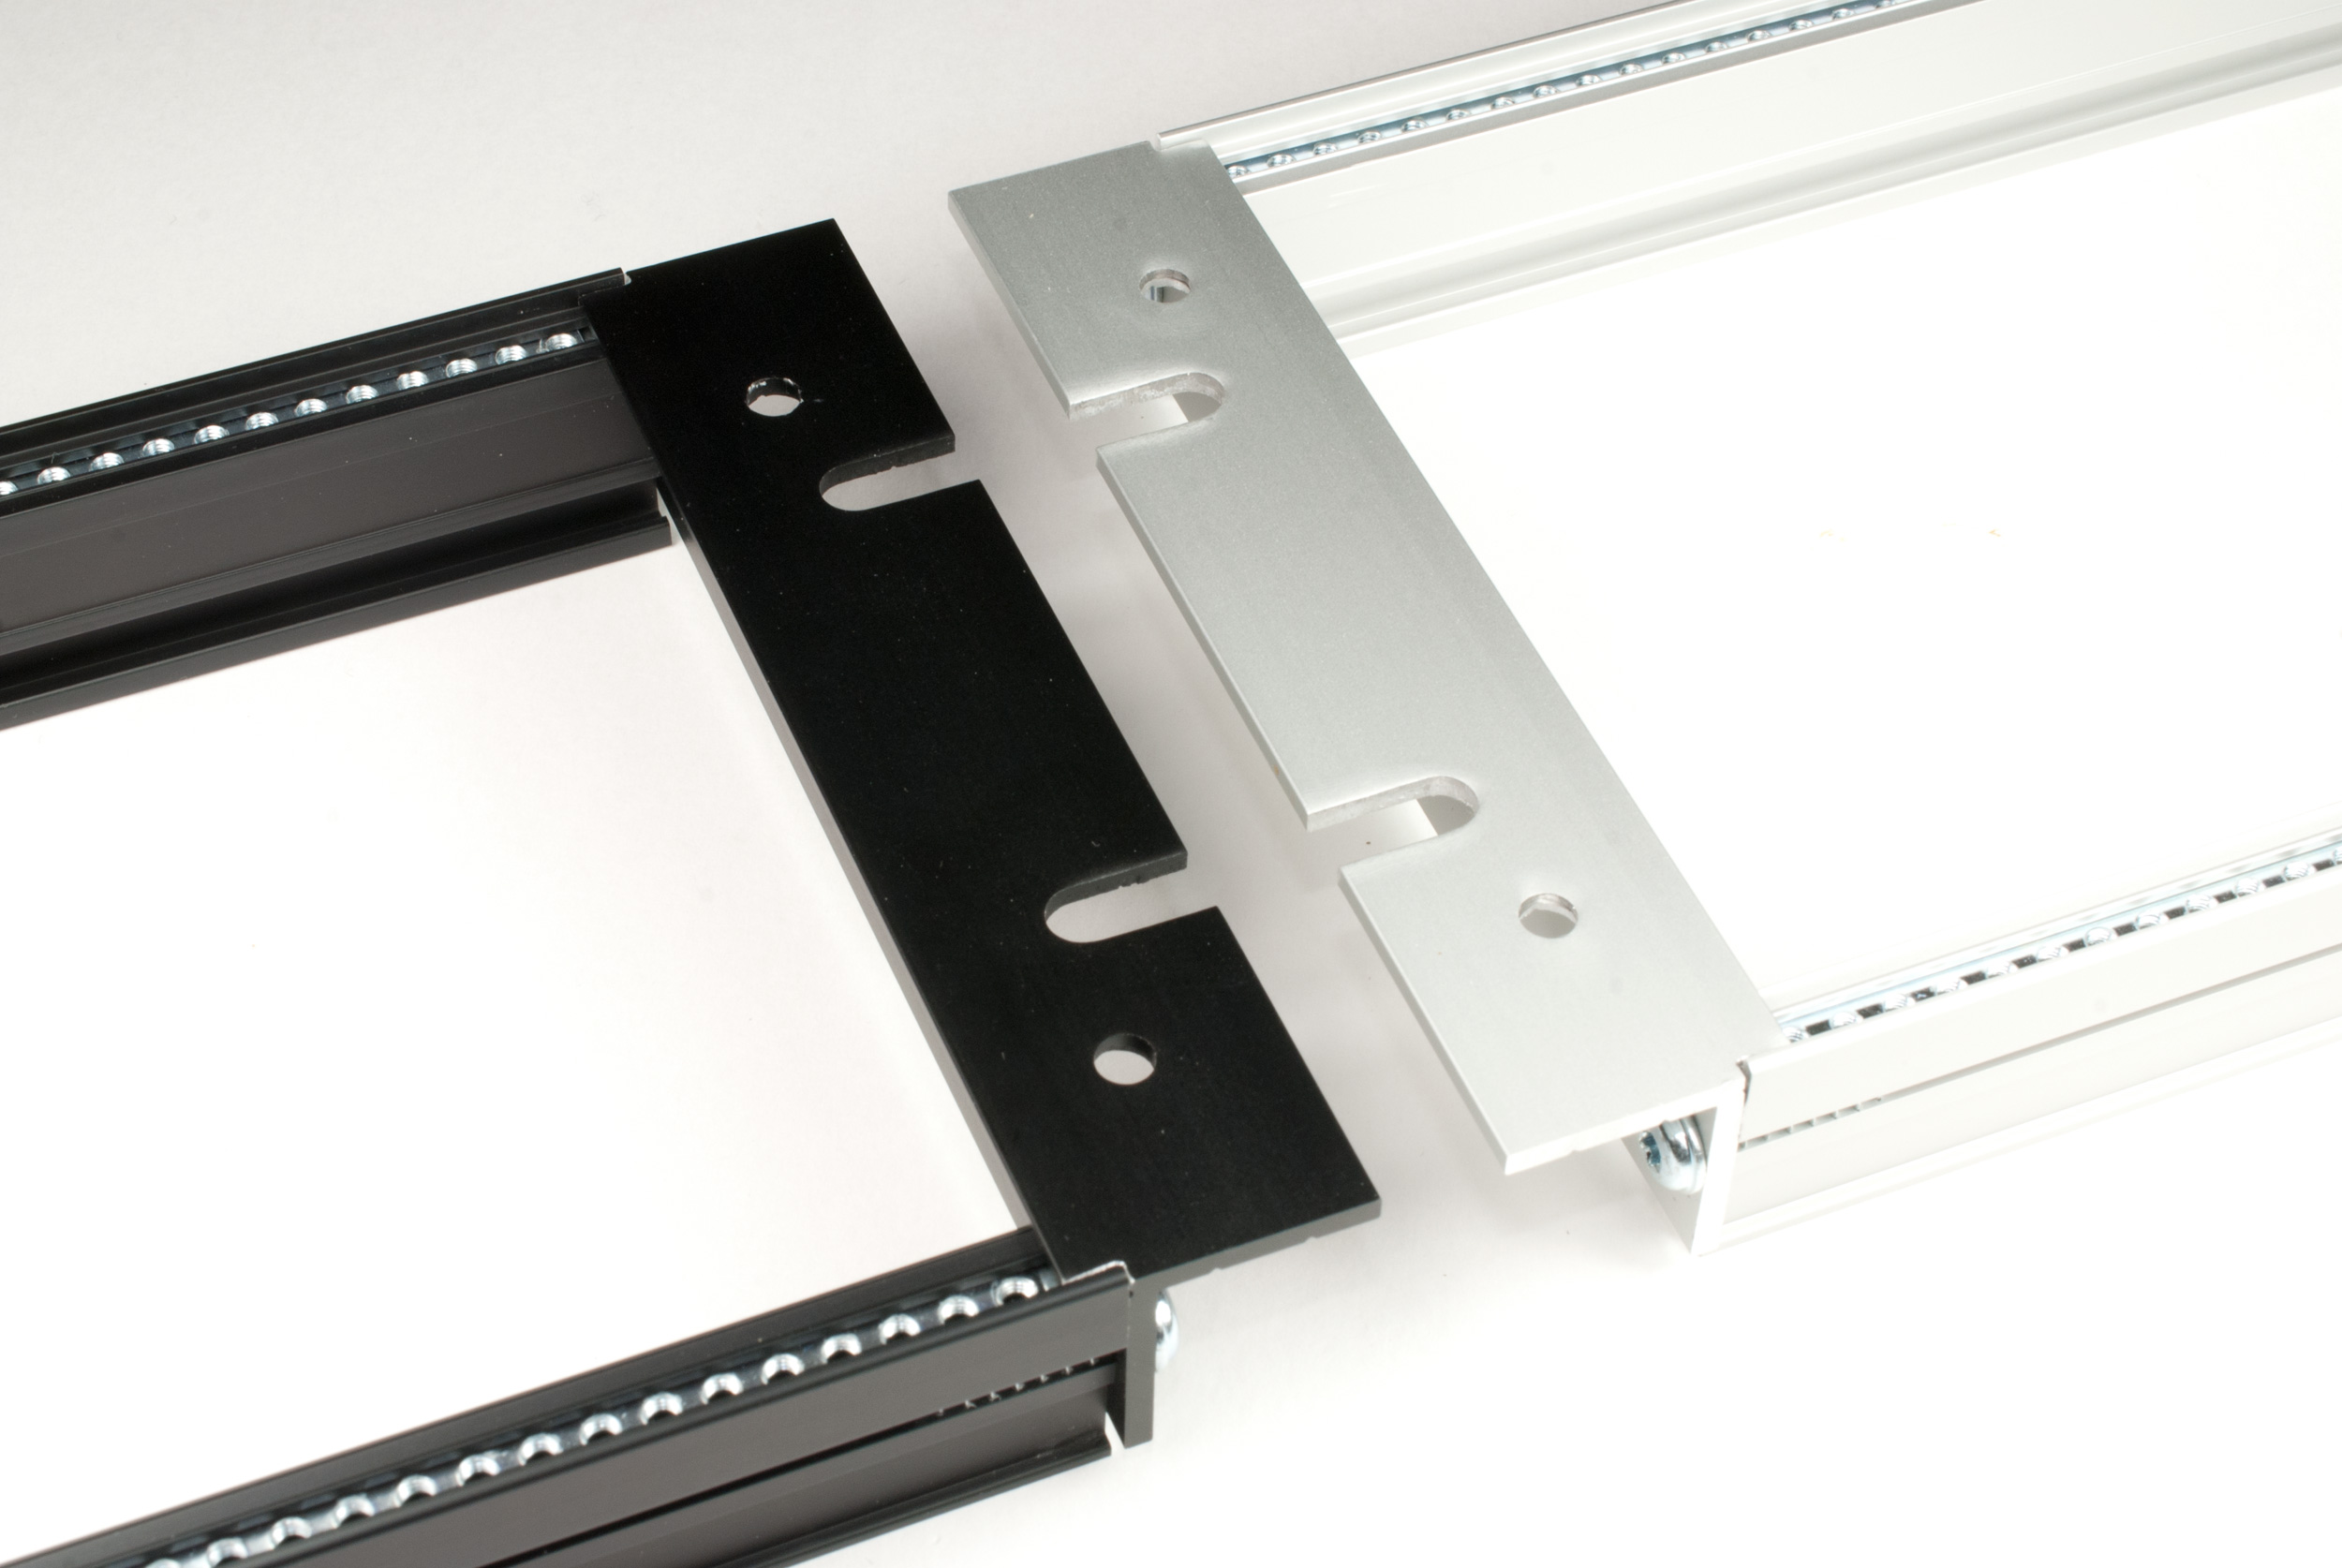
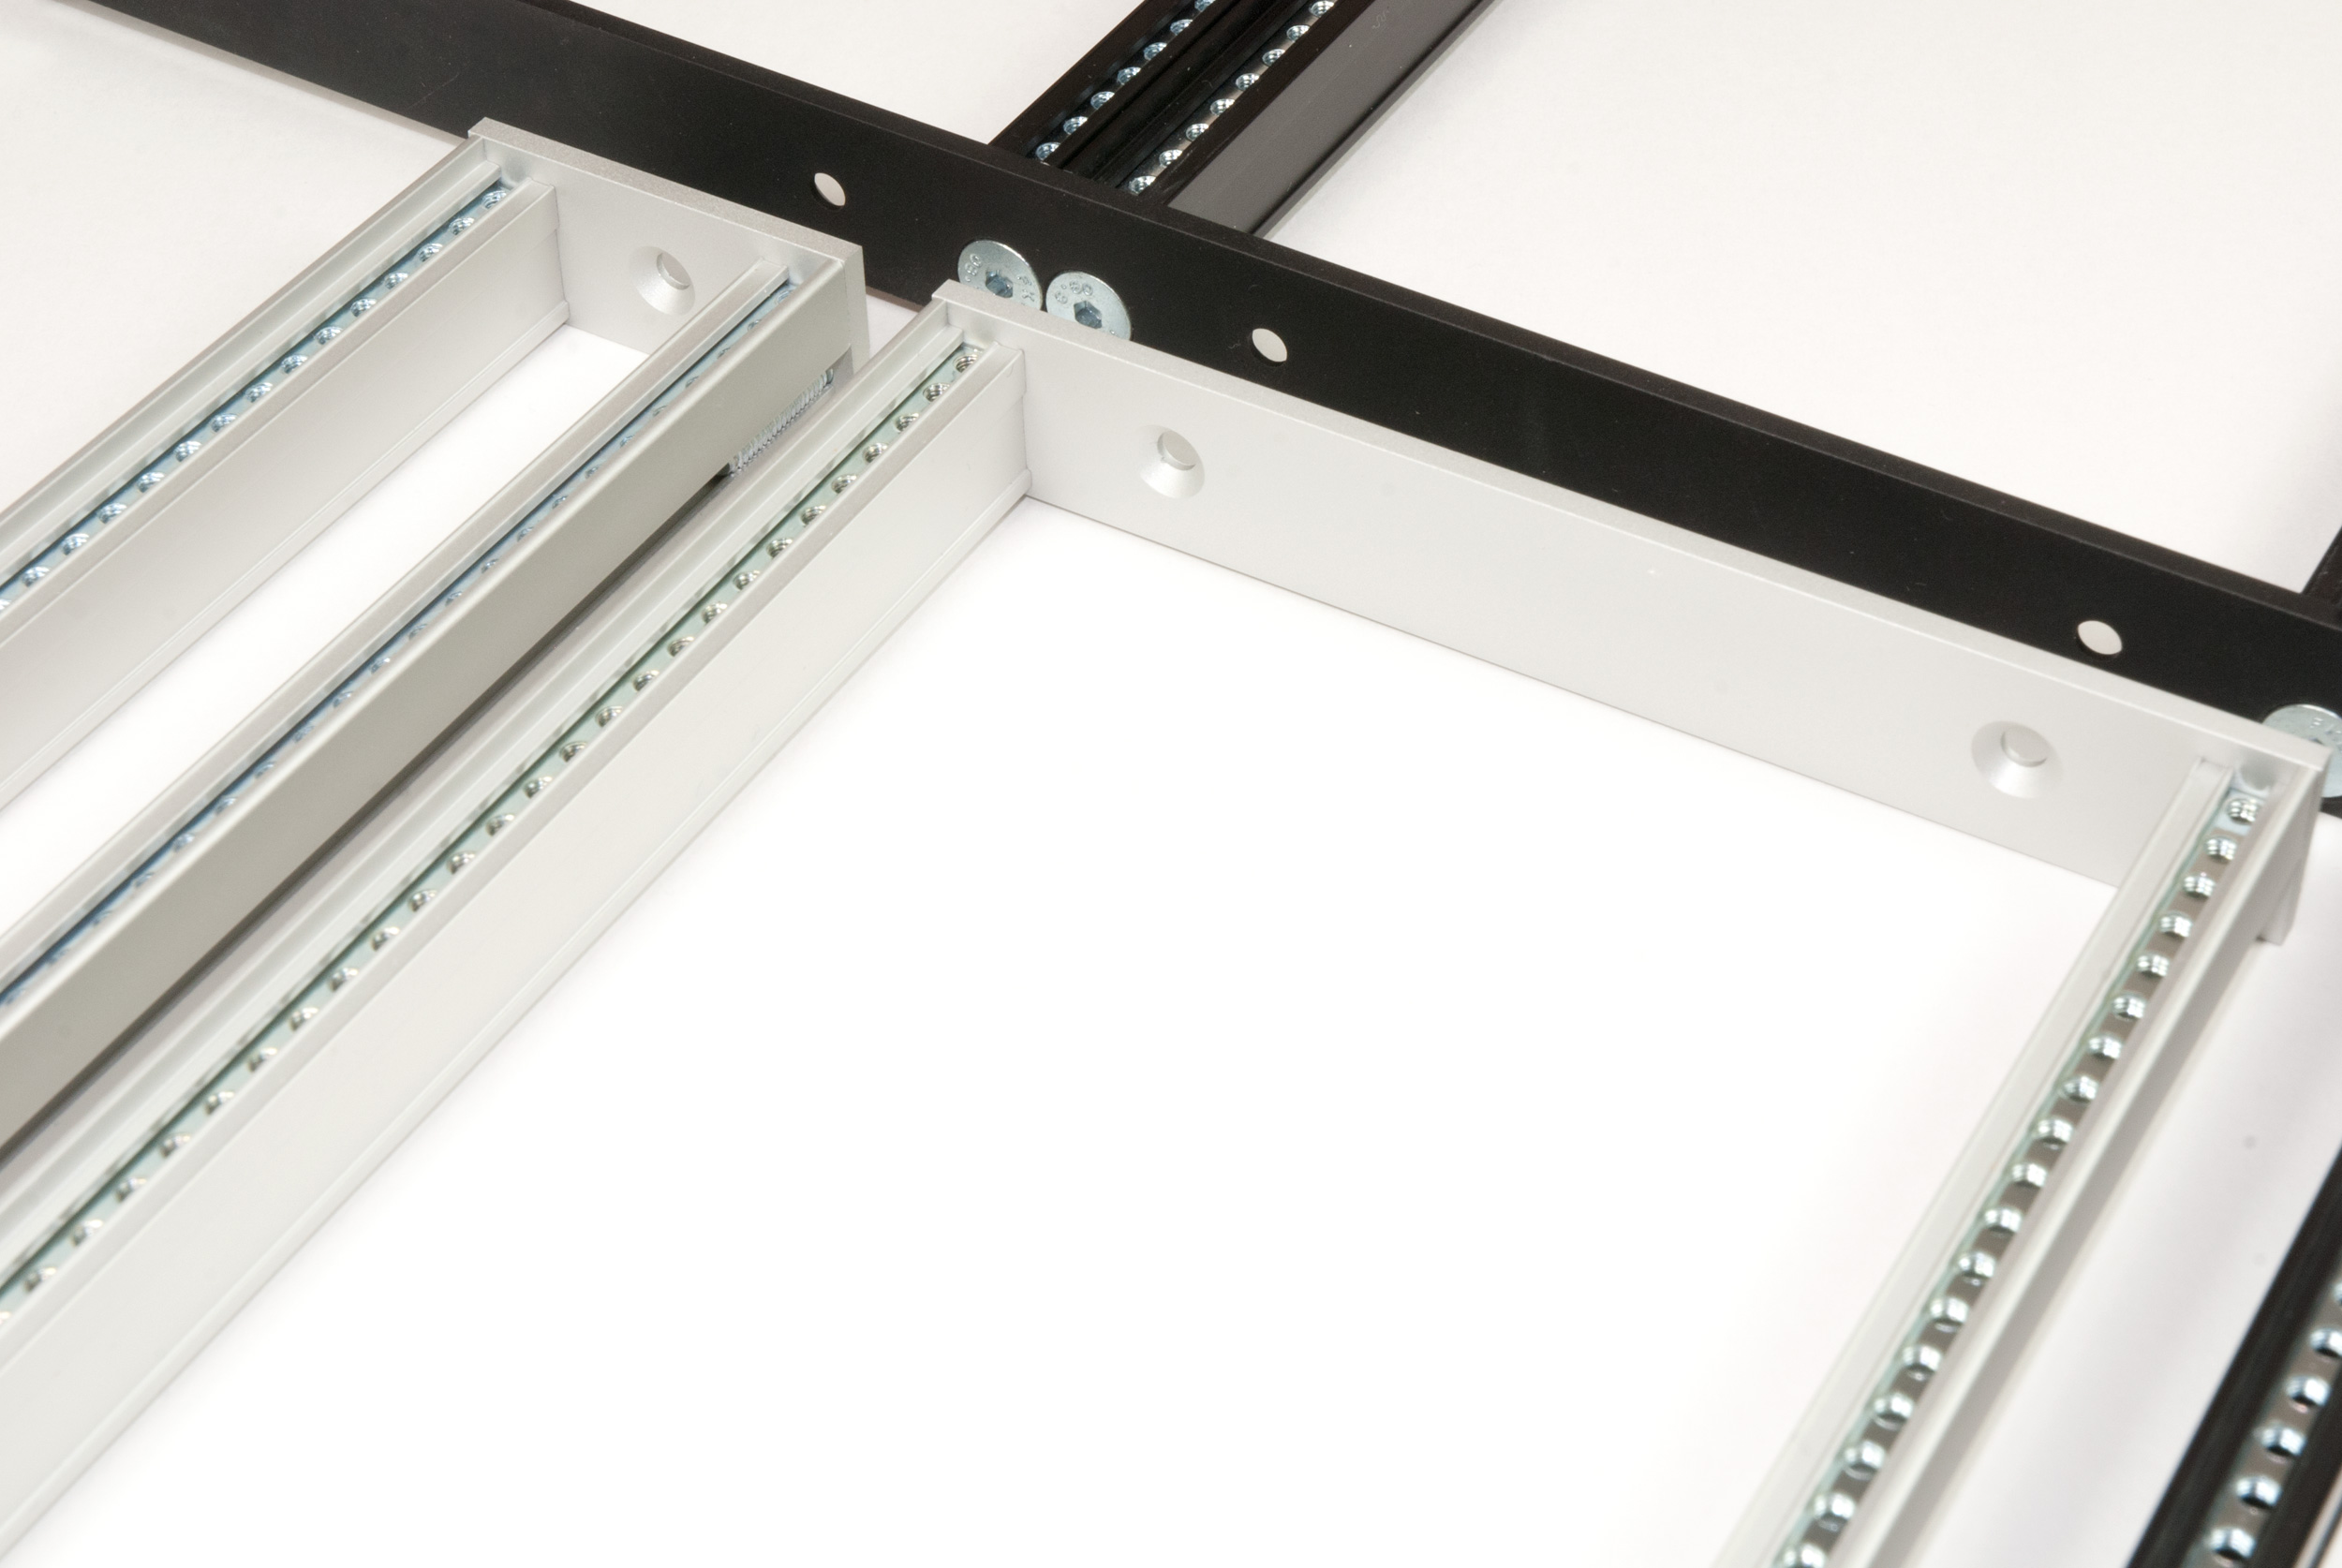
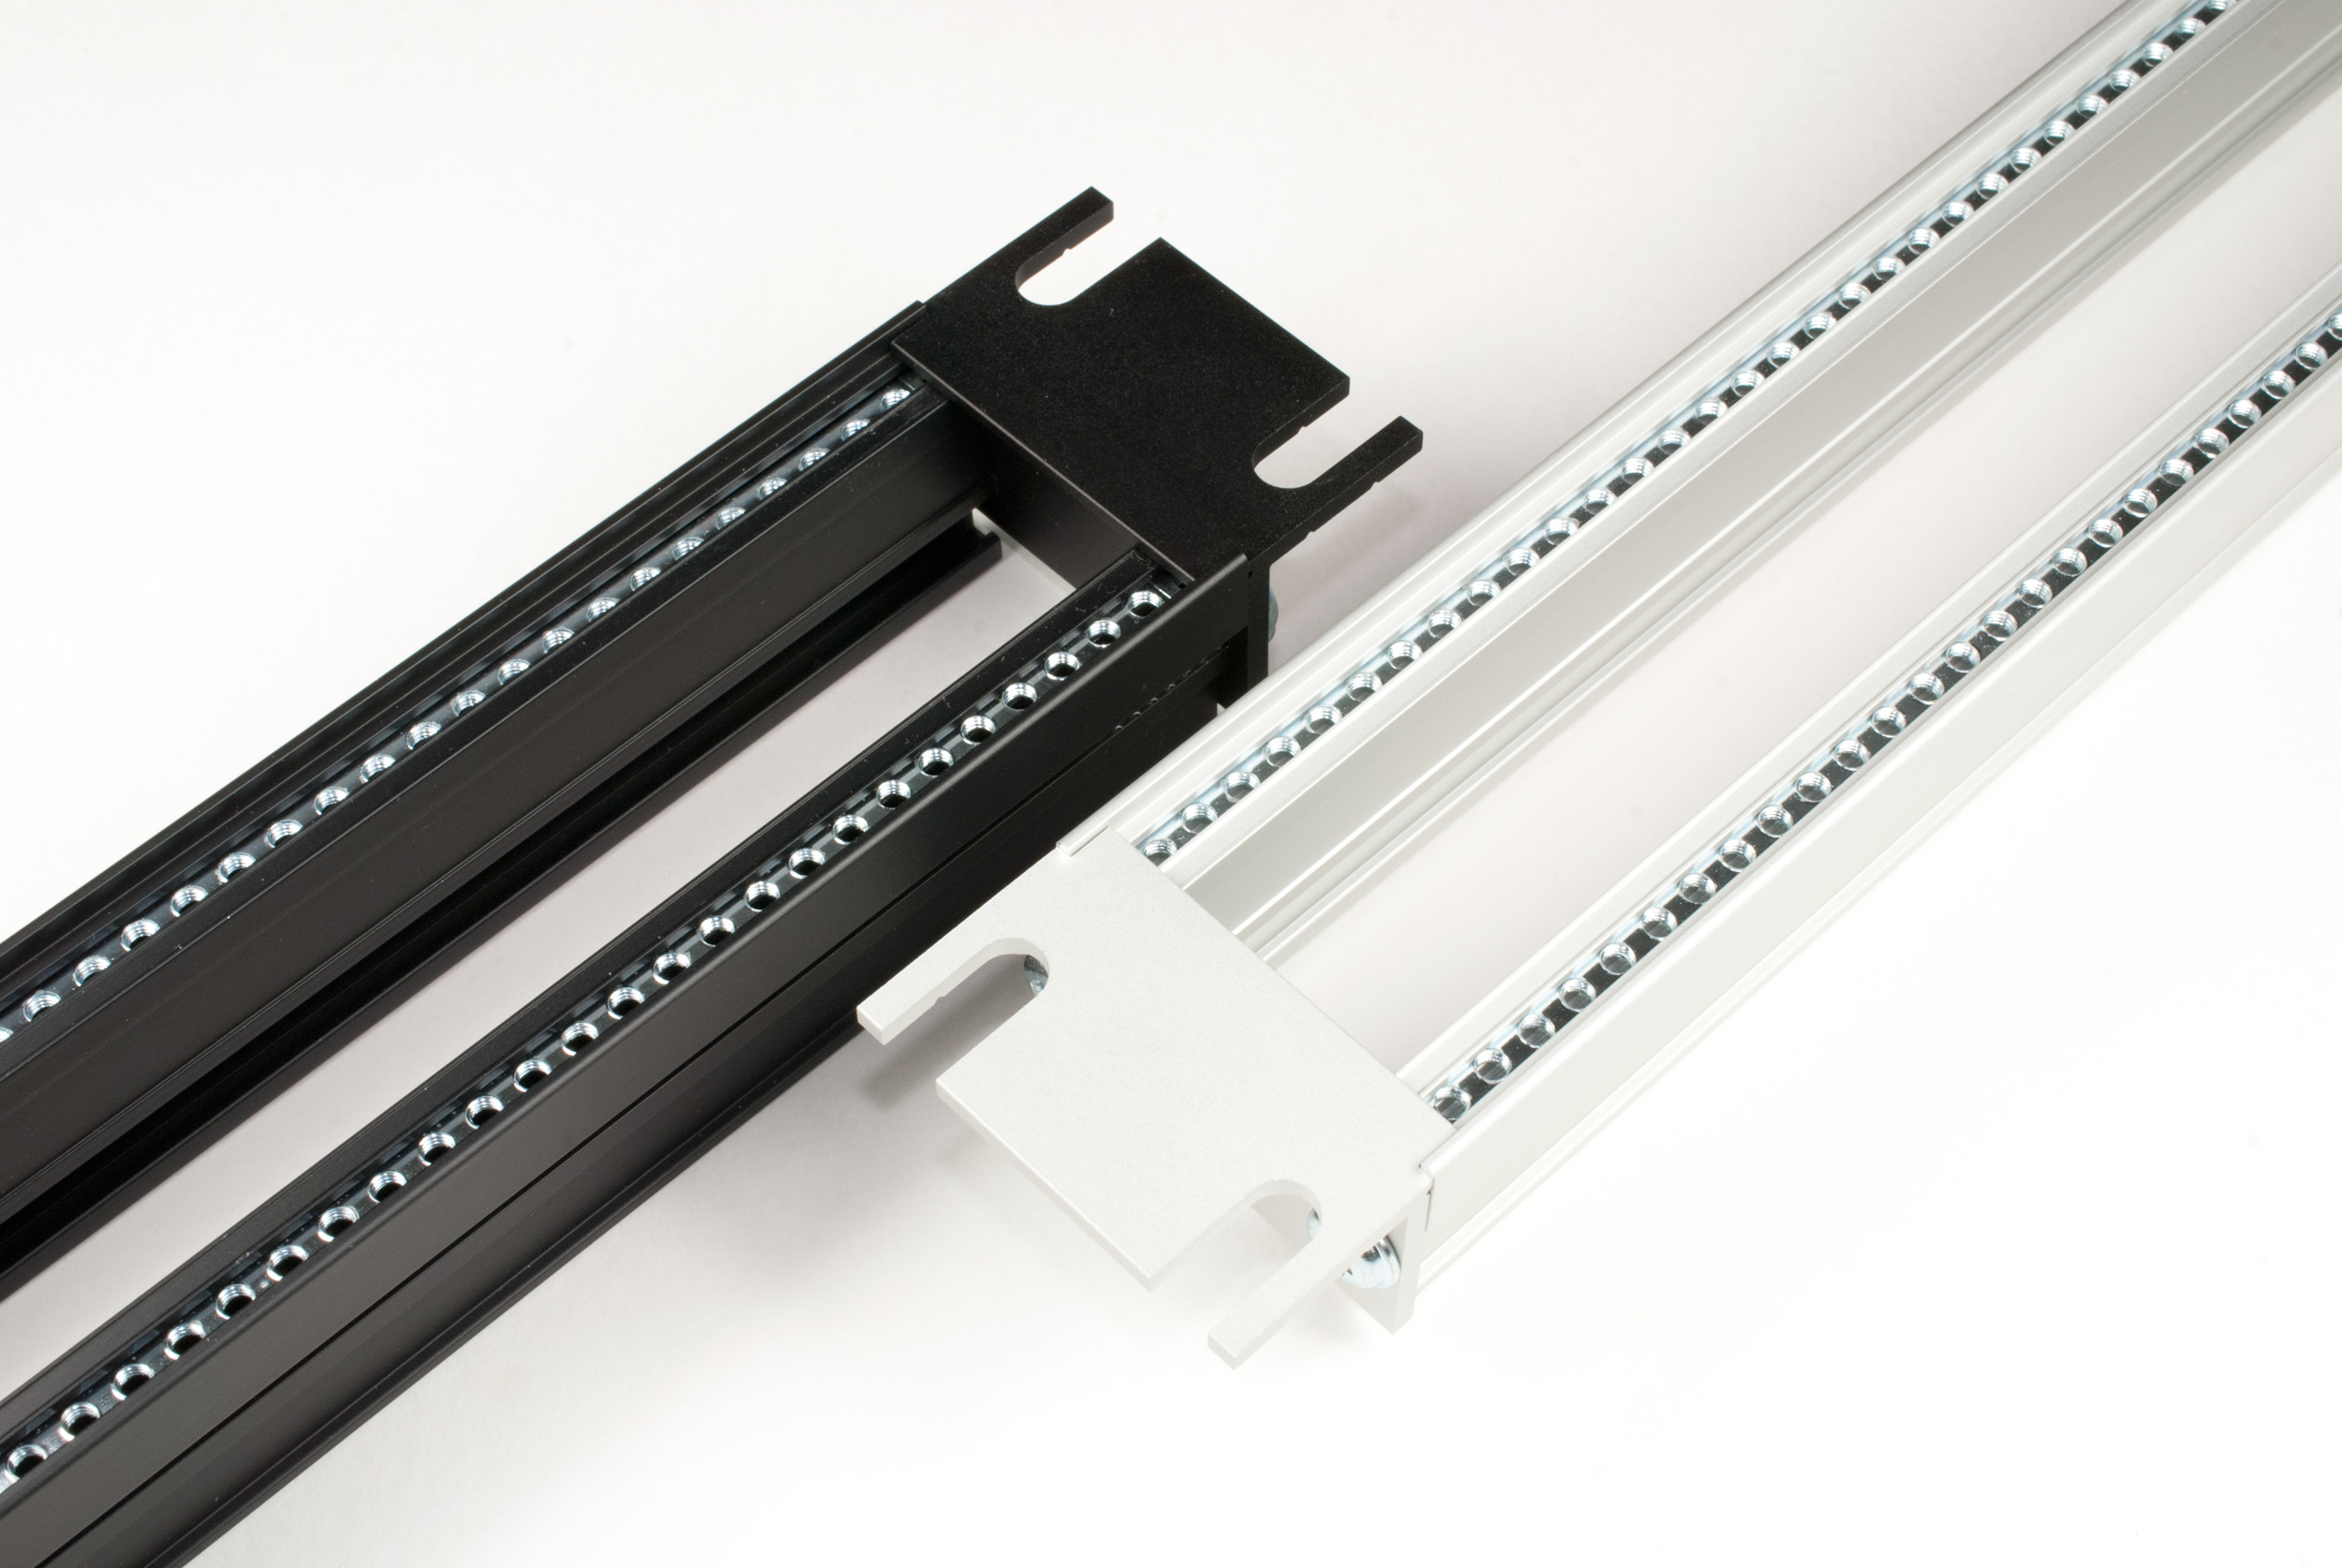
1 x 6U 84HP frame
1 x Mains inlet
16 x Polyamide stand-offs
16 x M3 x 18 mm screws
16 x M3 hex nuts
20 x M3 Tooth lock washers
20 x Rosette washers for M3 screws
4 or 8 x M4 x 18 mm screws (mounting the frame)
4 or 8 x M4 x 5 mm Threaded Sleeves/Sleeve nuts
4 or 8 x Rosette washers for M4 screws
7 x 4.8 mm flat connectors
4 x 6.3 mm flat connectors
2 x M3 spade connectors
1 m of each colour, black, blue and green-yellow cable (mains voltage installation)
Cable ties and tie mounts, mains cable with IEC connector
I hope that’s about it.
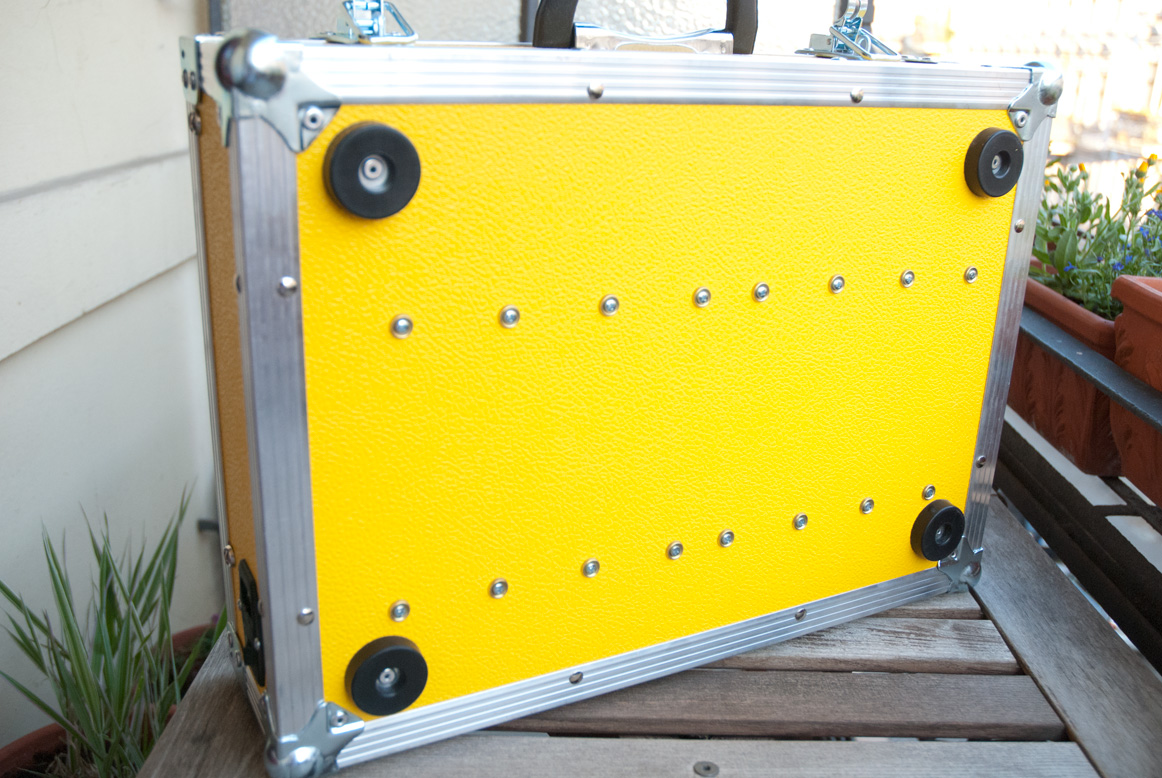
The complete case without modules weighs around 6.3 kg.
Of course you don’t have to use a ready made frame. You can also mount single rails to the case, just make sure to order the case in the correct width.
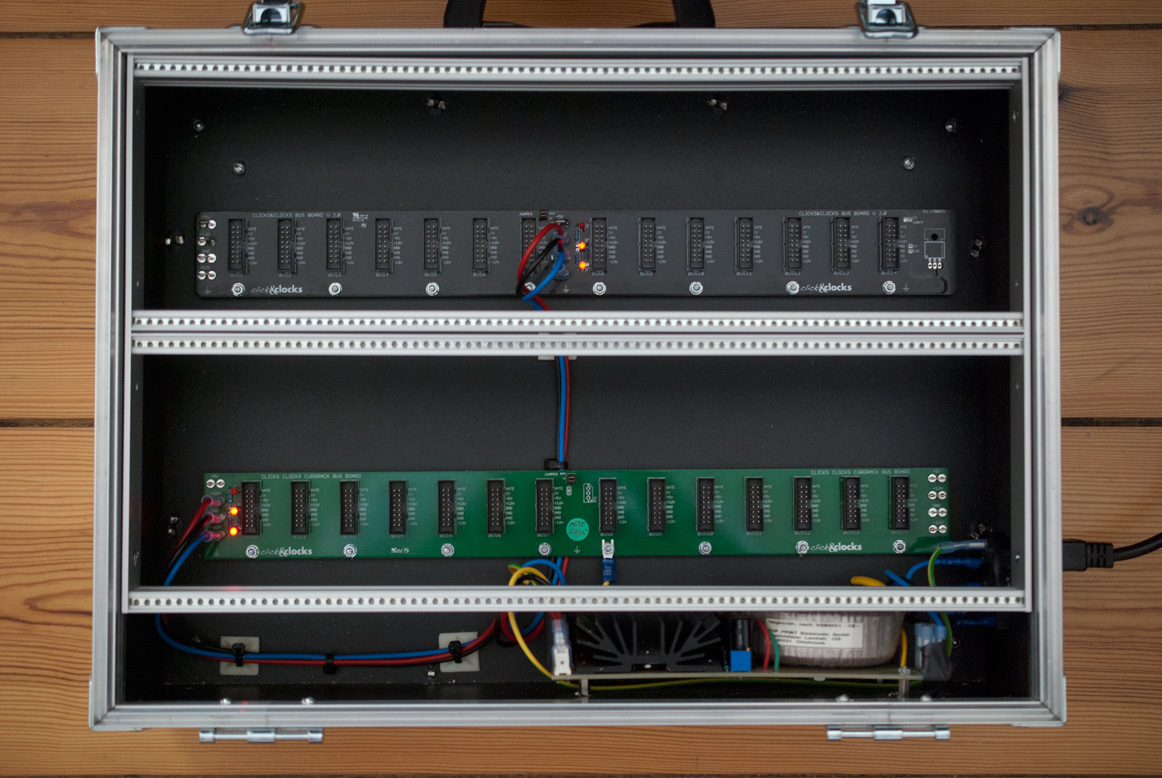
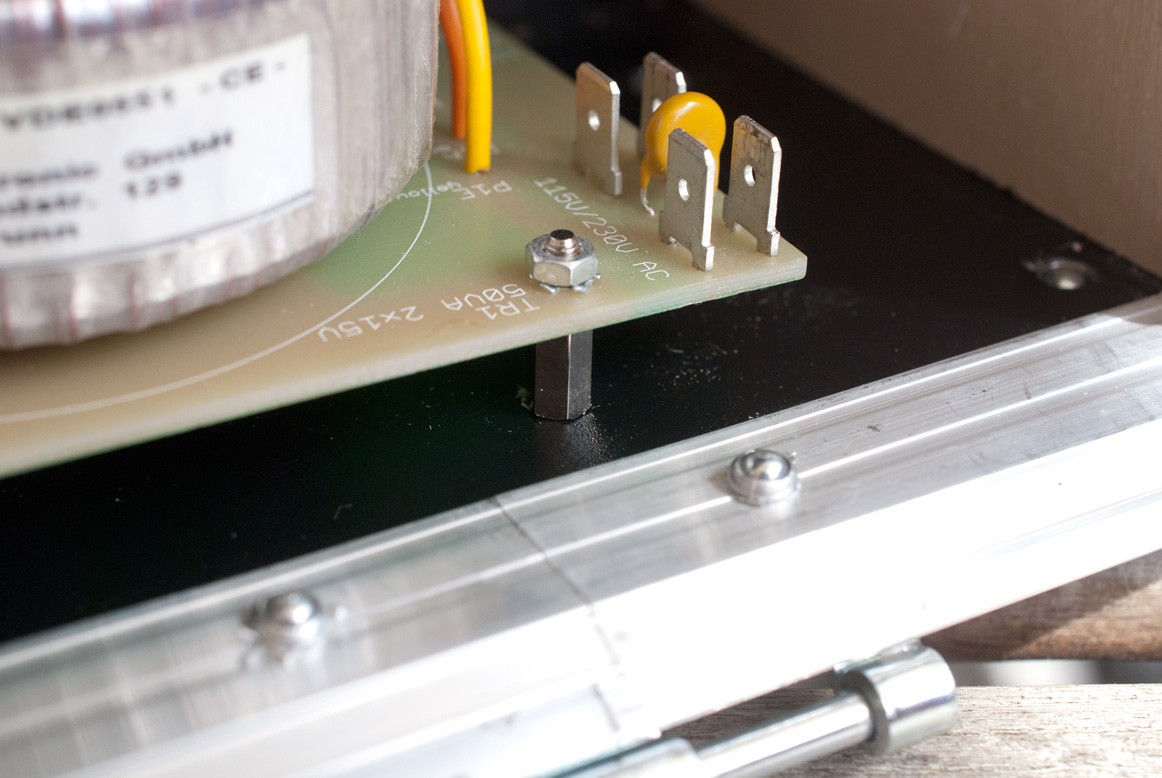
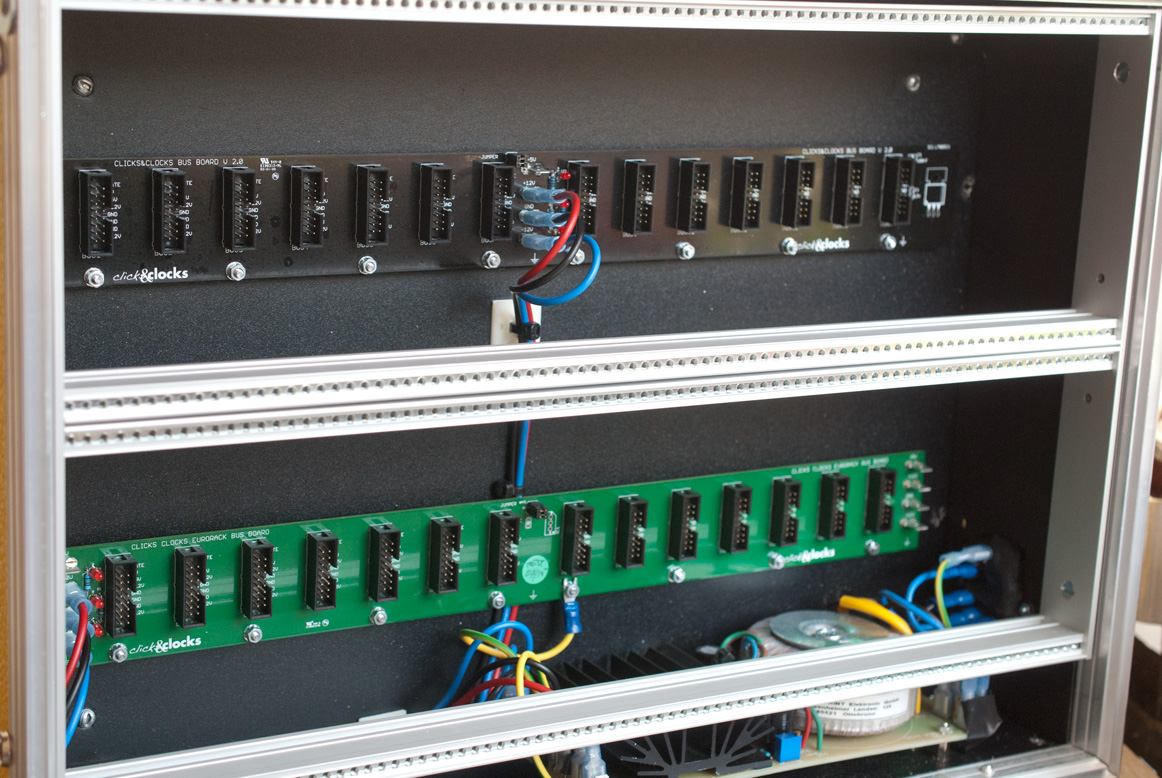
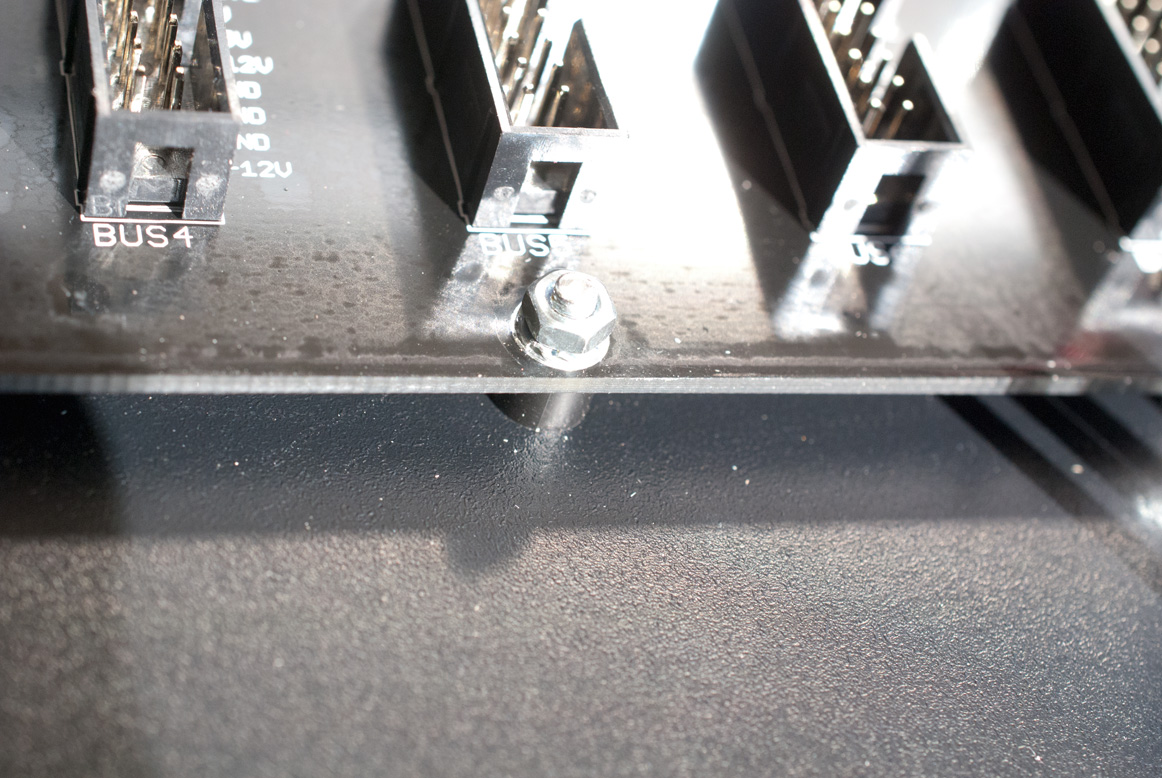
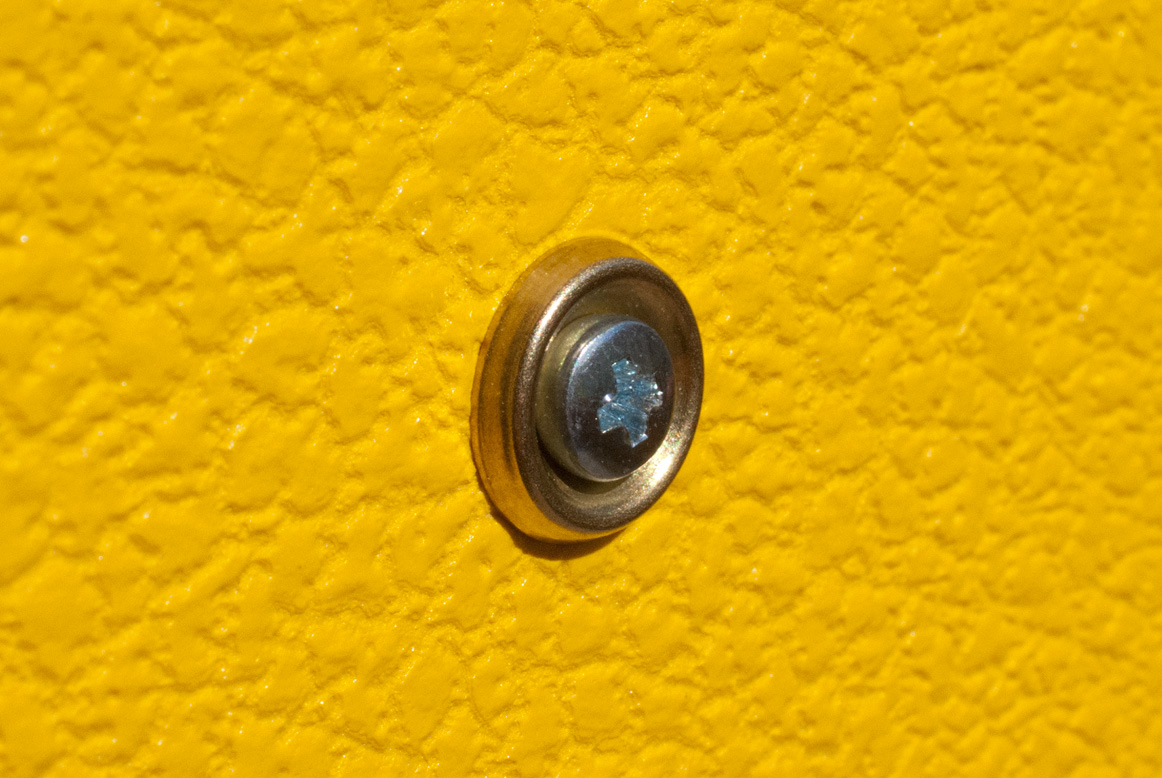
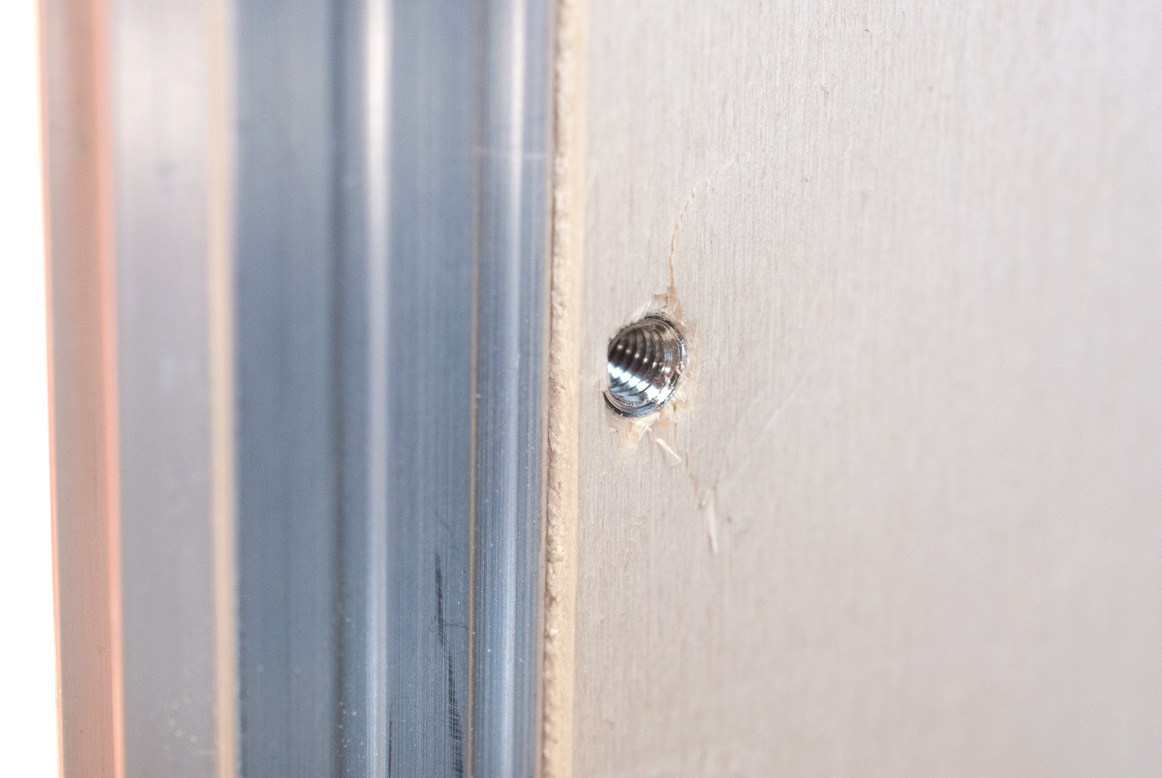
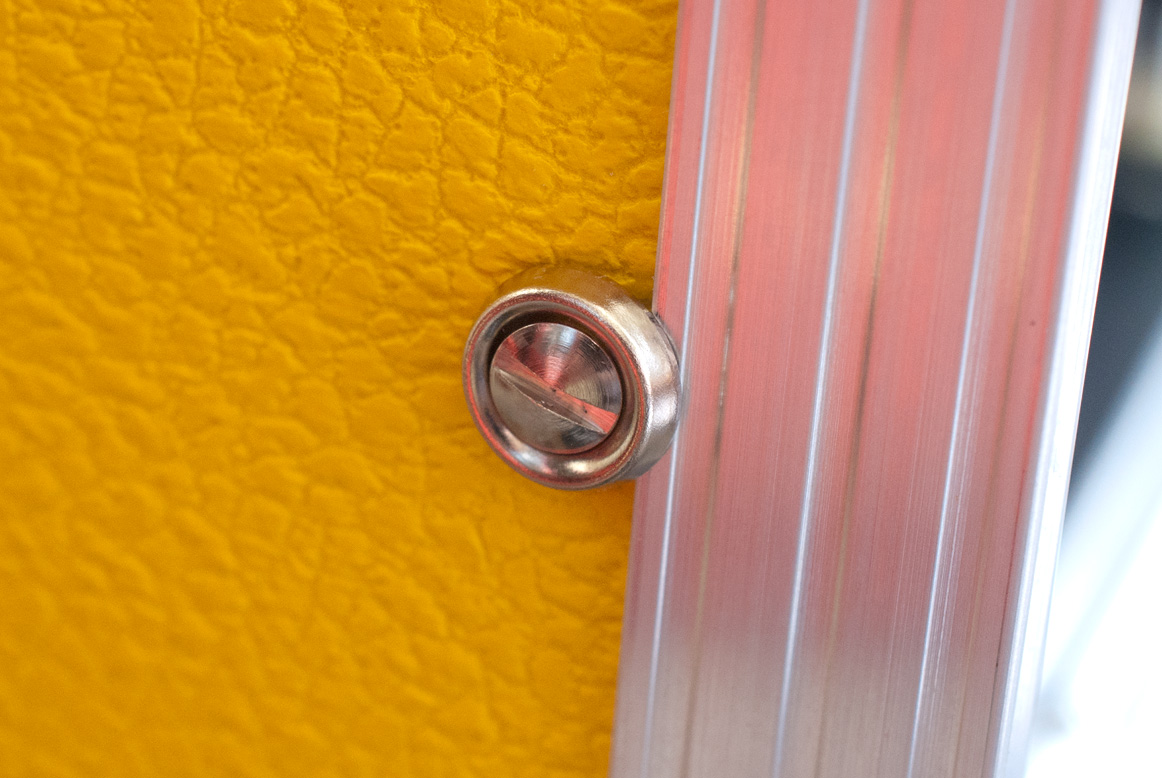
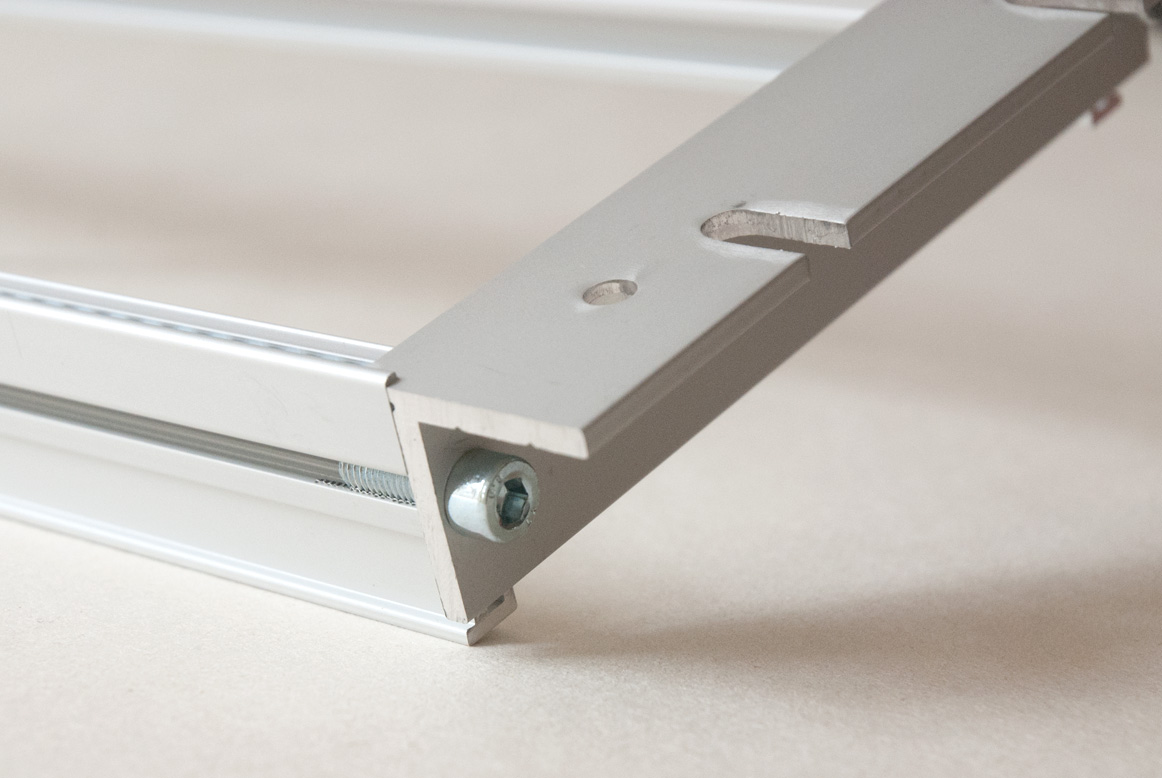
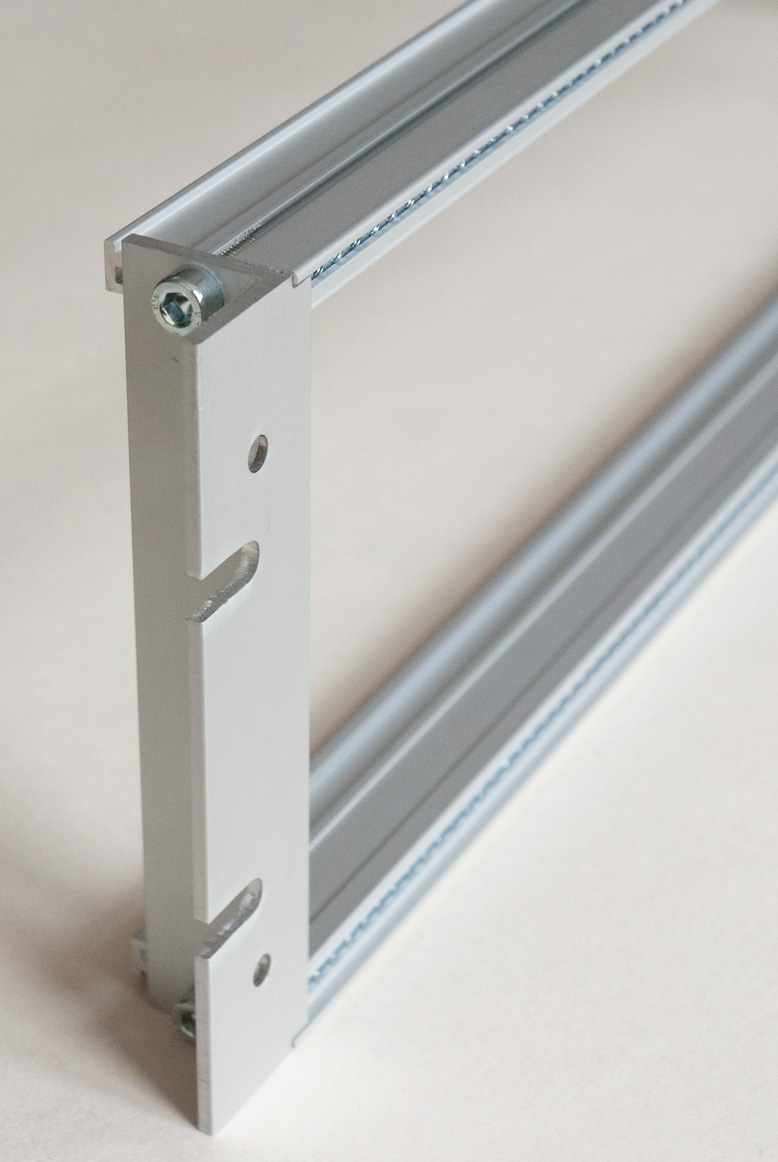
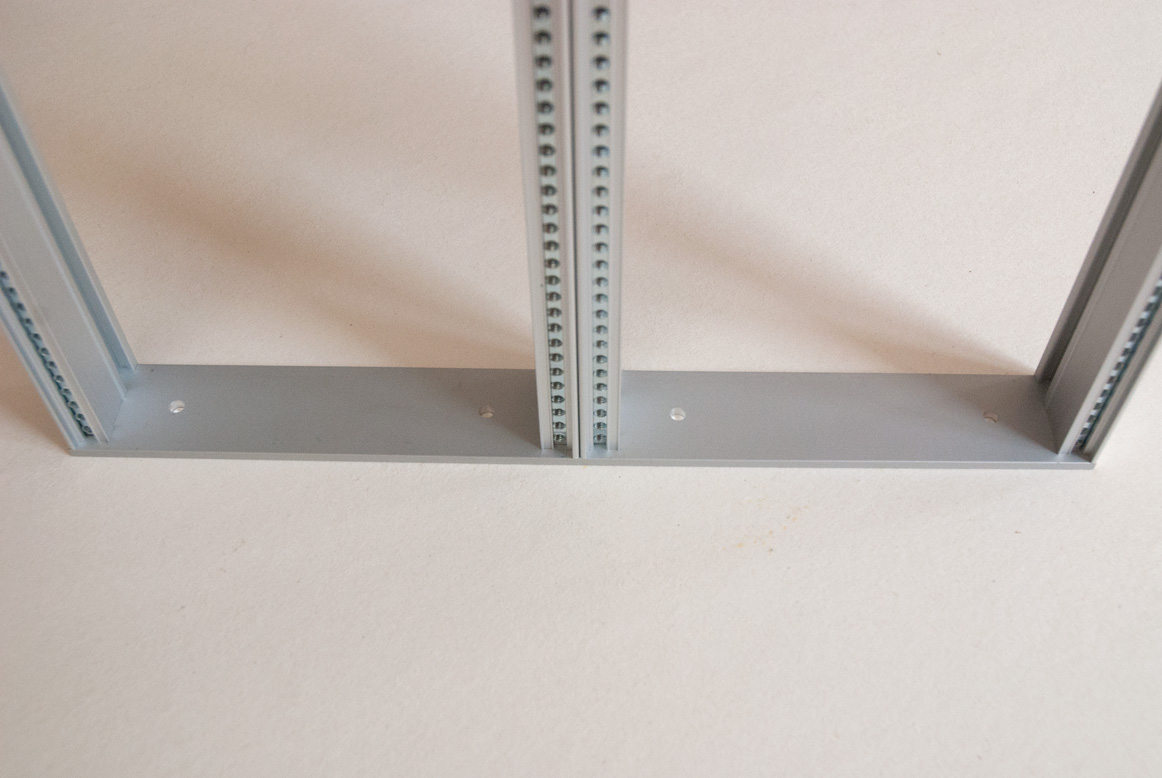
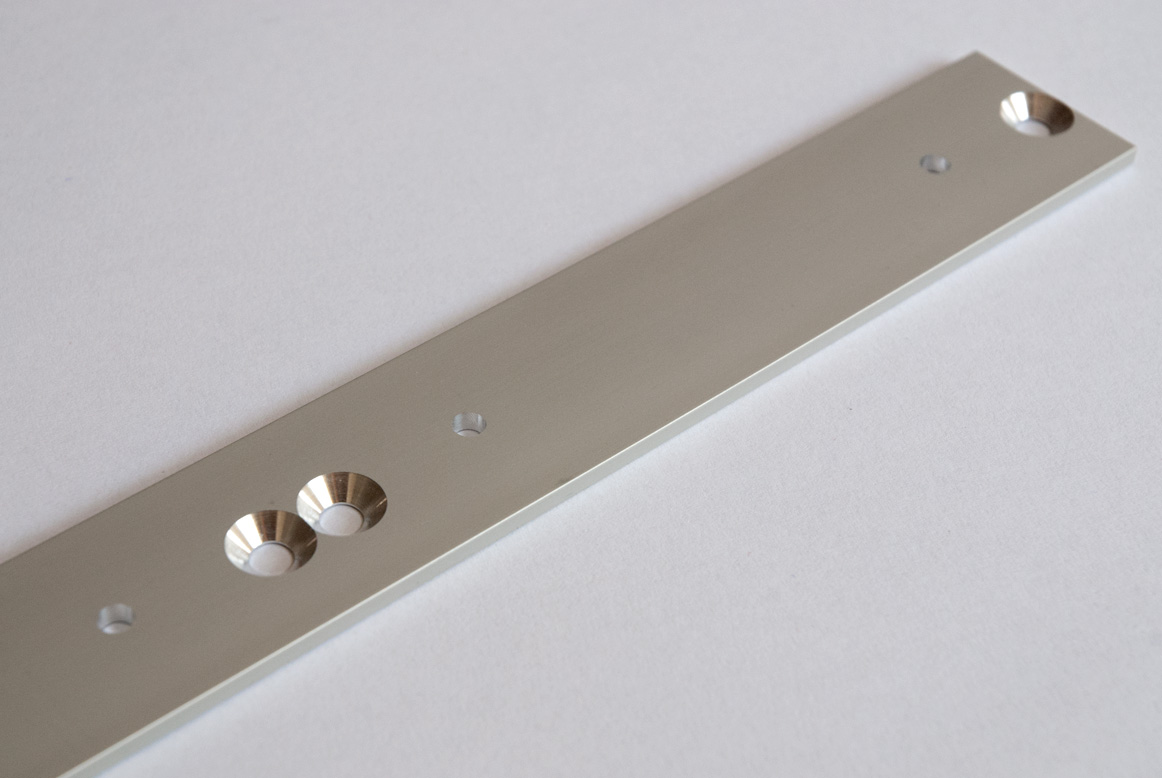
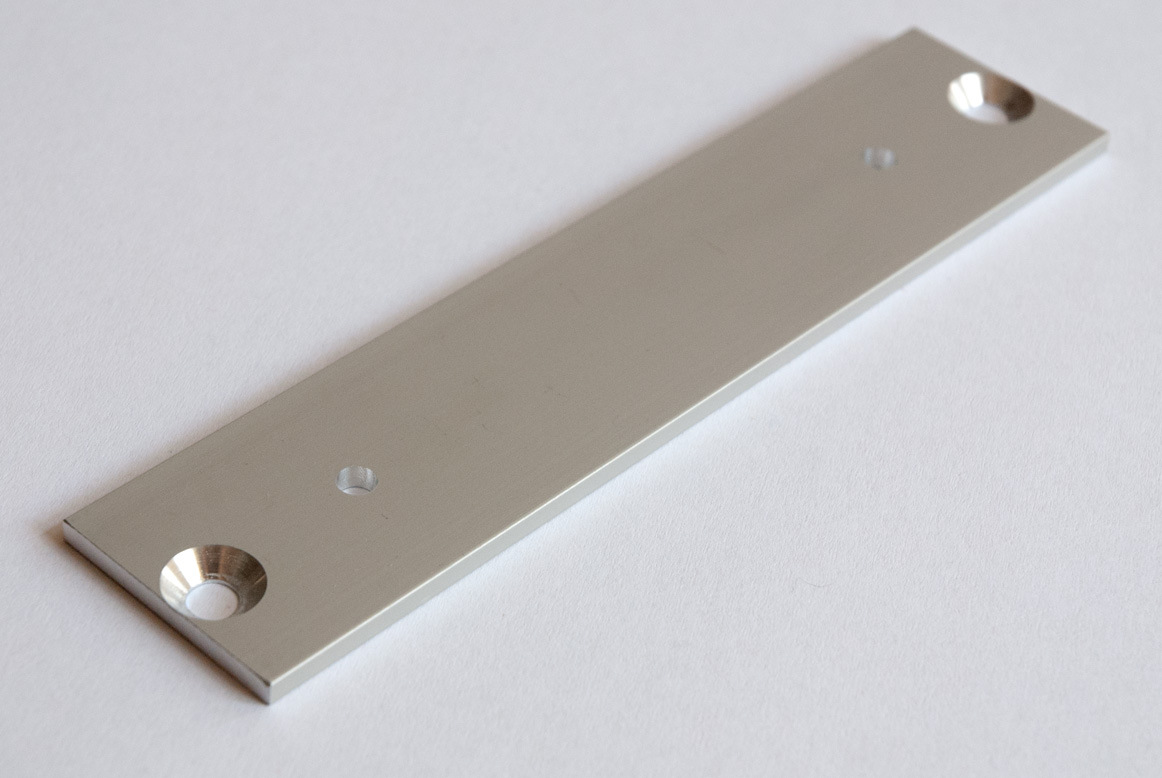
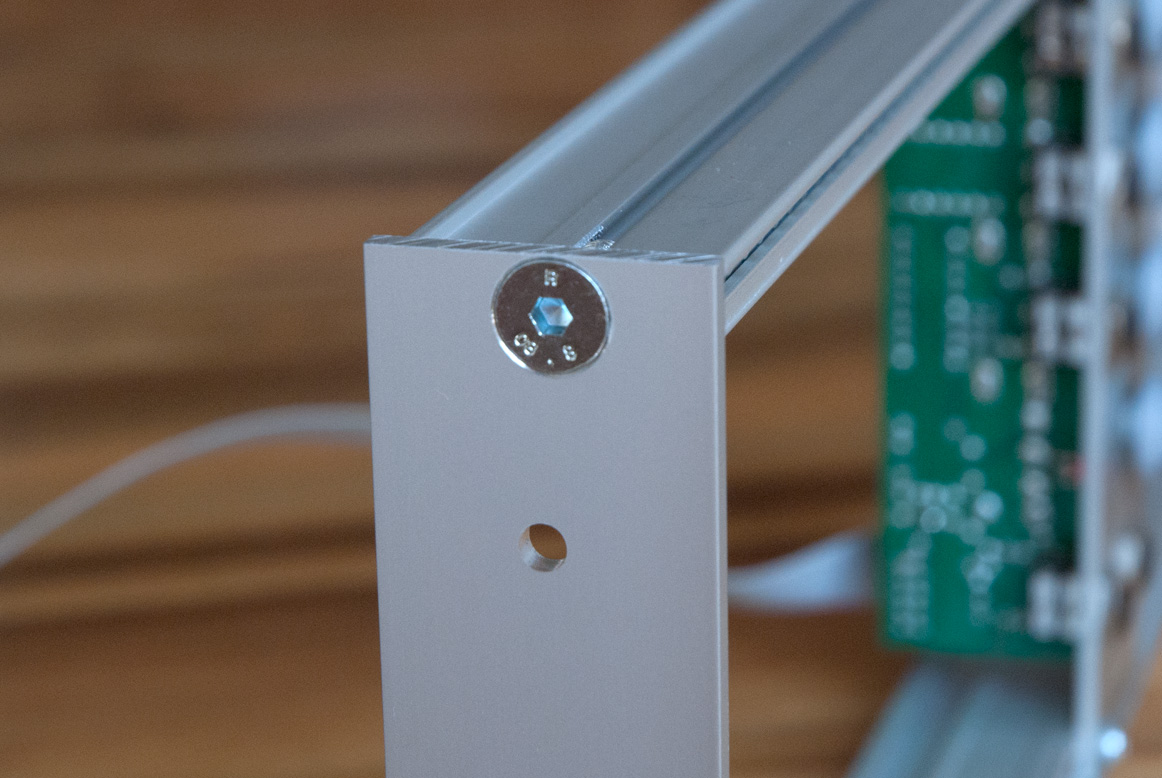
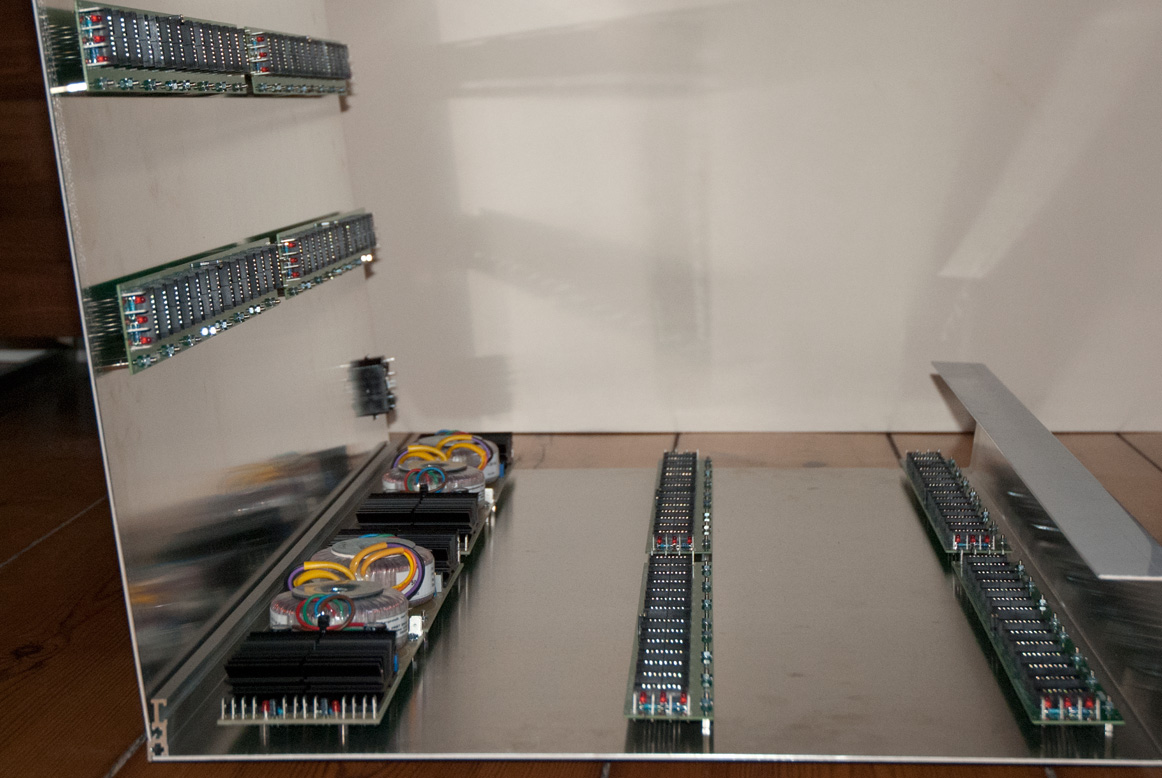
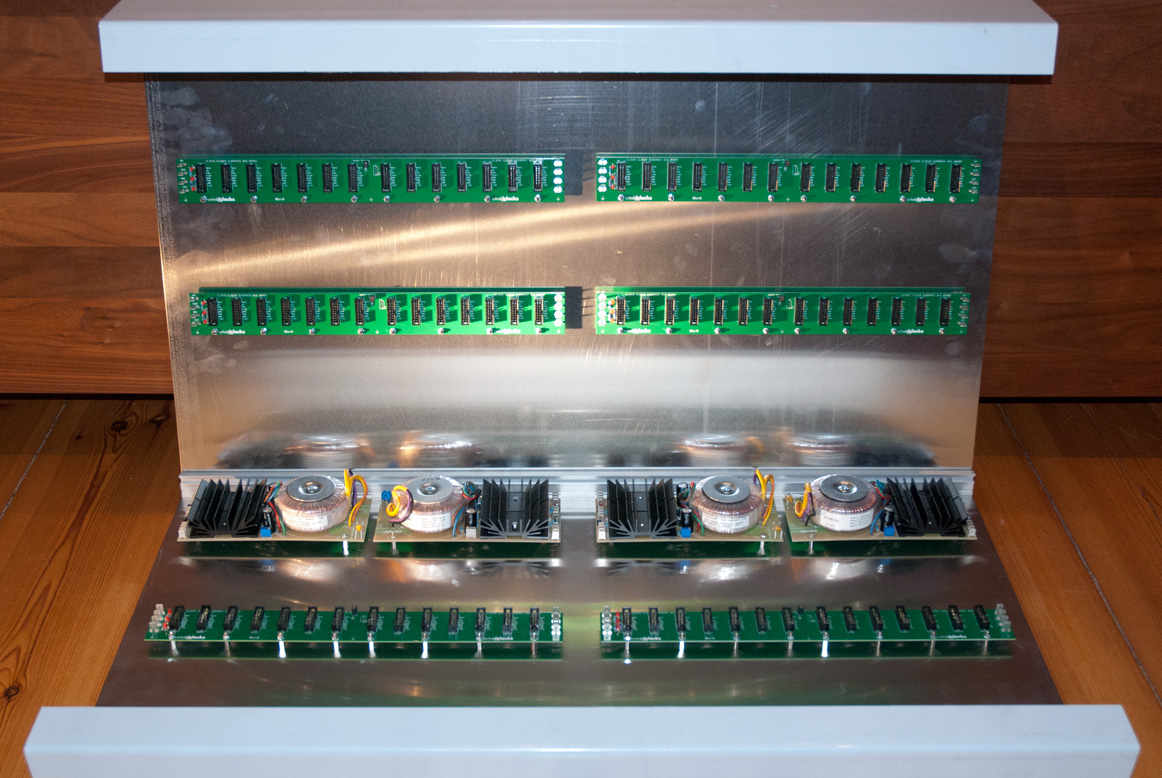
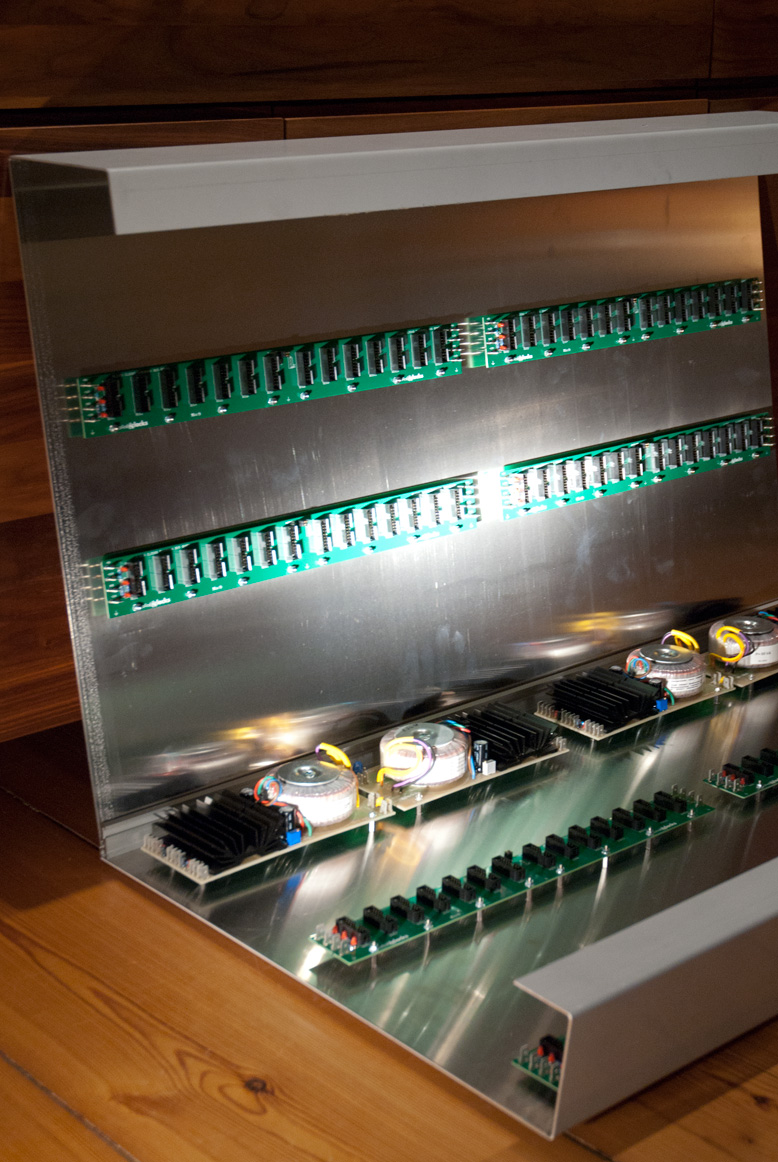
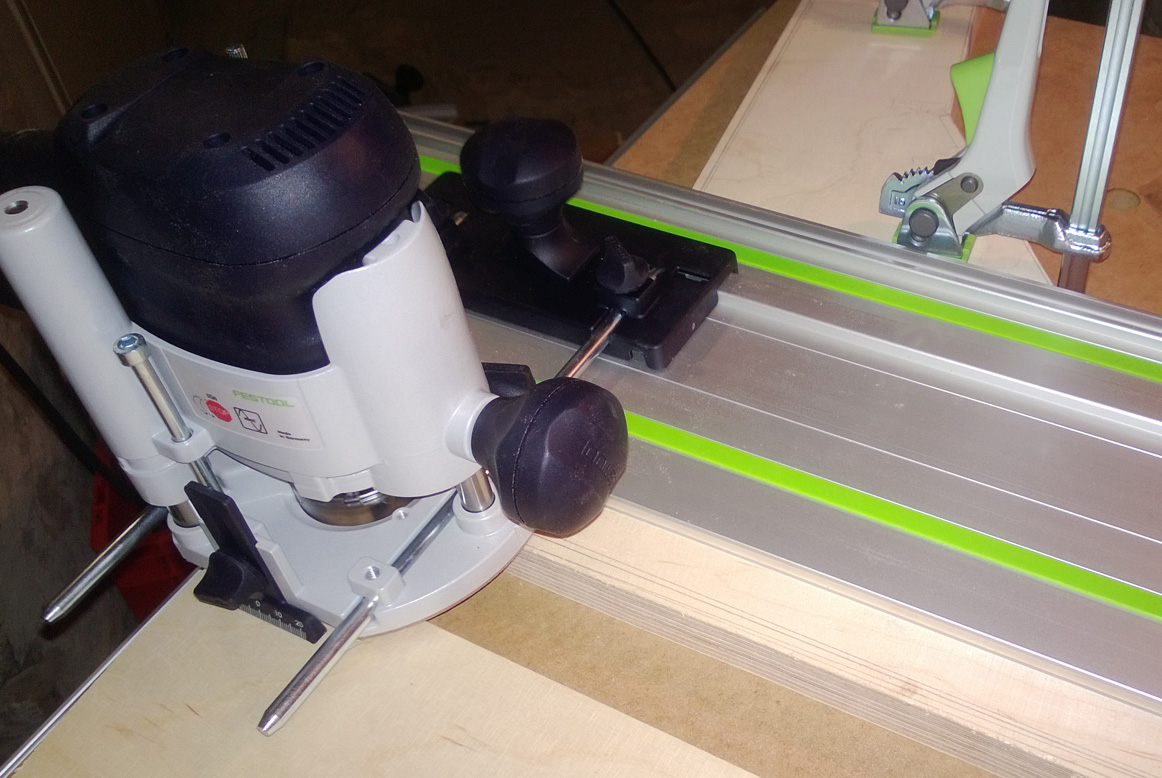
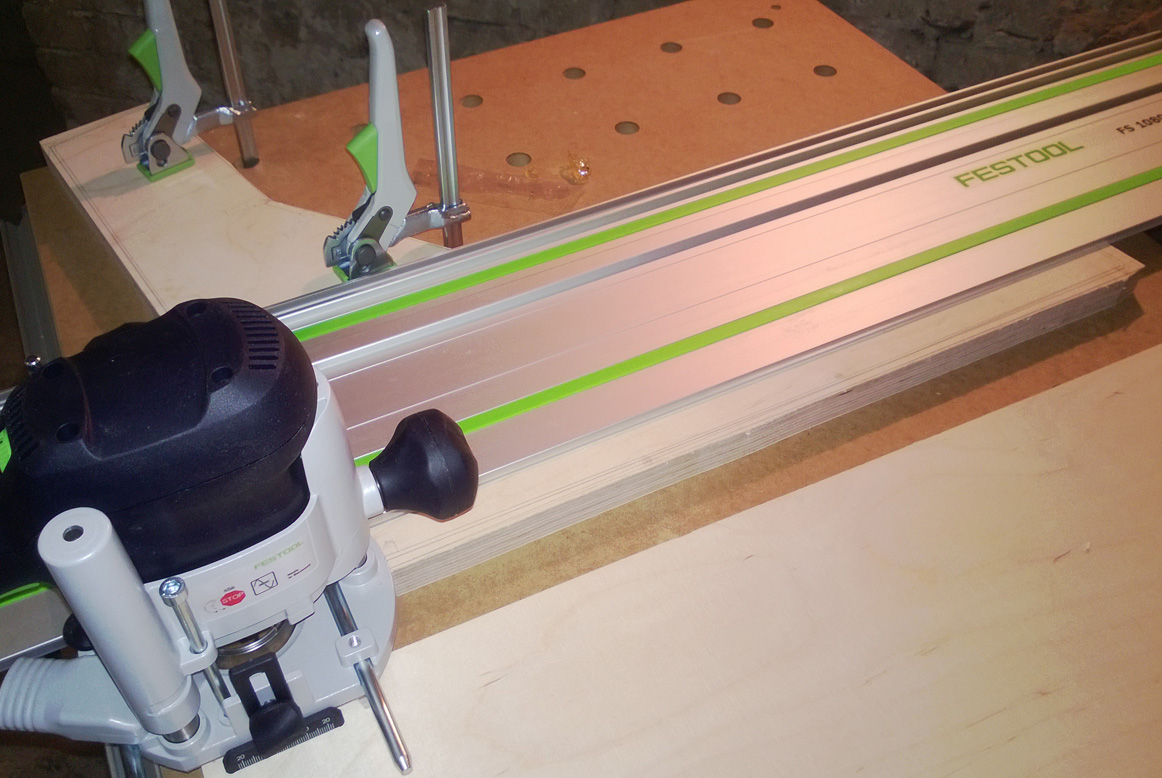
Fixing the PSU and the busboards is quite simple, you just have to drill the 3 mm holes for the screws and mount them as shown in the pictures. For the frame you should use sleeve nuts (see pictures below) with M4 thread, not longer then 5 mm. You might get these in you local hardware store or on the web. For all the fixings from the outside I used rosette washers, as it looks nicer and the small heads of the screws will not be pulled in the material when fixing them. Any other might to the job as well.
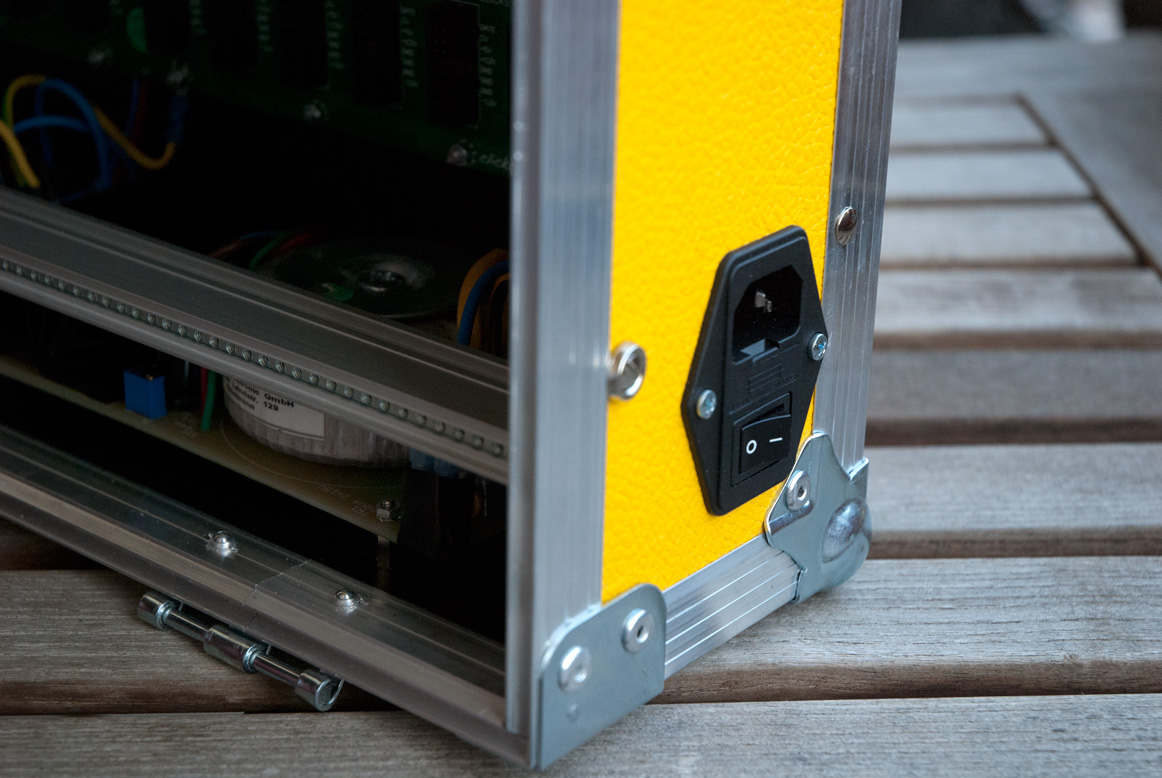
The trickiest part is the mains inlet, as you have to cut a quite big hole in the case. I usually mark the size of the hole and then drill small holes (3 mm) along the lines. Then I cut the parts between the holes and file the hole till the inlet fits in. To me it was important to have the mains inlet on the side, and not in the back of the case, so you can easily put it on a table.
For the busboards and PSU, I used some of my older leftover parts. For the electrical installation you should really know what you are doing or get a professional helping you. Usually the power solution you are going to buy should come with an installation manual.
TECHNICAL DISCLAIMER:
Please be aware that the power supply carries mains voltage (115 or 230 V AC). According to the safety rules the installation has to be done by qualified personnel only. Please keep that in mind: Danger to Life!
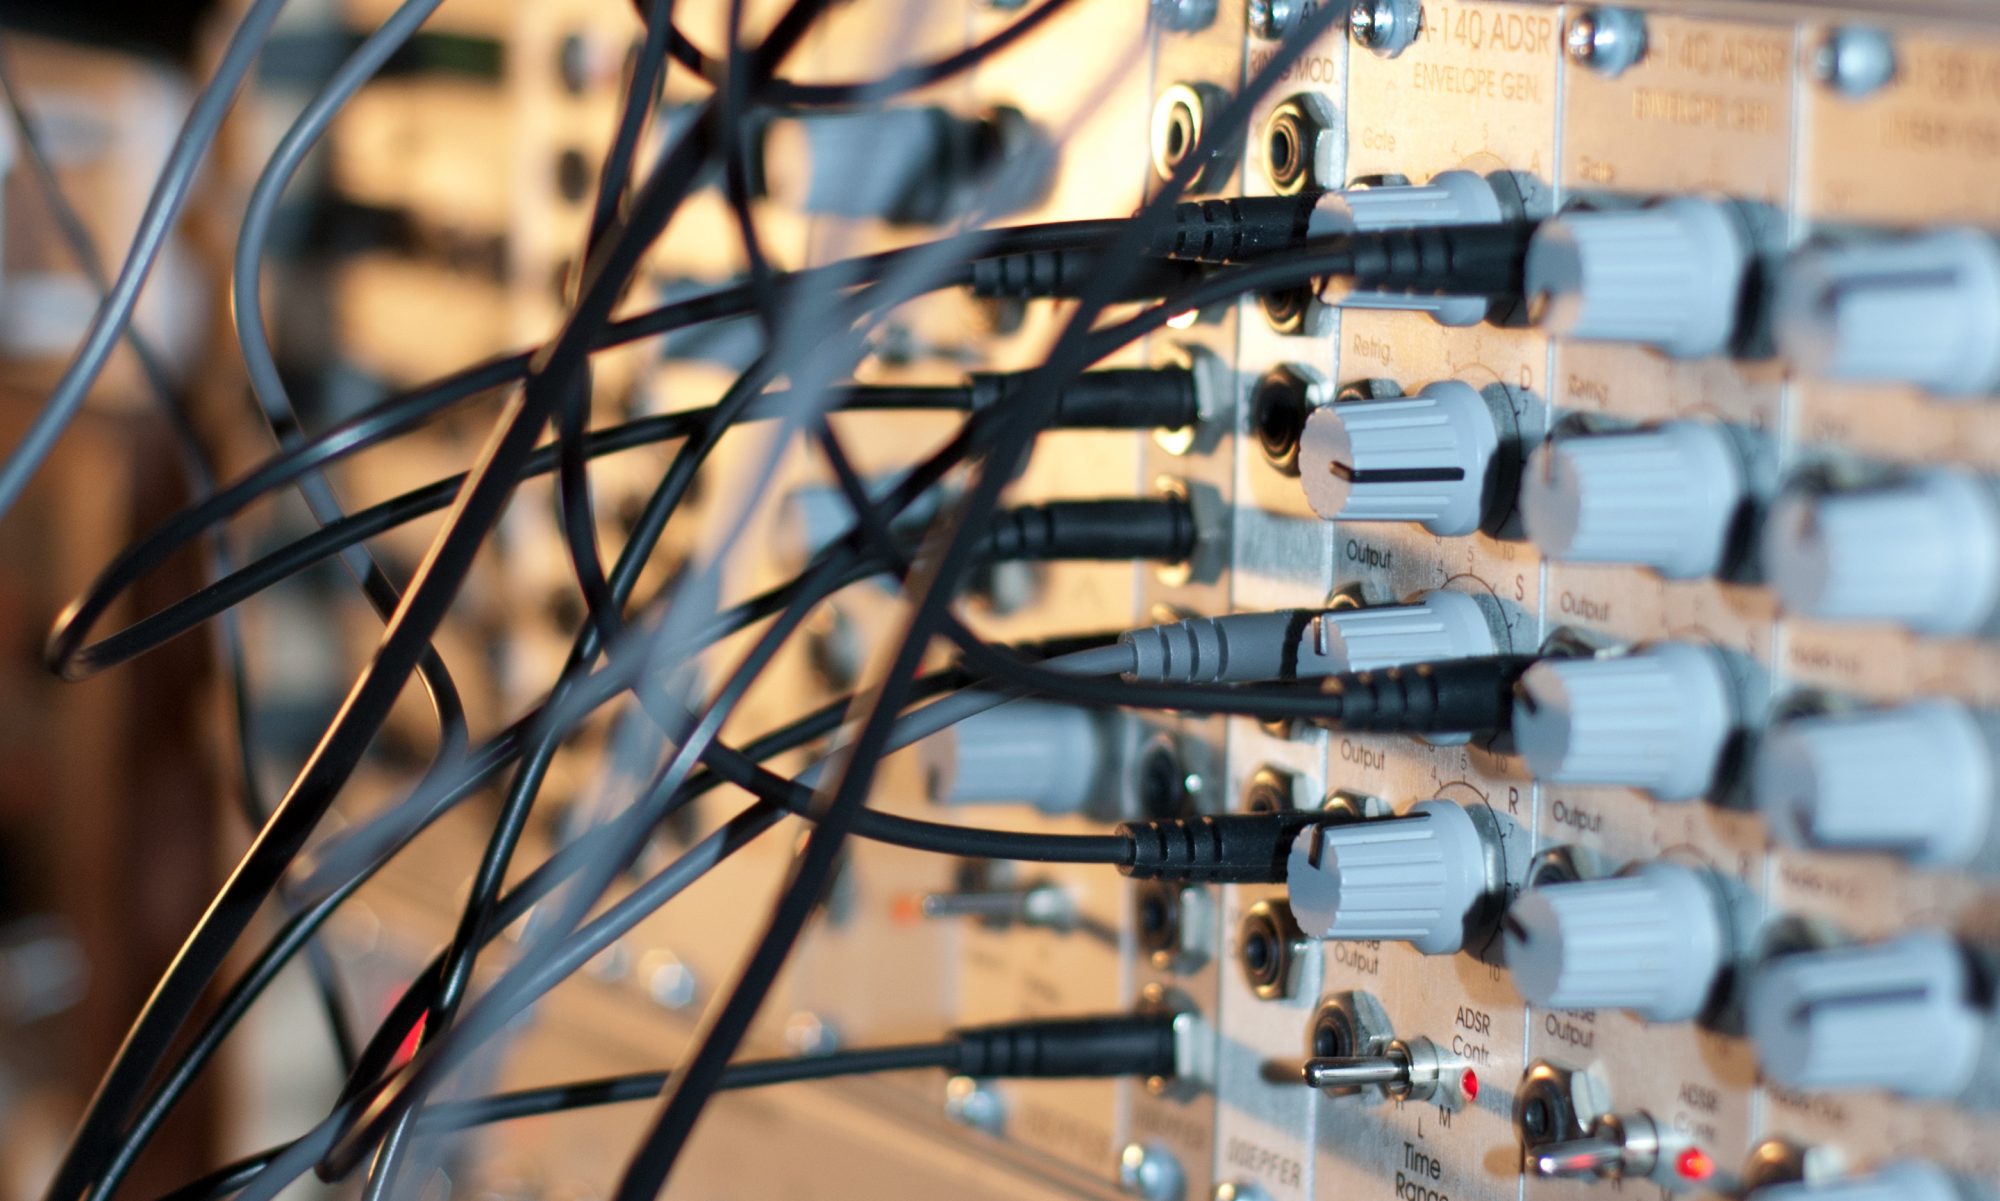
I still need to figure out how to cover the front part of the PSU, but that’s about it. Not sure yet, what I am going to put in the case, probably my Doepfer vocoder system 🙂
If you have any questions, and I have enough time, I am up to help you, just send me an email.